February 4, 2022

White balance defines the color temperature of the real-world light you’re capturing in relation to your sensor based on middle grey. Then the software can set it to appear balnaced. OK, so what is white balancing in photography? Well, it’s usually second to every other setting on your camera.

Photographers make you fret so much about What White Balance because they don’t understand how it works I’ve been doing this for 20 years and made many arrogant mistakes. So I’m going to explain it practically in this video.

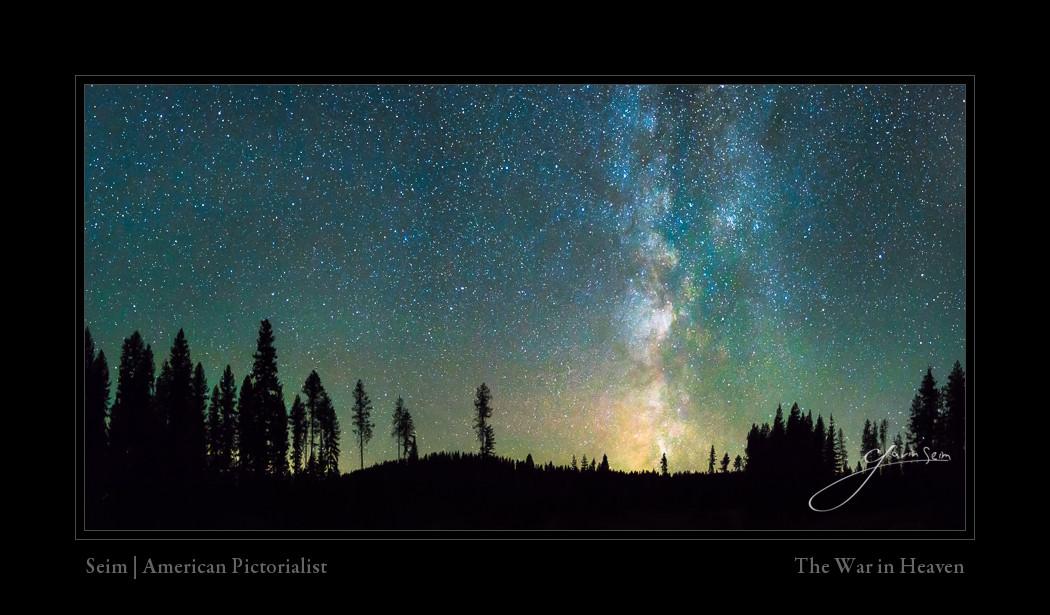
Time to Stop worrying about what white balance is!

So do you need to white balance? Usually, you can do it in the post, leaving it on auto in the camera. If you shoot JPEG only pay a little more attention and make sure it’s visually the way you want it in the camera. With RAW, you don’t need to worry about it at all.

So Gavin, what is White Balancing in photography then?

When editing in Lightroom I’ve often said… Good presets should NOT touch WB. When I make presets for Lightroom and Styles for Capture One like Filmist or Natural HDR, they are WB-free. It’s part of why they work great on any photo you use them on.

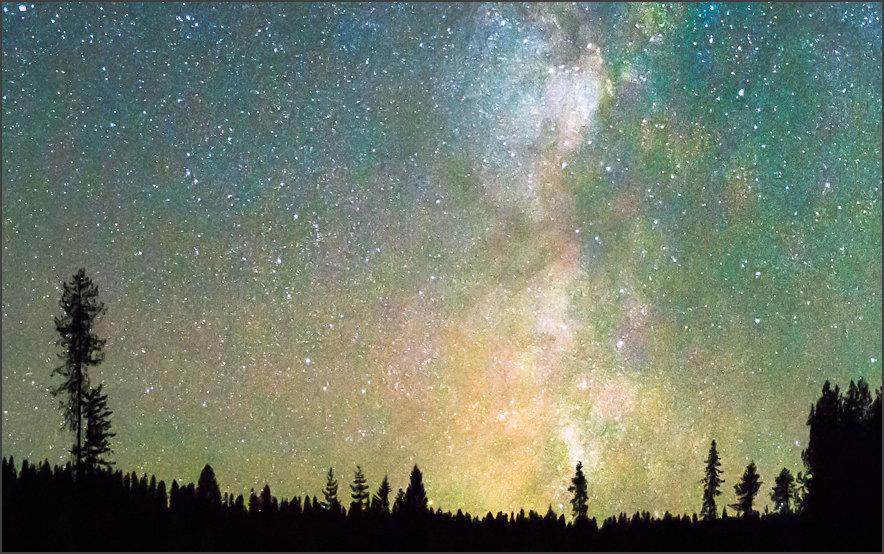
White balance helps you control the warm and cool tint of a photo. Like the base hues, separate from other developed settings. WB gadgets are almost never needed. Especially if you shoot RAW since all possible variations of white balance are in the RAW file.

There’s really no WRONG white balance, but…

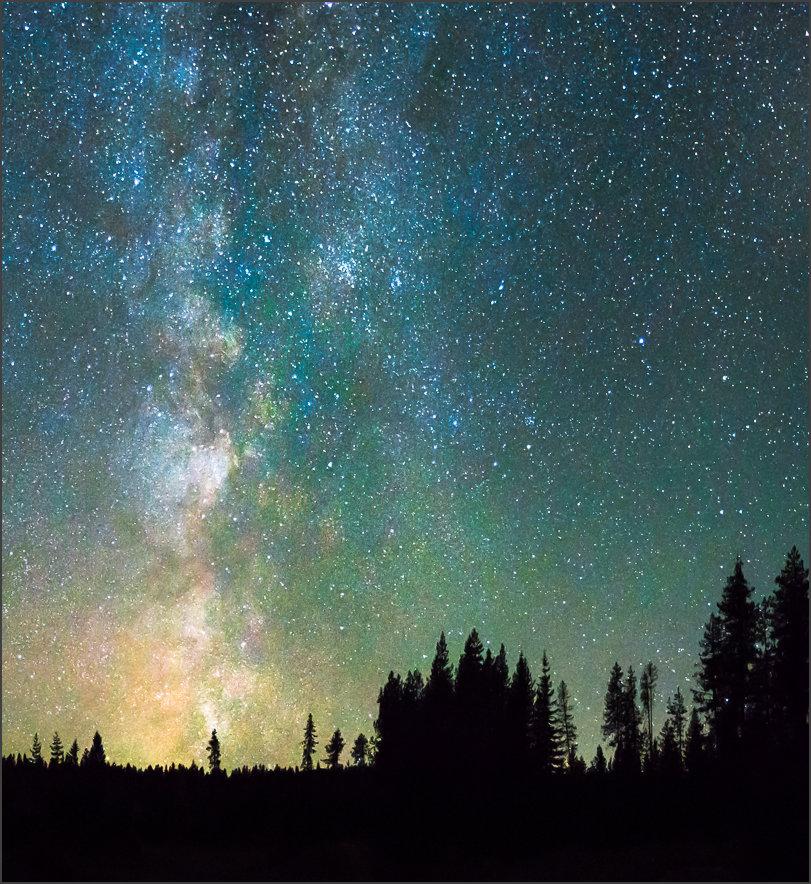
Why is white balance so confusing then? It was not like this in the film days. The hype over White Balance came after pros started using digital. It gets very technical. But back in the film days, we had two or three white balance options. We even used the “wrong” ones at times for creative styles.

white balancing in photography - Gold look

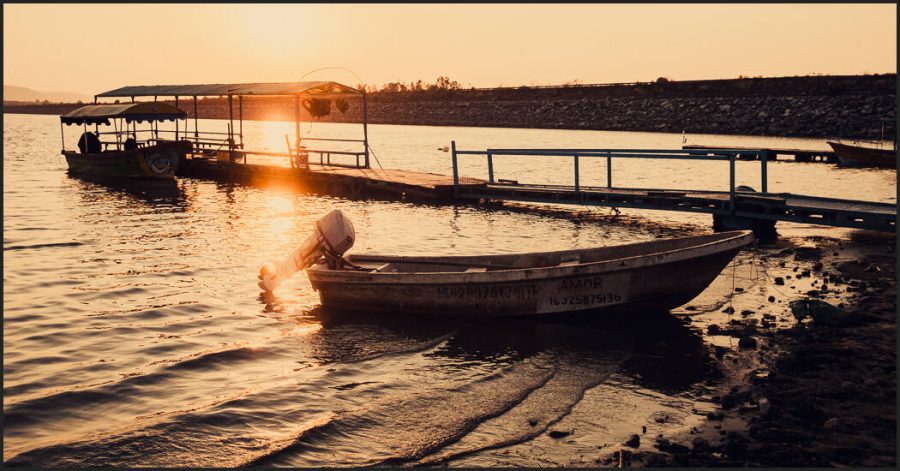
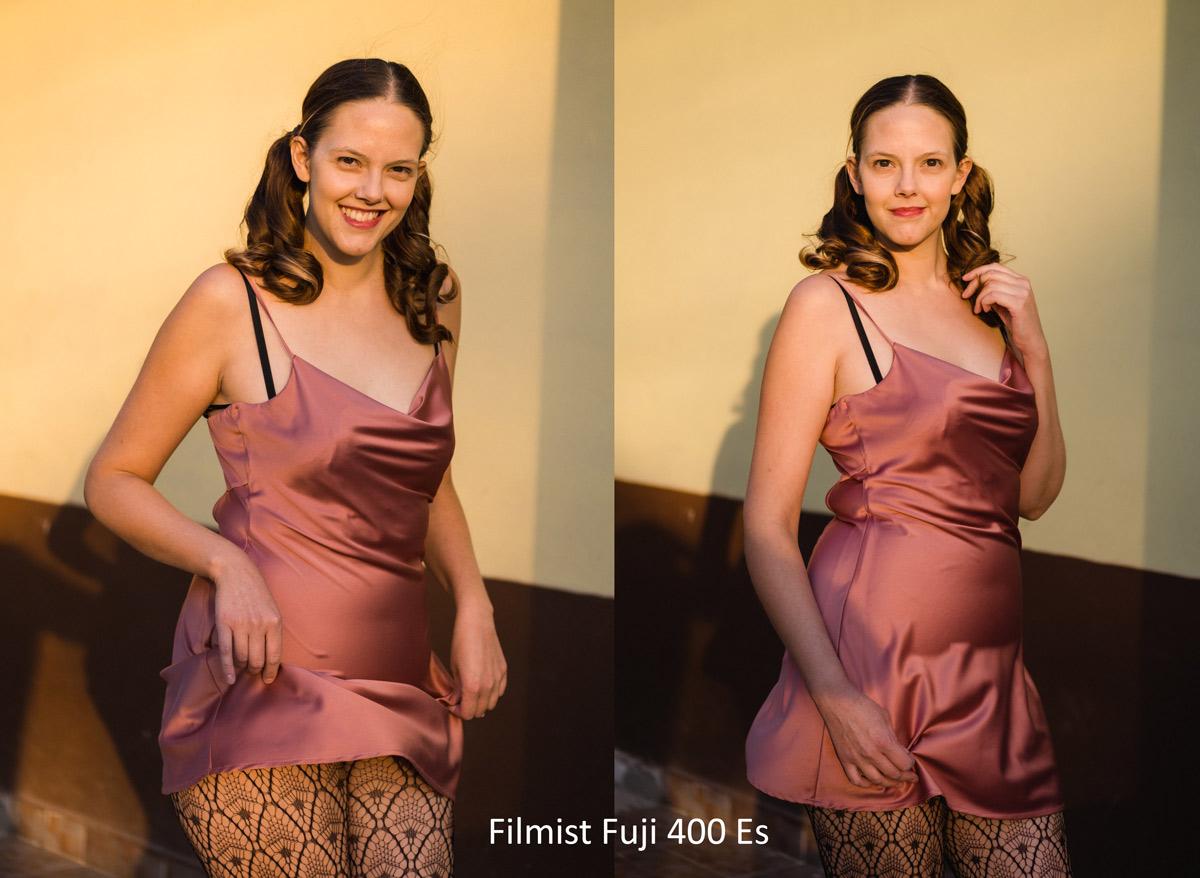
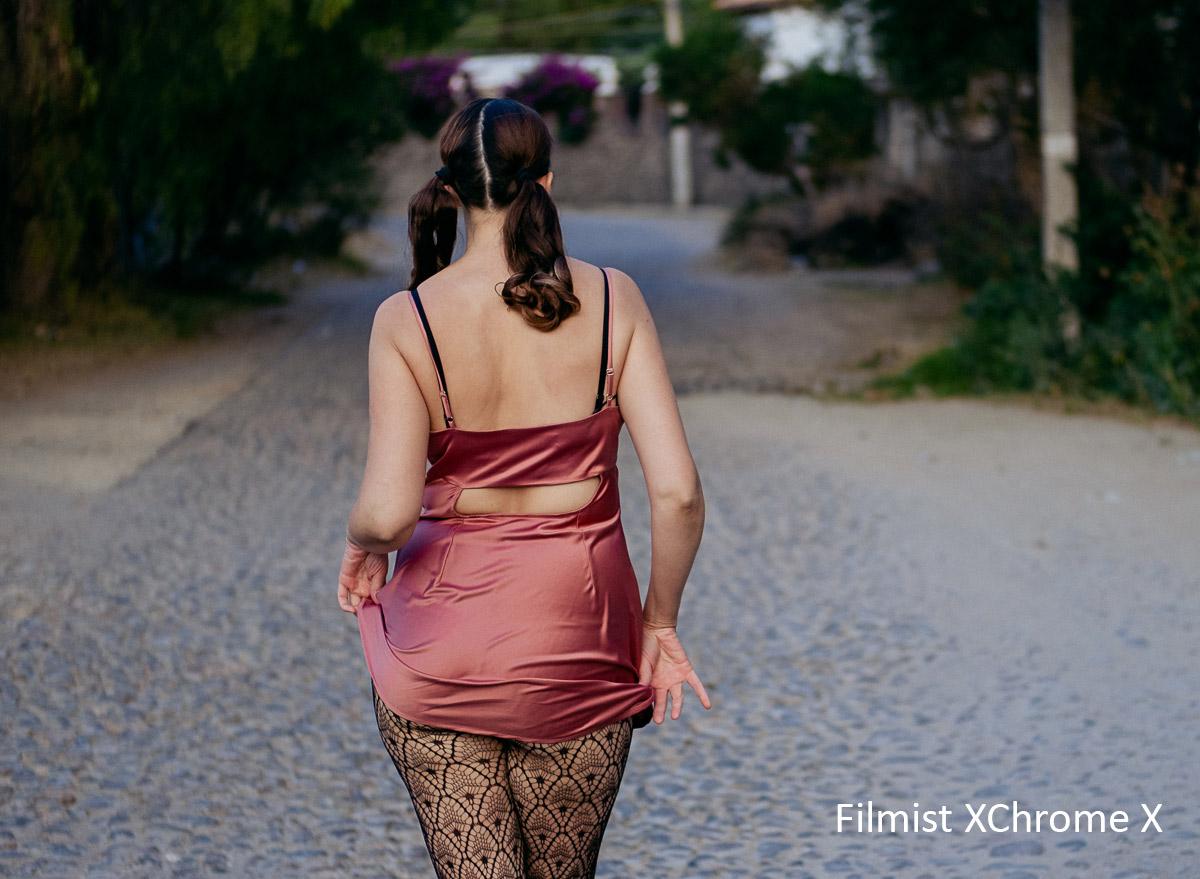
Don’t use it for effects! White balance is for light color correction. If I want a gold look like this, for example, I could crank the temperature slider right and adjust the tint. But WB does not work great as an extreme and it does not copy to other photos. Strong looks should be done with good use of color channels and curves. In this case, I just used the Black Gold preset, from Gold-Chrome.

Digital arrived and companies created products to “correct White Balance”. In reality, most photographers don’t need anything for White Balance. Because anything goes if it works in your final look.

This is not laziness. If you’ve seen my videos or attended my Shadow hackers class, you know I’m huge about getting it right on camera. But on a RAW file WB settings literally make no change to your file. They simply add a marker in the file to tell the RAW processor what you set it to.

Use Auto WB in the camera, not in the software!

You can leave the camera to Auto WHY and it usually makes it look very good. Auto WB in software like Lightroom, Capture One, etc however usually messes it up. I don’t know why, but it’s not at all the same and usually makes the photo ugly.

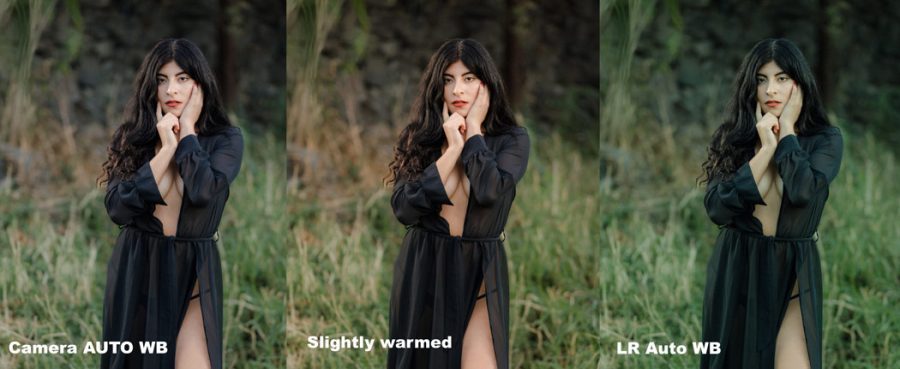
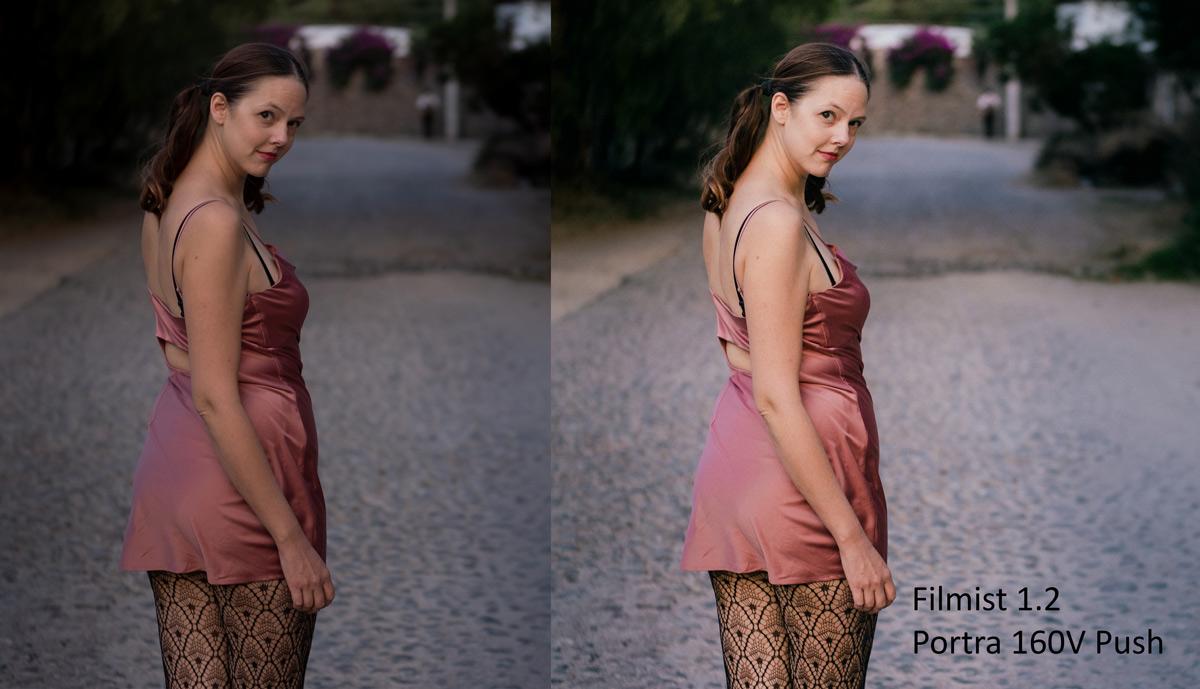
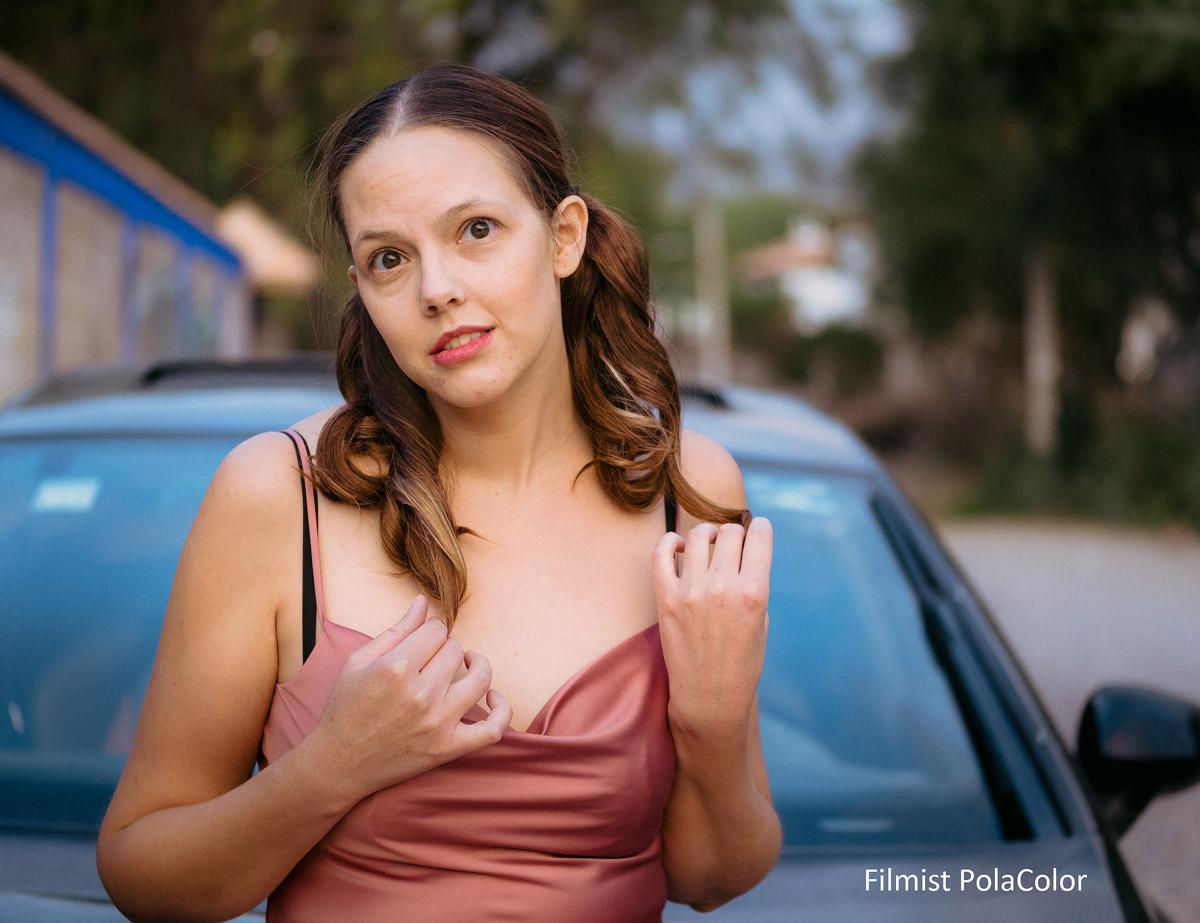
Look at this example. The Camer Auto WB was fine. After processing this with the Filmist Portra 400 preset. I warmed it up. Not because it was more “correct” but because I felt the warm light worked well.

Keep it simple, instead of making this a distraction. If you follow this guide you will never have to worry about White Balance. You’ll use it as needed to balance your photo to the color tints that work for you. What a grey card says is correct does really matter. Sometimes you want a warmer or cooler look and in the end, the look. Make every photo yours.

I hope this helps you understand what is white balancing in photography and what it’s not. Leave a comment if you have feedback. – Gavin Seim

Read More

August 21, 2020

Does C1 give better results on Fuji or other files? Today we look at some hard-to-process files from a Fuji XT-3 and see what the results say.

We’ll take a few FUJI RAW files and see what really hap[pens when we do the same process in LR and C1. To do that we’ll use the Classic Negative look from Filmist which will process the images almost identical in both.

Let me know if the comments what you think about the results and what you prefer.

Also for your own tests you can…


Read More

June 4, 2020

Last week I was working on the 1.2 update for our Filmist emulsion presets. We develop these for Lightroom Capture 1 and LUT. I needed some fresh test image so I took my model Sondra out for a quick natural light shoot on these quiet side street in central Mexico.

The soft light seems a bit flat but there’s direction to it and it’s perfect for portraits. The quiet greens made for a sublime contrast to the dress and the sunset light was filtered like a giant softbox. Then we started editing with FIlmist. No need to lose ourselves in over saturation. There’s a reason film color was refined for over 100 years.

I’ll with just some color grades and then do more detailed finish work on my top favorites. This first one is just the new 160V Pushed presets which gives a nice poppy push to the RAW file with this really soft light. We want to bring out the shape of the light. The reason good presets are so powerful is not because you can’t edit sliders manually. It’s because you cab quickly browse looks that are close and get the one that really fits the image you’re working on. You get to see things you would never see if you editing everything manually.

I start with the RAW file color grade. If it’s a 5 star image that I will edit in PS, I will take off the grain until after my final edit and then add it back to keep the image surface clean and free of artifacts. This one is just a preset and is now ready for some quick detail work in PS.

Ok lets go…

Shoot Notes:

  • Location; Querétaro mexico, May 2020
  • Time: Sunset, around 7PM, partly overcast
  • Gear: Fuji XT3 – 50mm f2 lens

Edited with: Filmist presets, Alchemist Actions, Lumist Actions and Sharpist Actions.
Get 20% off any of these with code: BlogFreinds


The key with great color in a portrait is to separate the object. To make your  subject pop and have that 3D feel. It’s starts with light but the way we mix colors is huge. That’s why it used to be so important to choose the right film, today we can do that with color grading or tools like  Filmist which are my go to because they give me the right mix.

After the presets I went into PS for quick skin and sharpness detail using Alchemist retouching actions and last but now least SHARPist actions to give it that final zing. Here’s the finished shots and I’ll mark the film look I used on each one of these.

It’s worth noting that while I speak of the tools I use to save me time, all these things can be done manually. Using color sliders to control the mix and get a filmic look, using frequency separation for gentle smoothing, eyes bags and more,. Using sharping for that final pop. These are all tools we have in nearly every photo editor. It’s just a question of how you apply them.

The anatomy of an edit. We started with a nice soft Raw out of camera, then use the Color Pro 400p preset for a nice filmic color grade. Then I spend 5 minutes in Photos. I used Alchemist for a very subtle frequency separation skin retouch, the eye bag brush to quickly soften the eyes, the Alchemy eyes brush to make them pop and finished with a bit of burn and dodge and the Rocket Sharp action from Sharpist. Boom, bang, boom.


These are just fun shots and I don’t even need Photoshop. This super warm sunset light looks great but I don’t want top over saturate so I’m using a nice soft Concept film like 400 ES that keeps the color soft.


After the presets I did a little work Alchemist using tools like the eye bag brush and then a sharpening using Sharpist. Not too much, just a little final clean up.


The final edit


Full length for the legs for days look. I mixed presets for a soft color blend and then spent a few minutes without Lumist as tone control is key in longer shots.


Used PolaColor S here and the light dark sharp from Sharpist actions to make her pop. That’s all.


These are B type shots that are great for Instagram. Sometimes I’ll just to a color grade and leave it at that. No Photoshop or extra retouching needed.


Read More

April 13, 2018

People have asked me about being able to do this for a long time. Now with Lightroom 7.3 and the latest version of Camera Raw the, updated presets format allows you to use your Lightroom presets in Photoshop and Camera Raw and you can start now. In today’s video, I’ll show you how.

All of our current preset collections have been updated so if you’re ready to use the likes of Natural HDR, Belladonna, Silver or our other presets in Photoshop and Camera Raw, now you can. If you like this video subscribe to my YouTube channel. Also if you installed the presets in LR 7.3 or above they should automatically appear in PS/Camera Raw. But if you don’t use Lightroom you’ll need to install the presets first into Camera Raw. Here’s a video about that.

Also if you order 2 collections you can save 15% with code: BUNDLE. Or you can go here for more bundle deals.

Read More

October 9, 2015

seim-mily-wayClick for large version.

A7R II, 10sec, ISO 12,800, Canon 24mm TSe II

I believe I can go at least 50 inches with this. Here’s a few tight crops. . Yes there’s some noise, but it has a reasonable nice grain feel to it and for this ISO it’s amazing.

— Gav

The War in Heaven

The War in Heaven


Read More