We’re going to talk about the 3 Lightroom and Capture One presence sliders today, but I’m not going to teach them the way Adobe does! We’re going to reverse things!
Presence – Clarity VS Texture VS and De-Haze are important!
These all affect the atmosphere. I make use of them in nearly every edit. You’ll also see them used in subtly different ways when I make Lightroom Presets and Capture One Styles pack like Filmist, and Versus when I make tools like Natural HDR.
You’ll also see me use all 3 of these deeply in Lightrooms Ai presets that I include in Silver 5 and Elegance Speed Masks.
I simplify Clarity, Texture and De-Haze in the video. But here’s an overview of what the presence sliders do.
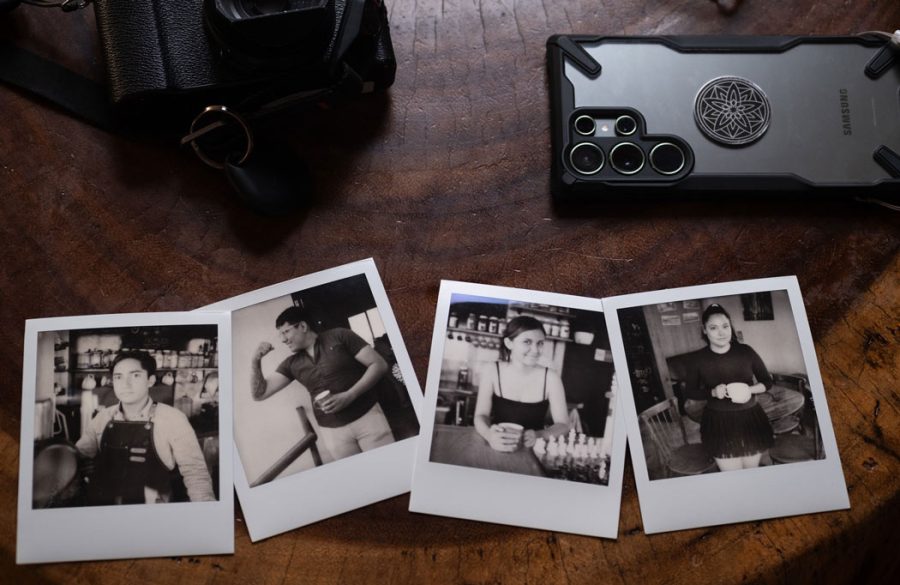
You know about the presence sliders in Lightroom or their equivalents in Capture One. But do you know that these sliders are often used really badly? I’ve taught Lightroom since version 1, but I’ve rarely seen these sliders taught well. Today I’ll show to use them for near-magical results!
The clarity in Lightroom and Capture One allows you to adjust the midtone contrast of an image. By increasing clarity, you can add depth and mid edge definition to your photos, making them appear more detailed in a gritty vs softness sense. Clarity can soften the appearance of an image and give it a more ethereal or dreamy look.
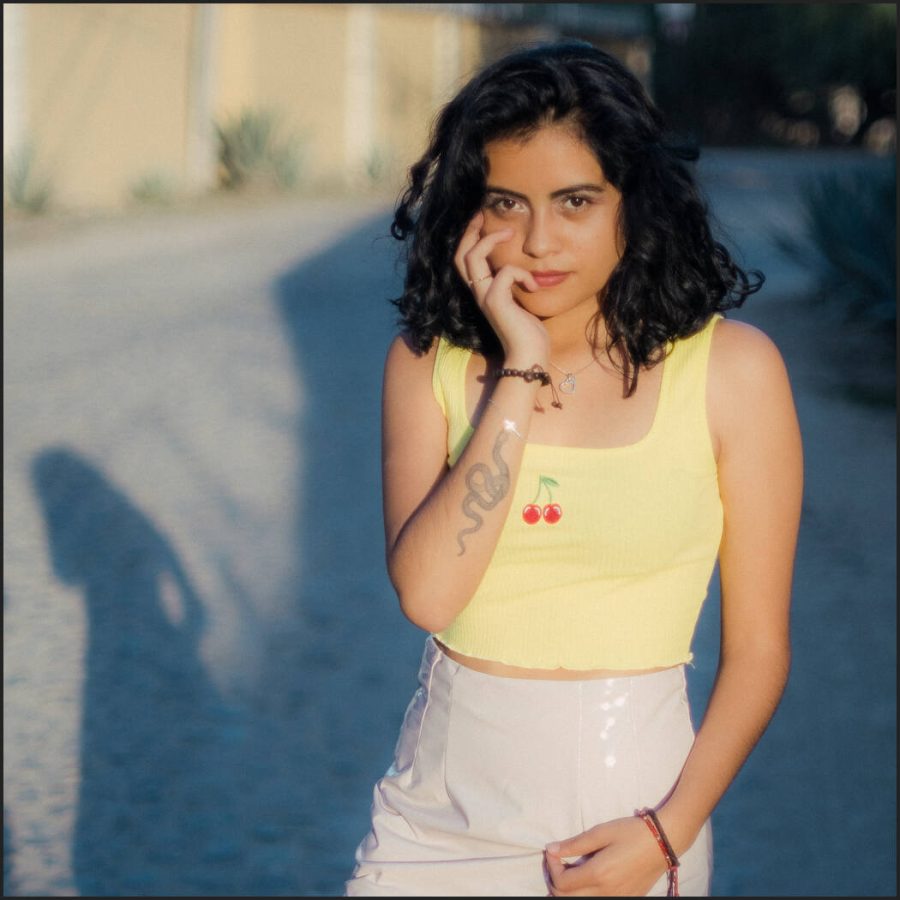
Mixing them up for more presense. Here Elegance Ai masks are used to bit globally we lowered Clarity while increasing Texture. This combination can give a perfect mix of detail and softness.
The texture is a newer but more important feature in both Lightroom and Capture One. It allows you to adjust the amount of detail and texture in an image, which can be particularly useful for enhancing the appearance of skin, fabrics, and other fine details in a photo without the ultra-fine lines and artifacts that come from heavy sharpening.
By increasing the texture, you can make these elements of your image appear more detailed and realistic. Conversely, decreasing the texture can smooth out rough or bumpy surfaces, giving your images a softer look. This can be magic in portrait edits.
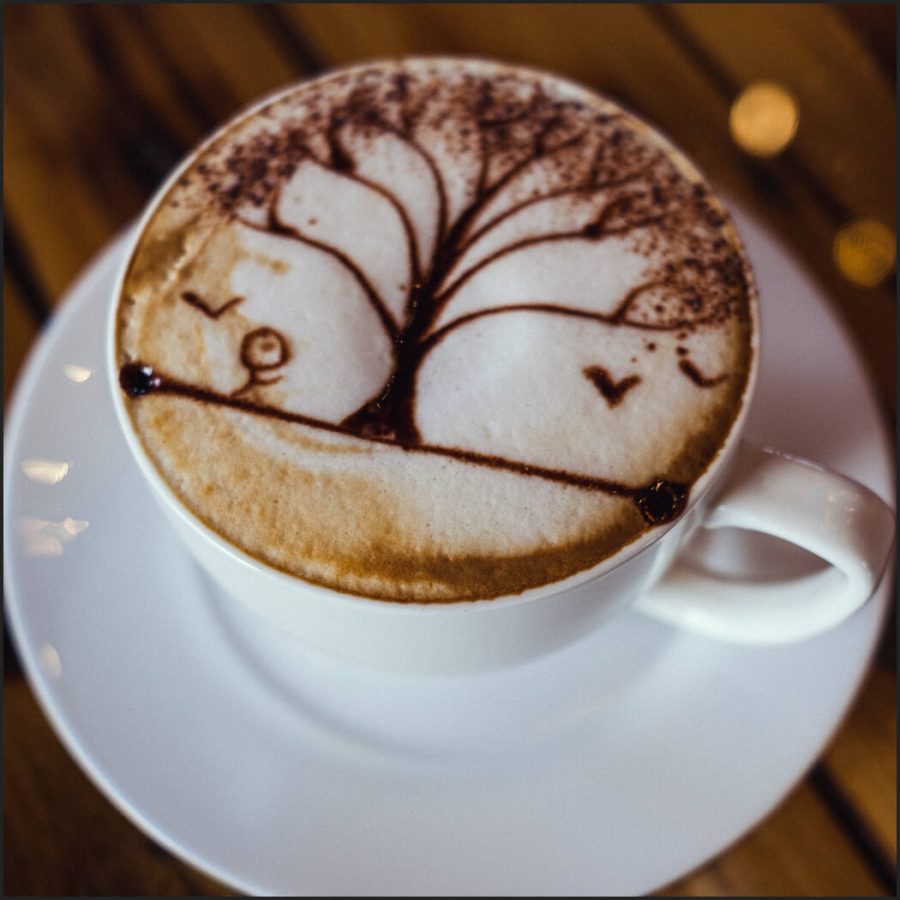
All the presence sliders are up a bit here because it brings our richness and texture. But don’t assume that just because it’s food or streets you always want to turn them up. Go down also and watch good things happen.
The De-haze is a useful feature in both Lightroom and Capture One also. It allows you to remove hazey feeling from images. By using the de-haze feature, you can remove this haze and restore the detail of your images in a broader contract sense that’s almost like combining Blacks and Whites. BUT… Don’t always turn this up…
Reversing De-Haze is really taught and VERY powerful. I’ll show that!
I turn Dep-Haze down as much as I turn it up. Maybe more. Because when creating authentic films, organic feeling portraits, and gentle tones, photography ten to use these contrast and presence sliders altogether too much.
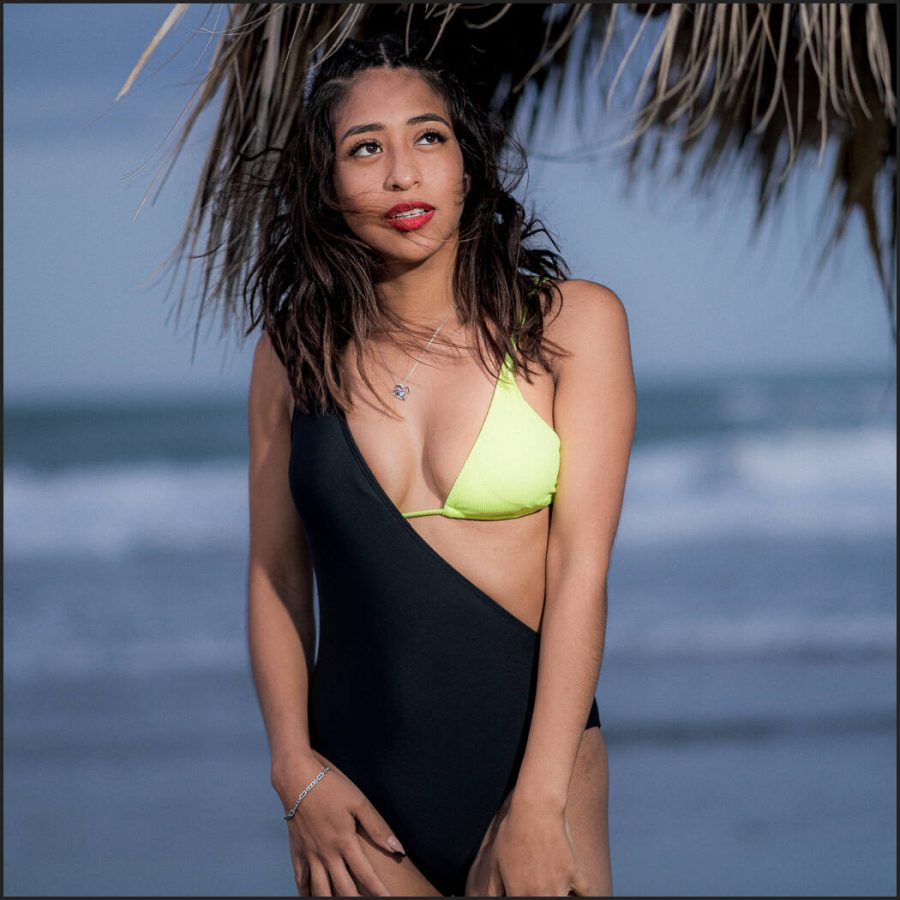
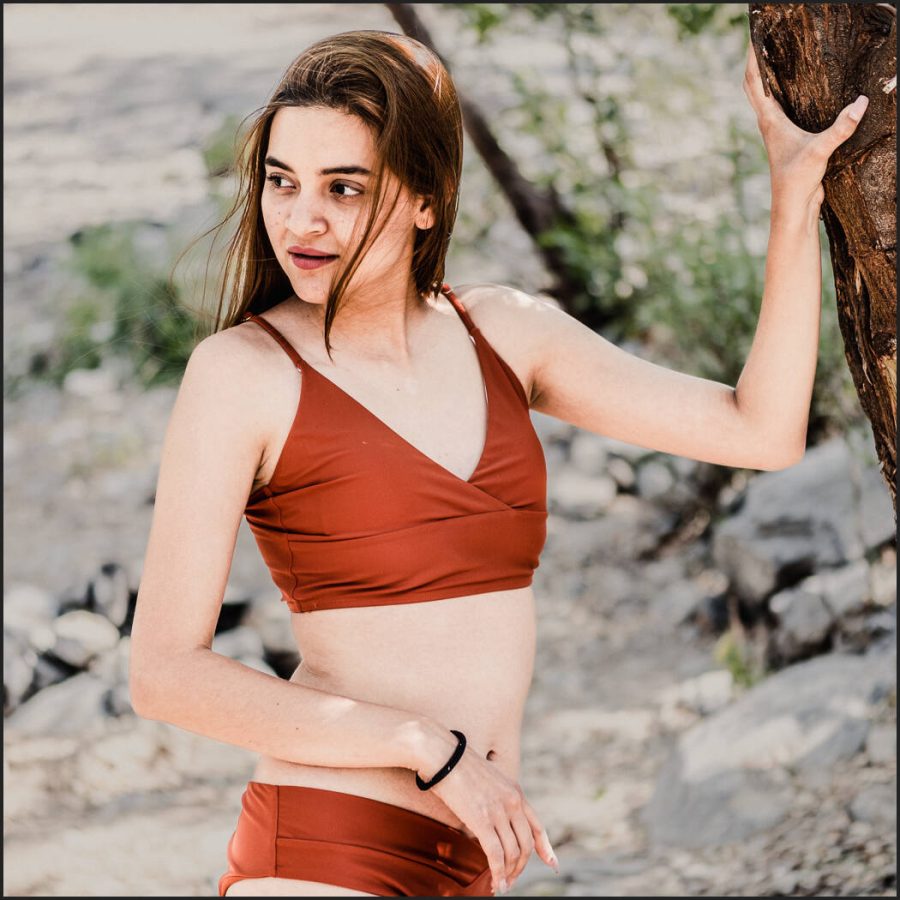
IN this POrtrait I used the FIlmist Portra 160 preset and then pulled down Clarity, Texture, and De-Haze a bit to give a natural organic lens feel that reminds me of how we used portrait filter on the lens all the time in the film days.
Clarity, texture, and de-haze are powerful tools in Lightroom and Capture One that allow you to fine-tune the surface of your photos.
I hope you enjoy and share this because if you know what these sliders can do for your photos, you will improve your ability to edit with them. If you use my presets, pay attention to how I apply these 3 sliders. A little can go a long way and really perfected looks can be created using these settings.
Gavin Seim
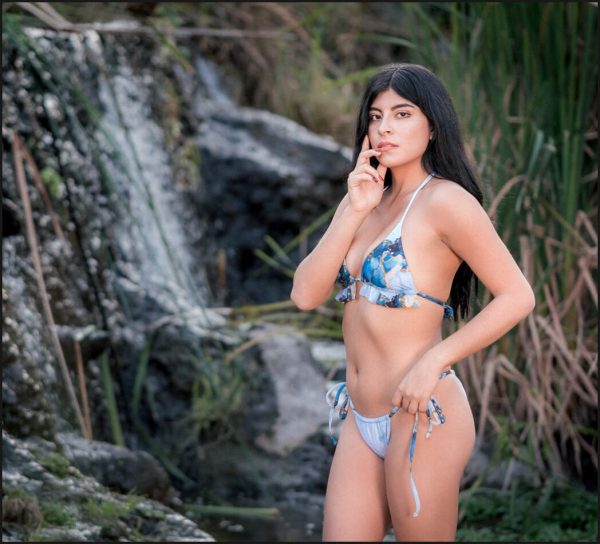
People often confuse clarity for HDR. But as I show in Natural HDR presets, they are not related. This is too much clarity for this portrait. There are times for a gritty high-pass style portrait. Or maybe you are creating a theme that;’s intense. But unless it’s for a solar reason, avoid too much.
Expose to the right (ETTR) has been preached relentlessly for years in digital photography. But does it actually help?
I think now. In my recent shadow hackers workshops (join the next class here) this has come up and it made me think about how prolific this dated technique still is. Tell me what you think in the comments.
In the video, I’ll show you why ETTR is not usually right. It’s not always wrong to be Expose To The Right to achieve something. But using this as a general exposure tool in photography will lead to worse images.
How did ETTR happen and should you actually use it?
When I made the Exposed workshop covering nearly possible approaches to exposure, we didn’t focus on ETTR because when you know what exposure or that light meter is telling you, you rarely need to expose to the right.
Like every idea or rule, it’s not really a rule. So in the end, if you get great exposures you win. But I think if you start hunting the shadows and exposing “right”, rather than TO the right you’ll see a transformation in how well you expose and edit.
It does not matter what you are shooting!
If you know the principles of exposure, your histogram, zones, and settings. They will soon become automatic. You’ll see yourself start to create naturally, knowing the light and the shadow like an old friend.
Presets, photo editing software, and gear. We have the tools in 2022. But I want to change how you think about your photos.
I’ve been a photographer for over 20 years. I watched digital be born and the entire industry change. I’ve run the gamut in everything from street and wedding photography to fashion photography of Models in Mexico and fashion photography.
I saw photography go from a technical creative art to something mostly driven by internet marketers and “Ai” tools. But I always see the same mistakes that make photos ordinary no matter how good the software gets.
I don’t need to second guess. People either like my photon or not. A clean Natural HDR 4 process made it look good and that’s a wrap.
Sometimes digital is so easy, that we lose an opportunity. Trends come and go, but in the end, photography will always be about emotion, inspiration, and creativity. If you learn to discover shadows and souls with confidence, your photography will always get better regardless of the tools you use.
Confidence is not always easy. I’ve learned a lot as a street photographer. You can have all the software. You have the best camera, and download the best Lightroom presets (yes I have those for you) But what you need is to see as no one else sees. That’s what I want to show you today.
You’ll find the presets I use here on the site – They do matter because they make completing your vision easier. You can get my free lightroom presets and film styles like Filmist and Natural HDR.
Most photographers edit wrong, but not for the reasons they think!
In this video, we’re going head to head with the mistake that nearly every photographer has made, and may are doing every day. If you can get past this, it changes more than just how you edit. It’s going to change your photography mentality.
As I showed in the video. The perfect capture and the perfect edit are a myth. That’s what makes photography so amazing. There’s always something we can improve that will affect the emotion of your photo, or the lack of it.
Knowing how to edit, starts with knowing what you want. Presets and styles are invaluable because they help me find my look without wasting brain cells.
Black and white, color, contrasty, soft. Deciding does not have to be hard. here I used Filmist and Elegance 4 to give more depth and that’s it. You can get my free lightroom presets and film styles on the FIlmist page.
I usually start with Filmist because it works so well. But there’s something more important than what you edit with! That’s knowing what you want to create with your edit. An actual vision.
Ansel Adams taught this way back with visualization techniques and using Zones in our exposures. Something we studied at length in my Exposed Master Class and in Photo Perfect.
IN the end making the craft of your photography second nature, finding your confidence, even if you know it won’t be perfect. That is what will transform your photography. The tools you use just, are just things to help you get there.
I’ll explain it all in detail in the video. You can also watch it directly on my photography channel here
Enjoy and we’ll see you next time – Gavin Seim
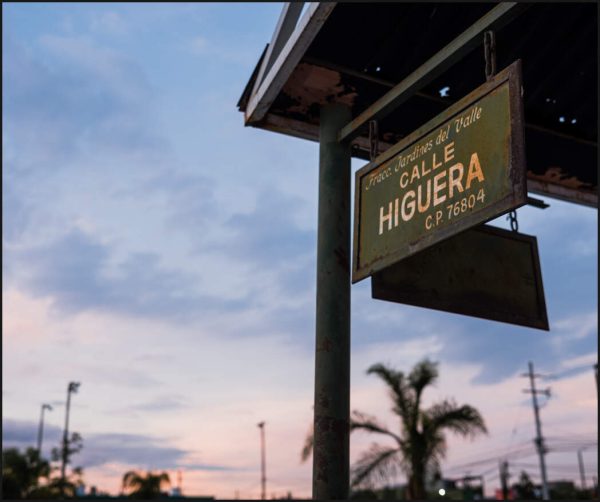
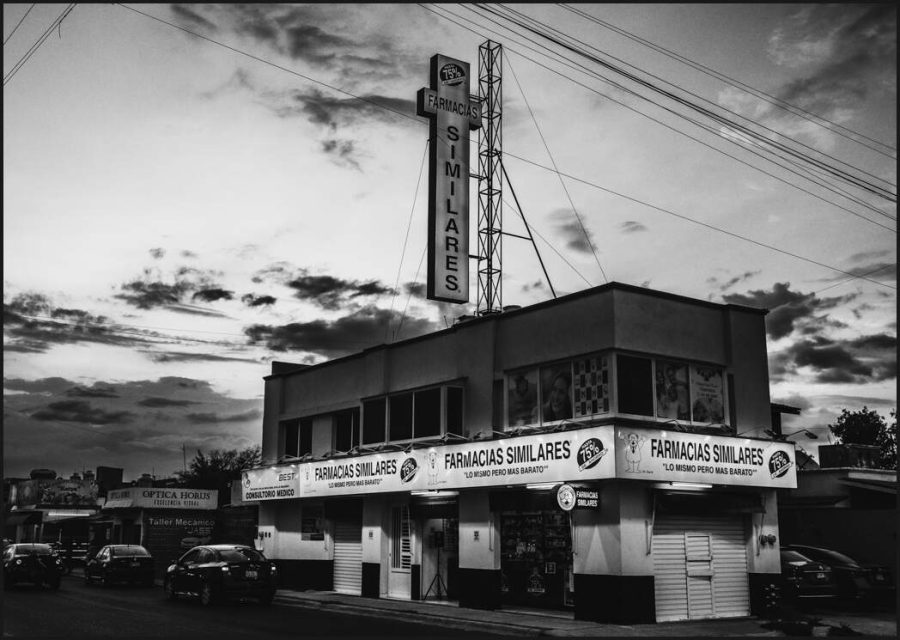
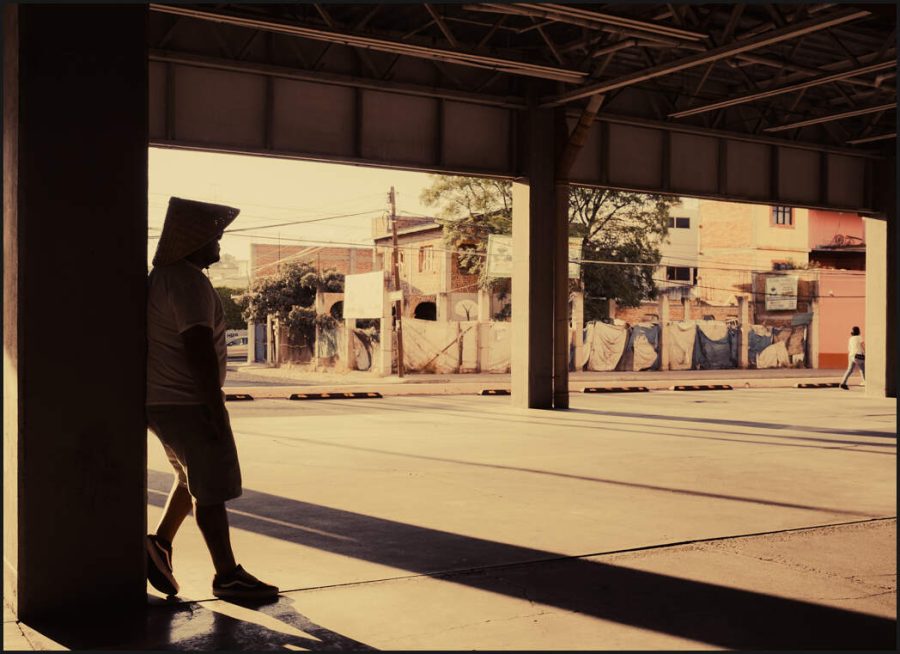
I like capturing things people don’t even think about like the corner drug store because in 20 years everything will change and then simple photos like this will matter. But here it was easy, this was all about shadows and sunset. Using Silver 4 and Blackroom was a no-brainer.The full gold chrome look that I talked about in this blog post. Decide your look hand and commit to it. It will change your perfective on every image you publish.
It took me 20 years to find this because no one taught it until now.
In this primer on shadow hacking I’m going to share was I found. If you follow my work you have seen me shift focus to shadow over light. Not to say ignore light, but that there so much focusing on the light has only caused us to learn half of what makes great photos.
Not signed up for my Shadow-Hackers LIVE class? Sign up it here.
Should you lift or drop shadows? Push or pull exposure. How do we bend the shadow in new ways and why doe sit matter. Today I’ll show you some examples and if you attend my Shadow Hackers hackers class you’ll be ahead of the curve for watching this.
Look for where your shadows are broken and stop photographing light.
I hope this is coming across. I promise that if you start looking to photograph shadow, it’s going to change how you use to light your camera and what kind of results you get. Try this and see for yourself.
Gavin Seim
Things I used to edit with today… My new Elegance Speed Masks… seimeffects.com/elegance Filmist, get my free presets… seimeffects.com/filmist/ Lumist actions… seimeffects.com/lumist BlackRoom actions… seimeffects.com/blackroom Natural HDR4… seimeffects.com/dynamic