Develop your photography style! You can have the best camera, presets, and software. But this will make it happen faster!
You just got home from a night of shooting the streets. Maybe a wedding? You’re dead exhausted!
You dump your card, you’re staring at photos on the screen that seem decidedly less amazing than what you saw on the back of the camera.
Even after 20 years I still feel this way, sometimes. But I have a system to edit simply, and find the style in every shoot!
Your own style starts in the camera, but what then? Users of my tools are often asking what they should use for their style. I’ll answer that. But today’s story goes way deeper.
For over a decade I’ve been hunting to create my style and make it stand out. I’ve stressed about it more than I should and I’ve learned things that you should know.
A style is something developed over a lifetime. Overwhelming right? But less so when you realize that each session or project has its own style and those build up for a refined personal style of your own. You already have building blocks, so let’s go.
1 – The shot matters. The edit also matters…
First, there’s no such thing as a non-edited or “natural photo”. So stop worrying about it. Next, if you shoot JPEG, you’re picking an in-camera preset, and your camera is just deciding for you and throwing away the rest.
Getting it right in the camera like we learned in Exposed is important. Your composition and perspective like we studied in Photo Perfect. But what comes after makes sit all work as one.
I don’t mean fake it. Don’t make a composite landscape from cloud brushes and drop a moon in, then pretend it’s a real scene. The first part of developing a great style is honesty.
I remember making presets and actions back the first version and Lightroom. I eventually expanded into LUTS for video and photo, as well as Capture One presets. Sure I was trying top p[ay the bills. But what I wanted was to make the process of editing faster and while putting the creator in control.
People ask, Gav what software should I get. What about Lightroom VS Capture One (read this for that).
And what format, Raw vs JPEG (watch this video) Should my edits just be from a preset? Should I use masks or should I go to Photoshop and use actions and layers?
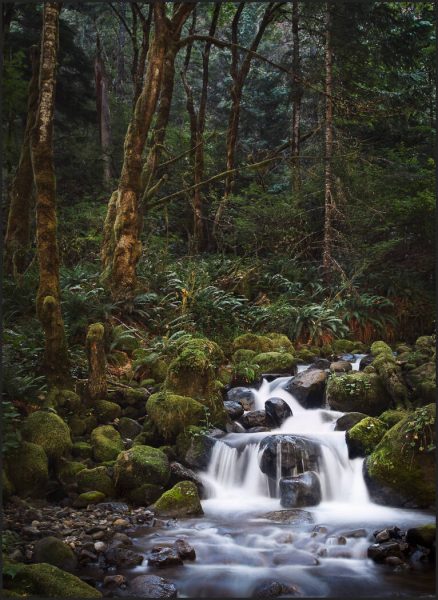
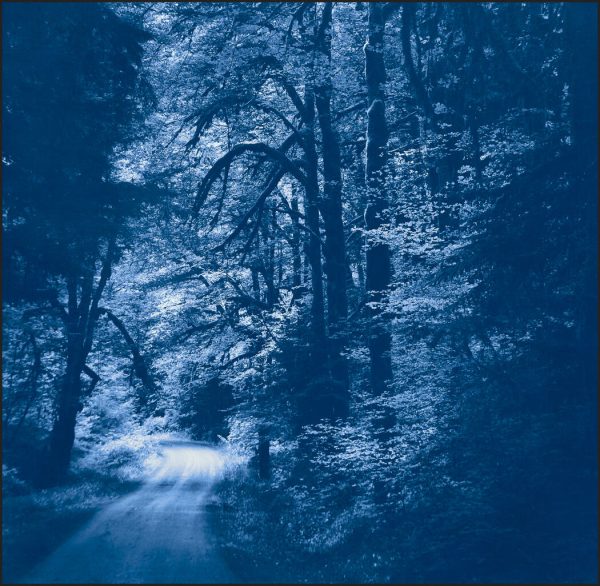
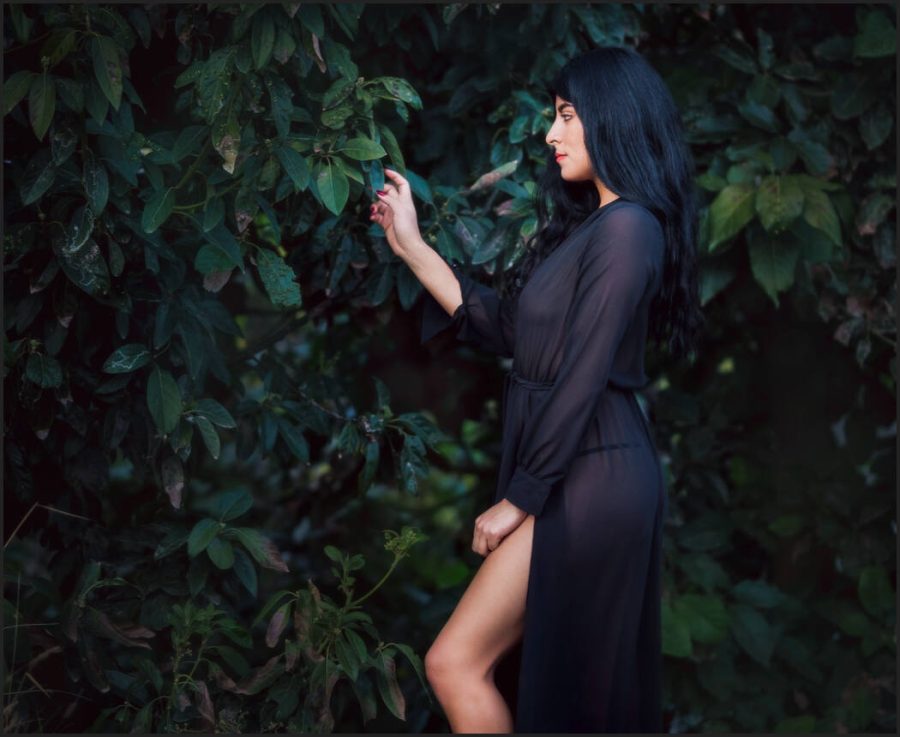
Today I’m going to share editing tips. But this is more about creating a process that will make your styles of photography more defined, more YOU! Also in each photo I’ll share my thoughts about why I did it the way I did!
If you apply this, your process and style will take a leap forward!
Now, Last week I made this video about how to commit and more decisive in your edits (I’ll add it below). Today I’ll give you the formula I use to decide what kind of edit I need.
If you know me from the pro Photo Show days, you know I was always hunting for ways to make the process better. I was the one at midnight staring at a screen with 1500 photos from my latest wedding and saying. Now what I asked? It was often hard to be excited.
What you need is a process to decide what kind of edit you need and what is best for each step. Yes, I will reference my own preset styles and actions of course – But if you have your other favorites you can apply that same formula. Confidence starts to bloom!
Having tools / presets/ creative guides etc is NOT about giving yourself the style of those software creators. It’s about having a tool that’s lets YOU be confident in your work so your own style gets stronger.
2 – The key thing is to make a simple framework.
Having this in your mind as a guide for how you edit doe snot lock you in. It lets you focus on creativity because you will be more confident in your base process. Here’s how I do it…
- My entire group of images from today’s work. Edit in batches and filter to bests photos.
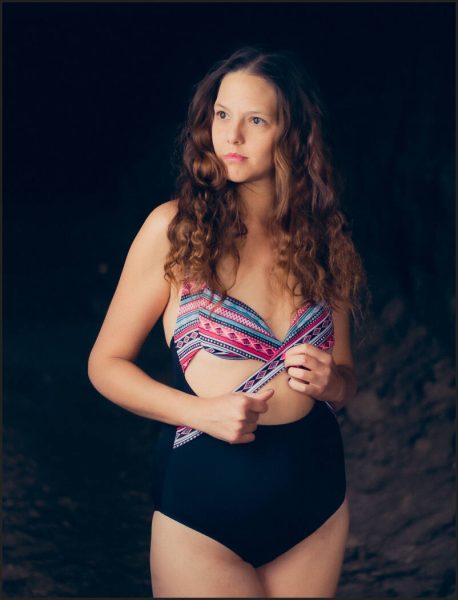
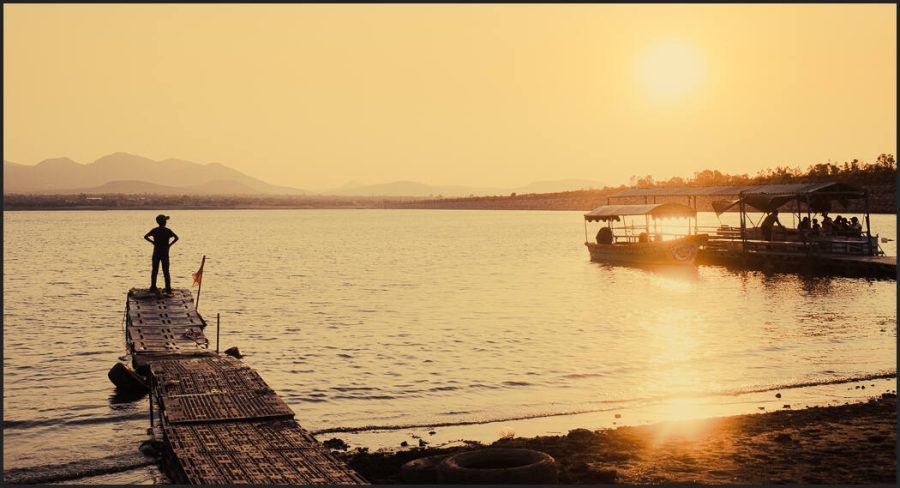
- Subsets . Bride and groom toast set – My client posing in the brick ruins set. – Girl on street playing in a puddle set
- The very best. This is the top 1%. The ones I will print, will go on my page or enter in competition.\
Now, here’s how I handle each phase in this 1,2,3 process.
1: Lots of photos from an entire shoot or project. The entire shoot needs to look good.
First start with a preset or style or whatever your app uses. You will get a faster edit and you see more this way. I add a simple preset for batches. I like a Super batch from PowerFlow or a versatile film look like Fuji 400H preset from FIlmist. Combine with a fast grid edit for exposure and now everything looks consistent. For a video overview of this fast edit process, see my video edit 100 photos in 60 seconds.
2. Separate Best sets from a shoot.
After the basic edit. I take my 5 star photos. Next, because I did step one, everything is edited and ready to show. For example, if I shot a wedding, I can safely show the client these edits and be confident. But now I can confidently take the top 10% or so. In these I’ll get to add more specific looks. I’ll use things like Portra from FIlmist or looks from Belladonna.
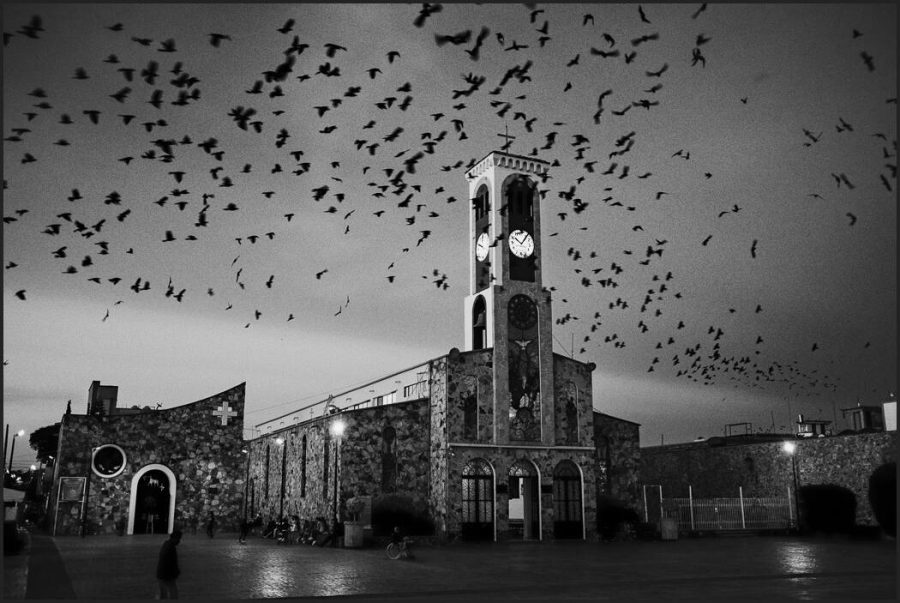
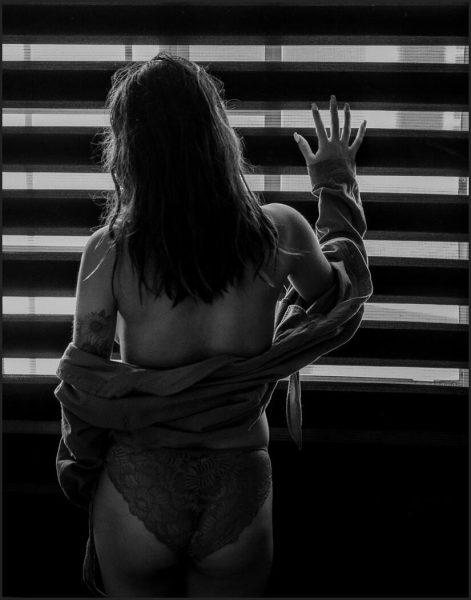
Let’s say I have a poster goup, or 5 from sunset on the street look great in Black and White. I start applying looks from Silver 4. In phase 2 I might edit the sliders manually after the preset, then copy and paste to all the photos in that group. If it’s sunset portraits or landscapes or dynamic night scenes. I will go to Natural HDR to really bring out every ounce of light. I might also find a good Speed Mask from Elegance 4 to enhance the subject or background.
Next I paste everything from my favorite edit in the set. That key here. If I have a group of 5 similarly themed images, I will usually process them the same as constancy shows confidence and prevents distraction. At this stage, my entire session looks amazing.
3. Signature layer edits to finish up.
Next, refine your best photos. Because you were efficient in editing the groups using presets and batch edits, you have time left over. The ones for print, for sharing, for artwork. I usually won’t leave those at only a preset masks and slider sliders. These are the best photos that define our style.
In these best images, I will go beyond. Take my time manually adjusting Lightroom or Capture One/ I micro-adjust sliders and add masks after a Lightroom presets or Styles in C1. I do things specific to THAT best photo. I will then open in Photoshop or another pixel editor. This is where I’ll use Lumist to manage my light in detail. I’ll use Alchemist for the atmosphere or Blackroom and Emulsion 3 for more artisan black and white.
3 – The more confidence you have in your edit, the more your styles will come out in the camera and visa-versa.
Finally. It’s easy to think these fine details don’t matter because we can do so much in Lightroom. But what you can do with actions using layers in 1 minute will surpass any level of editing in Lightroom. And it gives you the same as hours of manual Photoshop layering and refinement.
Also using the right tool for the Right job is gives you results faster and better and equally as important. If gives you consistency. Like I showed in last week’s video, deciding what you want and going for it makes your photos better unlike any other technique.
Without fail the people telling you real photographers don’t need presets, plugins, actions etc are the ones who actually have no style and confidence of their own. Their edits are all ove the place because they have not learned to find the tools that help them work better and carve their own style.
Try new things every time.
Maybe you’re one of those people that makes their own tools and that’s fine, but the main thing is that your tools are ready in your kit every time. If you do use my tools I hope this guide also helped you get an idea of how each can be used to optimize your creativity.
Adobe all. Keep creating! Visualize what you want in the camera and then try and edit for that. If it does not work try something different. That’s the beauty of having a good system of Lightroproom Presets, Capture One Styles, Actions, and ofter software tools in place, You can adapt on the go and the more you try things and the COMMIT to one edit, the better your process will get and the more you will see your own personal style revealed.
Gavin Seim
Hi Gavin,
I have Seim presets but I can't seem to get them to work with the latest version of Lightroom (5.4) and they haven't worked for the past several versions.
I had a tech from Adobe try and get them working for me, to no avail but now in my Users\Roaming\Camera Raw\Settings
…there are folders for Seim 1 Super Tools, Seim 2 Modifiers, Seim 3 etc etc plus there is a file:
"1 {{ SUPER TOOLS }} click to RESET.xmp"
and when I click on that nothing seems to happen, so I don't know how to get any of those old presets going again. Please email me back.
Thanks!
Hey Jay. I assume you mean LR CC 5.4, not the original LR 5.4. They are fully compatible so something else is going on. I suggest deleting them all from inside LIghtroom and re-installing from inside Lightroom as shown in the videos on the seimeffects.com/help page. If this fails send me an email from the help page and we’ll figure it out.
Gav
Hi Gav, I still keep my CS6 running, so I’m not your imminent client… but I like reading your post… and I wish you the best!
Vlad
Ontario, Canada
Thanks. Though all my current actions actually still inlude a CS6 version for you Vlad and they work great.