Make your sky perfect in PS without pasting in fake skies and Alchemist 2.1.

Today’s video comes from research I was doing for the free update to my Alchemist Actions V2.1

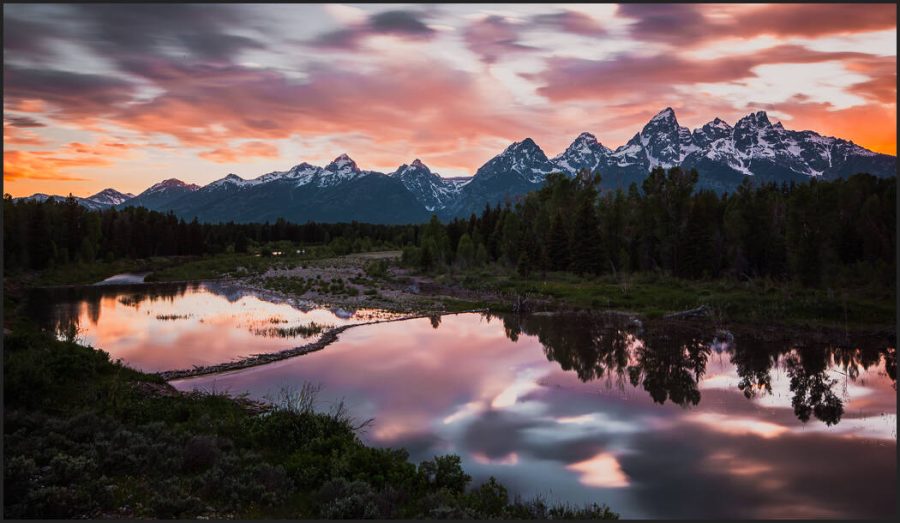
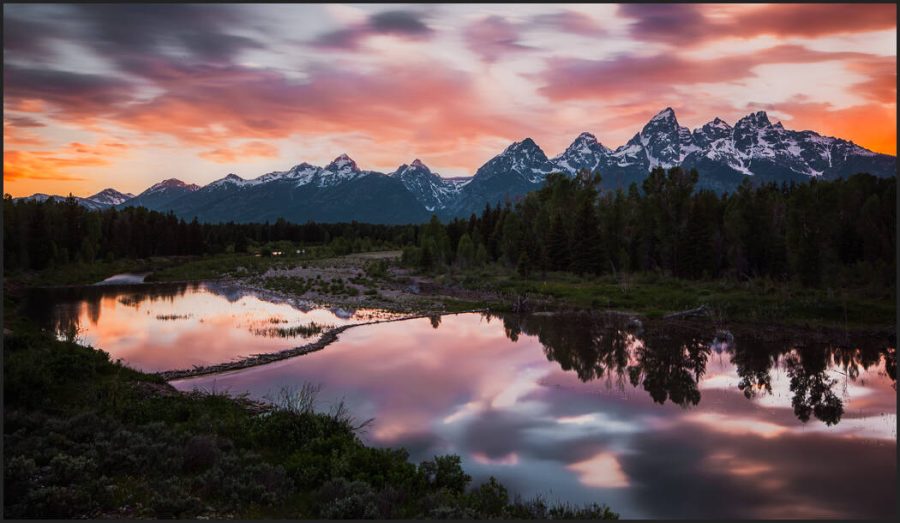
Use the sky selection tool in Photoshop to make your sky perfect.

I’ll show you in the video how to do this manually and also had I took it further and faster in the new actions I made for Alchemist 2.1

Get Alchemist 2 here. If you own V2, 2.1 is a free update. Login and get it here. If you have alchemist 1, you can get and upgrade dicount! Just email me, effects@seimstudios.com

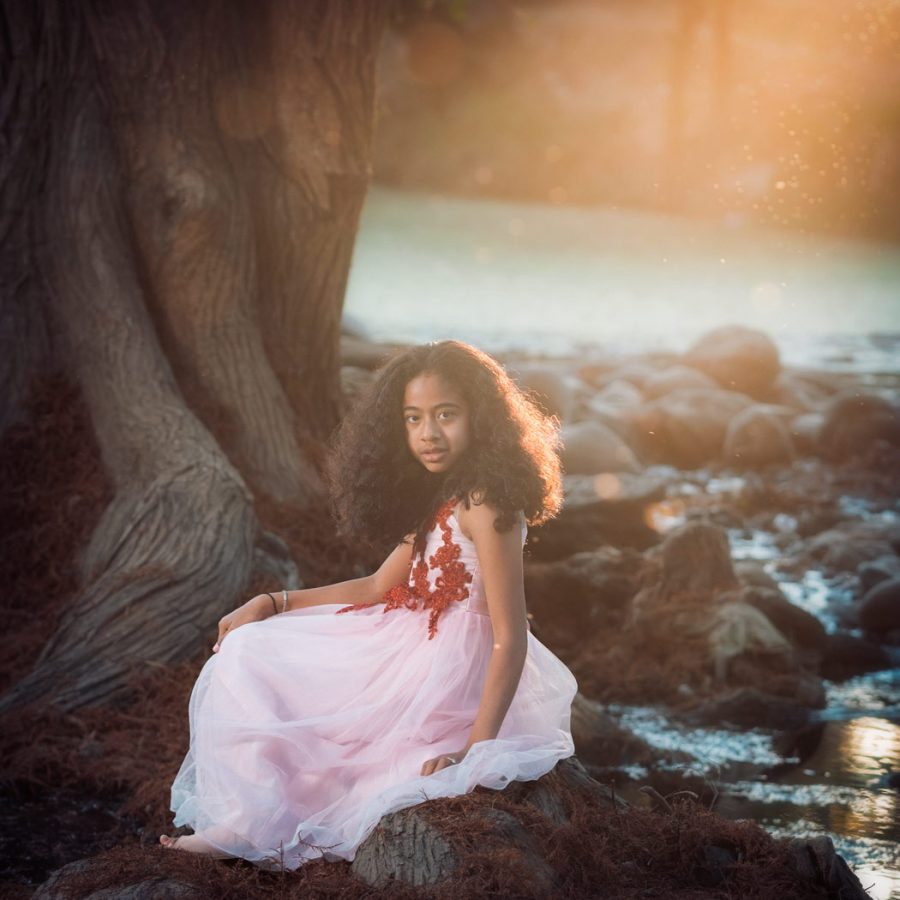
The same concept works on portrait backgrounds.

I’ll show you that in the video also. And there’s a new action for that as well in Alchemist 2.1 CC.

You select the background instead of the sky and you can do this gentle balancing and painting down of tone to make your subject pop beautifully.

I think real skies are better than fake Ai skies.

There’s nothing wrong with doing a composite. But we can no longer pretend it’s a real landscape, place, or sunset once we do. It’s digital art. Which is beautiful.

But when I make a landscape, for example, I love when it can be a real place. I’ll refine it with editing. But I don’t like pasting in stuff that was never there.

In the video, you’ll see how I automate the pixel painting process to enhance these skies and even portraits without pasting in and faking in. It’s still a real scene, I’ve just perfected it.

Details count especially on out best images and that’s why I’m always telling you to get into Photoshop for the finish. using techniques and actions as I did in today’s video will make it barely any work at all.

Gavin Seim

My base Lightroom edit looks good, but I want to improve those hot spots in the sky and make the movement feel more magical.
At a glance the final version is similar. But a lot has improved even down to the reflection on the water and it takes less than 60 seconds if you do this with the action approach.

Related Posts...

New Fuji Pro 160 preset for FIlmist 2 is beautiful. But teaches us something about color.

New Fuji Pro 160 preset for FIlmist 2 is beautiful. But teaches us something about color.

The truth about the Exposure slider and how to use the Alternative to make perfect contrast.

The truth about the Exposure slider and how to use the Alternative to make perfect contrast.

Secrets of film color and the best way to scan 35mm Film in 2024

Secrets of film color and the best way to scan 35mm Film in 2024

Inspire your photography using modern pictorialism instead of high-tech!

Inspire your photography using modern pictorialism instead of high-tech!

Tell me your thoughts....

Leave a Reply


Your email address will not be published. Required fields are marked

{"email":"Email address invalid","url":"Website address invalid","required":"Required field missing"}

About the Author

Glad you're here.

I'm from WA State USA and started studying photography in 97. I started work as a pro (using that word loosely because I sucked) using film at age 16. I learned fast but was not as easy to find training then. Sometimes I beat my head against the wall until I figured stuff out.

As digital dawned I went all in and got to study with masters like Ken Whitmire. In 09 I founded the Pro Photo Show podcast. I started promoting tone-focused editing. When Lightroom arrived, I started developing tools to make editing and workflow better.

20 years of study and photography around the country earned me a Master of Photography (M.Photog) from PPA. I got to see my workshops and tools featured in publications across the industry. Once I even won the prestigious HotOne award for my "EXposed" light and tone workshop.

Wanting something calmer, I moved to Mexico in 2017. It's a land of magical light. I'm here now exploring light and trying to master my weak areas. I make videos of that for my Youtube channel, sharing what I learn. I hope you'll stick around and be part of Light Hunters Tribe... Gavin

Gavin Seim

>