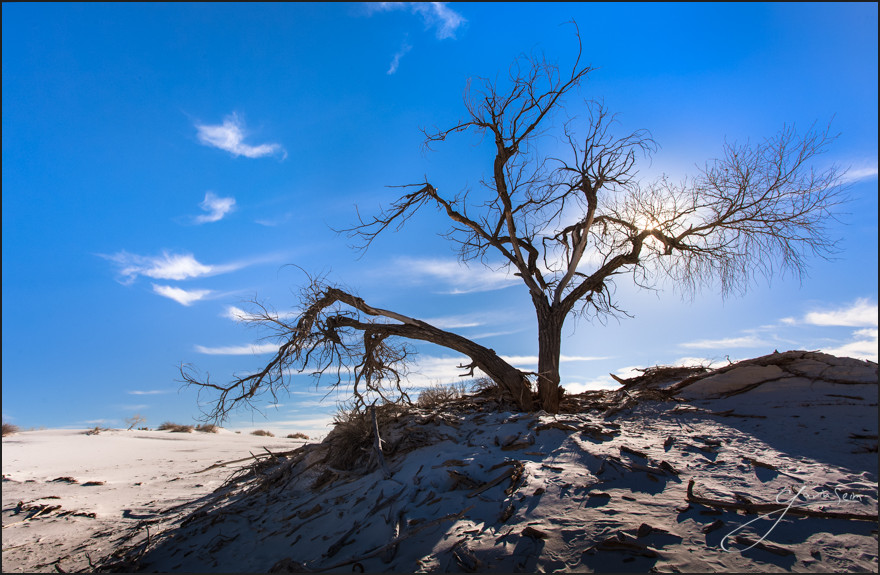
Out here in white sands there’s not much for water or trees. So when you stand this tall, alone in the white, snow-like drifts of sand, you get to look down on the landscape. King of the shrubs, thistles and tiny creatures. Usurpers fallen at your feet.
The sun comes up each day throwing pastel beauty across this landscape, soon followed by harsh glaring light and waterless heat. But if you can stay standing, you might just become King of the Thistles.
Release details: Prints Available.. Order Open Edition originals above.. Master prints and Signature Limited Editions are listed below and can be ordered by contacting gallery.
Available Prints….
- 53 inch Master Original on Canvas – Limited edition of, 1 (contact the gallery)
- 44 inch Signature Canvas – Limited Edition of, 50 (contact the gallery)
- 42 inch Signature Metal – Limited Edition of, 50 (contact the gallery)
- 24 inch open edition mounted print (order above)
For Photographers. How it was made…
Technical Notes: Canon MK2, 17-40 4.0, 17mm @ f11, 1/250 and 1/640, ISO160, Induro Tripod
Processing: Lightroom 4, Photoshop, Seim Effects tools.
This was an dynamic range blend. Not a tonemap, I did not need to go that far. As I teach in my HDR classes, managing dynamic range is about using what you need and not more. Recovering all your shadow into midtones destroys the image in most cases. I have learned over the years that subtlety and planning make better images. I needed a wide dynamic range in this scene, but not too wide.
I took a lighter and darker image. In truth if you expose well using Zones, today’s cameras will nearly always capture full dynamic range. But there are some exceptions. Looking into the sun for example. That’s always a nice challenge. I love it when I can make it work and usually it’s in cases when the sun is partially blocked like it is here. Don’t underestimate position. Use a tripod.
I spent minutes here moving slightly left and right until the sunlight came through in just the right quantity. Then I planned the exposure to offer the needed range and avoid clipping. Two exposures was all it needed.
In post I carefully blended the light and dark layers in PS and simply brushed them in or out using masks to bring our the range as needed. This is something we cover in HDR Magic as well as my live workshops. The key is to make sure everything is lined up and use soft brushes.
Some color tweaks in LR kept things balanced. I did not saturate much. The sky was very blue and I did not need to push it. I cropped a little, something I should have nailed in camera. But sometimes perceived level and horizon level are deceiving in the field and alas, I do not perfectly crop in camera every time. But I am satisfied. It’s sharp and will make a fine print.
Gav


