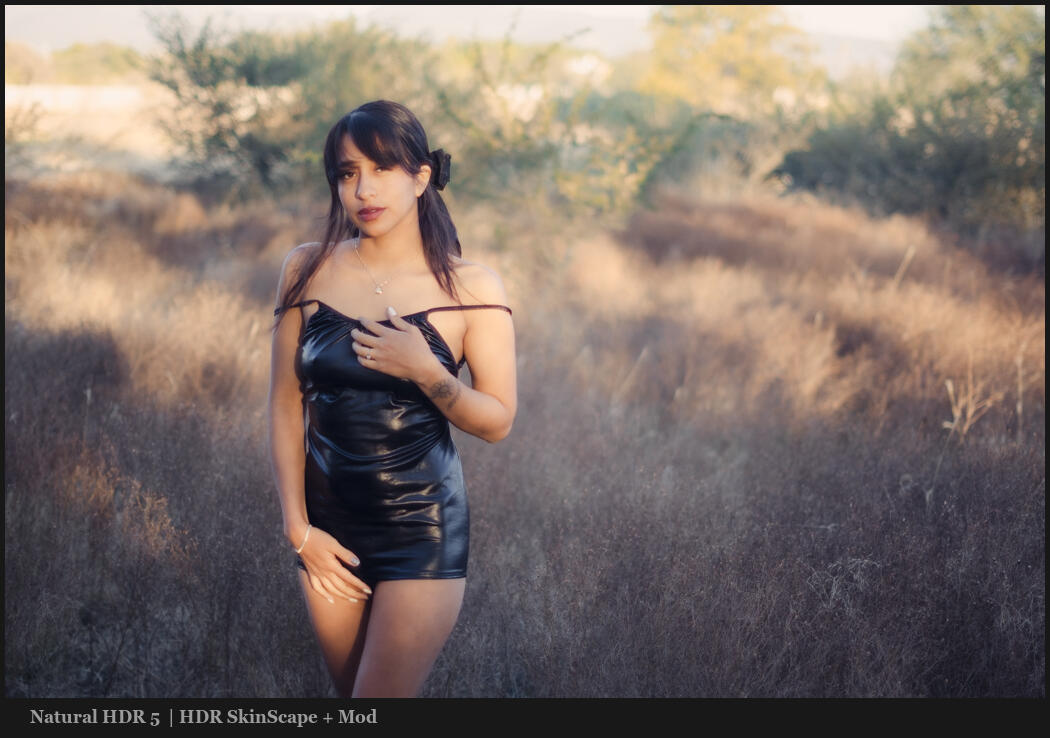
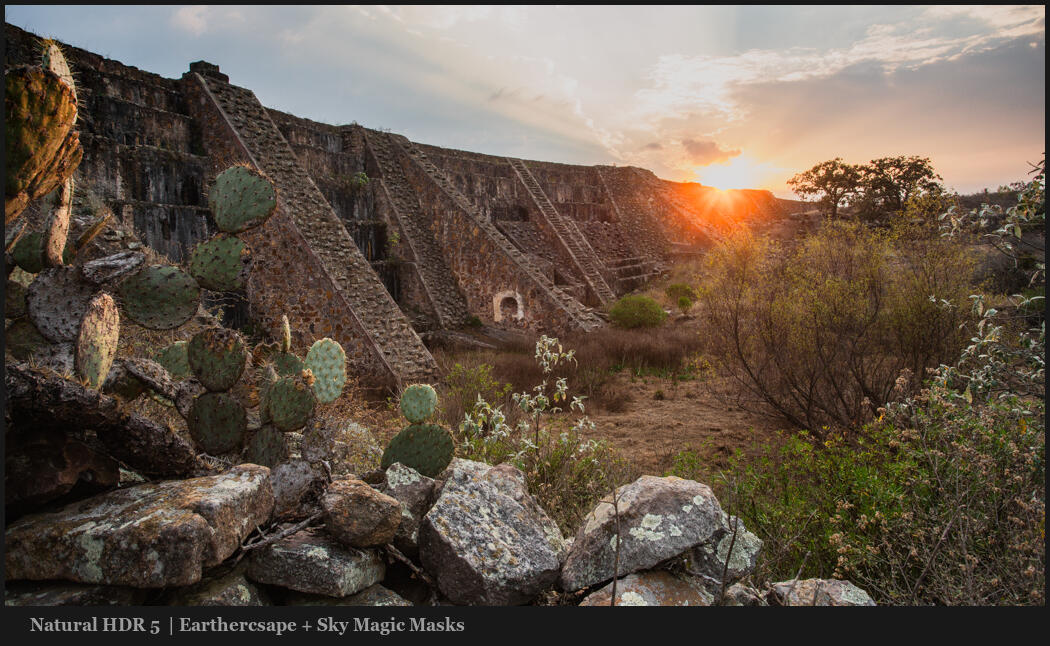
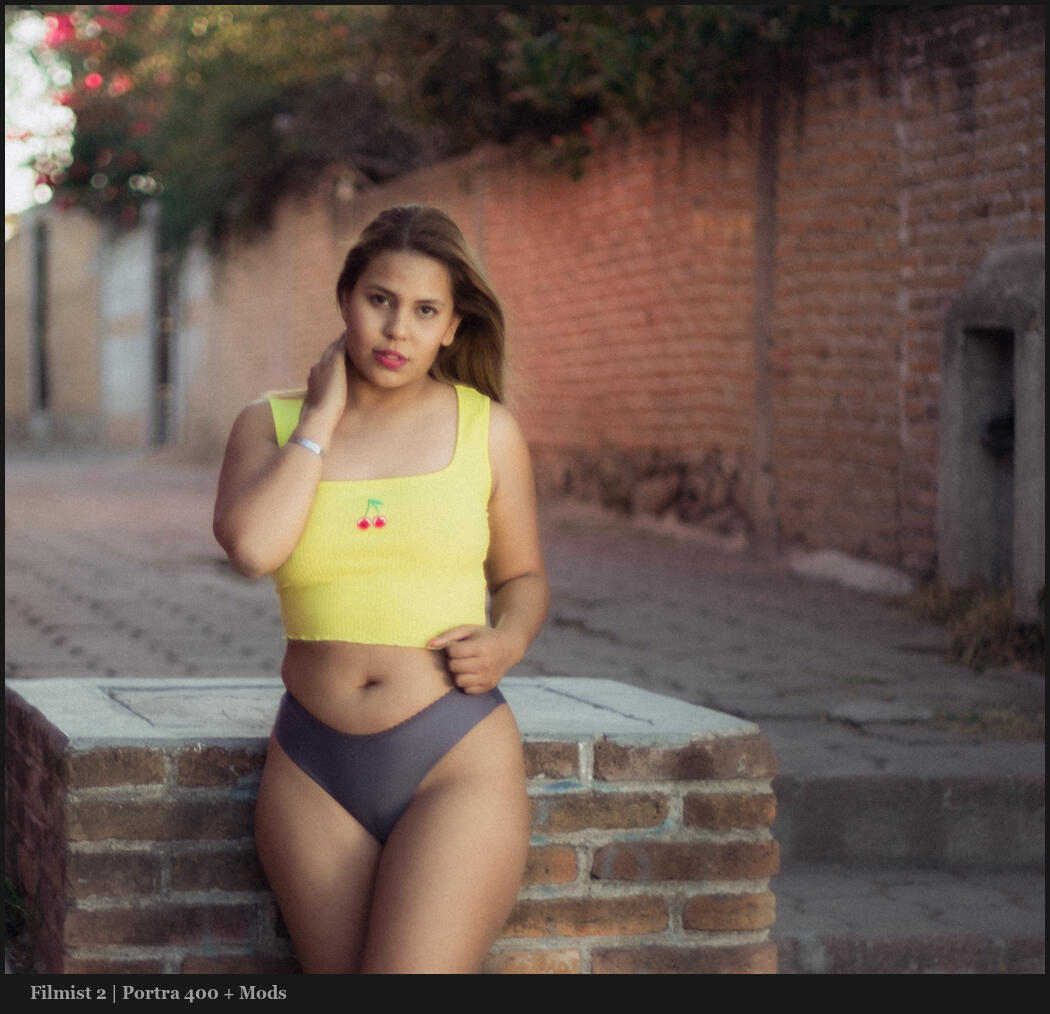
Mod presets are in all my packs and Mod-Kit is included in many like Silver, PowerFlow, and the new Natural HDR 5. Using a common mod pack saves time and this video shows you how.
Mods… Small stackable presets to add to your master recipe.
The concept is simple. You can use the mods included in my presets or make your own. I’ll show you in today’s video not only how to use Mod-Kit 2 but also how to make mods.
You’ll find packs like Filmist with ChemKit mods and other packs like Silver 5 that have basic mods and also include a mods kit. You can download sampler packs of them for free.
Start with a global preset recipe then add mods.
With this method with presets, you usually can have any image dialed in in a few seconds. Then when I’m in workflow mode I’ll just copy those settings to all similar images from that set and move on to the next.

Speed Mask mod presets masks usually go last…
These are still mod presets but they only affect masking and I do this the same way in Lightroom and now Capture One Spee mask styles.
In my mod packs, there are always basic Ai mask presets like for a portrait lets say. But I also have a complete pack of these called Elegance Speed Masks. Skies, people, things. All in automated mod masks.
As I mentioned in the video I’ll usually use Ai masking mod presets after I’ve done everything else and paste those settings to similar groups if images. This is because Ai masks can really slow things down.

Choosing and stacking mods…
Years ago I started doing mods because people always wanted to stack presets. But this is not Photoshop and when you add a global preset it overrides the settings of the previous one.
Mods solve this. You simply start with a global master preset to get your loo. Then stack as many mods as you want on top of that.
Don’t overthink this. You want a darker, more contrast, softer glow. There’s a mod for that in Mod-Kit 2 and you can mix those with the pack-specific mods or those you create yourself.
There are no real rules when you use Mod-Kit or any other mod presets. If it’s a mod preset it only affects a few settings and you can mix and match on top of your main recipe.
Go have some fun… Gavin Seim

