Selenium toning was an important part of the darkroom that nearly every photographer had used. It also translates well to digital and that’s what I’ll show you today. It’s great because it’s easy to make understated. So I created it as part of Emulsion 4, next to Platinum, Wet, and Cyanotype.
Even if you don’t use my Emulsion actions you can recreate this yourself using tone layers. First let’s talk about you should discover this magical chemical. I’ll add a bonus Emulsion 4 video at the bottom of this post to show more about how I’m doing these advanced tones that shift with tone value as they did in the darkroom.
The magical Selenium chemical on digital…
For topdays examples I used Emulsion 4 actions. You can get Emulsion 4 actions here. This look also works well with the borders and textures of Naked Darkroom.
Selenium was one of the most popular chemical baths for a darkroom. But it’s little known to the digital world.
Unlike early-era processes, such as Collodion Wet Plate or Platinum. Darkroom Selenium toning is a little more subtle. Of course, you can push it harder. But in a low state, it tends to make black-and-white photos seem more black-and-white with a natural coolness that feels less like an effect and like like a perfect print.
When to use Selenium on digital
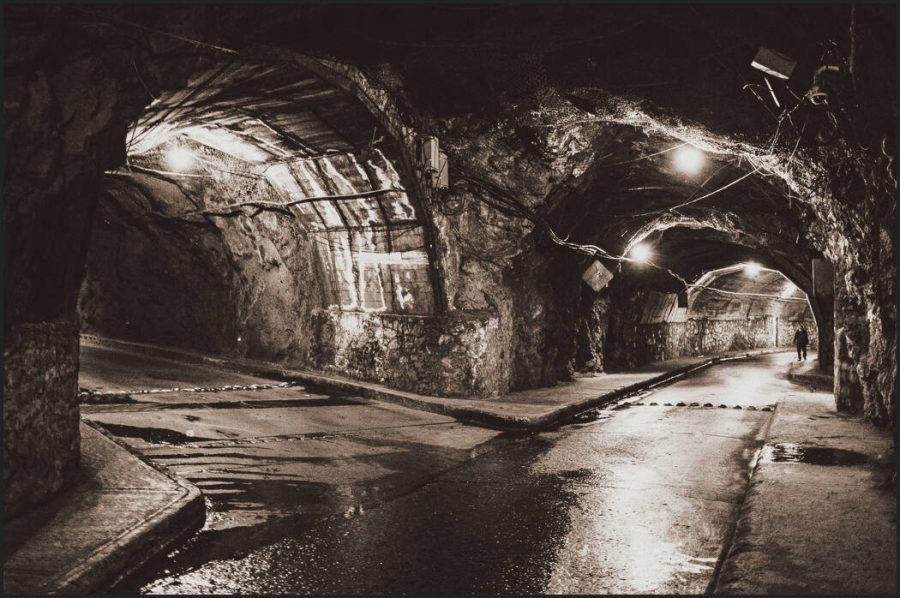
In Selenium Toning you bathe a black and white print in a Selenium bath after the main print is made to balance color casts and make it richer. A chemical print often has a slight cast depending on how it’s processed. That’s often balanced out with Selenium.
Yes, we can use true neutral monochrome prints on digital prints. But adding light selenium can actually make your digital prints feel more like a darkroom print because it’s such a classic look from the darkroom.
Make your own selenium look.
My Emulsion actions make an easy-to-mix layer stack that makes it easy, But you can make your own too. Study what color tones you want to use like I did in my actions and use a tone-limited layer or a gradient map so you are getting a gradual application of color tints that changes acres your tonal range like it did in the darkroom.
Bear in mind that the color grading tools of a raw processor like Lightroom can get this general look. I included a Selenium tone for example in my Silver 5 presets. But what I’m showing you here with layers in Photoshop gives a more refined and rich result.
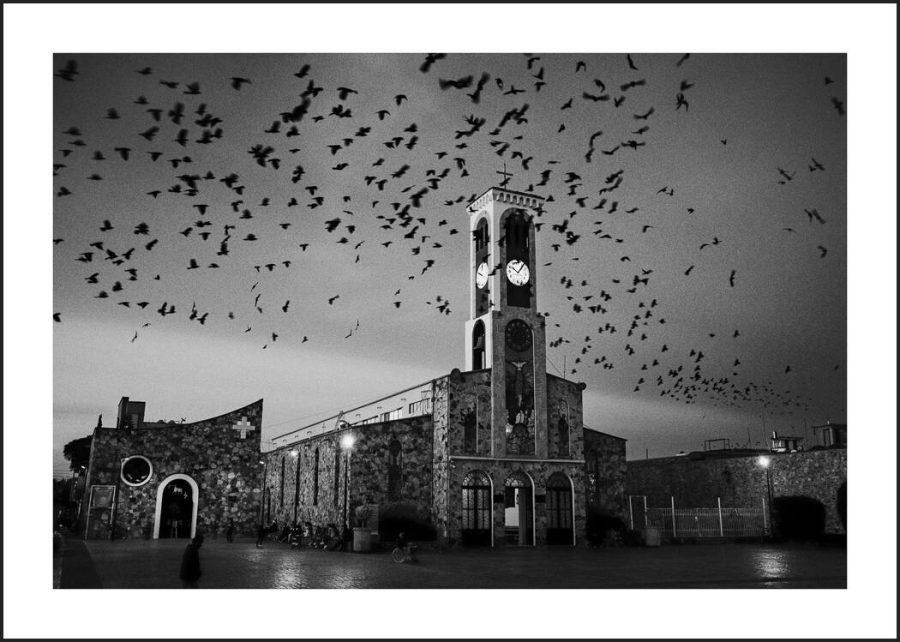
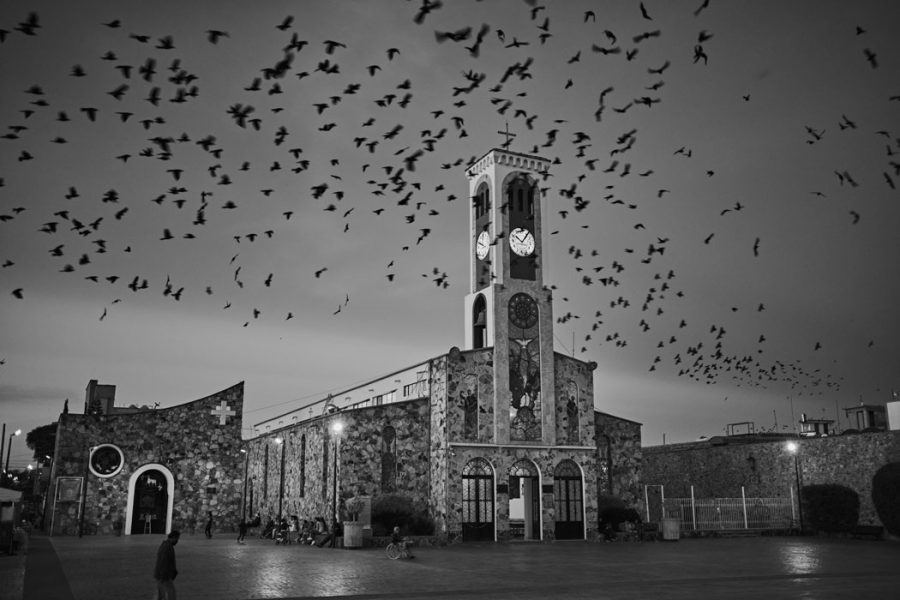
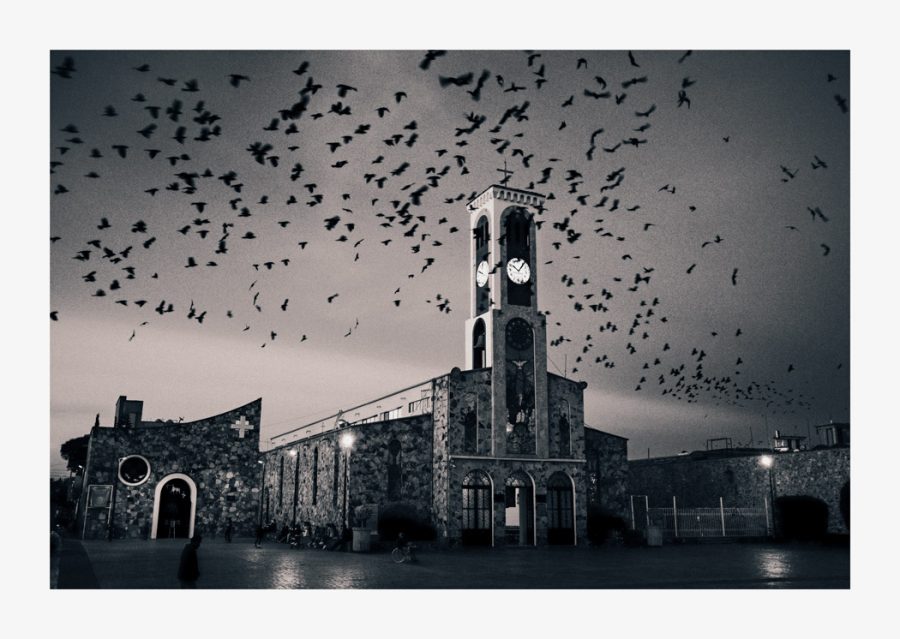
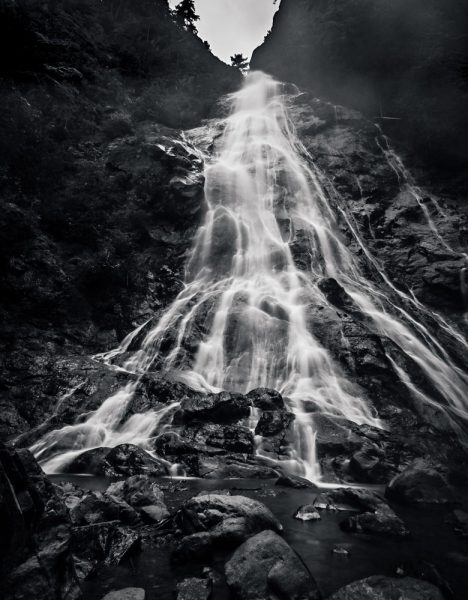
I’ll show you various examples here of harder and softer applications of selenium toning on digital files. Don’t be afraid to add your tones AFTER you add the border, as I did above in the bird’s photo. Since we print on pure white paper most of the time, this can add a more authentic, classic feel to the final image as in the darkroom bath the entire paper is involved.
These photos can be silent or bold depending on you!
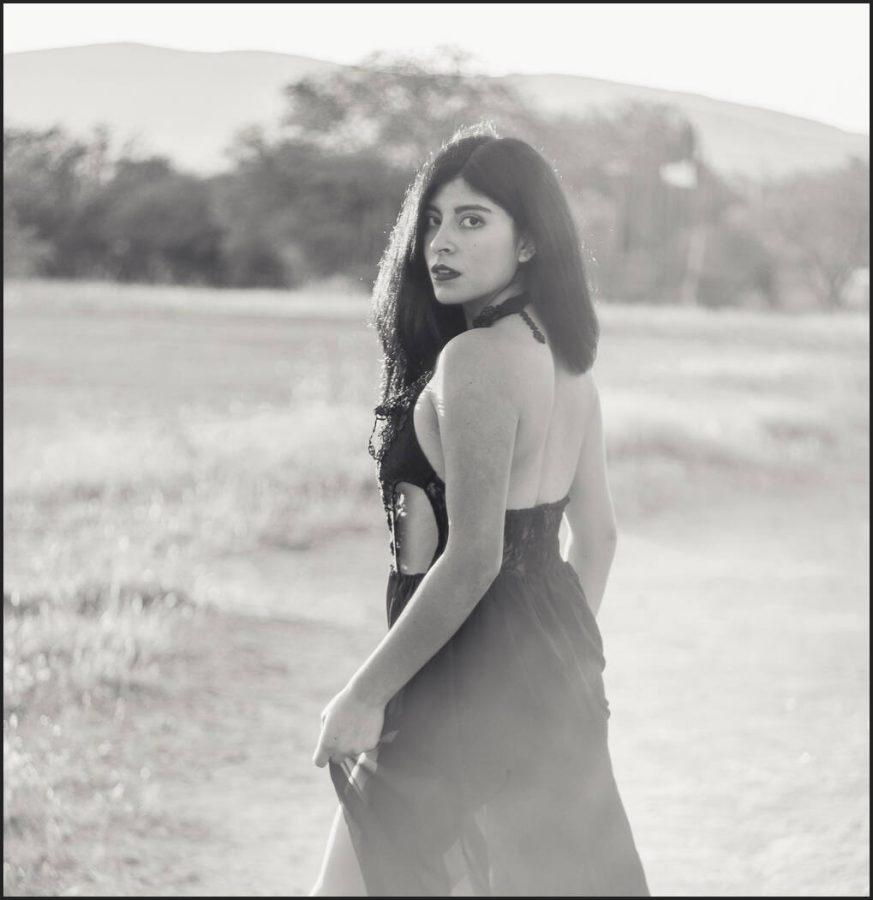
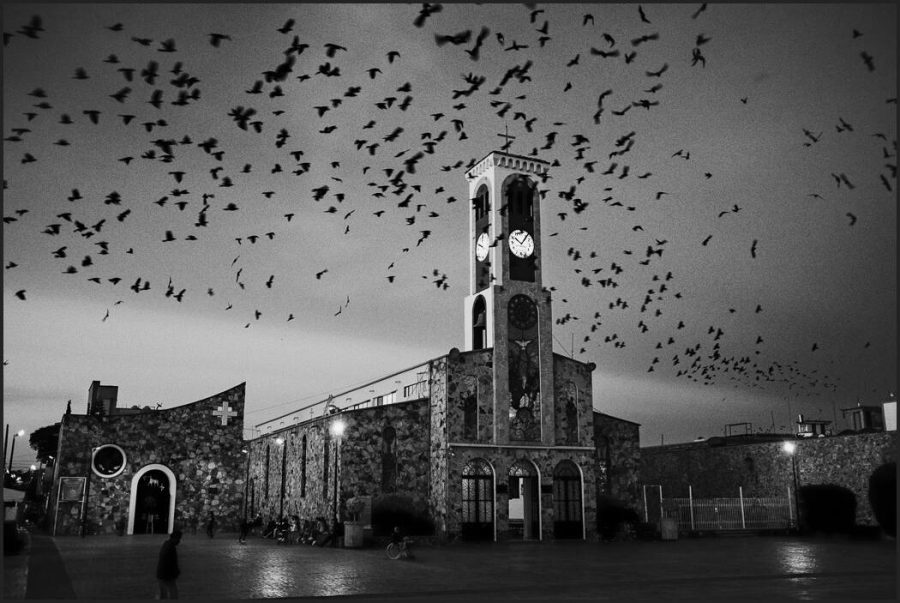
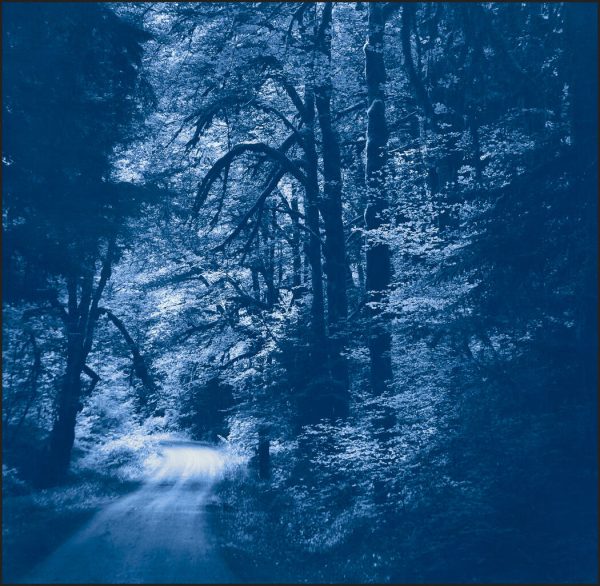
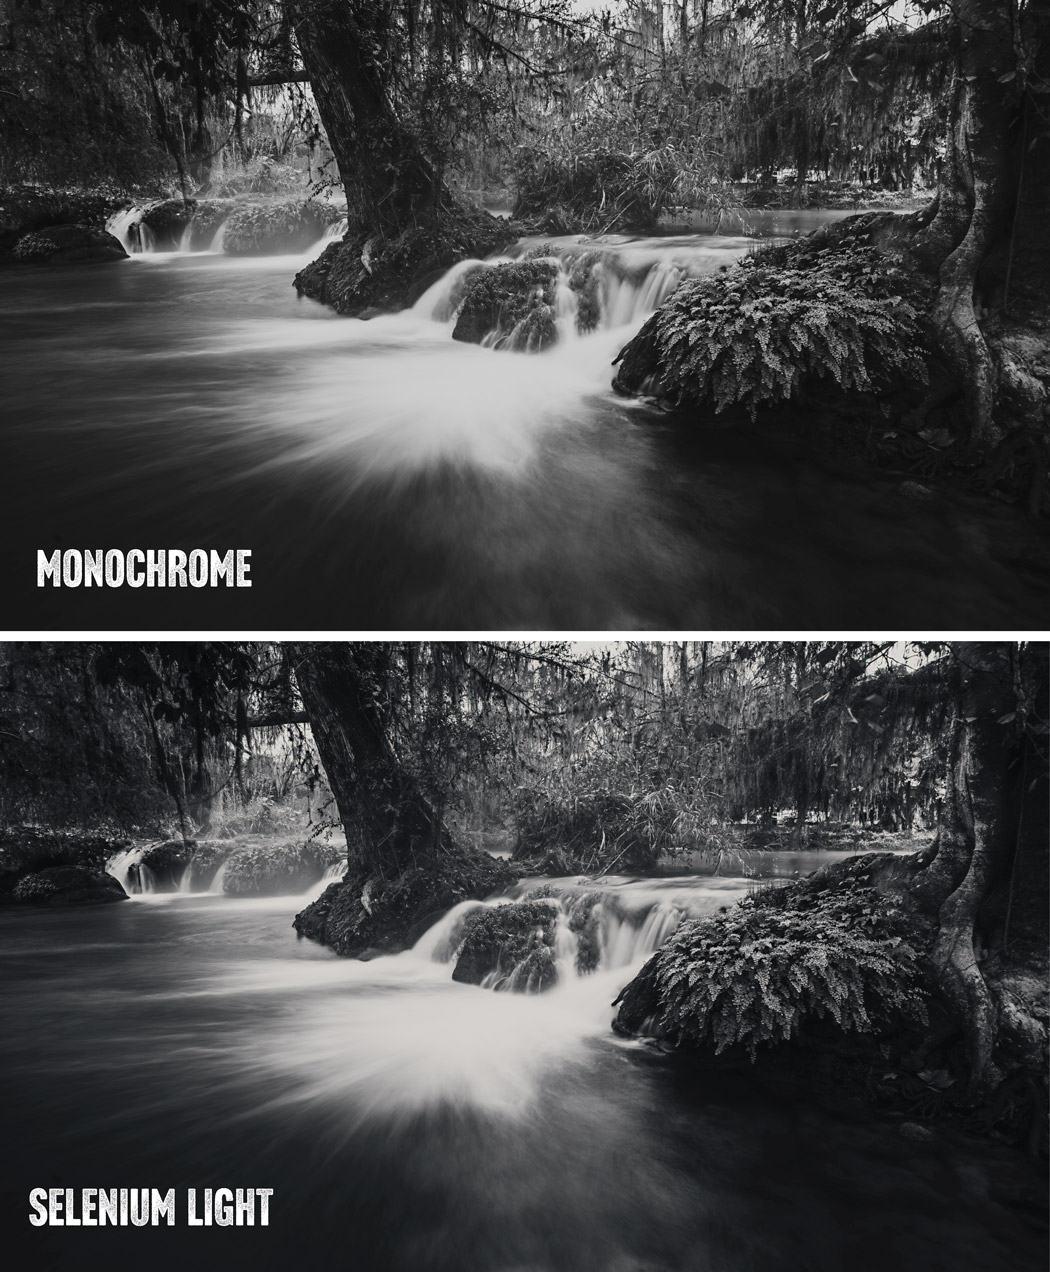
What’s cool is that the tone from it can be so light that it may not even be seen as a color effect, like in the photo below. You know it’s there only because it’s side by side. Selenium can be used as a color effect, or as a simple final process like this that still feels like a monochrome process.
Cooler, warmer, neutral. It’s all there with Selenium.

It can make your black and white feel more real.
Some darkroom photographers use Selenium on every print as aside from its toning benefits it gives longevity to the print when used in the darkroom. It’s common in the darkroom, so when you see a Selenium black and white print, it might feel more like a real black and white because for many years it’s been a staple in the finishing process.
At a glance, the bath in Emulsion 4 may just seem like a light blue tone. In reality, it goes much deeper. That’s why I thought it deserved its own post here. I wanted to show why the Selenium bath is so useful to improve your black-and-white photography.
How I do Selenium tone edits with Emulsion like I show in the video.
The ability to print a true monochrome from a digital file is great. It can also be a little sterile. So when I had users of my products asking about Selenium Toning in Emulsion, I did my research to get it right for Version 4. It’s a process that changes based on the type of bath, and the ratio, and that has options often used in the darkroom like mixing the Selenium with other chemicals to get different hues and looks.
Selenium affects the shadows first and less in the highlights but these things can vary depending on how you process the print. So in Emulsion 4, I tried to stay true to that. The ability to quickly alter settings of the Selenium digital effect allows us to replicate that look and adjust it as low or high as we need using the master tinting tool in Emulsion 4 actions.

Selenium toning can also be a tinting effect in its own right.
Selenium is also popular in adding contrast. In EMuslion 4 actions you can even add a tone thinner which adds contrast and pushed highlights more as we get in a darkroom.
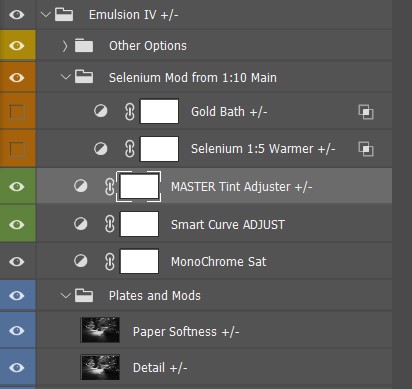
Using the tone tool can quickly adjust the layers to like in other effects make the Selenium process lighter or heavier, emulating darkroom mixes and times. Paper softness lets me emulate a more matte vs contrasty process to infer an older paper.
I can also run the texture action to get paper-type looks. Of course, I can disable these for a more neutral print and retain a pure tone if I want to use a specific digital pepper for a certain look.
At times Selenium effects can be almost imperceptible, only used for the smallest tone or to add contrast while maintaining a pure black-and-white feel. Like in the darkroom, you can push in up or down using the options and mods in Emilsuon 3 and quickly get anything from a tiny adjustment to a bold Selenium that’s bluer or even mixed with other hues that replicate for example a stronger ratio or even gold mixed with the print during the process.
Don’t skip the toning that most people don’t even know is there.
As always the goal of Emulsion 4 actions is not to forget about the rich darkroom processes but to learn from them in how we create digital prints and images and honor the legacy that we have from the darkroom.
I hope you enjoy the new Selenium process and please let me know if you think it’s lacking in any way. Like all the looks in Emulsion from Platinum to Wet plate, I am always improving the tool. There’s a good article on Darkroom selenium tone prints and some of their variations here.
However you apply selenium whether it’s the slightest touch or a heavier warm tone, I think you’ll find this addiction to be not only authentic but very versatile for our black-and-white photography.
Keep making stuff and here’s another video of how I use Emulsion 4 to get various platinum and darkroom chemical looks. You can get my Emulsion pack here for Photoshop.
Gavin Seim