I was the only one there at sunrise and it was beautiful, but not what I had hoped for. Great Fountain steamed calmly away as the sun rose, but no great fingers of water reached skyward. This was not going to be so easy.
Great Fountain is not on a schedule like Old Faithful. It generally blows about once a day and while it can be roughly predicted, it seems to be no exact science. I took a few images of the pool and then begin to wander nearby areas, hoping to catch it later. Around noon I came back to find crowds gathering and cars lining the sides of the narrow loop road. It seemed everyone was here now. But only I had the satisfaction of having been there with the sunrise.
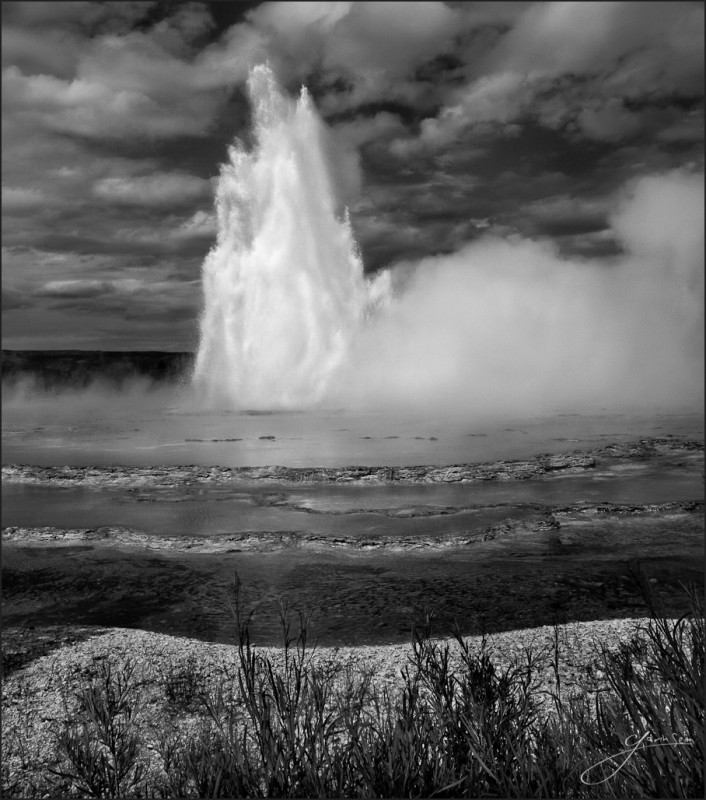
I grabbed my gear and hustled along the line of cars, to where a surprisingly large gathering was taking place. Fortunately most everyone wanted the high vantage points. I just wanted this lowly spot down in the weeds off the roadside. About ten minutes later, she blew. Slow and spurting at first, but then spectacular.
Bright sun is generally not the most ideal light however and my mind was racing like fanatic and I varied the setups I had been envisioning, working with filters and tweaking settings in an attempt to make something memorable of of this scene. The truth is that the resulting sequence from these moments were on my computer until months after I returned home. They sat patiently on my hard drive, waiting for me to become inspired. I saw them now and then, but secretly I was remembering the peaceful sunrise and wishing it had happened then.
In time I sifted through them more closely, thinking in terms on tone, analyzing details and thinking about the process. The light was actually pretty amazing. And there was one frame that stood out above the rest and it was higher and more spectacular than any others from this majestic water show. Once I started working it, I knew I had only needed one frame and this was it. I hope you enjoy… Gavin
Release details: Prints Available.. Order Open Edition originals above.. Master prints and Signature Limited Editions are listed below and can be ordered by contacting gallery.
Released prints….
- 37 inch Signature Canvas – Limited Edition of, 40 (contact the gallery)
- 30 inch Signature Art print – Limited Edition of, 75 (contact the gallery)
- 24 inch open edition mounted print (order above)
For Photographers. How it Was Made…
Canon 5D MKII, 17-40mm L, 25mm, 1/1000, f16, ISO200.
As on most images, the capture was just the beginning. As is common with my pieces, I did a lot of work on this.
I’ve actually been using this image in workshops lately because it taught me a lot. The first step was a good silver process in Lightroom. I started with Silver Shadows presets of course, but tweaked as needed. Then I went into Photoshop for a very delicate burn and dodge session. The BD was key here, working highlights and shadows in various tonal ranges to bring out the depth and dimension of the geyser.
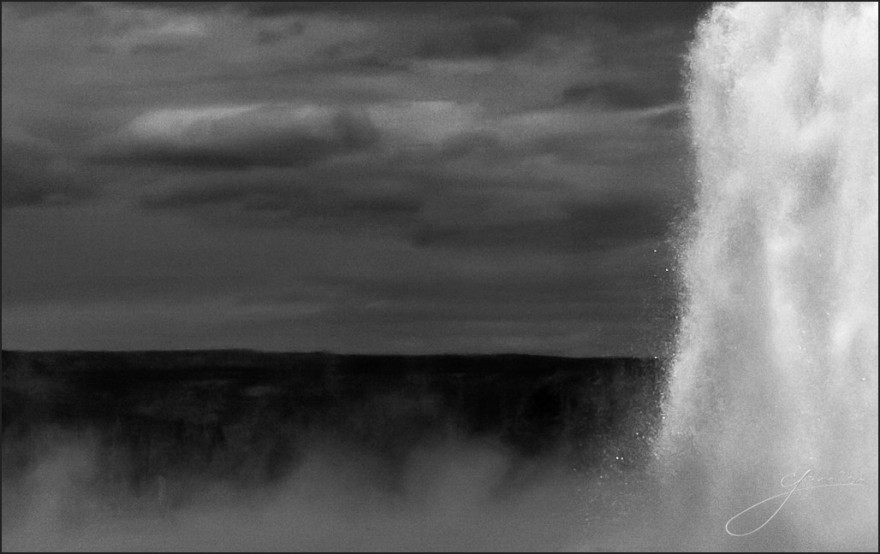
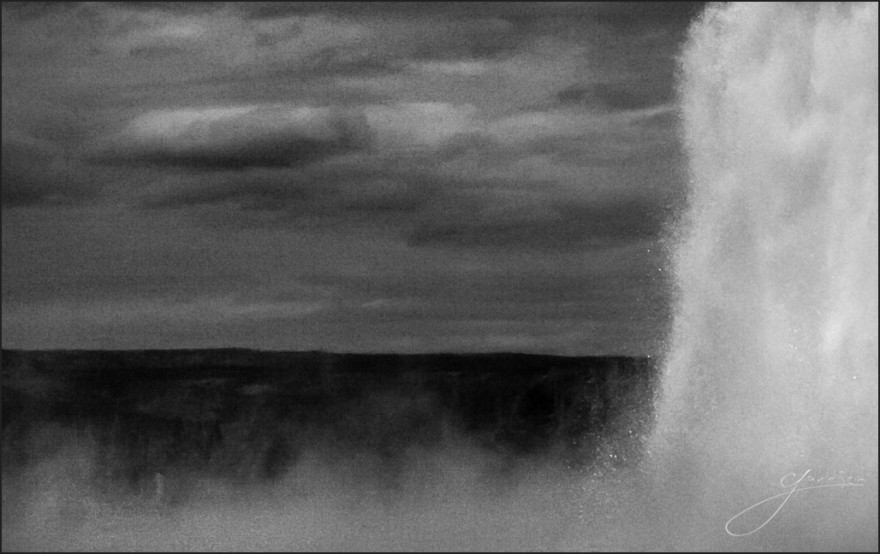
Next I made a 36 inch test print. Waiting for it to come off, then laying it on the table for a look. What I saw there taught me something about detail. Things we see on the screen are magnified on the print, even when viewed at the same size on the screen. The noise and artifacts in the print were just too much. I struggled with how to handle it, but after analyzing the file again I decided I had to go back to earlier steps and start again.
Returning to the original RAW, I re-processed, using care not to over use my channels. If I needed an area darker I could come in with BD tools later. I worked in LR, sparing no effort to get the best detail I could. Next I went back to PS and did the burn and dodge process over again. This time I also used a painting technique. Sort of a clone, but done using only the airbrush to softly retouch the broader surfaces. This is done my matching color and painting over and area very lightly to reduce artifacts. It’s something will be going over in my cloning workshop. See EX1.
A time lapse video would better illustrate all I did here, but I have none. The examples below may give you a little further insight into this process. In the end it was all about the details. A quick process would of resulted in a quickly made image that was lacking in quality. This needed careful work and it paid off, with an image I’m proud to hang and that merited at PPA Nationals… Gav
[EXPAND See detail examples. Click to expand.]


[/EXPAND]


It echos my own experience, except I don’t have your technique …. looking forward to learning from you.
Thank you for sharing your process. Shows a great love of photography and sharing that joy with others. Also shows that you are confident in your skill. Kudos.