Those of you that follow my work know that I love working with 4×5 large format film. I still use digital, but 4×5 scans blow it away in terms of detail for my wall prints. More about why I love film in this article.
Today, I made a “quick video” looking at how I prepare images for wet scanning using my Epson V700. The V700 is not sold as a wet scanner. Epson wants you to buy the V750 for that. But the truth is the scanners are the same in nearly every area other than the wet attachments. To top it off, the wet scan upgrade from BetterScanning is said to be better than the stock one that comes with the V750.
Why Wet? Think about your car when you’ve just washed it – When it’s wet the scratches are less visible and everything looks pretty and shiny. Wet scanning has a similar effect. The film is suspended in liquid, which helps reduces small dust and scratches. Furthermore it gives me optical clarity that is not impeded by the surface of the dry film. That produces a better contrast and more detail – There’s an interesting discussion on this topic here.
My process works well and the resulting images go into Lightroom and Photoshop for final details. I have had drum scans done and plan to use them, in time, for VERY large prints in the 100 inch plus range. In my experience a good drum scan (which can easily cost over $100) is better than my Epson wet scans but probably by only 10-15%, so unless I am making a giant print it’s not an issue, even for a quality fanatic like me.
Other Tools: I use Silver Fast scanning software instead of the default Epson software most of the time. In general I find it’s very powerful. Silver Fast support is a bit lacking, but it’s a bit like a Photoshop for scanning and gives lots of control. That said you can get great wet scans with the default software. I use Kami fluid to mount with. It works well and goes a long way. Here’s the rubber roller and I like Purosol and Kimwipes for keeping all my glass clean. I use Duralar sheets to sandwich the negative between fluid and glass. A DataVac is good for serious air and these awesome craft tweezers make picking up the film a snap.
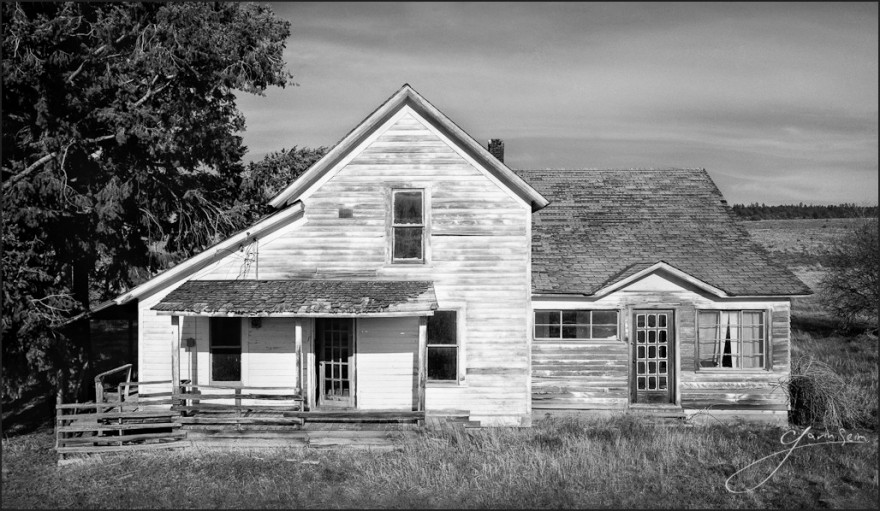
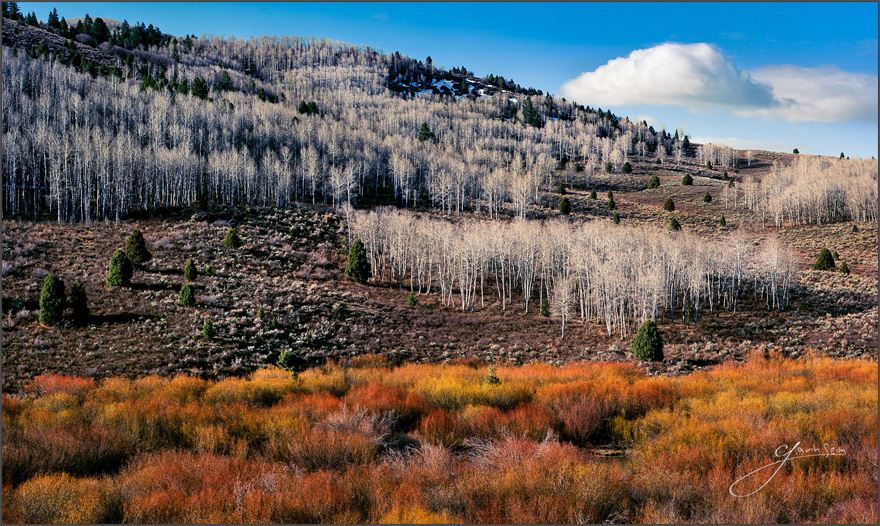
Film is not easy. But it’s coming back because it’s very rewarding and results in stunning, unique images loaded with detail, especially from the larger formats. Here’s a couple recent images I did on 4×5. Of course if you come to my gallery sometime, you’ll be able see the detail in all it’s glory – Enjoy, Gav


Gavin,
Thanks for all the info on your site. I shut down my own darkroom when I moved onto a sailboat a four years ago, but now I’m getting married and moving off the boat, its time for another darkroom 🙂 I think I’ll do without the enlarger this time, your scanner info has been real helpful. Thanks!
Peter Cane
Annapolis, Maryland
I have had a 4×5 for a few years but never really used it. I was given another recently and will be taking a trip to the South West soon and bringing it with me. I used to use an Imacon Flextight back in college and while that is out of my budget, this method makes me feel like this could work for me again. I can’t do darkroom but I can do digital. Thanks for the info!
Dig into it. Great medium. Good luck.
This might be a really dumb question, but how do you dry the negative before you put it away?
Thanks.
Good question. The fluid is a solvent base so it dries almost instantly when you remove it.
— Gav
I am interested in knowing if you have made any upgrades? I have almost 100 4×5 black and white negatives from the 1920’s I inherited. I would like to make prints of these negatives. I would rather invest in a system then spend $2.99 per negative. What is your recommendation to a novice who wants to purchase a scanner and use your technigue above for wet scanning?
The Epson is great for the price. I would start there and see if you want to go to wet which you can upgrade the printer to do.
Gavin,
I just found your video… Best one I’ve seen. Simple quick all the info I needed. I gave up film a few years back. Still kept all my equipment, except my jobo. I thought it took up too much space. I thought Digital was it …. : ) Still going to shoot digital but for the serious images going back to 4×5. I have an epson V750 pro. But I haven’t had any luck scanning, really never pursued it. Now I am.. I have an Epson 4900 converted over to Cone K7 B&W inks.
Your images look great and are very inspirational. THANK YOU!
Question: If you would share. What are you using for film and B&W developer. It looks like a Pyro or Xtol.
Greatly appreciate anything you will share on your materials and technique.
Kindest Regards,
I like Ilfords but don’t really have a favorite yet.
Hi Gavin,
great video. After years of fooling around with my 6×17 negatives on dry beds with disappointing results, I am now getting into wet scanning finally. So here comes another (maybe dumb) question.
Can I use the Duralar sheets for more than one scan when scanning a row of negatives or do I have to replace the sheet every time?
Thanks and best regards from Germany
You can get a few uses. Just handle with care to aviod scratching. I usually toss them at the end of a scan session.
The Duralar sheets link provided says “Available in Clear, Matte, Wet Media or Metallized”. So which is it? Clear or Wet Media…