Whether you’re editing for ONE final photo or a series to publish. You need to do this 3rd phase, which almost no one talks about anymore.
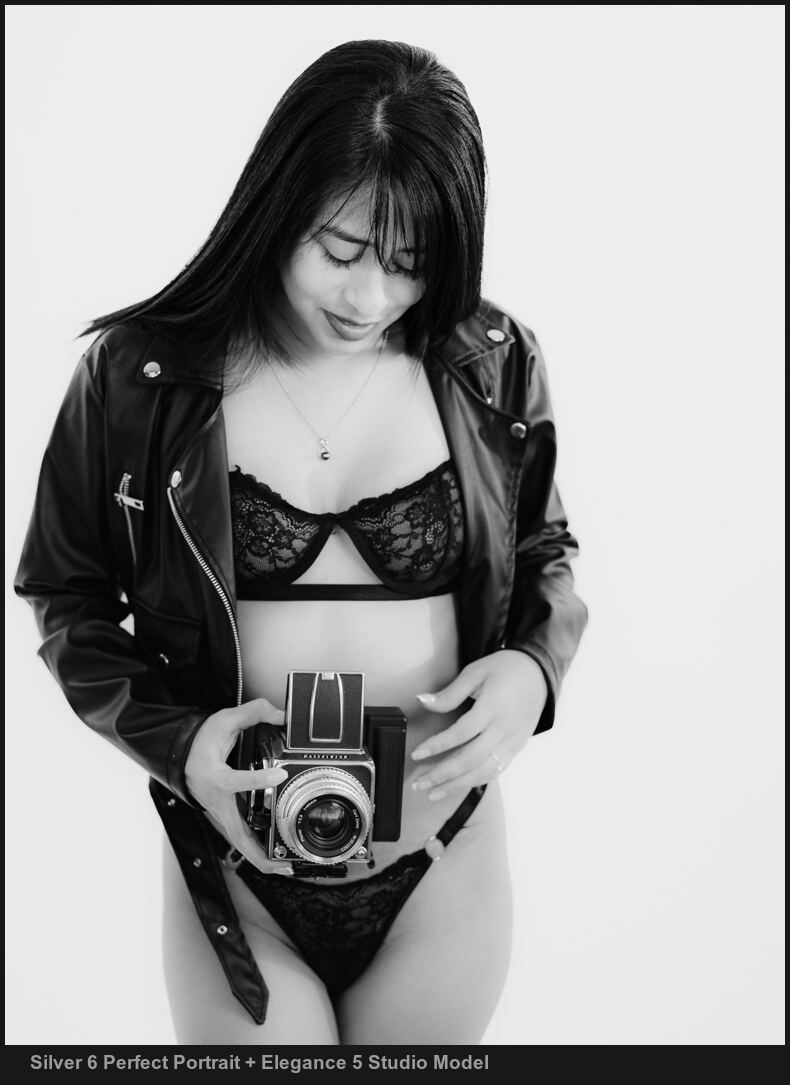
These sessions were mostly edited with Filmist 2, Silver 6 (free packs on each page), and some final details with PowerFlow and Pictorialist actions.
The 3-phase edit process.
Today’s video is a focus on the 3rd phase editorial edit. If you start using this, your published images will take on a new level of professionalism that really will make people see your work differently.
But to set a foundation, let’s briefly cover how the edit starts while you’re shooting, and I’ll show you how I even use film to remind me to be better at this critical step. It’s not just about slowing down. It’s about editing as you take the photo.
It’s the small things.

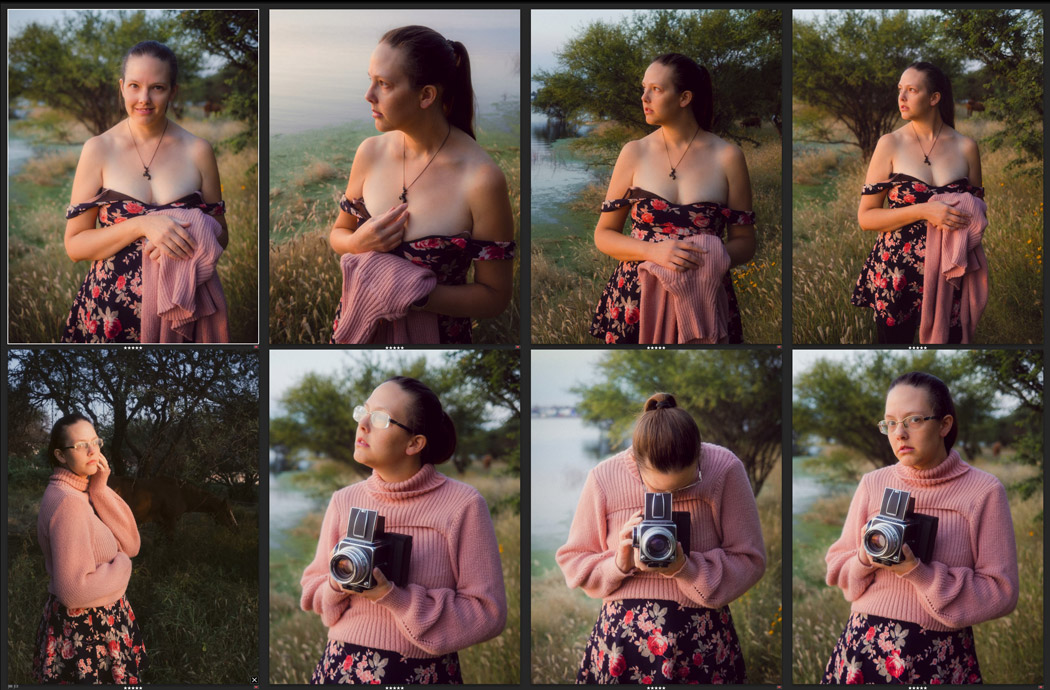
A grouping is about refining a set to make it have a perfect balance. It can just be connecting color and tone, a quick white balance, or maybe I did deeper edits in Alchemist or Pictorialist. But then, seeing that one image in the group is that way, and doing the rest in the same style, so they all fit together.
But that one Image…
From a strictly artistic point of view, I think we should be more like the painters, thinking about the best image. That’s the wall portrait, poster, the headline shot.
But from an editorial point of view, we branch out. IN a book, a magazine, or a great Instagram post, we often need a few more photos.
So you start the edit in camera, you find and sort the best photos in phase 2. You know your best shot. In the final phase, you take that group, and you edit them to all have the same vibe, and you create an editorial work. A mino collection. And makes people see you as the master you are meant to be.
Go try it and watch your published work improve – Gavin Seim