I have started to realize that actual photo technique is barely taught anymore. But only when I started looking around did I realize what the late Ken Whitmire taught about managing background is barely known.
How to control any key light with any background.
Come to my free Shadow Hackers workshop to take this further. You can also try the tools I used today like Elegance 5, Filmist presets, and Alchemist 3 actions.
This makes Even Ugly Light look Amazing!
Because eits a method of understanding tone. I admit those who never learned the rules rarely understand how to do this so it’s rarely spoken of. But these 3 approaches let you control every background.
But unlike rules, this approach makes everything more flexible. It extends what I show you in Shadow Hackers. That is the separation of the subject using tone that can make any lighting situation beautiful. So the more you practice this, the more second nature it will become.
Most think of a classic studio setup when we talk about key light. The way I’m showing you today is to clarify that this works in any place and with any light source. Once you understand, you can bend it in any way you want to.
Remember, your key light can be any source. And if you don’t like it, you just move, add a more powerful light, or alter how the light affects your subject.
Don’t always do it the same.
People in Facebook groups who want to feel like experts will always correct everything. But always base their suggestion on the experience they demonstrate.
Meaning with light, everyone wants to make you follow the rules of patterns and ratios. You should know these and the exposure methods we talk about in Exposed.
But I hope I illustrated in the video that it’s not about the background always being darker by a stop (though this is a good starting point). It’s not always about the ley line being in a certain place. It’s not about whether you use a flash. It’s all about getting pleasing light on your subject, whatever that is to you, and creating separation rather than having to battle with distractions.

There’s no bad background.
This may sound crazy. I know we all love an old castle or hacienda. But if you know how to key for the background and combine that with framing, composition, and maybe moving a trash barrel now and then, you can make any place a stunning scene for a photo.
The secret is to have a great subject and make sure everything in the photo works for that subject, not against by how to use your key light and mix it with the other lights, elements, and details.
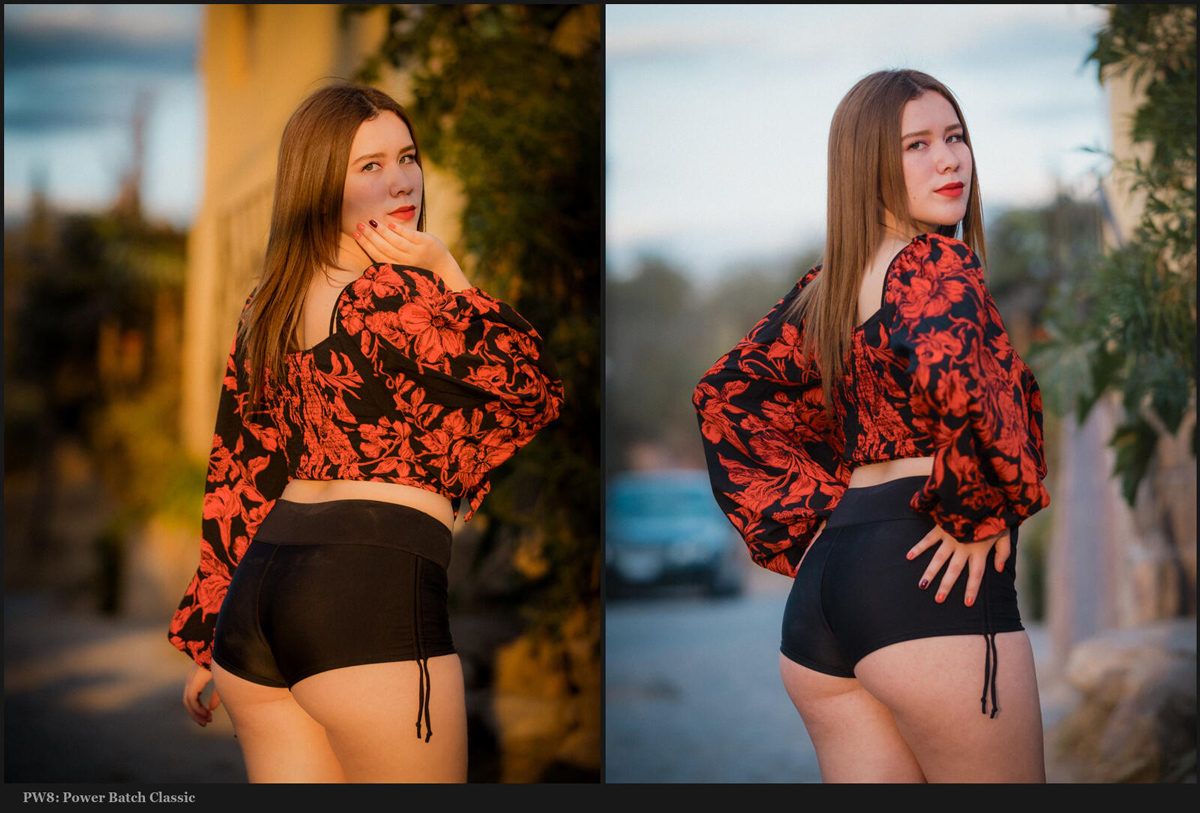
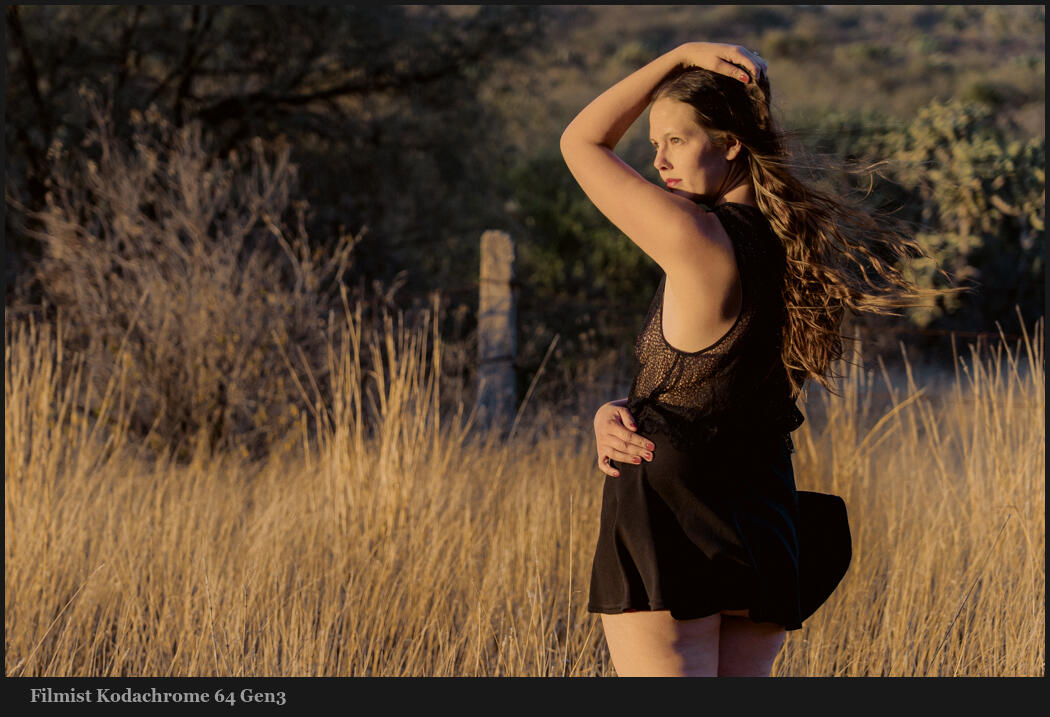
It’s not always a question of right vs wrong, either. In the photo below, we have late afternoon sunlight as the key. And a few minutes later, we have sunset shade. Everything changes from the skin texture to the color and the way the background blends.
All this sounds easy right? As a photographer, you know better. But it is simple, and the more you keep this 1,2,3, keep for the background process in every photo, the easier it becomes. Go try it and watch what happens.
Gavin Seim