July 13, 2024

Two colors change everything in your photography and that is way overdone in digital. Today I’ll show you how to fix them easily in any app. Take 7 minutes and watch the whole video.

This is because on digital nearly all colors are equal in value, causing them to be over-driven in post. In today’s video, I show a little-known fix ever for colors in digital photos.

You can do this in any app and you will also see it applied in most of my presets and can try it in its perfect form in the FIlmist Free or Complete presets pack.

This is especially true if you have been editing wrong for a long time.

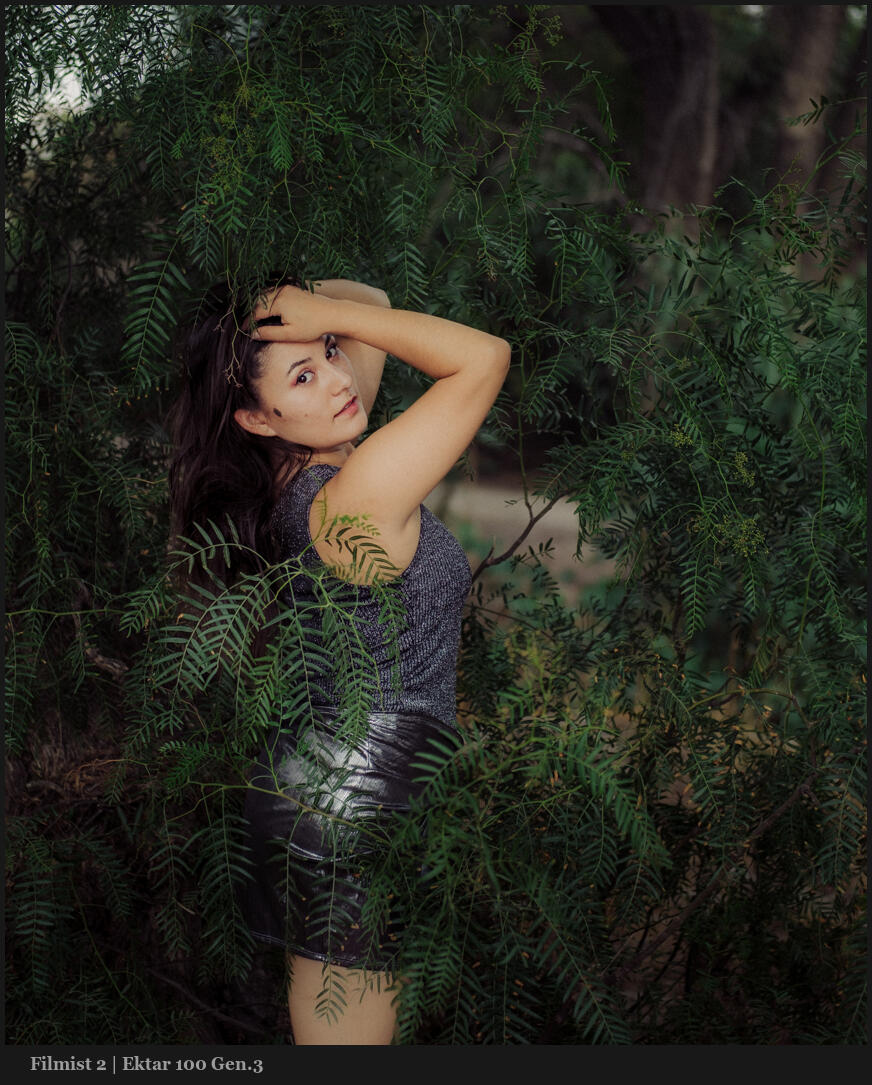
I know, wrong is relative to your style. But remember the goal is always to bring focus to our main subject. Overcooked colors distract from that. Once you understand this, your process will be simple and you will control color separation so much easier.

It’s easy yes, but took me years until the days I started developing Filmist to truly understand.

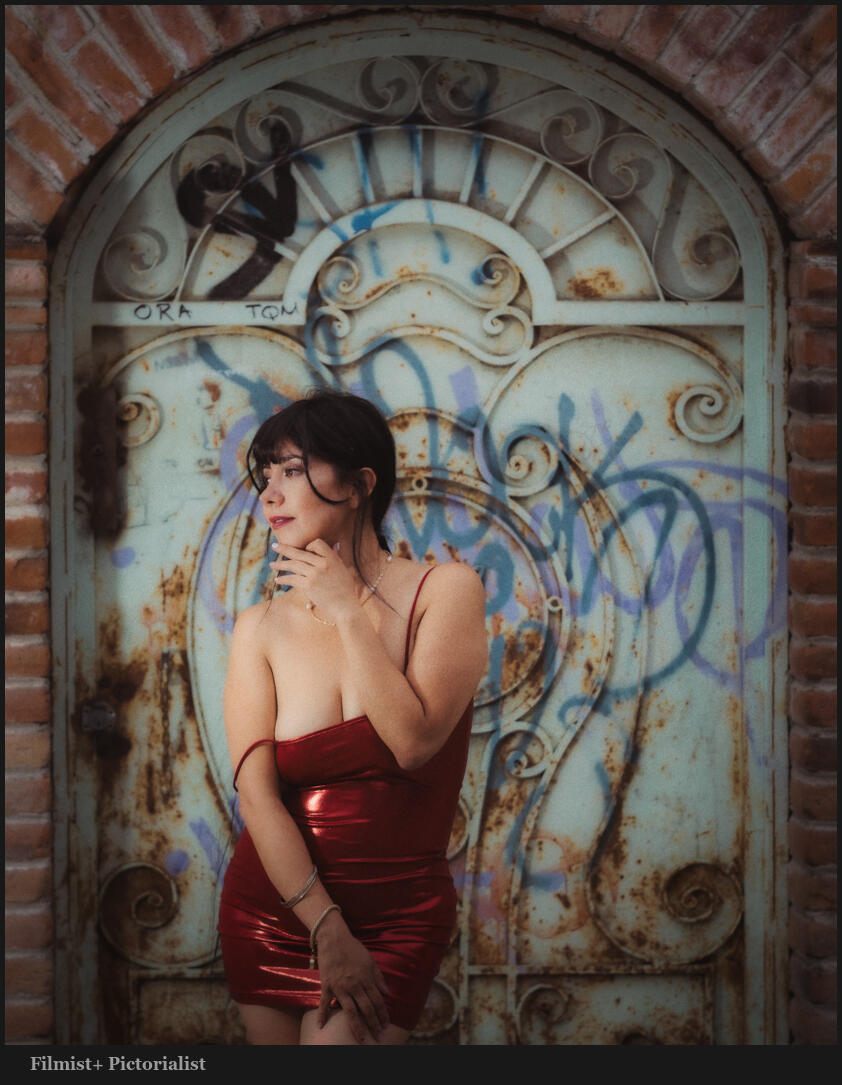
At times you might want to push one of these two colors. But it’s rare, even on a sunset. It’s even more rare that I push both. They nearly always compete with each other. Skin, foliage, etc.

Dial both of these to start. Or use a film or other high-level preset like I create for you guys. You’ll see that soon your baseline edit corrects itself and you no longer are looking for this overcome color.

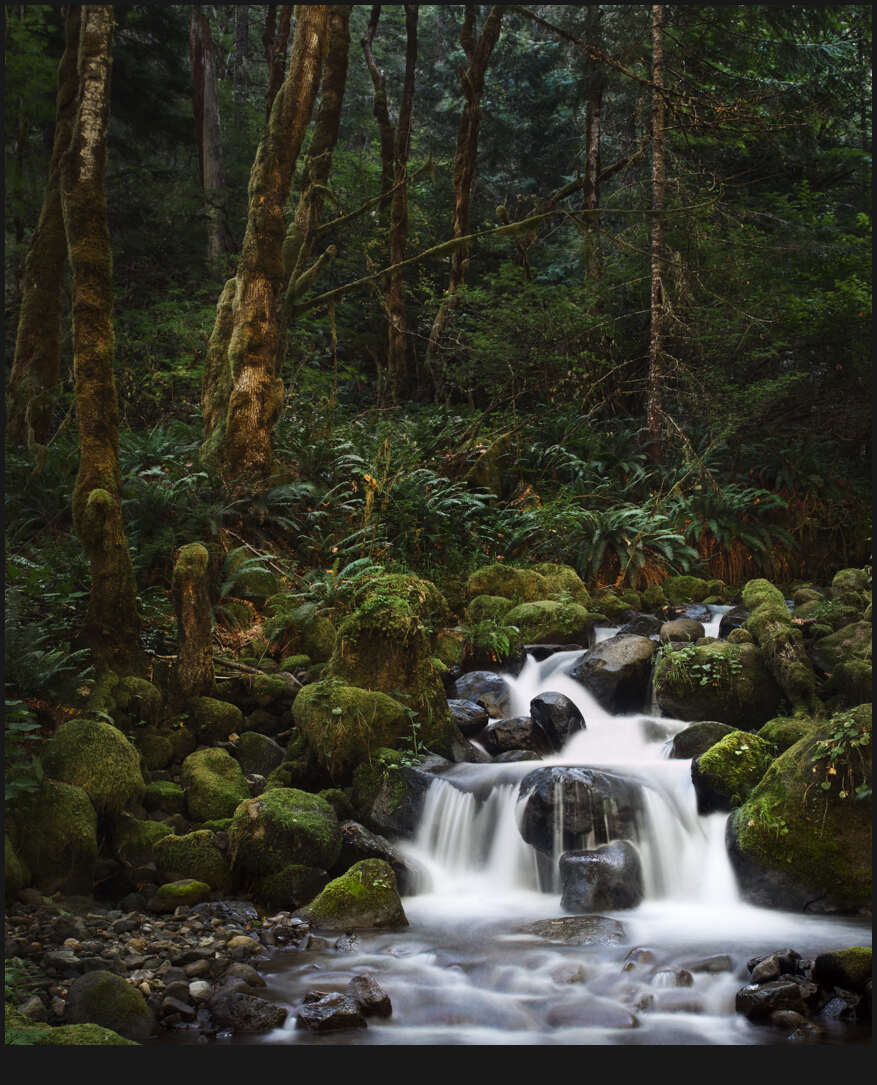
Even on landscapes you fill this method creates more balanced tones and beautiful roll-offs.

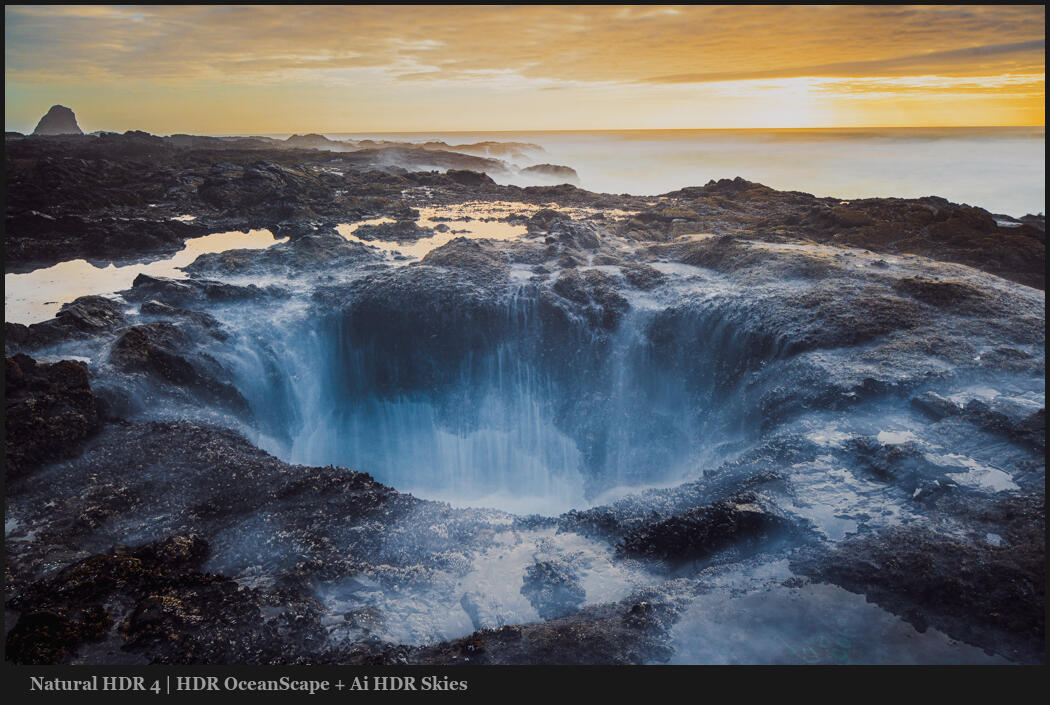
Obviously, if you have ever tried my FIlmist 2 pack you have seen this in action. But it may sup[ise you that even in tools like Natural HDR 4 I am using it. HDR needs balance eve more and even in a rich scene I still apply drop color to create the balance that that pack is so famous for.

Take this further by adjusting the hue settings and try the same on blues, purples etc. The two colors here may be the most important to balanced edits, but the method O show can be used on both.

Digital drives colors too hard because no chemicals are getting in the way of making colors bold. So once you start pushing they all push too far too fast.

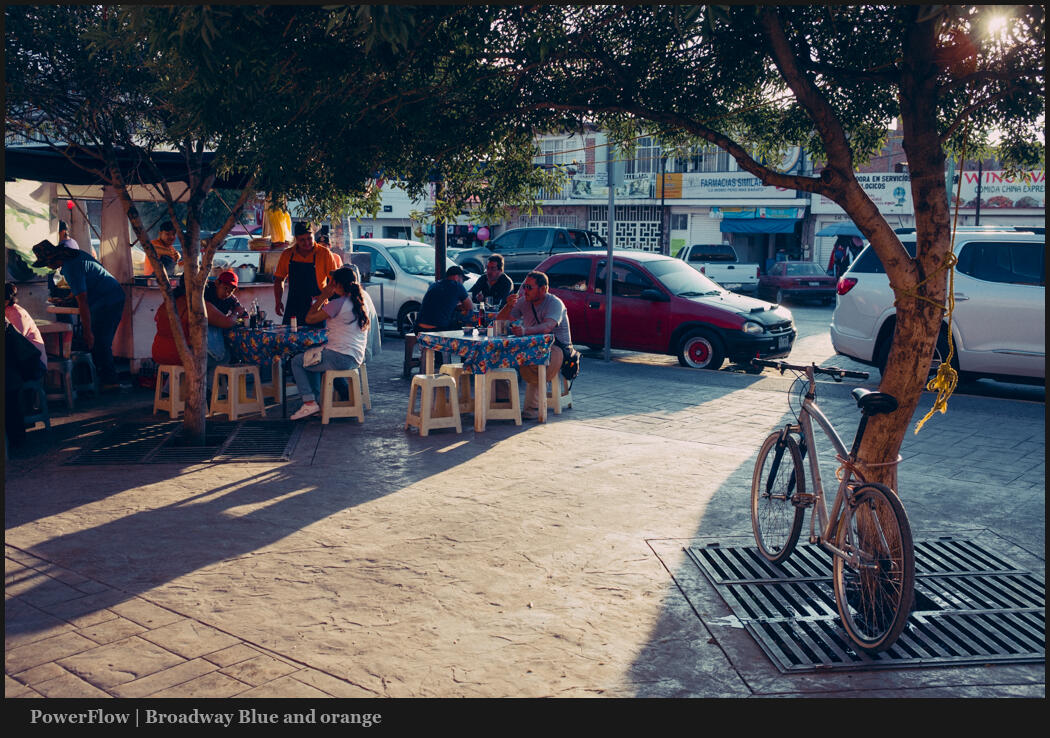
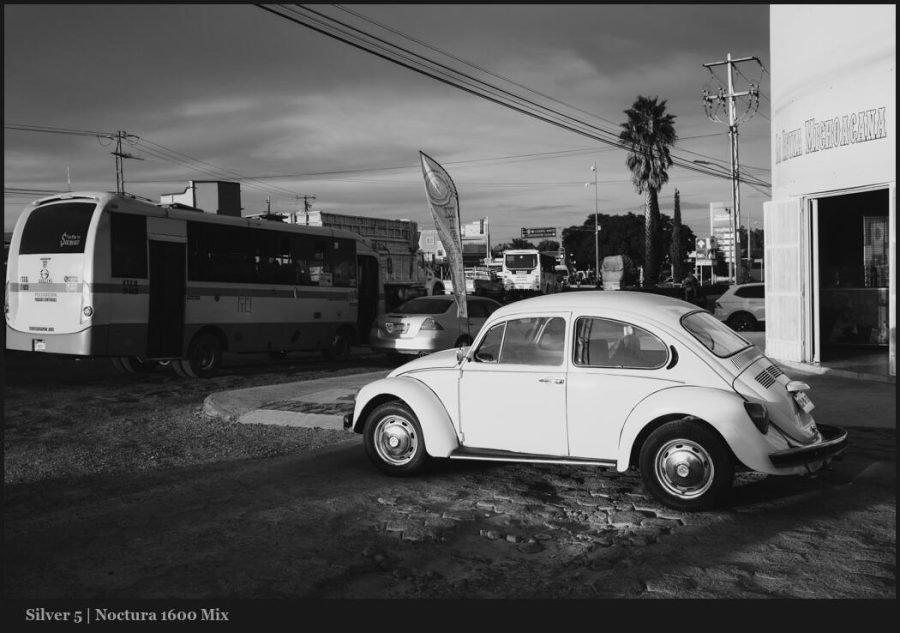
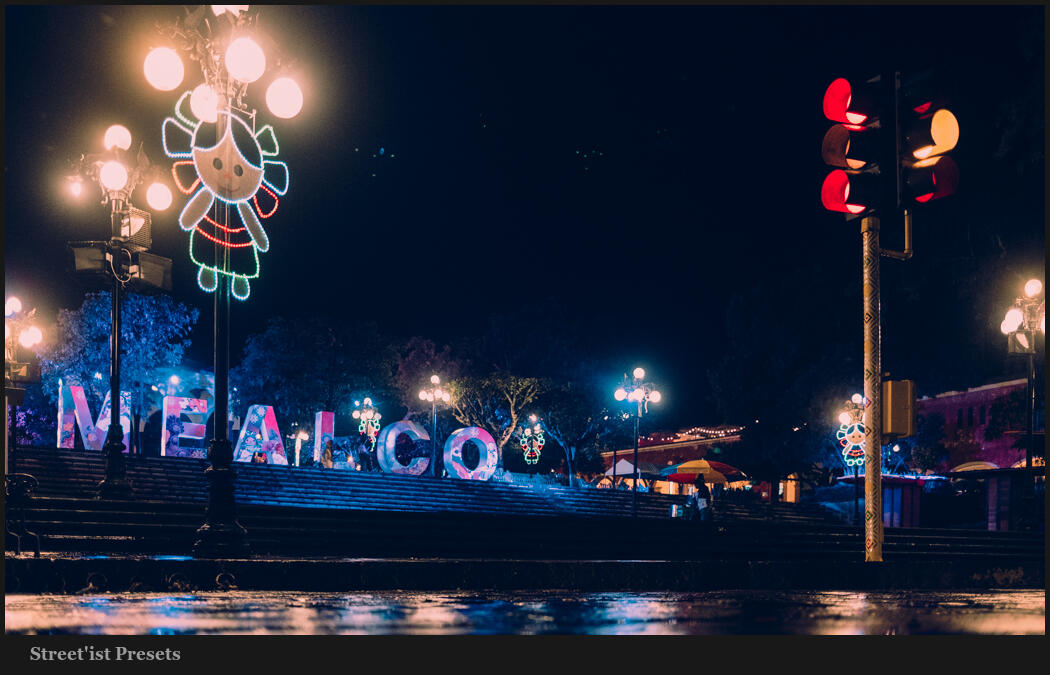
While the two primary colors should always be reviewed, you can see in this photo that moving colors like blue and red in a similar fashion as I edit this night scene with Street’ist styles.

HSL is a tool you should always use. Having a favorite preset or creating your own baseline with this will improve every session and give you a starting point that truly helps you be consistent and better understand how to make each photo balanced and amazing.

Gavin Seim

Read More

June 12, 2024

Adobe Cloud was a trap from day one, even if it is a great deal compared to the alternatives. But there are issues with having one big dog and this week they got worse. Today we talk about how that affects us as photographers.

You decide. If you use my presets and decide to switch, all current packs include LR6 and Capture One files. Have Street’ist or Power Workflow for example. Just go access your downloads here and get the latest files.

Preset packs like Filmist and Natural HDR also include LUTS and those can be used in many apps like Affinity, DaVinci Resolve etc. In fact I edit nearly all my videos with FIlmist LUTS.

Also, all my Action packs, even the new Pictorialist work in CC and CS6 as well. So if you want to go subscription you can still get the iconic looks you’ve been getting for years.

Lots of people are dancing Adobe. But it’s not like the other options are all roses. Phase One scrwed over long-term perpetual license holders last year and Capture One cost more than LR and PS combined. Luminar is woefully lacking in processing quality and Affinity is not the best workflow system.

You don’t have to switch or cancel just because people are mad. Negativity is now always a good response. But it’s good Adobe is feeling the heat. This makes more room for competition and improvement and they should no that their actions are not OK!

As I talk about in the video this goes way beyond Adobe. There’s a trend of large companies who have us locked in switching up the rules and taking us to the cleaners. Netflix, Amazon, Adobe, the list is long.

My theory on this is depending on where you are, one service or another may be worth canceling. When companies abuse customers like Adobe is trying to do, then gaslight them, acting like nothing is wrong and they are crazy for being upset it’s right for people to respond.

But it’s not worth stressing about either. Don’t throw your summer wedding season into chaos just because everyone says we need to cancel. You decide!

I go more into the video. Adobe is indeed the most complete suite of tools for creatives.

But as I mentioned above, I work hard to make sure you have options and we are not totally locked in and I’m sure other developers are doing the same.

An established workshop is hard to charge. While Adobe is king, I am always trying to make sure we are not stuck. So for example I could switch to C1 as my main editor and all my tools still work. Even my Elegance Speed masks now work in Capture One.

I long ago switched to Resolve for video editing. There are Capture One, DXO, and others that may be possibilities for you. And for many older versions of Adobe tools works just fine.

Read More

February 26, 2024

White balance in photography is not what it is marketed as to sell white balance gadgets for photography.

Play around and you will see how simple photography white balance can be. You can also get my FREE film presets and Elegance masks here.

Today’s session was great for this because the light changed fast and was very mixed. But in the real world, this is usually the kind of photos you have.

I’ve talked about white balance before here but I felt like we need another visit. Photos end up lesser when we focus too much on what a card tells us is the correct white balance.

Due to varied lighting conditions in any one frame, these cards are often not even accurate. In today’s video, I’m going to show you how White Balance should be a flexible tool to balance your color and you should not let it lock you in.

FIlm pretty much has two white balance settings. Dayl;ight and tunsgten. You had to create around that or use filters in the post. Digital lets us have total flexibility.

There’s certainly a place for color charts. But even as someone who does a lot of color research and testing to make Filmist and other presets perfect I find them often unpredictable in real-world edits.

What’s certain is you don’t need an expensive White Balance tool for photos. If you are working in mixed light it’s mostly just a distraction. In a studio where light stays the same it could be useful but any grey card will work fine in my experience.

But in general. Don’t distract yourself. Focus on the shadow and the way you use line and tone.

Yes, I mean that in most cases. Leaving it behind will let you focus on getting your photos right in camera and in post you can focus on the vision you had and make the edit perfect for you rather than what a card or guide tells you.

Just like I taught you in my Shadow Hackers LIVE workshop to not trust a camera meter to make your exposure, you should not trust a grey card to decide the warmth or coolness of your color.

Of course, there can be exceptions. But I will say that in almost no project or session do I use a white balance tool anymore. It simply does not improve my work.

Gavin Seim

Read More

February 16, 2024

The use of layers and masks in Lightroom and Capture has been getting better every year. But until now there was no speed masking in Capture One. Today that changes and bothers C1 and LR to get mask updates from Elegance 4.

Get Elegance 4 here. This is a free update if you own V4 (log in here). V4.8 also includes the Capture One Styles in the download. Just install them like any other style pack.

Today’s video looks more at Capture One because we’ve all been waiting a long time. But you can do all this in Lightroom also.

The secret to making masks practical is being able to create mask combos and save them as a preset or style. I created the idea of speed masking for this in my Elegance 4 presets but of course, you can make your own as I show in the videos.

To be able to make mask and tone-based edits saved into a style change how you edit in Capture One.

What I show today also works in Lightroom so If your focus is more on Lightroom check out this video also to see the power of the latest masks there.

The main thing is that LR masking has become powerful. The key is finessing what you do on each layer so you don’t over-drive your edit. Saving smooth combos of masks and layers into a speed mask makes you use these features.

Lightroom masks also saw updates and a few new presets in 4.8 so make sure you update. And of course, you can also save your own favorite speed mask mixes as presets.

Lightroom masks give us more mask and Ai options. But Capture one has more adjustments. I improved the presets in 4.8 for the Lightroom version for Elegance as well.

Capture One finally got Ai masking at the end of 2023 and in the recent update of 2024 can now save masks in styles. This changes everything. So tools are still lacking as I explain in the video but there are enough tools in C1 masking now that we can make effective Speed Mask styles and they are really powerful.

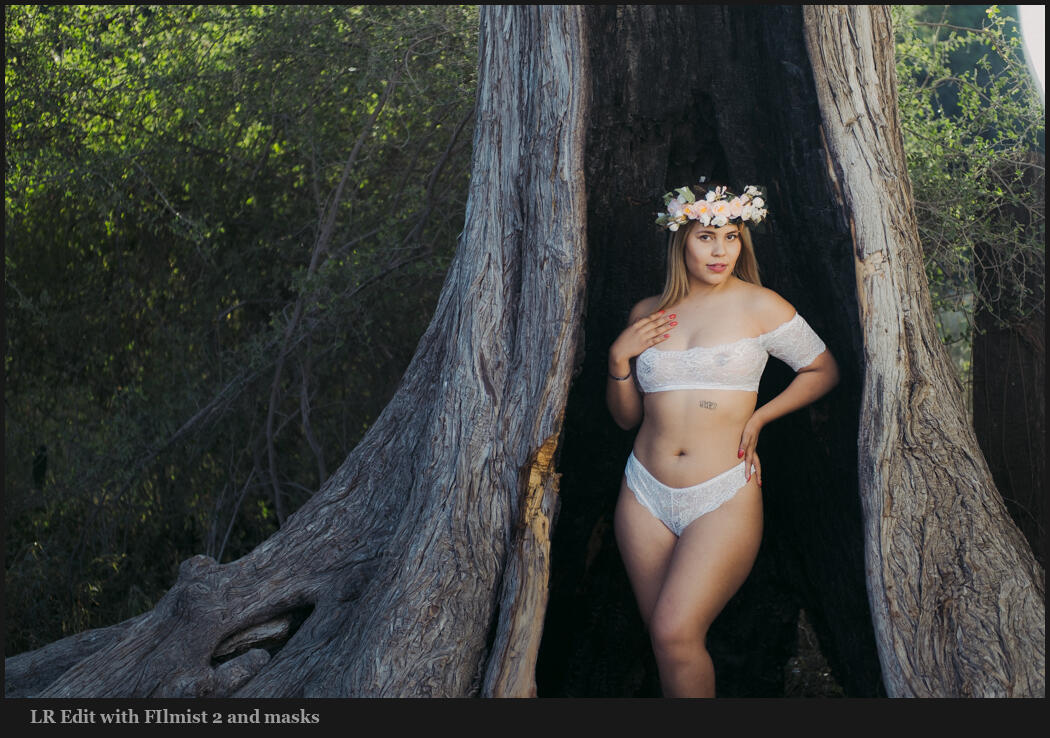
Finally, you can edit with the speed mask combos in Capture One mixing Ai and Luma mask tools in a single click like I did here combined with Ektar 1000 from Filmist 2.
Read More

January 30, 2024

Luma masking is powerful but often complicated in RAW. I go to Lumist for deep edits. But Lightroom and Capture One have powerful masking tools and today we take control of those.

I included my preset of this in Natural HDR 4 and it works in Lightroom and Capture One. Download the latest version (login here) if you don’t have the preset “Xmod – HDR Magic Mask”.

But like magic, it’s hard to do right. So today we’re going to simplify the mask tool that’s often difficult and for that reason not used like its Ai counterparts.

The cool thing about a mask done with luminosity-based settings in a RAW editor is it adapts as you make other edits. So if I change the exposure on the main edit, the masking effect changes based on how those tones move.

Combining masks that effect the luma ranges together you get a delicate mix but quickly using presets.

The power here is putting the mix of highlight and shadow management into a speed mask that runs at one time. You can save all the settings and you don’t have to tinker around each time because the luma tools in Lightroom and Capture One take a lot of tinkering to get right. It’s not something you want to do manually in every photo.

I think that’s why most people don’t use the luma masking in Lightroom and A1. The Ai tools are fast and they are great. But luma-based tools give us a different route to what is selected.

I would go so far as to say that unless the Luma tools are in a preset I rarely use them because they are more tourable than just going into Photoshop and doing a deep edit with a tool like Lumist.

But as a combo Speed Mask preset. A concept I came up with from Elegance 4 and that anyone can create, you get all the masks on one click and then you simply adjust them a little as needed or turn them up and down.

With speed masking it’s not making every hyper HDR. It’s just the ability to balance the mix perfectly.

There’s a lot of good and bad about capturing one but a huge beef has been the inability to save masks like LR has given us for years. The recent update allowed us to save the new Ai masks in styles that I have been implementing in my preste packs.

But just this week with the 24.3 update I realized we can finally save the other mask types including Luma masks so I was able to create this same Magic Mask preset for both apps and you can save your own as well.

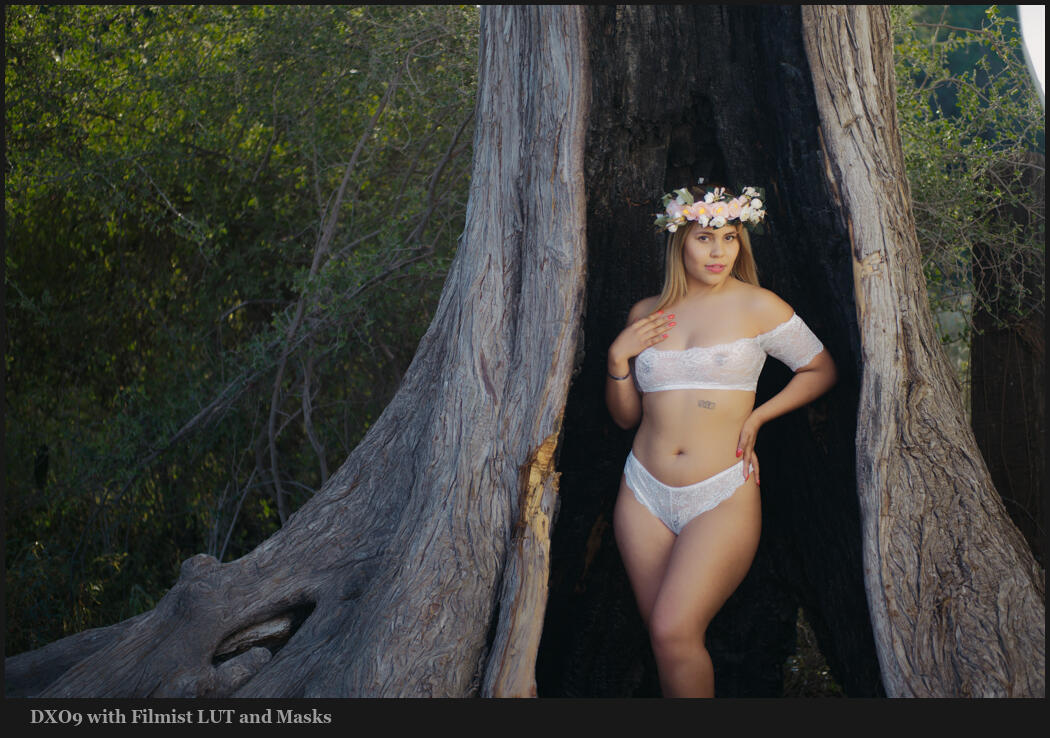
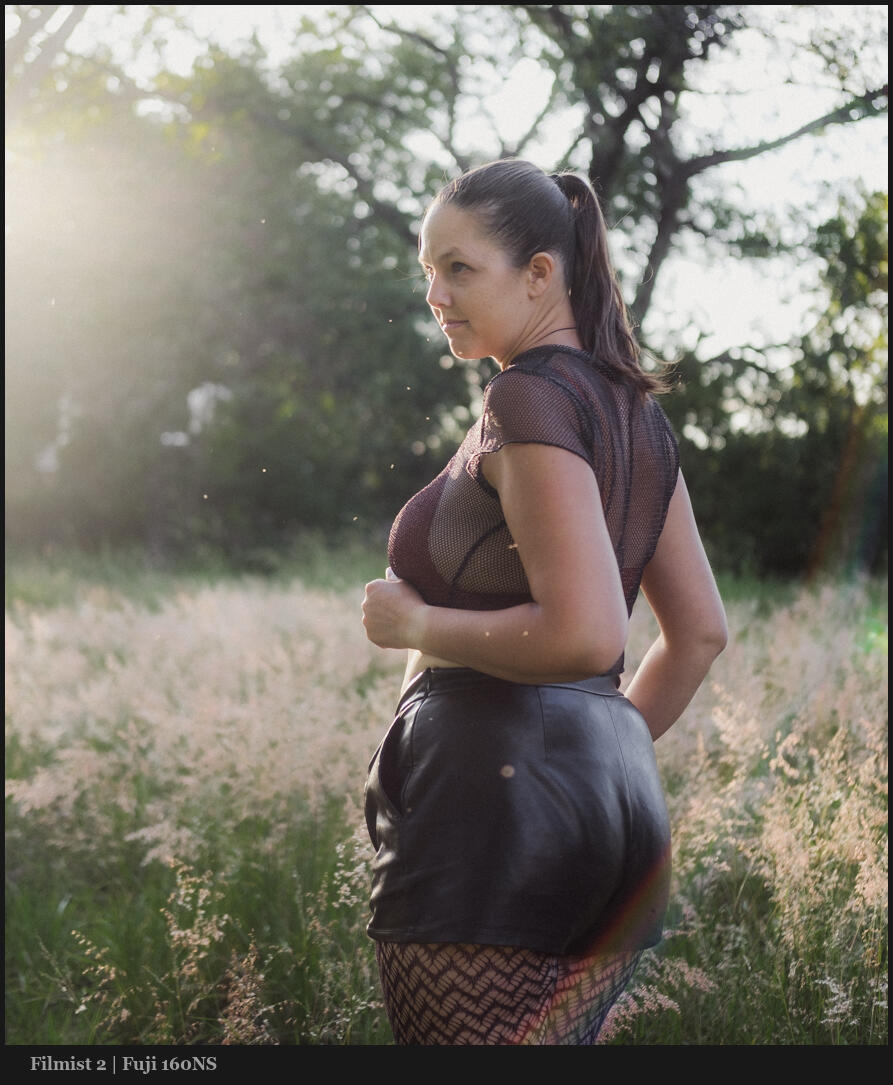
I edited with Filmist and used an AI portrait mask. But the magic mask let me balance shadow and light.
Read More