Last week I was working on the 1.2 update for our Filmist emulsion presets. We develop these for Lightroom Capture 1 and LUT. I needed some fresh test image so I took my model Sondra out for a quick natural light shoot on these quiet side street in central Mexico.
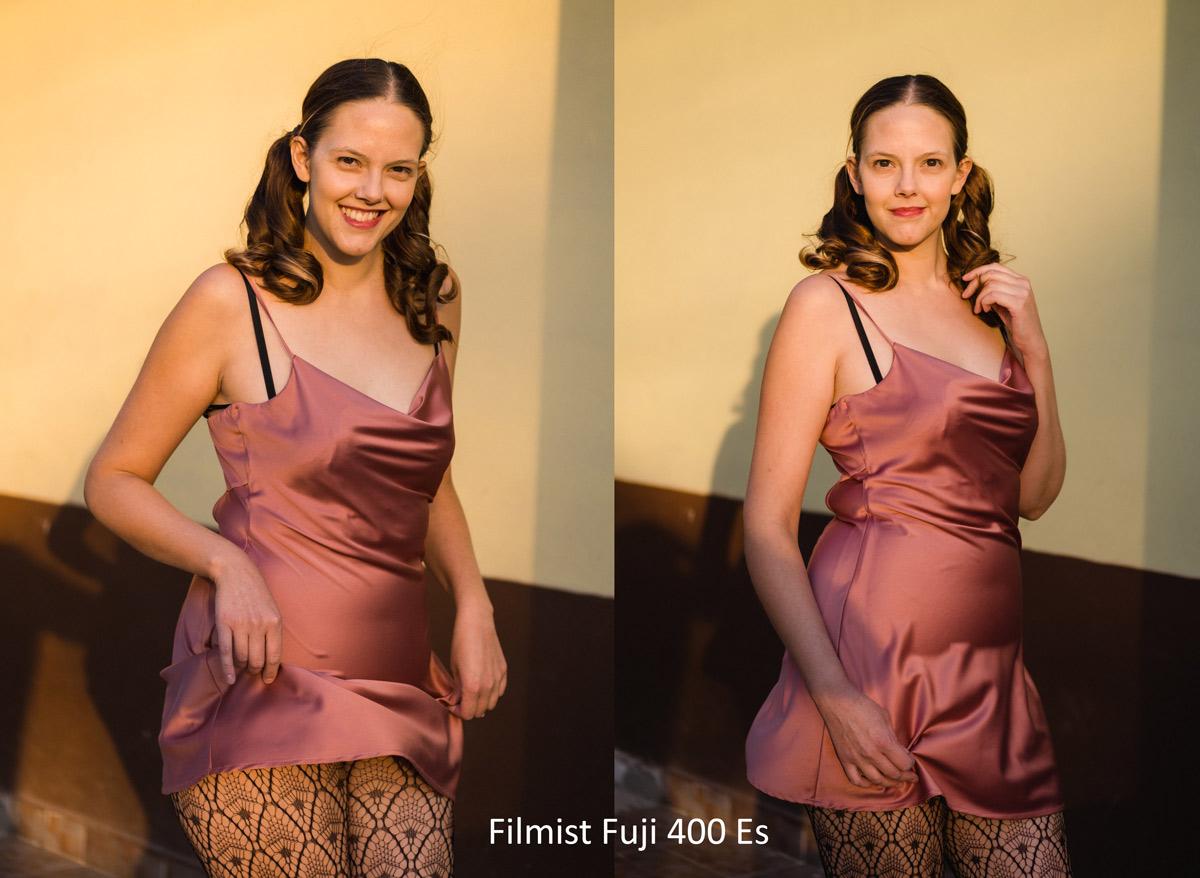
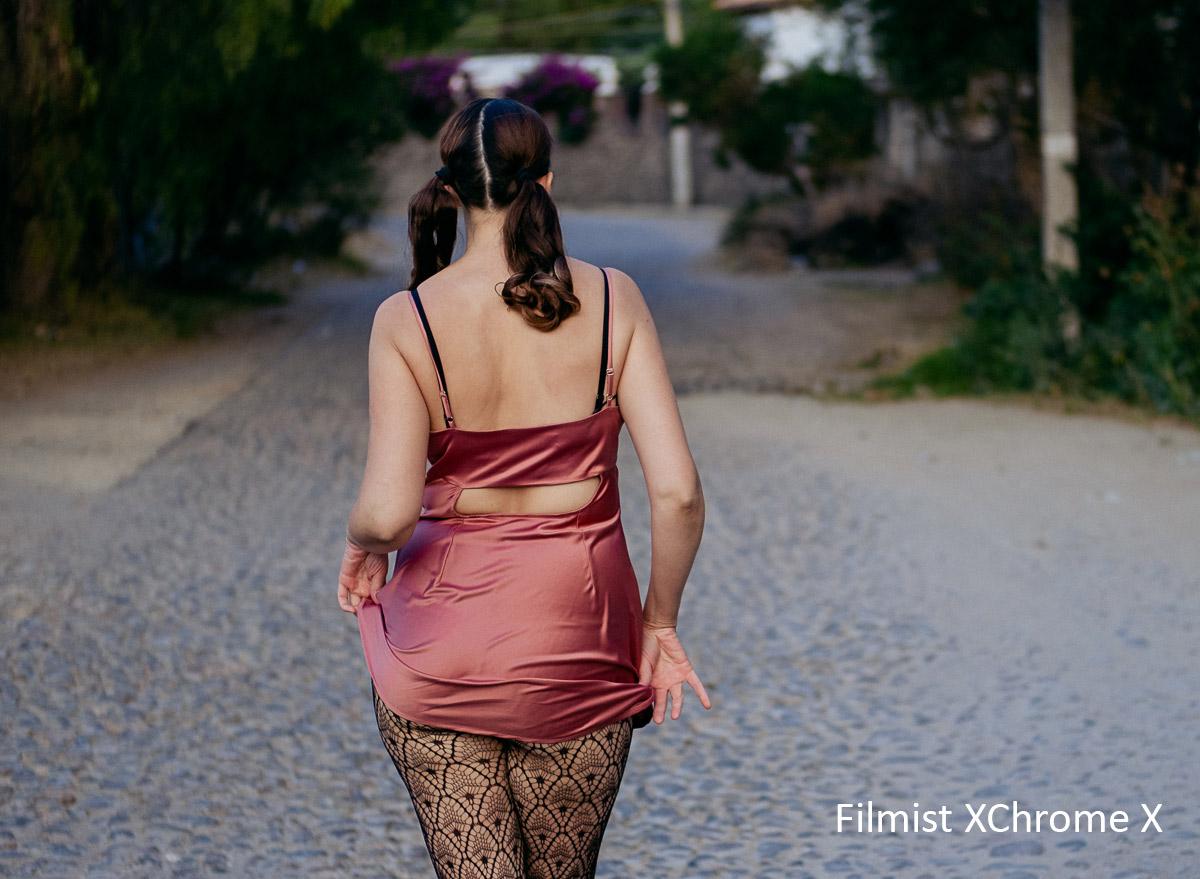
The soft light seems a bit flat but there’s direction to it and it’s perfect for portraits. The quiet greens made for a sublime contrast to the dress and the sunset light was filtered like a giant softbox. Then we started editing with FIlmist. No need to lose ourselves in over saturation. There’s a reason film color was refined for over 100 years.
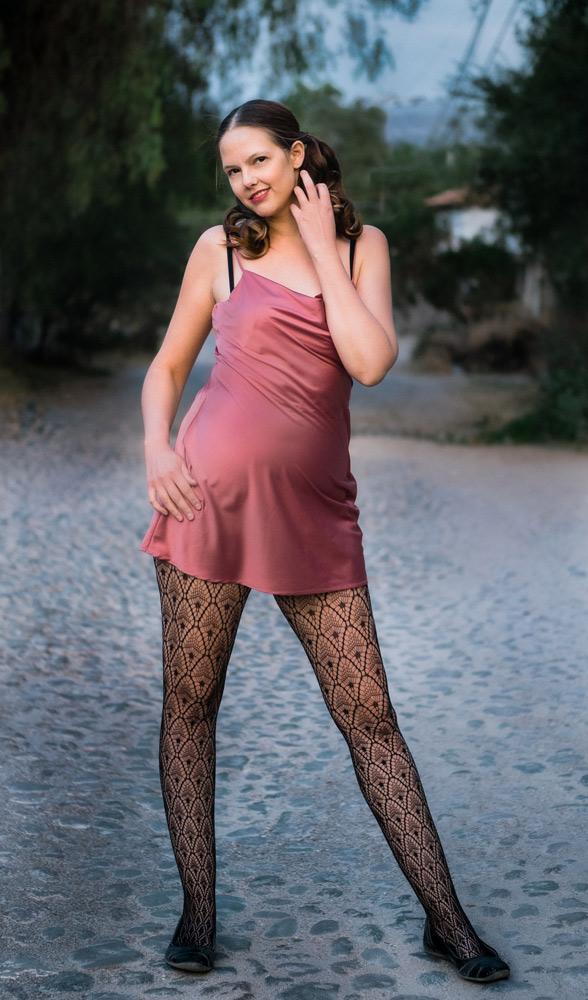
I’ll with just some color grades and then do more detailed finish work on my top favorites. This first one is just the new 160V Pushed presets which gives a nice poppy push to the RAW file with this really soft light. We want to bring out the shape of the light. The reason good presets are so powerful is not because you can’t edit sliders manually. It’s because you cab quickly browse looks that are close and get the one that really fits the image you’re working on. You get to see things you would never see if you editing everything manually.

Ok lets go…
Shoot Notes:
- Location; Querétaro mexico, May 2020
- Time: Sunset, around 7PM, partly overcast
- Gear: Fuji XT3 – 50mm f2 lens
Edited with: Filmist presets, Alchemist Actions, Lumist Actions and Sharpist Actions.
Get 20% off any of these with code: BlogFreinds
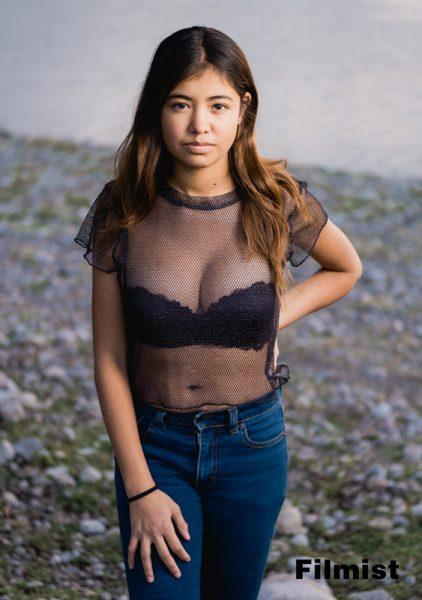
The key with great color in a portrait is to separate the object. To make your subject pop and have that 3D feel. It’s starts with light but the way we mix colors is huge. That’s why it used to be so important to choose the right film, today we can do that with color grading or tools like Filmist which are my go to because they give me the right mix.
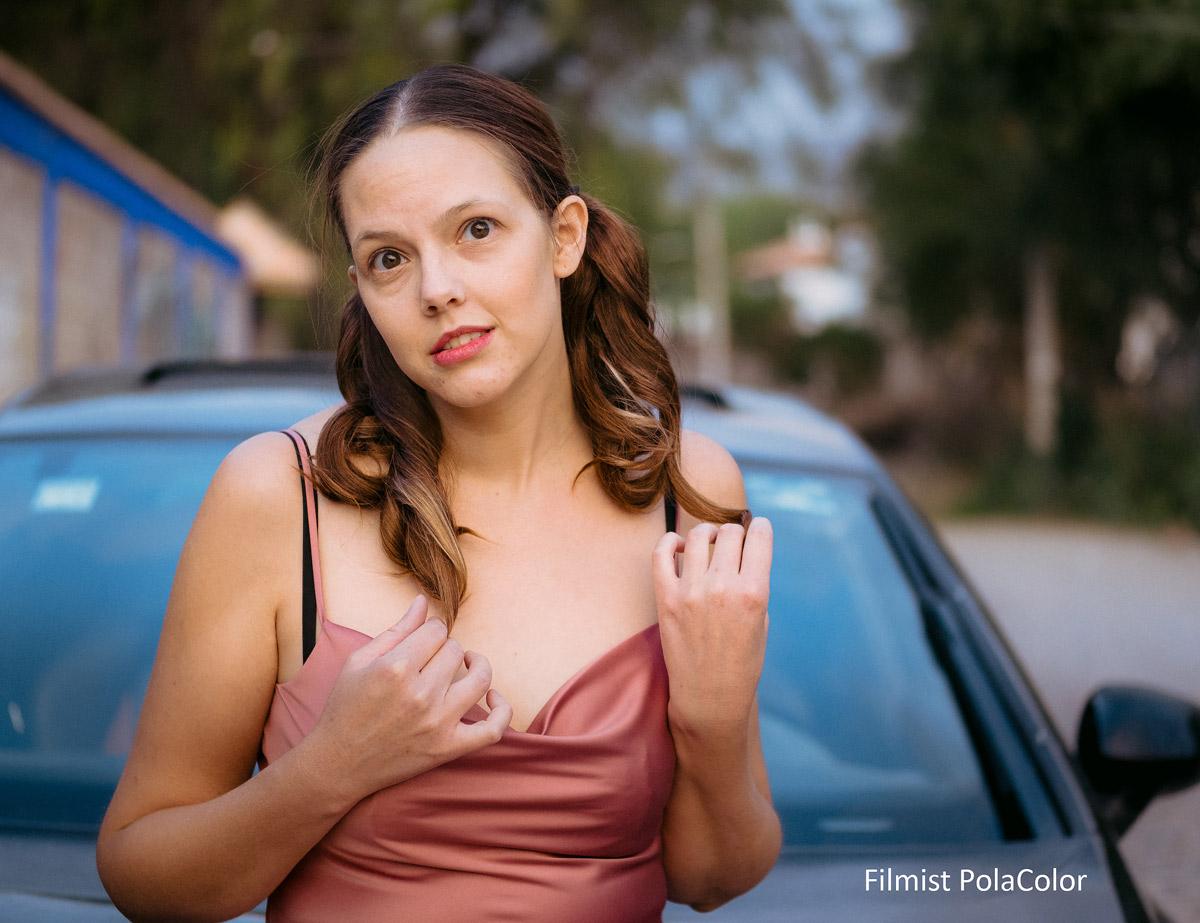
After the presets I went into PS for quick skin and sharpness detail using Alchemist retouching actions and last but now least SHARPist actions to give it that final zing. Here’s the finished shots and I’ll mark the film look I used on each one of these.
It’s worth noting that while I speak of the tools I use to save me time, all these things can be done manually. Using color sliders to control the mix and get a filmic look, using frequency separation for gentle smoothing, eyes bags and more,. Using sharping for that final pop. These are all tools we have in nearly every photo editor. It’s just a question of how you apply them.


 Filmist beings the look of real film to digital. You be thinking you’re not interested in buying the the complete pack. So we made this Filmist Lite collection so you can get started with the beauty of film in your edits. These 8 presets are just the start of what Filmist can, but they a lot.