The blue channel in photos is powerful and most photographers are using it wrong.
The dirty secret of blues and how to fix them every time!
The video I did on drop color was a game changer for a lot of photographers because it transforms how you edit. But the color blue and the blue channel when editing your photos are nearly as powerful.
In the original drop color we looked at orange and green. So you would think that blues work the same. But they actually affect the image in a very different way.
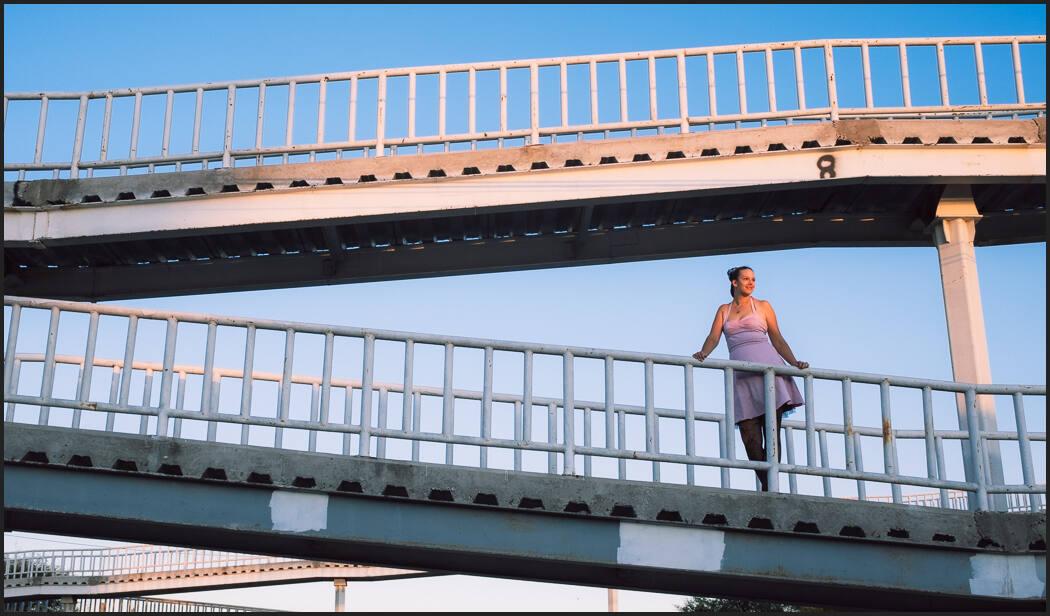
You want to base your blue channel edits on the types of images and mix it with how you use white balance and other tools. But if you really want to know what blue is doping, use the fully down slider method I show and then move up from there.
A pattern of channels and light.
You may be seeing a pattern, Any one channel is pretty simple. But as you add another you start to get complex mixes that apply to any image. I showed this in my follow-up on the black and white color drop methods.
Yes, today’s blue color tips also apply to B&W photography as well. These are not about looking like film or any particular style. These are about controlling your color and knowing what color is important in each image.
Keep your results in a preset.
That said if you use my presets you’ll see these implemented in their correct form for each presets or style. Filmist looks may be more toned down, the Natural HDR looks may be stronger. But the methods are still being used.
You can download my free packs but even if you use nothing of mine when you get the right mix start saving your settings as presets for Lightroom or styles for Capture One and you’ll see they work across nearly any photo.
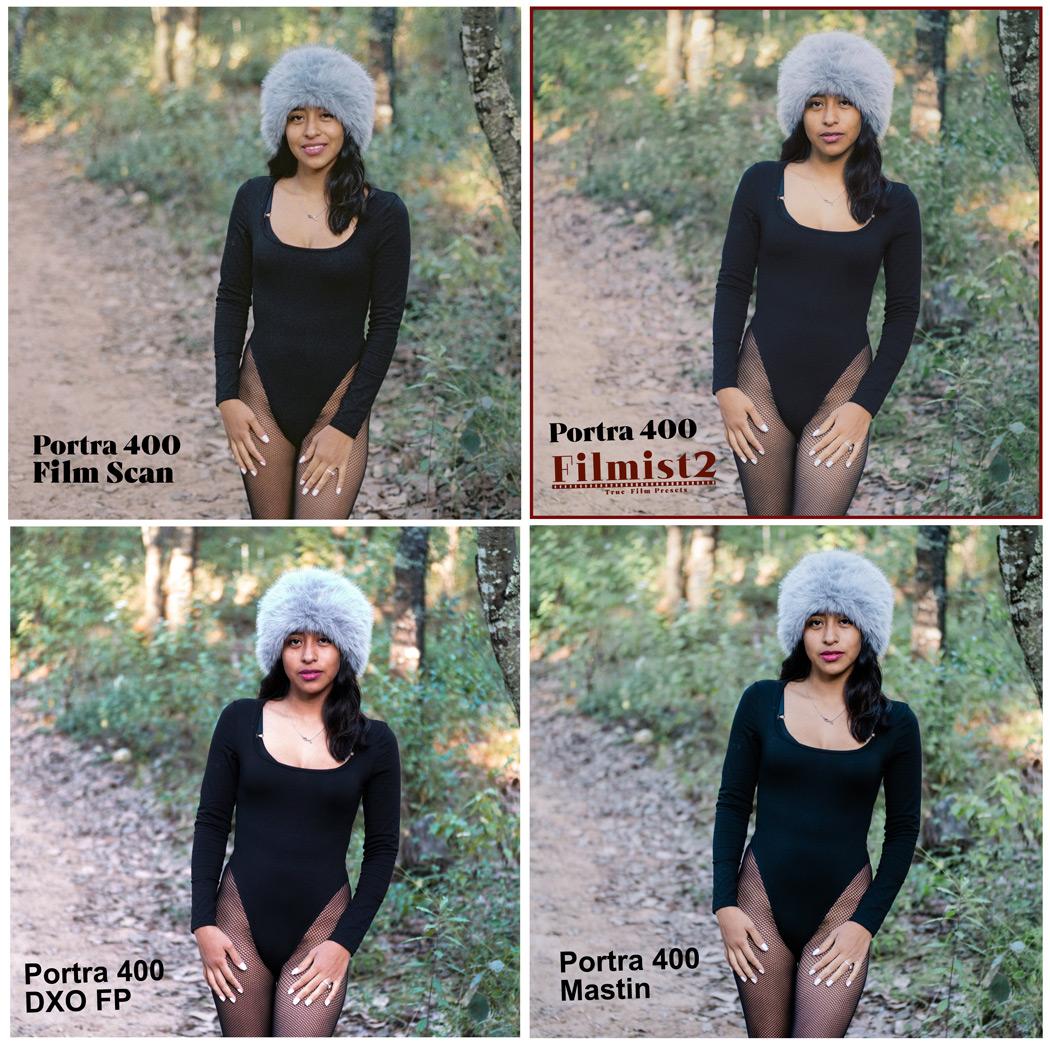
Scanning film for natural film color is not as easy as it seems and most of the labs are sending you scans that won’t look like your film. So what the best and cheapest scanning method (at least for 35mm) and how does film affect our non-film photography every day?
Good scans will change your digital photos also!
I’ve scanned pretty much every way and it can be hard. In today’s video, I’ll show you my new favorite way to scan 35mm film and how you can use it to make better colors from your digital camera. This is exactly what I used these better scans for in the Filmist 2.2 film presets update.
See the before-after results of how these tests improve Filmist presets on the Filmist2 page. Also, download some free film presets from the sampler pack of FIlmist.
How negative scans help you edit digital files better.
Today I reviewed the TTArtsian 40mm 2.8 Macro with this Film Scan Adapter. But we’re also reviewing film color itself see you can scan film better and edit digital in a more natural way.
It’s that grounding I’m always talking about and why I always start edits with FIlmist presets. If you use Filmist you will see that grounding as you edit your photos.
You’ll also see how the scans we worked on today are improving the quality of those p[resets so they work more like film instead of working great on one file and horrible on another file.
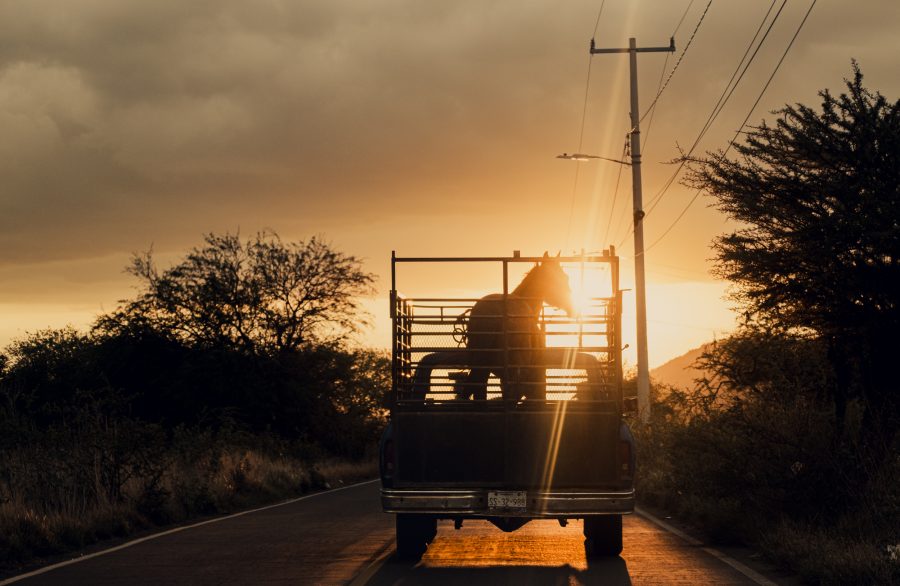
The film has real shadows and atmosphere. Let it
Film is not a slider. So when you scan it don’t be like most lab techs trying to make it HDR and getting nasty shadows. I see this a lot with lab scans. We’re so conditioned by digital. But reversing that lets our edits be grounded in an organic process that is real.
Studying film does not make me stop editing black and white with Silver, Using Natural HDR for bold color, or going to Photoshop to add Alchemist to a portrait.
But that starting point gives constant edits that are fast and always stay on point. Whether you use film presets or shoot and scan your own film you will see this result.
Everyone wants to define what great skin tones are, or the perfect greem They criticize us on social media of we don’t comply with the “norms”. But in truth, like every eye sees different, every film sees different but they all work in almost any situation and feel RIGHT!
That’s harder to do on digital. Pushing sliders may not be bad, but it often results in edits that are really extreme and unnatural. Unless you are creating those edits with intent, they will usually come back to bite you and often what looks good on one photo looks bad on another.
So in studying film color and using that same chemical-inspired process on Film Lightroom presets and styles, we see that a balanced process on digital can also work on nearly everything. And where it’s off a bit, I can quickly correct it with Chem-Kit to turn things up or down.
You can do the same in your workshop and get sessions that are edited with the consistency of a true pro.
Making a preset and calling it a film is easy. But making a digital film look like film is really hard. It’s not something you do manually and most film presets don’t get very close. In today’s video, we solve that.
This update brings a lot of small refines and bug fixes to mods and film looks. You’ll find updated presets marked 2.1. With any color, tone and mod improvements across the film styles including subtle tweaks to make films like Portra and Ektar even more accurate to film. Also, the new Digital orange fixer shown in this training video is in 2.1 and very useful.
I love film. But it’s expensive so I need film recipes that work.
So when I went to work on Filmist 2 it was after 5 years of refining Filmist V1 and sending our many free updates. I wanted more though and that’s where the idea of True-Film was born.
I also wanted a cleaner pack of presets and better darkroom-inspired mods like push and pull tools that emulated the way contrast changes when you push and pull your ISO in the camera.
It meant shooting film and digital side by side with the same light and settings. In fact, in film tests, I use the same aperture, shutter speed, and often the same vintage lenses to get the exact result.
Still, that’s not enough. Many films are long gone and even films I can use vary by batch, how people scan etc. So I have to test not only my scans but also look at how other people are using that film and what its result should look like.
In case you missed the launch video it gives a lot of quick examples.
For example the new Gen2 Porta 400 Film preset.
This is tough because this film is all about skin tones. You would think with the endless digital tools in Lightroom Capture etc that nailing out is easy. But getting a perfect film skin tone is super hard. I spend hours adjusting curves by one point and then another.
Sometimes I doubt myself and then I compare it to other products and presets to create a film that looks digital and realizes it’s working. It’s not that these are not good products, it’s that getting the film right is that hard, and in FIlmist it’s the entire focus.
Does that film feel boring or flat?
I’ve made videos about basing edits with film presets and how it stops you from pushing sliders too far. We’re used to extremes. From giant movie exposition to over-saturated photos. And it’s OK to push up your saturation. But start natural!
When people first try film presets sometimes they think it’s not enough of a change. It’s too flat or plain. This is because we’ve been conditioned by digital to over edit and it makes photos that seem fake and unnatural.
I think that’s why many film tools don’t look like the films. They are over-edited to try and please a before-after sample and make it look intense. But it’s not true to the film.
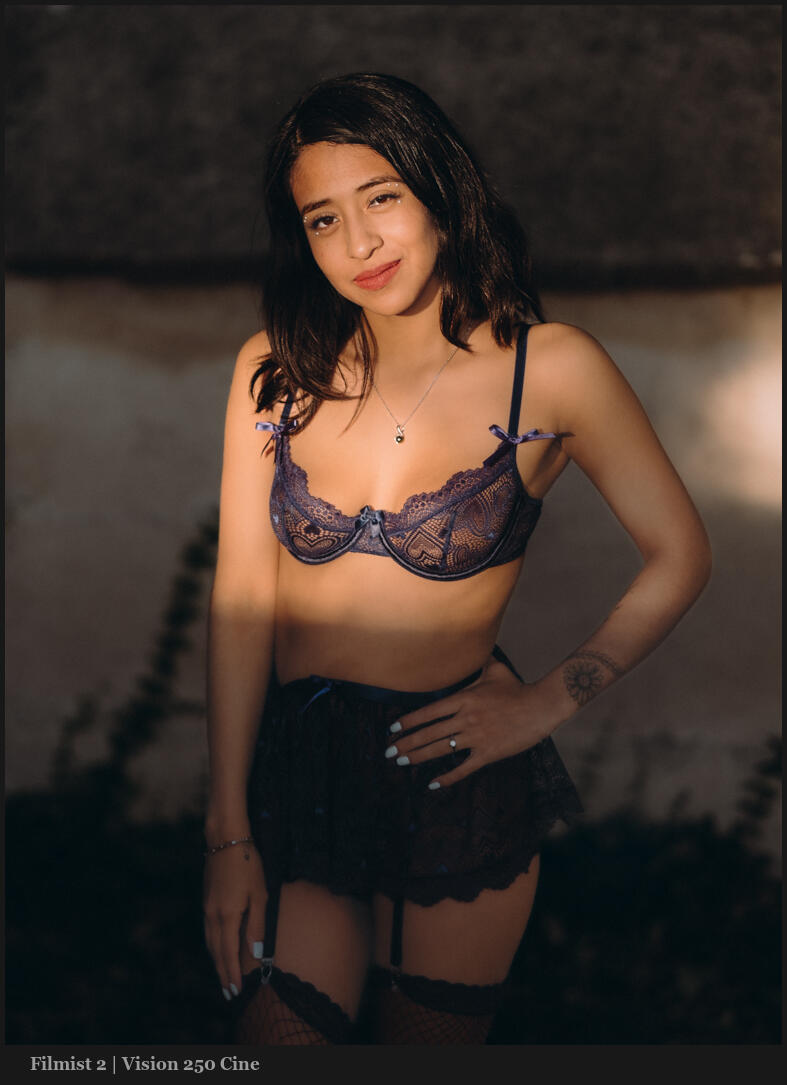
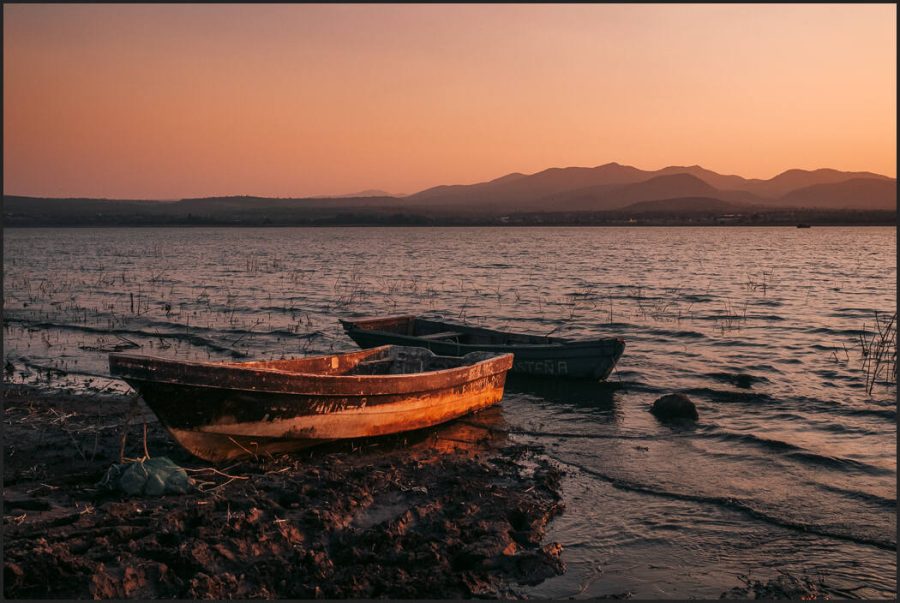
Vision 250 Cinema film preset is warm and versatile.
2024 is a year where natural things win.
People are jaded by fakery. In an AI world, professional photographers need to take away the disbelief people have started feeling. real photos are becoming more valuable than ever.
I designed these presets to be adjusted. So you can push op the intensity or add a mod like the Push contrast mod that mimics how film contracts increase when you push in the darkroom.
The result of these true-film ideas is film looks that are true to the film as much as we are possible but that also can be manualized to your needs and still have natural real-world feelings contrast and details.
The new Ektar 1000 presets for Lightroom and Capture one is a great recipe alongside Natura 1600
The future of making these presets more True-Film.
With a mission of vitality and accuracy, I have a lot of free updates planned for my FIlmist users. My shelf is full of film right now that I’m doing more tests on. I watch countless videos old and new to try and refine films that are gone from shelves. These need to be preserved.
I’m working now on doing darkroom prints to further refine recipes because even scans are not always the same. Every scanner and software converts things differently. So I’ll be doing darkroom prints to reference and refine the recipes.
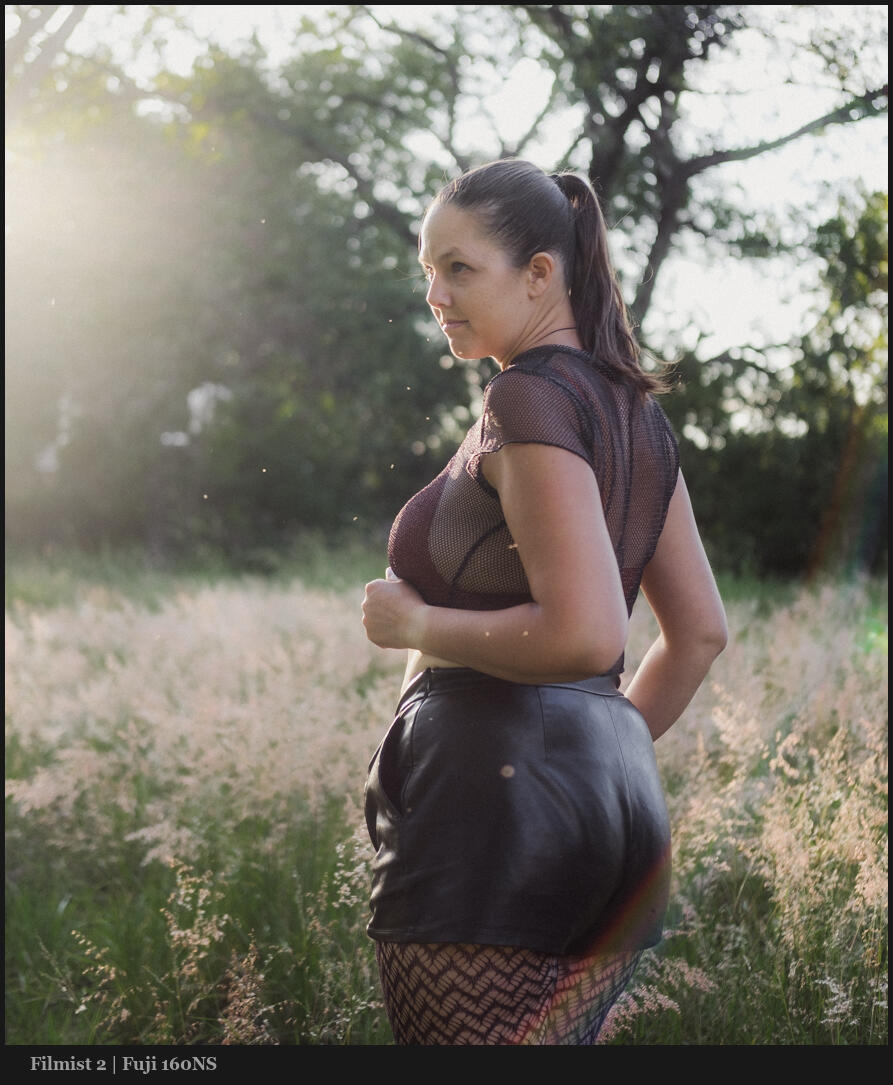
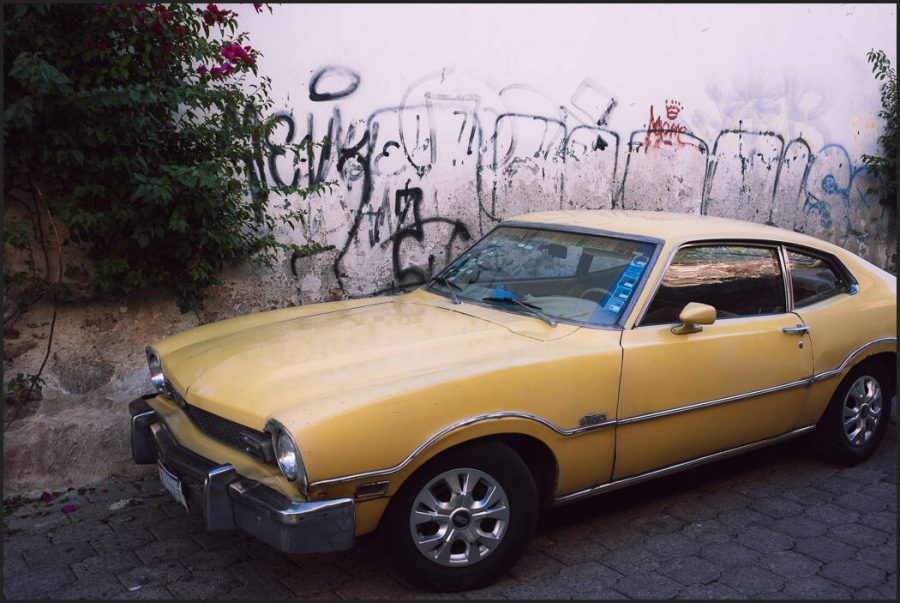
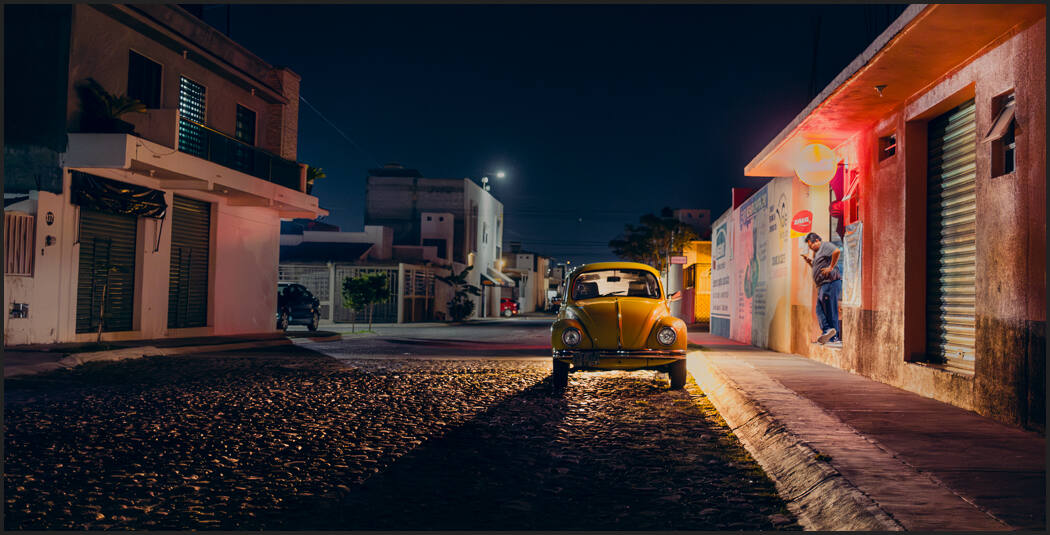
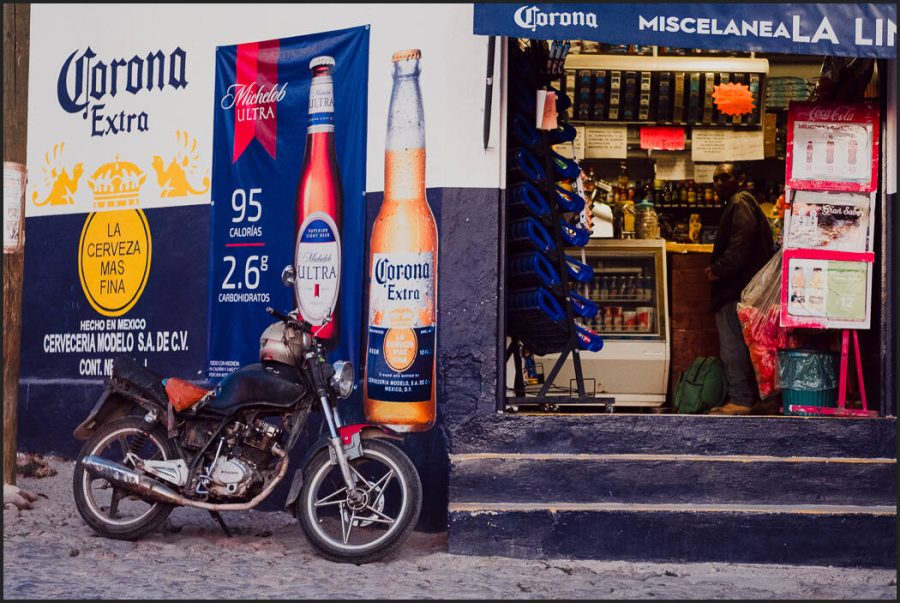
The Filmist 2 Velvia 100 preset on this street photoFuji Pro 400h is no longer available but it’s a classic much like Portra and is a powerful preset
Grounding is having a starting point. Filmic Lightroom presets and styles help a lot. But your style can still be whatever you want. I’ll show you why in today’s video.
Why do most in-camera profiles look bad? Why do I come back to an edit I liked and it seems gross? It’s because digital edits lack a reference point.
You lacked a baseline and went too far. It happens to all of us. Filmic Lightroom presets and styles are not just a hipster fad, and if you’re still not using them you are missing out. So first we’re going to base our edits as close to real analog film as possible. Don’t worry you don’t have to stay there.
Much like Shadow Hacking, which brings you back to in-camera thinking. Filmic Lightroom Presets presets and styles seem simple but are not. I was a skeptic. But today Filmic Lightroom presets are my go-to for every session and for the past 5 years I’ve been developing better film and filmic presets to improve this process.
There is a shadow atmosphere happening here even though the EKtar 100-like. A level 2 film preset in Filmist is not super intense it constantly works and is a grounding development process.
2. Reset your editing brain.
You might be thinking… Nothing new here. But the more you use this process in your edits. Level 2’s especially. The more you realize that these film stocks lasted decades for a reason. They seem simple at first you soon you realize well they are grounded and complicated.
Apply a film you like to every photo. Do your quick exposure adjustments and get the session looking balanced. When you edit with film-like presets and filmic styles you get perspective.
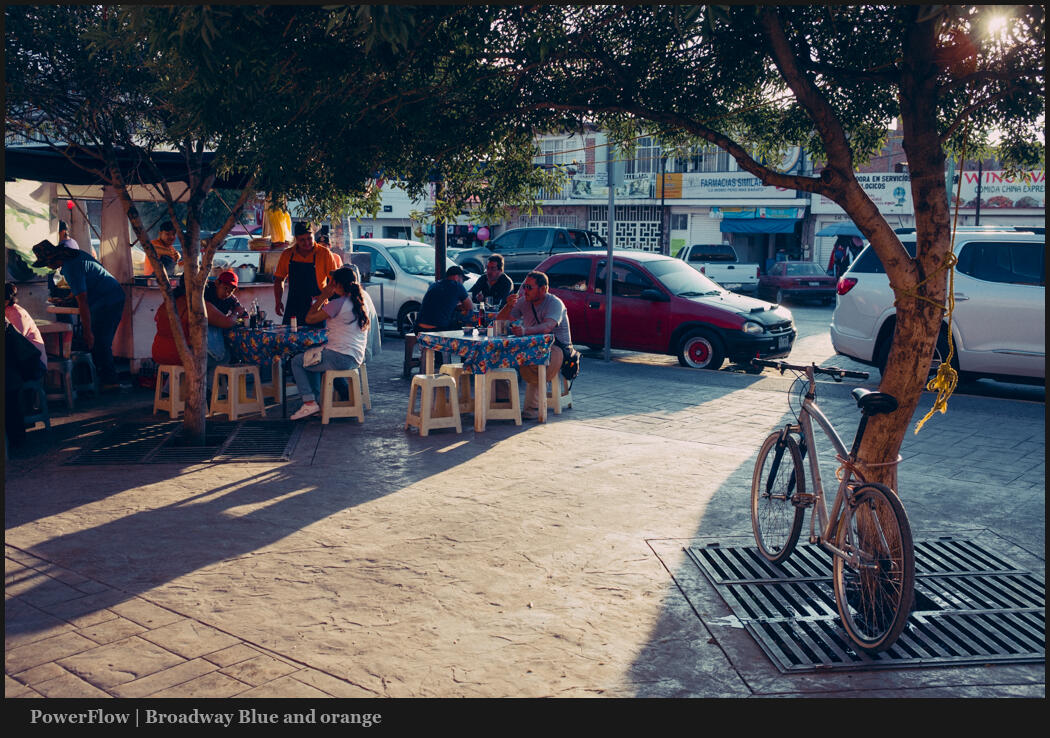
Street air is a preset from Street’ist. This level one filmic preset has a lot of color and nuance like a chemical film, but does not try to be any specific film.
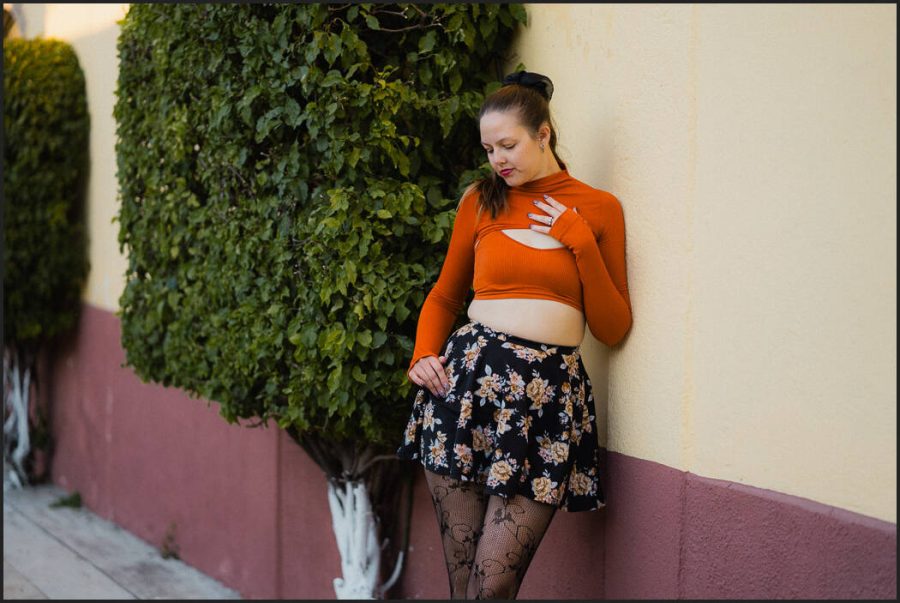
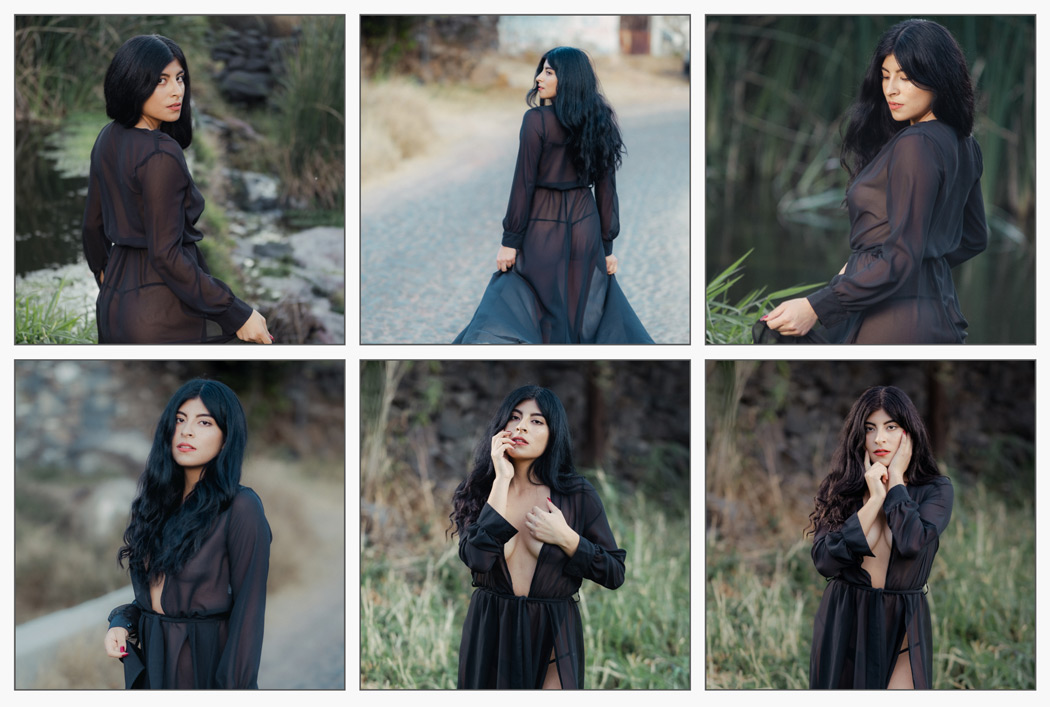
Look how I came back and re-edited the session with Portra 160-like film preset and a few mods. Each pose is slightly different, but they all have a constant feel. I like them gentle like this but my old self would want to add more mods, saturation, etc. That’s fine, as long as you have grounding to keep you on point.
Soon you’ll find yourself going back to old edits and now they seem strange and overcooked. You reboot your brain in terms of editing. It does not mean other filters and edits are not important anymore. I still use Natural HDR or Bella 2 which are not specifically filmic.
A re-edit of a session a more refined film edit and a good grounding from analog.
In this AI World, real things are gaining value.
And so we relate to and believe in analog things. Especially in this new AI-driven world where sometimes everything feels fake. This level of photography is going to become more important every year and Filmic Lightroom Presets help me stay focused.
Yes, there’s a level 3. Shooting digital side by side with the real film and using that as your grouping for shadow, color, and editing. I do this to practice and further refine Filmist for example but it gives you even more grounding and perspective.
Even the way we adjust exposure changes with analog. Pushing the exposure slider is not the same as pushing film and as I’ve become more advanced in my Film presets, even the mod presets, curves, and exposure settings have improved.
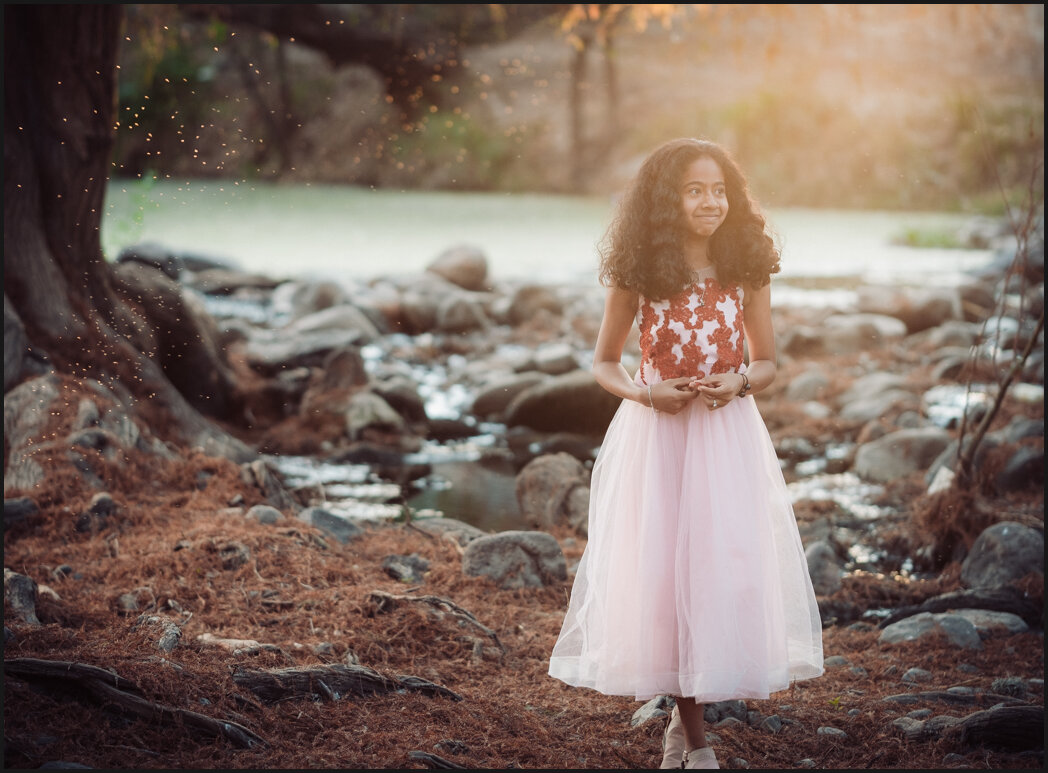
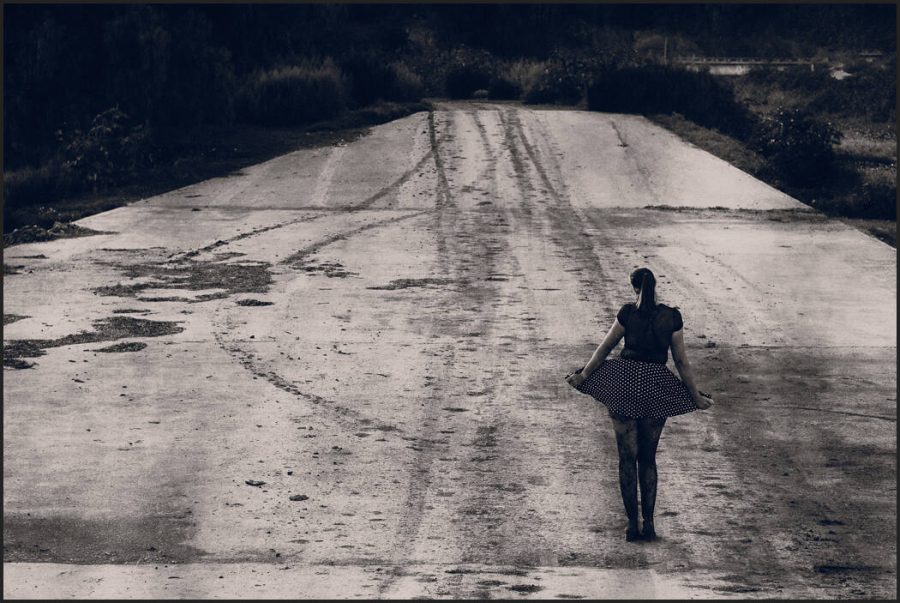
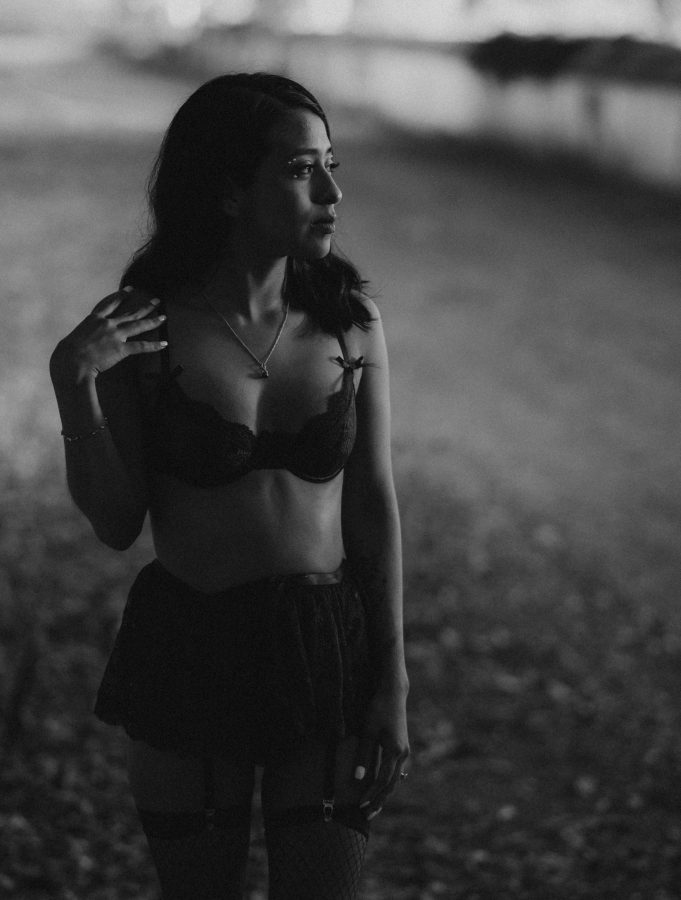
The creamy shadows of this Delta 3200-like. You can mod or turn these presets up to enhance the effect. But I start simple and natural to get a good grounding.
3. Edit grounded. Then move outward.
The grounding keeps you constant even when you’re not doing the filmic style.
So for example I will go to Filmist and use Potra Ektar-like film lightroom presets. Maybe Fuji 400h. I know these analog looks withstood the test of time and that our minds relate to them.
I don’t have to stop there and I may not even stay with a film look. Grounding your edits sounds boring, but it actually makes you flexible and creative and keeps you out of a rut. So even when I go to HDR, that grounding is affecting my edit.
It does not always stop at a preset. Sometimes I take go further into Photoshop and use chemical-based edits like this cyan plate platinum mix from Emulsion 4 actions. Analog just keeps giving.
So I look at the mood and shadows of my shoot. I may decide to veer from film and use other effects, actions, edits, or presets. But now can really feel where I am in the edit better.
It’s about rebooting the brain to see past the temporary creative blindness that the ever-changing sliders and tools can give us so that we use those tools better with each unique photo session.
At least grab the free Filmic Lightroom presets, film styles, and LUTS I linked above and try them for a while. If they seem not intense enough that’s normal. Your editing brain will soon reboot and you will open up a totally new horizon.
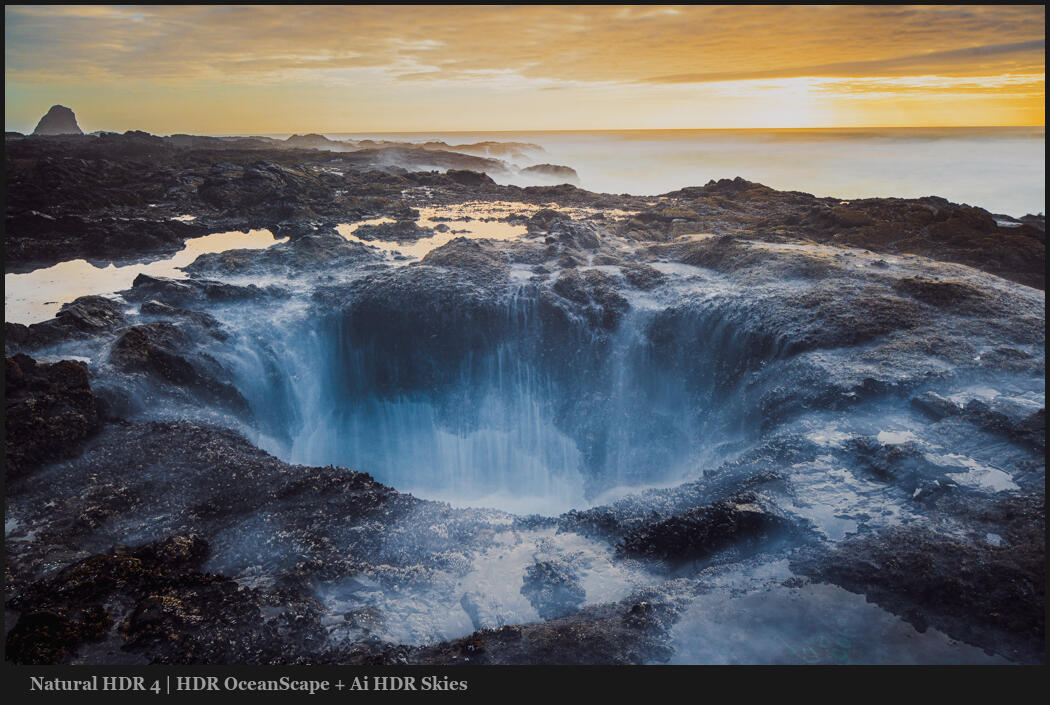
This is a Level 1 Filmic Lightroom preset from Natural HDR. That is it’s using film tone and color inspiration but not trying to be a specific film. I use these liberally but not as my grounding point.
So Let’s Recap…
Ground the baseline of your edits with edits as close to real analog film as possible. Use Filmic Lightroom presets and film styles, or even create your own.
Edit photos with favorite films and use that as your grounded starting point. I will often start with Portra 400 or Ektar as my baseline because these films work on anything and I can apply them to an entire session.
You can expand out with mods, other filters, presets, actions etc., and the final look for your project. Use your first edits as a reference to not edit too far. Staying with the film is also fine. I often stay with the film look/
I hope this helps you refine your edit process as much as it did for me. Let me know in the comments and if needed I’ll do more videos on this. Gavin Seim
With Filmic Lightroom Presets like Portra 400-like, you almost can’t fail. Styles like Velvia 100 like let you stay colorful and still know you’re on point and not over-cooked.
Photo contrast was normal in film but is so misunderstood in digital. And the contrast slider is not helping. Not yet attended Shadow Hackers LIVE? It’s a game-changer. Sign up here for free.
I’ll show you how to create great photo contrast and stop the slider.
I make use of contrast. But not like they teach us. The contrast slider It’s last on the list, not first.
This week I worked on Silver Presets v 5.3 and there are a bunch of new updates which I’ll show in today’s video. But what I teach you in today’s video is actually where the refinements of Silver came from this week.
In general digital photography is pushing everything too far to the right and in today’s video we’ll see how that does not improve our photo contrast and we[‘re being taught contrast all wrong.
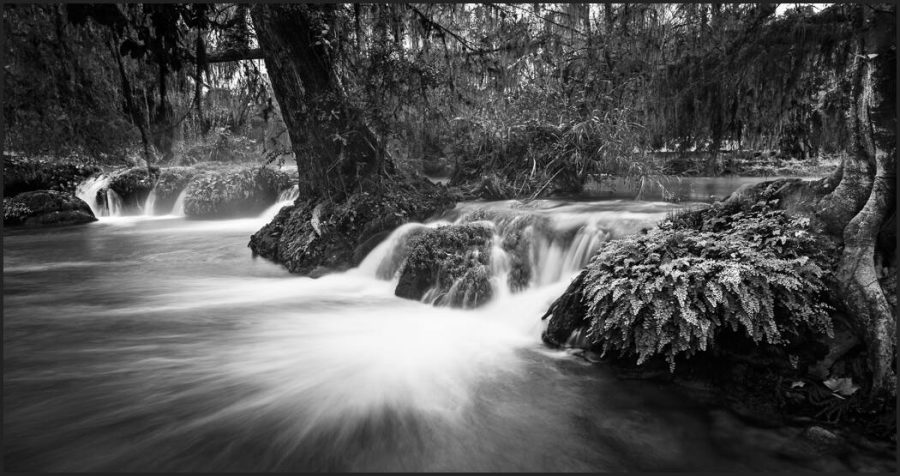
You can’t fake it. Perfect morning mist, light mixed with shadow THEN good processing wins.
Silver 5.3 update.
I always use what I discover to improve our editing tools. Today is no exception.
Today’s video was my mindset when I did the Silver 5.3 Black and White presets update. I’ll cover the updates briefly in the video as they related to this. But even if you’re making your own presets take note because these tips are really powerful in black and white presets. If you own V5 already you can log in and update.
Shadows hold your photo contrast hostage.
SO you have to hack the shadows. You may be watching this video as a primer before my shadows hackers. But the slice of shadow we focus on today in managing photo contrast and ending our reliance on the slider is very powerful.
Even with a Classic Chrom Filmist edit, this flat photo lacks direction. The shadows don’t lead the eyes.
Photo Contrast is the heart of your photo.
It’s not always the same. Sometimes that contrast means deep blacks, other times misty darks that blend with bold highlights. It’s the separation they create that I teach in other workshops and videos using Zones, editing, and in-camera techniques that lets us draw them out.
It’s the mixing of all this combined with the organic emotion or impact of a photo that brings it all together to make a great image filled with perfect photo contrast.
Go try these tips in your Photo contrast and then go further with Shadow Hacking.