White balance defines the color temperature of the real-world light you’re capturing in relation to your sensor based on middle grey. Then the software can set it to appear balnaced. OK, so what is white balancing in photography? Well, it’s usually second to every other setting on your camera.
Photographers make you fret so much about What White Balance because they don’t understand how it works I’ve been doing this for 20 years and made many arrogant mistakes. So I’m going to explain it practically in this video.
Time to Stop worrying about what white balance is!
So do you need to white balance? Usually, you can do it in the post, leaving it on auto in the camera. If you shoot JPEG only pay a little more attention and make sure it’s visually the way you want it in the camera. With RAW, you don’t need to worry about it at all.
So Gavin, what is White Balancing in photography then?
When editing in Lightroom I’ve often said… Good presets should NOT touch WB. When I make presets for Lightroom and Styles for Capture One like Filmist or Natural HDR, they are WB-free. It’s part of why they work great on any photo you use them on.
White balance helps you control the warm and cool tint of a photo. Like the base hues, separate from other developed settings. WB gadgets are almost never needed. Especially if you shoot RAW since all possible variations of white balance are in the RAW file.
There’s really no WRONG white balance, but…
Why is white balance so confusing then? It was not like this in the film days. The hype over White Balance came after pros started using digital. It gets very technical. But back in the film days, we had two or three white balance options. We even used the “wrong” ones at times for creative styles.

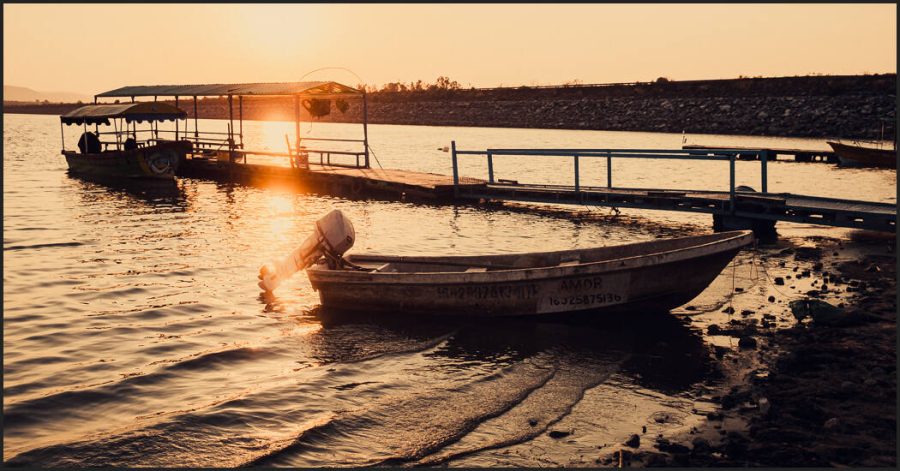
Don’t use it for effects! White balance is for light color correction. If I want a gold look like this, for example, I could crank the temperature slider right and adjust the tint. But WB does not work great as an extreme and it does not copy to other photos. Strong looks should be done with good use of color channels and curves. In this case, I just used the Black Gold preset, from Gold-Chrome.
Digital arrived and companies created products to “correct White Balance”. In reality, most photographers don’t need anything for White Balance. Because anything goes if it works in your final look.
This is not laziness. If you’ve seen my videos or attended my Shadow hackers class, you know I’m huge about getting it right on camera. But on a RAW file WB settings literally make no change to your file. They simply add a marker in the file to tell the RAW processor what you set it to.
Use Auto WB in the camera, not in the software!
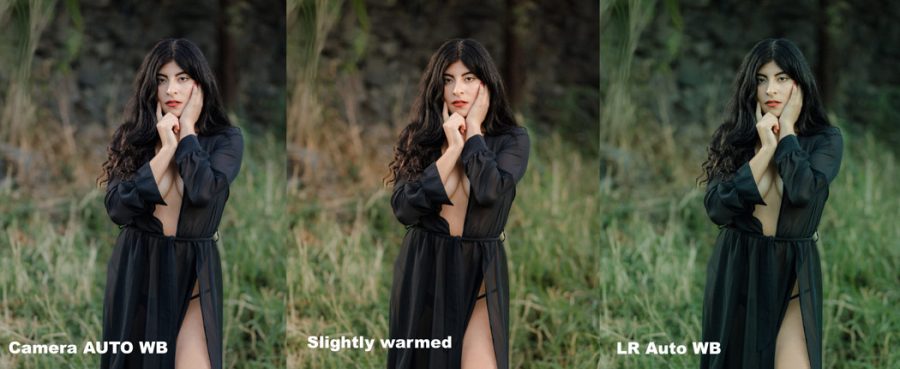
You can leave the camera to Auto WHY and it usually makes it look very good. Auto WB in software like Lightroom, Capture One, etc however usually messes it up. I don’t know why, but it’s not at all the same and usually makes the photo ugly.

Look at this example. The Camer Auto WB was fine. After processing this with the Filmist Portra 400 preset. I warmed it up. Not because it was more “correct” but because I felt the warm light worked well.
Keep it simple, instead of making this a distraction. If you follow this guide you will never have to worry about White Balance. You’ll use it as needed to balance your photo to the color tints that work for you. What a grey card says is correct does really matter. Sometimes you want a warmer or cooler look and in the end, the look. Make every photo yours.
I hope this helps you understand what is white balancing in photography and what it’s not. Leave a comment if you have feedback. – Gavin Seim

It's worth pointing out that color checker cards are not white balance gadgets. They are color balance gadgets, which encompases more than white balance.
Color checkers are for getting more accurate colors. In modern use with digital cameras the typical procedure is to capture an image under a specific lighting condition and run it through a program that uses algorithms to match the raw linear RGB values to the nominal RGB values (well actually, this calculation is typically done in XYZ or CIELAB space) and save as a profile. This is valuable for ameliorating color biases inherent to a camera, which is useful for art reproduction/documentation, matching different cameras, or matching different lighting conditions. It's also useful if you want to have a good neutral starting point for artistic edits.