Lightroom 2024 brings this amazing new panel called Point Color and it’s really good. Today I’ll show you everything you need to know to master it.
Lightroom Point Color Secrets. Is it better than Capture One?
You can add spot color instantly within pre-made masks like Elegance Speed Masks. Also download my free film presets to play with the advanced color and see how it works beside balanced use of HSL sliders.
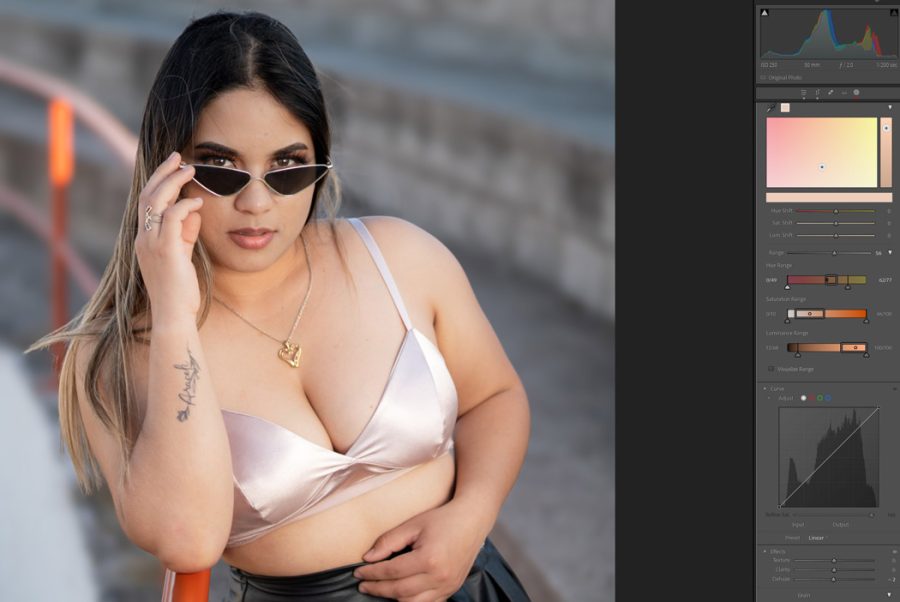
Use Point COlor when you need precision.
Much like the advanced color in Capture One. Lightroom point color lets you go beyond the HSL basic color sliders. Select a color spot and you’re in.
Don’t stop using HSL because the sliders we’ve been using for years are clean and you rarely get the artifacts or problems that can come from more precise selection and maks.
That sais point color seems to naturally work flawlessly. Only turn the range down as needed to avoid hard lines and don’t be afraid to use the advanced adjustments.
In the end, point color is not to replace HSL sliders but to give you more control when you need it including in masks like we’re doing here in the video.
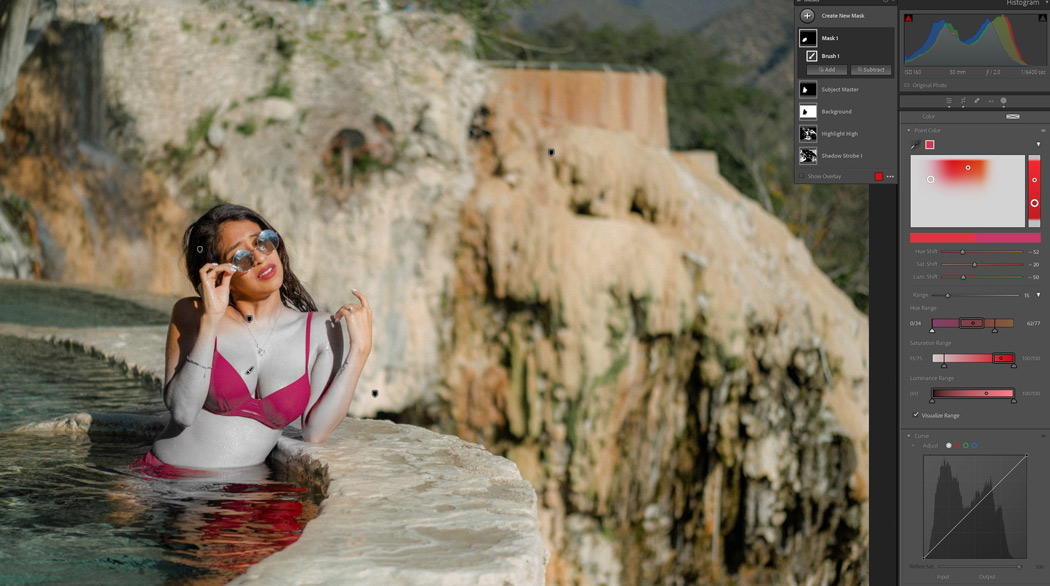
Another level of masking.
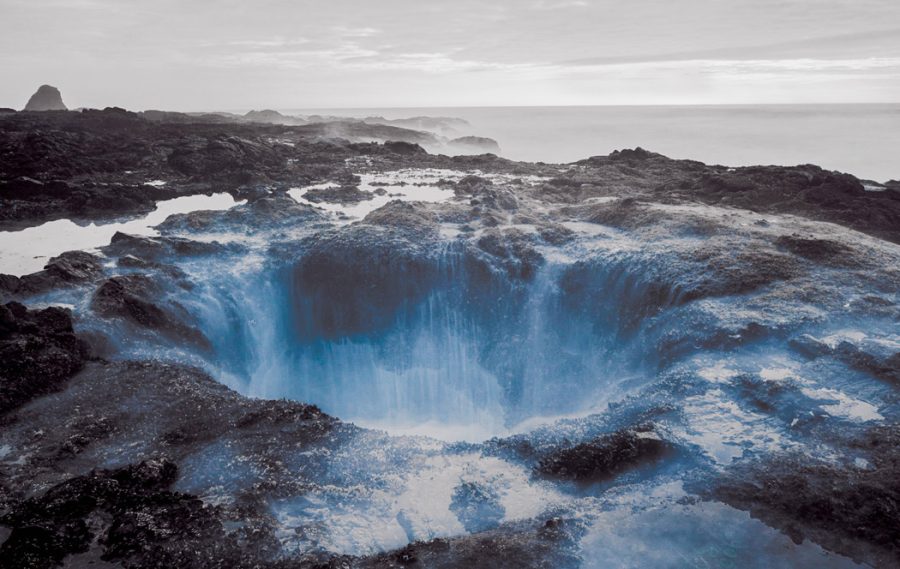
The only real choice you have to make in point color is to decide whether to use it in global development settings, that is the selection you create based on color and tone will affect everything in the photo like here in the water of Thors Well.
Or do you want to be more specific? Then just ass your point color within a mask brush on, a portrait mask, AI background. You can use it anywhere and it works the same.
Now you may spend some time making these settings and I can’t find a practical way to copy the point color swatches you made into a mask from the main development, This would be useful. What we can do is add various mixes into presets which you’ll see in future updates of my preset packs.
Lightroom Point Color VS Capture One Advanced Color?
Objectively speaking yes I believe point color wins this battle. But they are both powerful and will achieve the same goal.
Lightroom Spot color is more visual, how more ways to adjust settings, and has a 3rd dimension in direct luminosity control in the selection that Capture One lacks.
Some will argue that because Cap[ture also has a skin panel it’s better. But in truth, the skin panel is more limited because it’s still just an advanced color selection.
Yes, capture one does shave have from uniformity sliders in the Skin panel, but the selection is not that precise. Lightroom on the other hand can make an instant subject mask and you can use point color to define the tone and balance of that color on the subject ONLY.
In the end, use what works for you/ Lightroom seems to have leaped ahead once again on one of the few features that Capture One still had as an advantage. Not capturing one is really only looking at a lead in tethering.
We’ll see more in our annual review of Lightroom VS Capture One in 2024 when both apps have new versions and Phase One has a chance to do something big.
Gavin Seim