HOW Large Can You Go?
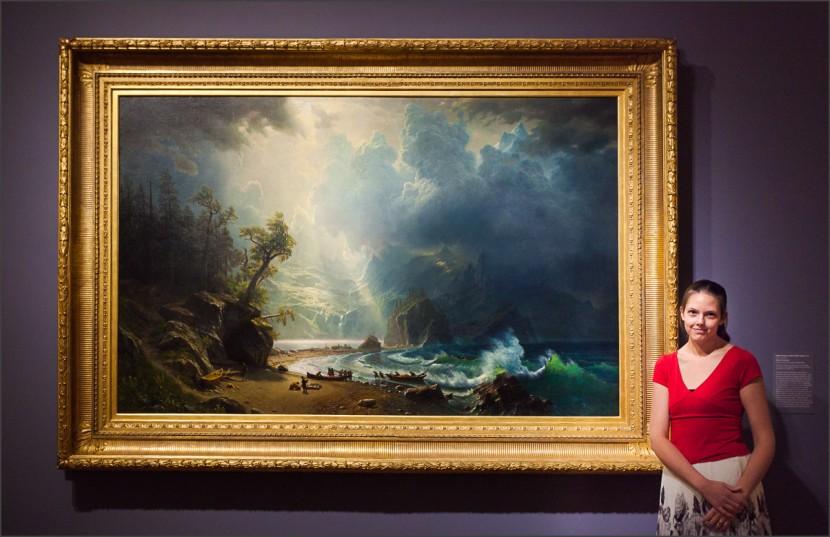
I’ve spent many years studying how to make large wall prints. Appropriately sized wall decor would be a better term. But for today let’s talk about how big we can go. This is pretty short, but if you really want to cut to the chase and get printing, you can skip to the bottom.
There’s a lot of confusion about resolution and print size. I’m going to clear it up with real world experience. I make mostly wall prints and I’ve studied them for years with masters like Ken Whitmire and photographers at the annual International Wall Portrait Conference (yes you should go if you’re serious about wall art).
I’m passionate about quality in my prints and have learned what matters. What effects real wall prints that pay real bills. Today’s cameras are amazing, but just for perspective, Ansel Adams often used 8×10 sheet film. While it’s hard to compare film to digital, Adams could have had a rough equivalent of around 400 mega pixels. This makes our digital cameras look paltry at times and it’s one of the reasons I started using 4×5 film for some of my own work as it can give me 150+ effective megapixels when wet scanned (more about that here.)
OK but lets be realistic today and say we have an 18MP file with resolution of 5184×3456 pixels. Our file comes in at just over 11 x 17 at 300 PPI. Note that PPI and DPI refers to Pixels Per Inch or Dots Per Inch (a printing term). For today’s purpose I’ll just use PPI as it’s the more common term in digital.
PPI and REAL file resolution (actual pixels) are not always clear. For example I could take our file in Photoshop and set it’s size to 30×20. Unless I told PS to Resample (or increase the resolution) of that file, the computer would now see this file as a 20×30, but actual resolution would not have changed, so now it would show as being just over 172 PPI instead of 300. There will be less pixel per inch when printed at the larger size.
I’ve just told the computer our image is larger in physical size, but what really matters is our real resolution. Here is a screen capture to show how the computer sees the print size, even though pixel quantity is the same.
Say I printed our file as a 4×6. While I usually would not want a print that small, see the wall portrait article, at 4×6 our 18MP file would print out at over 860 PPI if I left it at full resolution. That’s a lot since most human eyes can’t see much above 200-300dpi (think Retina display on your iPad). So my file has more than enough pixels. Printing with that extra PPI won’t hurt anything however.

Resolution VS Large prints.
This is where things get subjective. I’ll speak experience as I regularly produce prints 40 inches and beyond. With our 18MP file we know we have plenty of information for a little print. What about a serious print meant for the wall. Let’s look at that 20×30 again. Go into the “Image Size” box of Photoshop and change the file dimensions to 20×30, without altering the resolution as I did above. I left Resample un-checked, which means I changed the print size but not the amount of pixels in the file. We now have 172PPI at a print size of 30×20. Are you getting it? This is telling us how many dots we have to lay on paper in terms of real life printed pixels. 172PPI is not bad. But our eyes can usually resolve 200-300.
So How Large Gavin?
If you make small prints, say under 24 inches. Resolution should not be much of an issue. But say we want a 50 inch print. If I set our 18MP file to 50 inches wide without increasing the resolution; the result is that the file is now only 103 PPI. Not so great. We could print this, but we’re likely to see some pixels when we look very close.
To get an idea of how it will look, I turn on my rulers in PS (View/Rulers) then zoom up till an inch is a real world inch (I check it with an actual ruler if in doubt). This is not a perfect representation, as print and screen are different mediums, but it will give me a good idea of how pixelated it will look – In practice I’ve found that I start to see detail loss when I go 36 inches or above on files this size. That does not mean I won’t print them however.
How Low is Too Low?
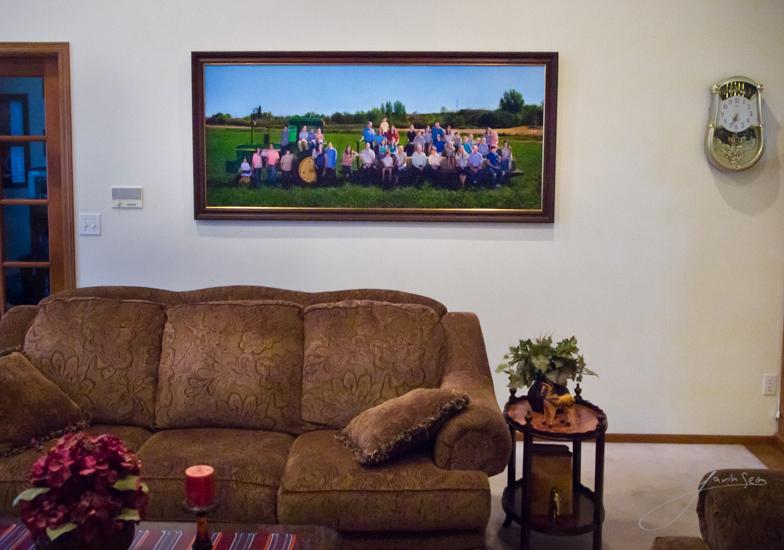
How many PPI do we really need. Again this is subjective. It depends on what you like, how close it will be viewed etc. That said I personally want great detail in my prints. Even close up. I’ve experimented with it and asked labs about it. In general I’ve determined that if an image falls below 150PPI, I’d better do something about it. I like to print at at least 220 PPI.
What Can We Do About It?
The native resolution of our file is 5124×3456. We can’t change that.
What we CAN do as interpolate or “Resample”. Essentially this means that rather than simply printing with too little resolution, we tell the computer the resolution we want the file to be and the software does it’s best to fill in the gaps. Let me be clear. This is NOT the same as having native resolution, not by a mile. The computer is trying to add pixels that were not captured by the camera. It helps, but you always want to have the max native resolution possible.
The Resample option inside the “Image Size” window of Photoshop you saw above works well. I often take it a step further and use the Perfect Resize plugin from OnOne software. In my tests Perfect Resize seems slightly better than what’s built into Photoshop.
MORE Than Resolution!
Here’s the kicker. It starts in Camera. A perfect exposure means less fixing later and better detail. See my EXposed workshop. Get a great image in camera and make it sing with great post processing. This means using RAW files, have less file generations and always stay in 16 bit when you go to edit details on Photoshop. Edit with a plan, sharpen and Resample at the end.
I usually do all my edits first, keeping my original file at native resolution. I Resample last, just before sending to my printer. I generally Resample to 240-300 PPI at whatever physical size I plan to print. In the case of our 50 inch print, that means I want a file that’s 15,000 pixels wide. Almost triple what we started with. This Resample is not as good as if we truly had those pixels from the camera. When looked at close, a large Resampled image can look a bit painterly and it gets more pixelated the more you expand it. But resampling is still a useful tool for larger print sizes.
Cutting to the CHASE!
THIS is what you came for. — Assuming good post processing I will print our 18MP file at 40-50 inches all day long. On canvas at least. On glossy paper or metal with no texture, I may stop at around 36-40. Yet even on canvas, I’ll start to see detail loss above 36 inches. That does not mean it’s a bad image or that others will see it, I just want to be aware of it.
With my Sony A7R II at 42MP, a good file, good processing. I can pull off 60-70 inch prints all day. A stitched pano, I’ll be printing 100+ inches without a problem, similarly on my 5d MK2 when switching. A single frame that I composed poorly and have to crop heavily. I lose a lot and it won’t print so well.
But it’s not just pixels. Learn the Six Keys to Image Quality and know what really effects your file. Do it right. I use a tripod, I know my light, I understand exposure. Every one of the keys matter, from your optic to your post processing.
___
Short story: Recently I made a great Fall image on the A7R, it was stunning and I was excited. I used a tripod, I planned my light. But when I looked at my best shot I realized only on very close inspection that I had a bit of motion blur in the foliage. Very subtle, but with 42MP to work with the blur was there.
I had the pixels, but I used my finger to release the shutter on a slower exposure, instead of a timer or cable. I got sloppy and my 42MP gave me no more than 18mp would have because the detail was flawed. I was able to return the next day and do it right in similar light. But often we don’t have that luxury. It’s a lesson I won’t forget.
___
So ask yourself. How far it will be viewed from (a billboard is a huge print, but seen from much further away than a bathroom wall). What is the medium (a glossy print shows more pixel artifacts than the texture of a canvas print). And of course, what is your quality standard. How much detail do you want?
I’ve made smaller files go larger by refining the file, hours healing away artifacts, adding a subtle grain and the like. In the end we can only work with what we have. Cameras are getting better and they do amazing things. But as high as we think megapixels are, we still need more. Seeing what film can do makes you think. Go to a gallery of a photographer that uses large format film to see what I mean.
We’ve talked about resolution, but as I said in my story; no matter what your resolution, you won’t get a good print from a poor image. Making really amazing prints demands that every step of your process be top notch. Read more on this site and subscribe to my newsletter as I’m always speaking on this stuff. Also listen to PPS podcast #74 – Crazy Awesome Image Quality where I go more in depth on quality.
Good luck… Gav
