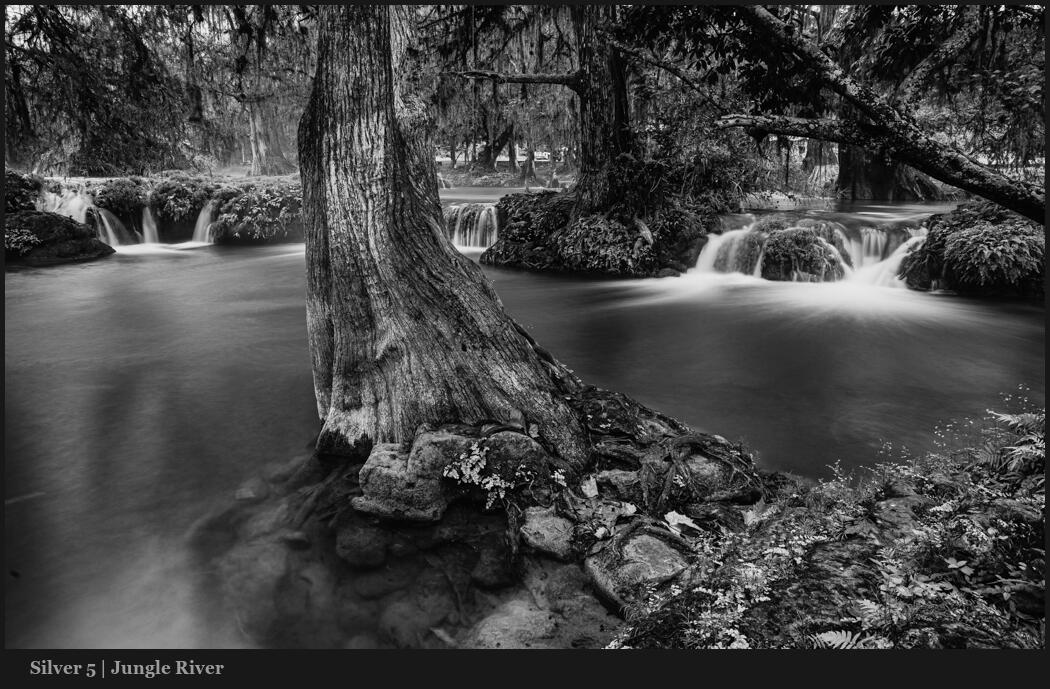
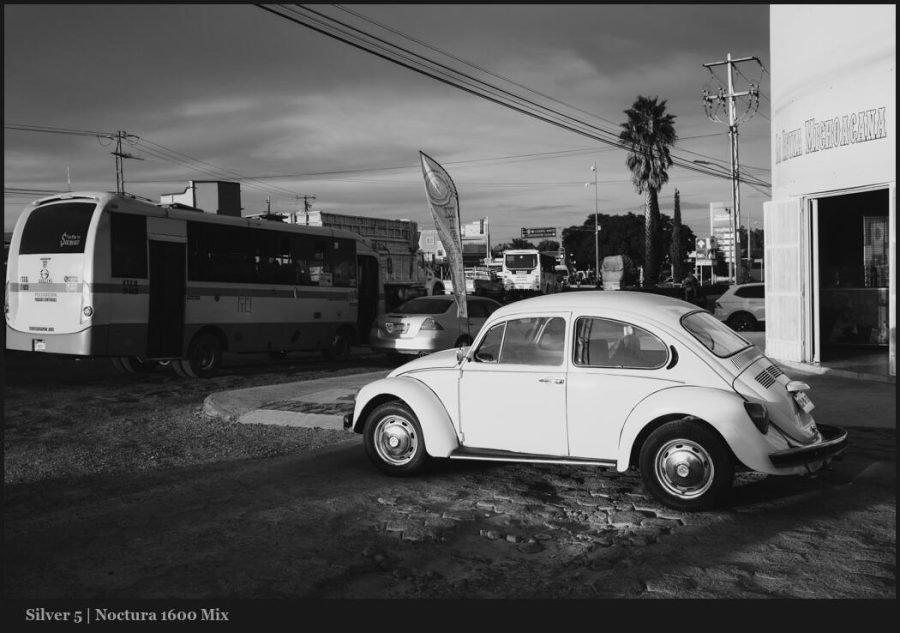
Most of us make black and white by converting color RAW files. That’s the best way. But even if you shoot monochrome digital or film, you must use these colors as filters.
Drop Color for black and white is just as magical as in color.
You’ve probably seen my video about Drop Color how 2 simple colors eliminate the ugly digital look and transform your process. It’s super easy but a game-changer. But what I didn’t tell you in that video is that this works amazingly in black and white with a slight twist. I’ll show you…
Like the drop color method of a color photo, the color channels on black and white conversion work the same on luminance values and help you create better black and white really fast.
This is the same concept as using the color filter on black-and-white film to limit the light of certain colors and create more contrast and tone. Only in digital do we have more control.
Don’t get locked into one slider direction.
So generally a drop color is pulling done the saturation, or in this case the brightness (luma) of a color channel in HSL. But you can always push a color like I show at the end of the video.
Remember that these methods give you control. But don’t get locked in. And if you pull one color, push another, and see what happens. Usually, blues are pulled for better skies, but sometimes you push them.
It’s the same with green and orange. I’ll show you a great example at the end of the video.
Use this to key your background!
Pay close attention to where I mention exposure. How all these sliders are essentially small bits of exposure but for example on a single color.
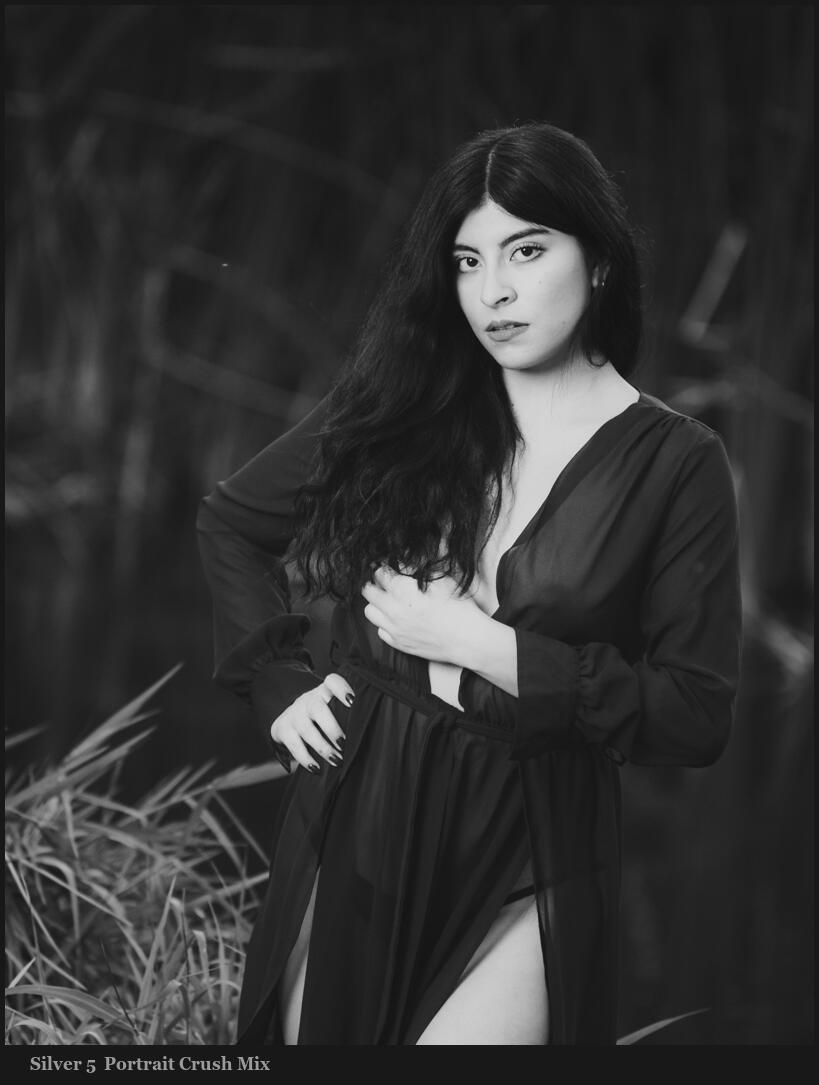
So look at the example I show you. By pushing up the skin tone like I did the image gets a little too bright for what I’m trying to do in the portrait. This is actually a good thing.
Because pushing the luminance values in my black and white makes the subject too bright I compensate with an overall minus exposure until the skin is in the Zone I want.
The magic is that it maintained the subject brightness while darkening or keying the background and creating a natural dramatic contrast.
Put the tips I showed you to work with drop color on your black and white photos and watch your edits transform overnight.
Most viral photos you see now are Ai AI-generated FAKES. And the more you comment and say it’s fake, the more the algorithm rewards them. There’s no point in pretending. So how does Cinematic Technique help us win?
Use cinematic technique naturally while editing and WOW!
Cinematic photography techniques beat out Ai fakery…
Studying pictorialism helped me see that all this fake Ai photography has no emotion. We win when we stop thinking sterile and boring. If we to discover cinematic techniques with true feeling.
AI is here. You need to re-wire your photography process if you want to survive.
Cinematic photography. Feeling and emotions. Think about when you watch a great movie or see a show. You don’t want perfect sterile blandness. You want to feel emotion and life!
The feeds are full of Ai fakery because compared to plain boring photos they seem incredible and people don’t know. How do we complete impossible scenes that blow people’s minds? But creating more emotional photos in camera and in post.
You need to Re-Wire your process for Cinematic photography
I would love to say. hey use my Pictrialist actions, my Filmist presets, Emulsion etc and you will always have amazing cinematic photography.
But I don’t make these tools to fake it. As I showed you in the video by re-wiring your editing process you will discover the emotion you already felt taking a photo. And you should feel something.
This starts in the camera. You can go back and edit with pictorialism and cinematic photography in mind and vastly improve past photos. But when you start planning for it in Camera, everything goes to 110%
Detail VS Atmosphere in Cinematic Technique
A dramatic photo means in the camera and in the edit. Cinematic Technique give you that.
Even if you have a strong style, it will get stronger as you edit for cinematic photography and emotion. You still need to experiment and feel what’s inside each photo.
I’m a photographer who makes large prints. So details matter. But it’s not always about the max megapixels or sharpest lens. Pictalism has taught me that emotion is first. yes, I maintain detail, but the blur is not always what it seems, and mixing detail with less detail creates atmosphere, emotion, and focus.
Pictorialism gives you a Cinematic Technique and is the essence of conveying real feelings in your photos. Because of that, it’s the opposite of what fake Ai based images create. You may not approach every photo as a pictorial. But once you know how, you see everything in a new way.
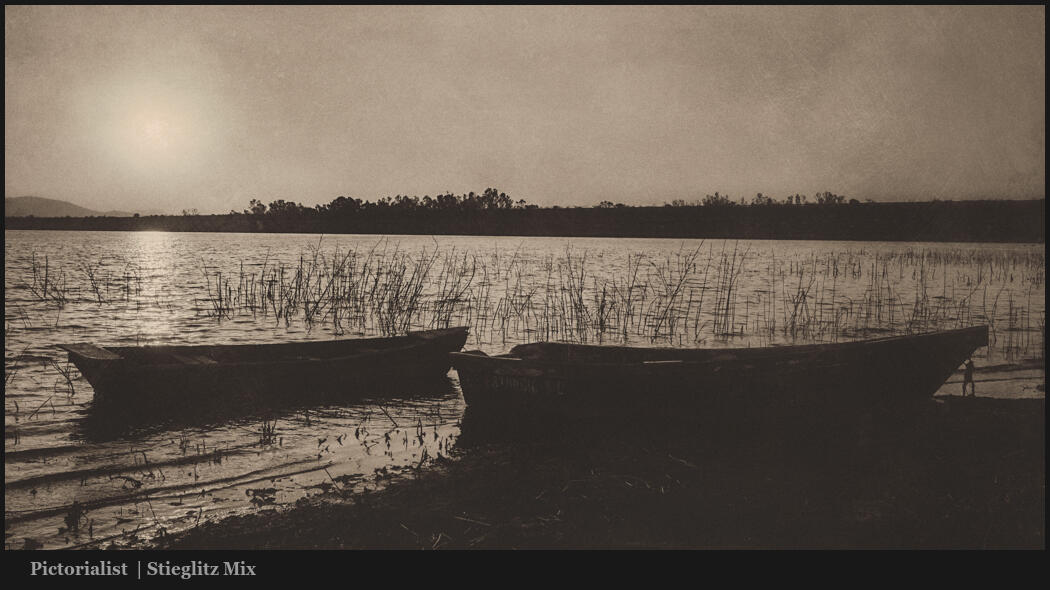
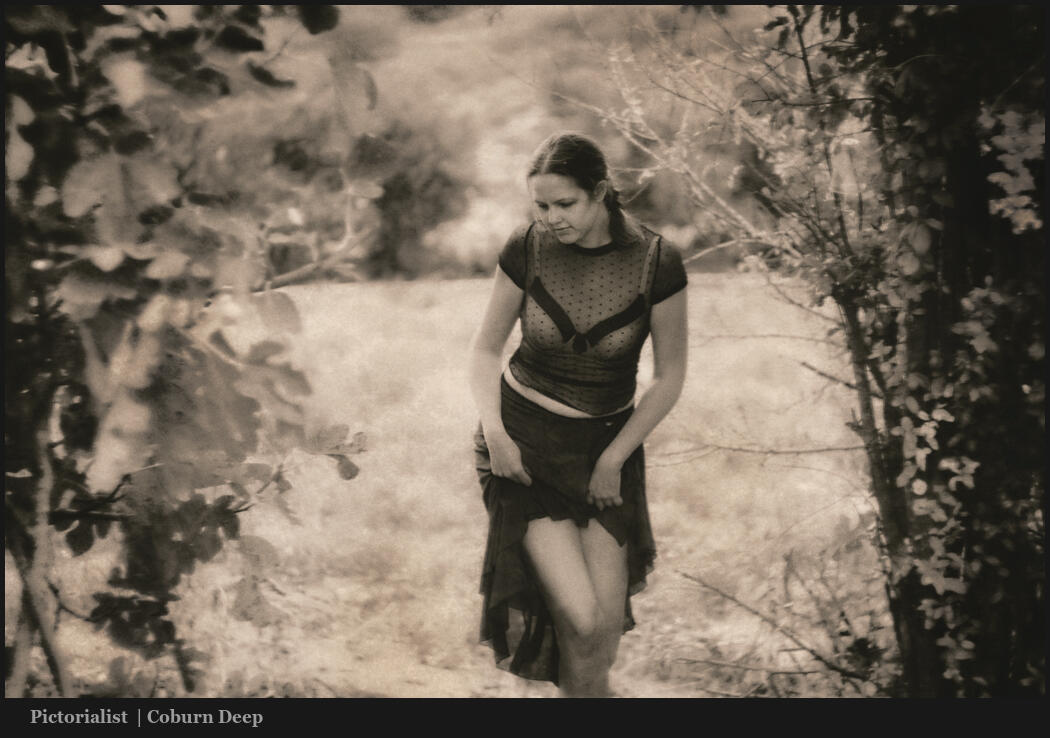
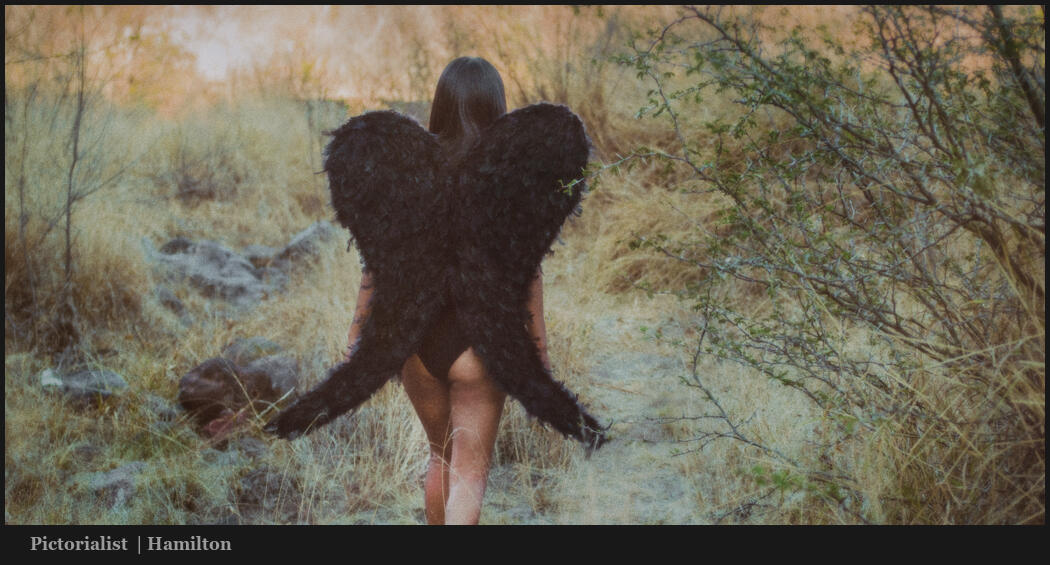
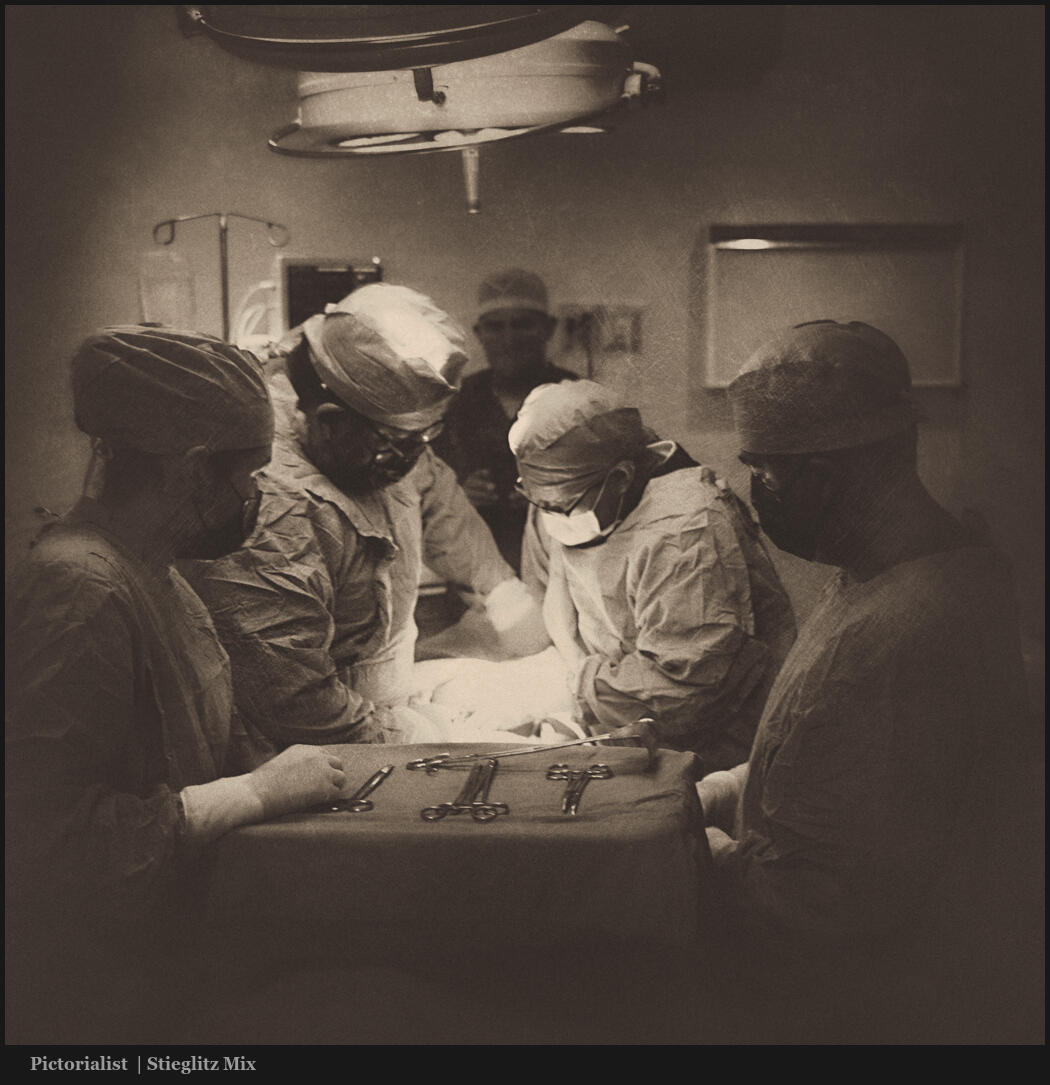
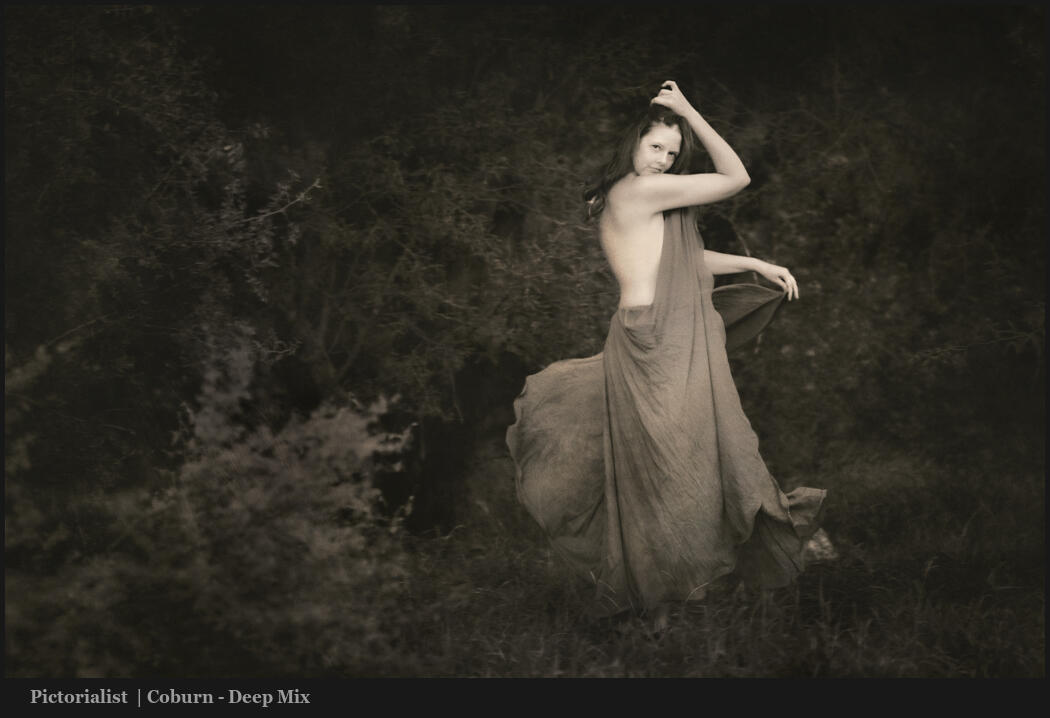
Pictorialism is about emotion over perfection and famous pictorialists like Stegliz, Coburn, Hamilton and many more helped create the fine art world of photography we know today!
We’re in the roaring 20s again. But this time Ai and soulless photos are everywhere. Photography pictorialism may be the cure.
That’s why I dig in to create Pictorialist Actions. A PS editing add-on focused on making amazing pictorialist edits. There are lots more samples, info, and videos on the pictorialist page.
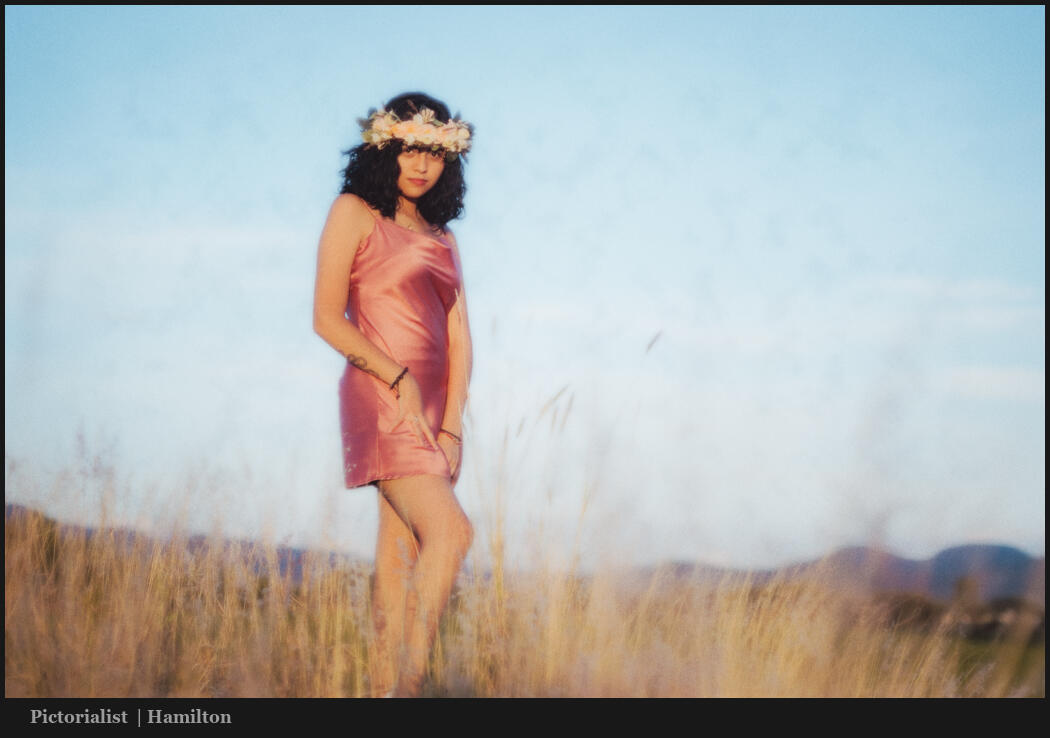
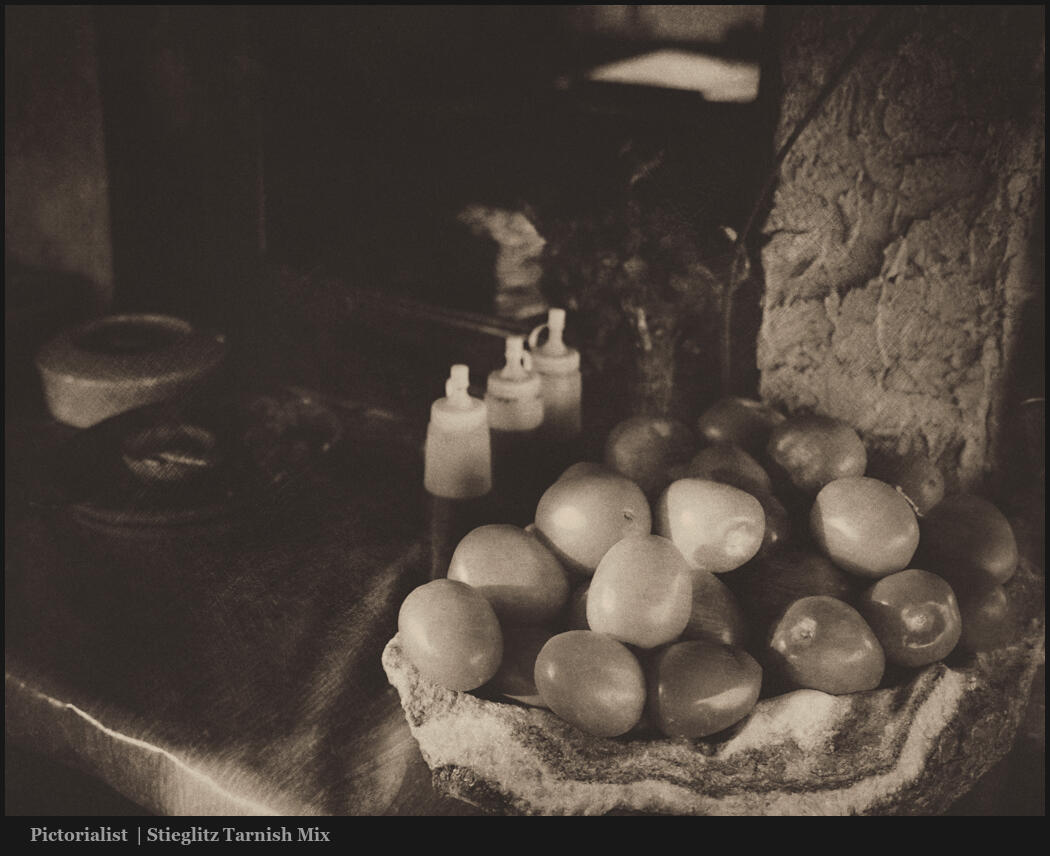
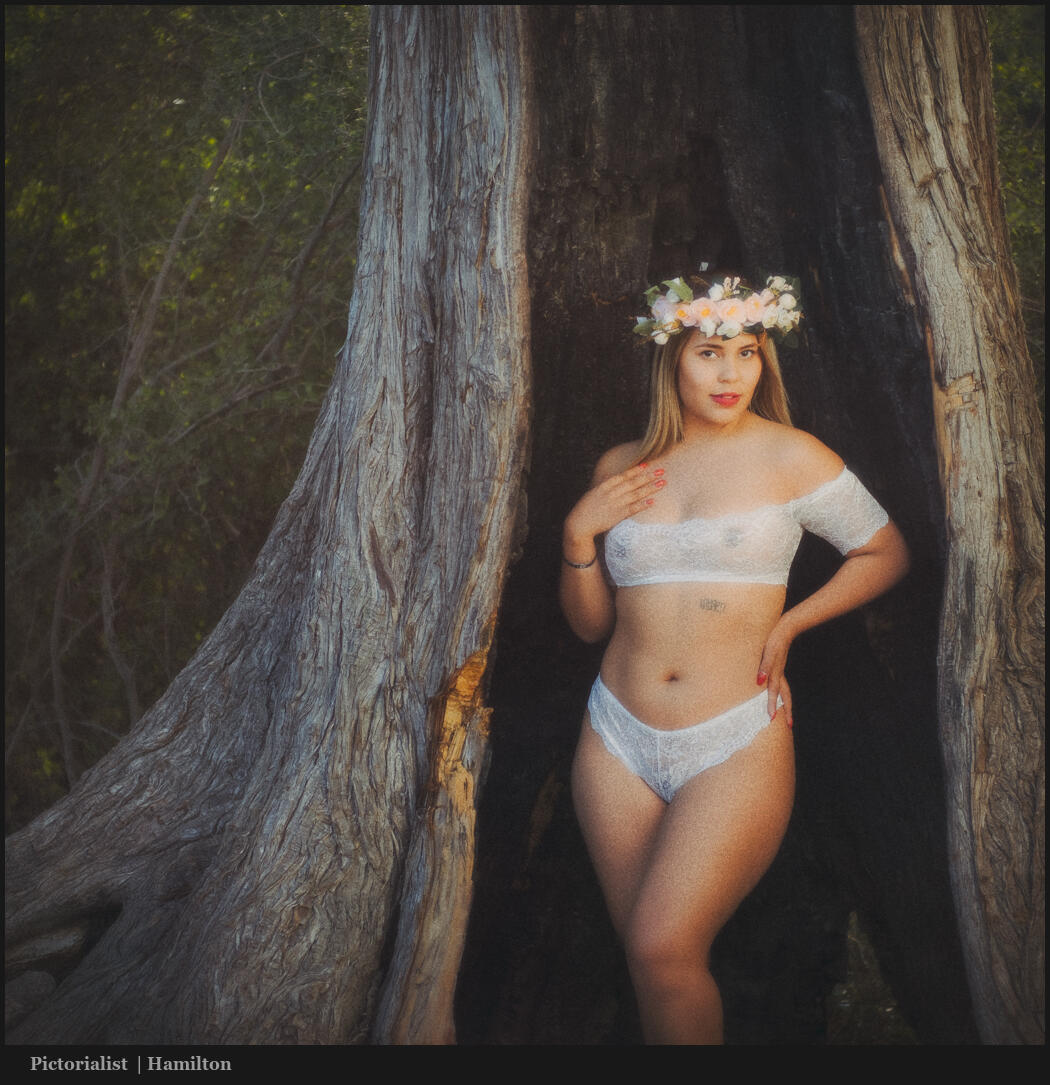
A while back I started studying pictorialism. These photos are from early-era to iconic portrait photographers like David Hamilton. I had wanted something like this for years on digital.
So we made it and it was not easy. Today I made you a hands-on training workshop on how to create photography pictorialism in Photoshop using these new actions and why it’s so good.
Can you do pictorialism photography in Lightroom or Capture One.
At this level. The answer is a definitive no. Sure we can use clarity and shoot like pictorialists in camera. But deep edits like this are not what RAW editors do.
Of course, don’t need my actions to create these high-depth photography pictorialism edits on your photos. You do need layers, a deep understanding of blurs and blending modes, and tools that are well outside of Lightroom or C1.
Yes, you can do amazing things in raw editors. if you’ve used my Filmist presets or my Elegance Ai Speed-masks you have seen just so far we can fo in modern RAW editors. It’s amazing.
Creating pictorialism in photography is more. Yes, it starts with a camera and you can shoot in a pictorialist style for sure. But getting this kind of control needs layers and nuance.
Stop being afraid of Photoshop. That’s why I made today’s video to show you that complex things like this can be easy.
What is pictorialism?
Do photography and pictorialism differ?
Yes because when in the darkroom or on digital, pictures-based editing is about not perfect perfect or always accurate. But it’s also not Ai fakery. You use editing and techniques in camera and post to convey a more emotionally complex image. But not always a sharper one.
It’s a delicate balance and that’s why Pictorialist actions are really mind-blowing. They create a balance that you can then adjust quickly to fit your vision.
You can edit and mix and blur and create photography that is both real but also fine art and emotion. Pisctsorism reinforces the idea the idea that artistic editing is OK. But the edits are real. They are working with a real scene from camera to print and showing your vision.
Pictorialism is like a counterbalance to AI.
And I think we need that right now.
Nealy every image you see going viral online is fake. But as a pictorialist you can say, I’m creating something dramatic but it’s real. And people need real in these sterile times.
It can be deeply creative and atmospheric. But it’s all based on real-world and you as the photographer view it as a slice of time.
Go try editing like a pictorialist and see the magic that ensues. And of course, if you want to make it even better try my Pictorialist actions. They’re guaranteed!
The Zone System is the language of light and shadow and for digital shooters it’s invaluable.
What makes the Zone System such a big deal for better photos?
I teach Zones deeper in my free classes like Shadow Hackers and in Master Classes like Exposed. I’ve done a lot of Zone videos over the years but this updated video will make Zones easier than ever for whatever skill level you are at today.
Exposure in photography is often left to meters to decide. You can use aperture priority or something like that on the go. But the key is that you are still taking control.
But when you combine Zones and the concepts of Shadow hacking you have the understanding of what makes a photo dramatic and also the ability to know whats happening in every moment of light and shadow.
When I use auto mode for streets or on the go I watch the feedback on the screen and most importantly the histogram. I’m seeing the Zones as I move and I use exposure compensation to quickly adjust them while staying in that auto mode.
Edit with your Zone System visualization.
Zones give you control over light and shadow in a way nothing else gives you. So you can be in a flat-lit portrait scene or in a super contrasty sunset landscape and the Zone System will work equally to let you manage the tone value.
The secret is to expose your zones in the camera and then edit for those zones in the post.
For example in this portrait, the background was not a lot darker than the subject even with our strobe. But I exposed the subject where I wanted knowing that I would edit with a little more contrast in post and darken the background.
It’s not so different from how in the past we pushed and pulled film or burned and dodged. But the key here is you are seeing finished results before you press the shutter because you can easily use zones to plan and visualize.
Using a spot meter for the Zone System
On the other side of this is a full manual. if you have time to set up, You’re shooting a landscape or a building. Use that tripod. use a spot meter in the camera or externally and place Zones exactly where you want.
Don’t just use the histogram as a rough guide in program mode. When possible use the full details of Zones and doing so will help you to understand them better in those moments when you are on the go and can’t stop to spot the meter.
“Go to the bathroom,” My mentor told me – After 15 years, I saw it. These free online photography courses are game-changing.
Shadow Hackers LIVE
With Gavin Seim. Wed July 6th | 11AM CST (UTC-6)
07
Days
:
22
Hours
:
18
Minutes
:
38
Seconds
Sign up$69 Free
Your Shadow-Hackers
I greatly enjoyed your Shadow-Hackers presentation yesterday.
Arturo Peralta-Ramos
This free online photography course is LIVE and teaches you the critical things every photo course ignores.
I’ve taught classroom and online photography courses for 15 years But none compare to Shadow Hackers. This is my free online photography course that will ignite your photography in one day.
I’m Gavin Seim. I’ve been a photographer for over 20 years. You may be thinking. “Ugh, another crappy online photo webinar about things I already know!” — It’s not I guarantee you.
You’re about to see everything in your photos!
And nothing will be the same once you do. I’ve been building the Shadow hacking method for a decade and no one else is teaching what I’m about to show you. In one hour I’m going to challenge everything you know.
Have you ever taken a great photo but not know why it worked so well? Or took a shot and expected a great photo, only to be disappointed? I’ll show you why.
I’m Gavin Seim, a Master photographer, YouTuber, and host of the Pro Photography Podcast.
It was the early 2000s when digital blew up. I realized that to survive in photography, I had to stand out. I traveled. I paid for classes. I studied with the top photographers. I wanted to become a Master of Photography and when I finally did in 2017, I realized that was just the start.
Photo schools and conferences won’t teach you this stuff…
This may sound dramatic, but it was a dramatic change for me! You may be where I was 15 years ago. You may be newer, or advanced. But you’re here because you want to be BETTER! It took me so many years of advanced photography study to discover what I’m showing you in these free online photography courses.
A glimpse of what I’m going to teach you!
Cameras don’t tell you the “right exposure”. Here’s how you do it!
The secret to dramatic photos is NOT actually light and this is why!
Easily combine art and science to instantly improve your photography!
The actually free online photography course will transform your photography fast.
The reason is that most photo teachers don’t know this. These secrets are not common and have been lost over the years since digital.
Have you ever felt like you’re missing a link to something important, but you’re so close so you keep looking? Finding the information was not as easy in those days and it’s surprisingly hard even with the internet.
When I started grasping bits of this I was blown away. I called my friend who was a long-time rep for a major camera brand and said… why did no one tell me this It felt so strange because I would never see light and shadow the same again.
That was the year I started documenting and trying to make it simple. The next year I started filming the award-winning Exposed workshops. But the process was not complete. Over a decade later, I made this free online photography course to make it easier to start out.
Shadow Hackers free online photography courses for those who want to step ahead of the pack.
I remember discovering something early one early on, standing in the window of my studio. I asked my friend
“Why did no one tell me this about photography?”
He laughed and said… “They don’t teach that stuff anymore!
I needed to understand the secrets of the masters that they never complied into one course. When I finally discovered these I knew I had to make free online photography courses to share it. Techniques to get great photos every day, not just when things go well. No tool or software makes you a great photographer. Knowing this does!
I started shooting large-format films. I was understanding tones, the truth about light meters, and finally the truth about SHADOW. It changed everything and pushed me to become a PPA Master Photographer and create my HotOne award-winning Exposed workshop. But it was not enough.
Now it’s 2022 and photographers are still not being taught this. We’re going to change that together. I’ve compressed this into a LIVE workshop that makes the 3 secrets of shadow hacking simple and challenges everything you know. And once you know. You will spread it.
I came back to my mentor, the legendary Whitmore, and said.
“This changes everything. I don’t know if I can see normally again”
Ken laughed because to him it was normal. The man that had given me only the film holders for a 4×5 camera then told me to go sit in the bathroom. He didn’t think about it like this because it was normal.
A LIVE online photography course, not another marketing replay!
When I started with film in the ’90s. There was no redo button. If you listen. This will change your photography faster than you ever thought possible. I’m going to show you, for free.
This is a real LIVE class, not an automated webinar. There will never be another just like it. The class will be 70-80 minutes and there no replay. So set your calendar and don’t miss this opportunity.
Sign up above and I can’t wait to see you there. Gavin Seim