I’m on a mission to change that and I want my first video of the year to do that. Most photographers don’t realize that photographic tone is the secret skill that makes them understand every shot. Today we learn it…
This video would have saved me years if I had known.
But videos like this did not exist when I was starting out. These are the 3 keys of tone in photography so you can master them fast regardless of your experience level. And they will change how you create photos.
Step it up… Join my next Shadow Hackers LIVE workshop. Also in the video, I mentioned Filmist film presets, Silver 5, Natural HDR, and Lumist Actions.

The stuff that great photos are made of.
The photographic tone is the foundation of great photos. But the tone is a wide-ranging one that comes from the painters and the way they learned to understand shadow and contrast long before cameras.
This is the lost skill in Photography that I go on deeper in my workshops and today I’m sharing the keys to unlock this door in the simplest way I know how. IN consists of 3 elements that lead us to what tone does for us and why it is important.
Here’s how I explain photographic tone. But it’s more important to show!
- Shadows create contrast
- Contrast reveals tone
- Tone creates atmosphere
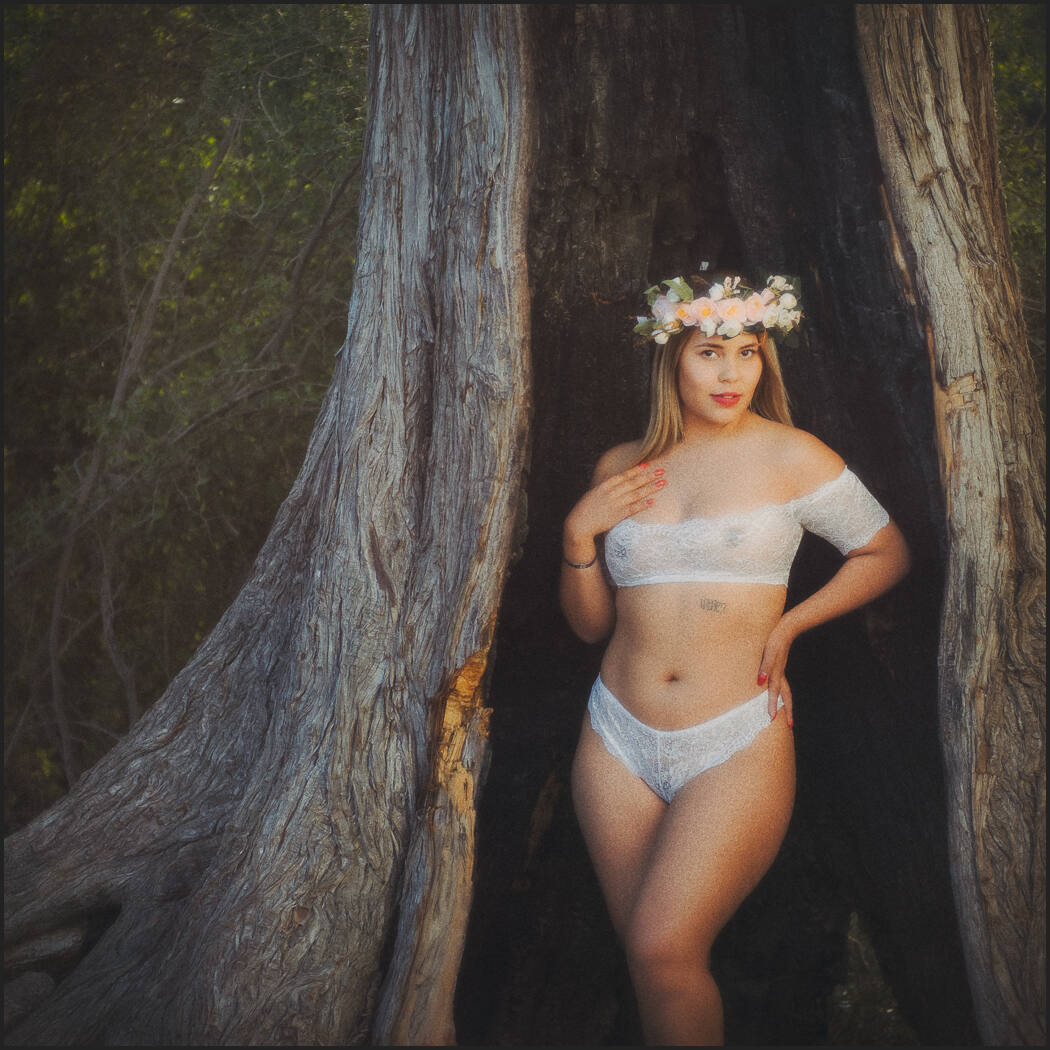
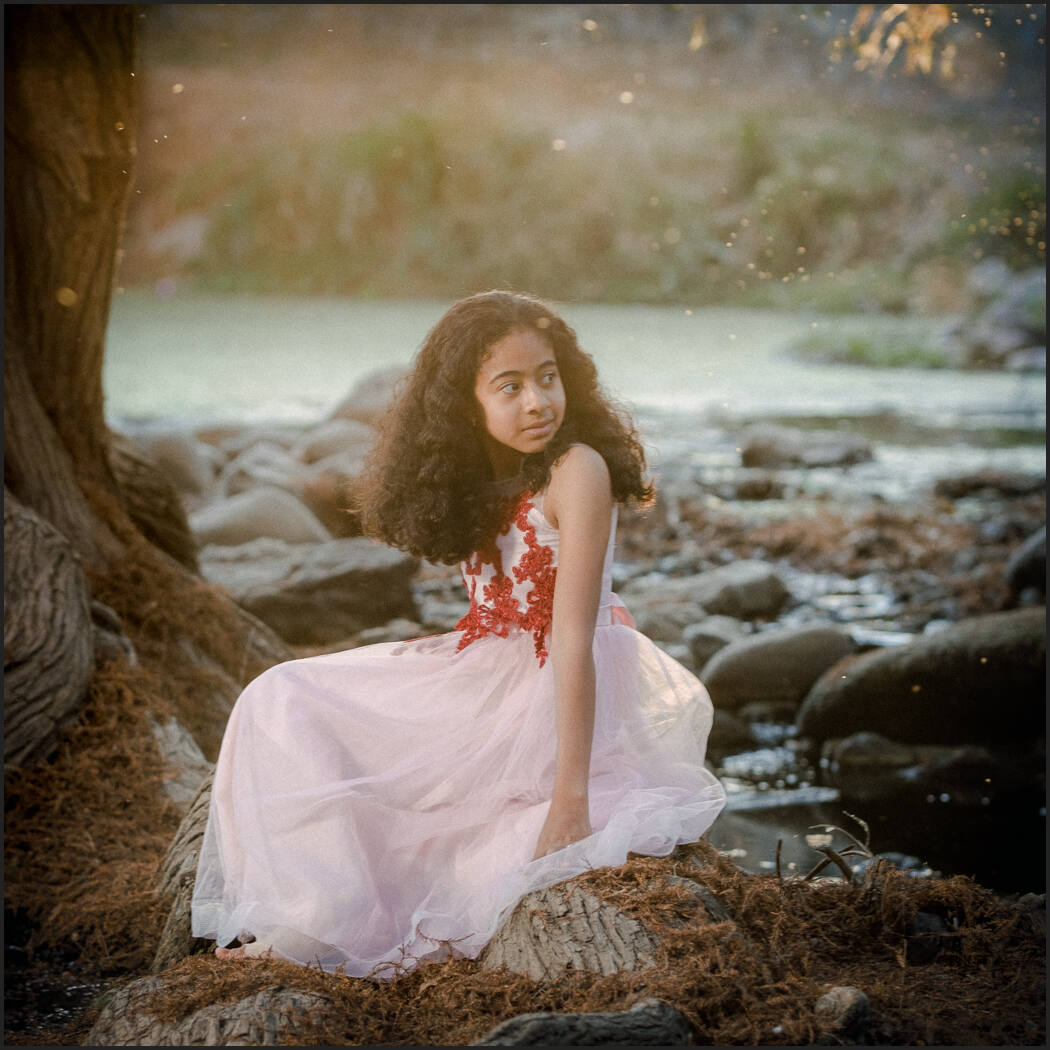
These 1,2,3 lists mean little to your photographic tone without context. So in the video, we’re comparing different photos to see how not only edits but how shadow contrast and ambiance in each will define our result.

Most photographers don’t even know what it is
In my Exposed Master class, we learn everything about exposure and zones. Those are the technical aspects. But if you’ve been to Shadow Hackers or seen the Photo Perfect workshop you know that combining those with the artist’s aesthetic is what makes a great photo.
In the end, the tone is pretty simple and yet subjective. But if you constantly remind yourself of the three factors. Shadow, contrast, and tone, which is the combination of all the light and dark and mist and color. All of them combined create a tone in your own style.

Less contrast is often more contrasty!
As much as I use sliders and settings and layers inside and out in my tool packs. Tone-like shadow is not created by the slider it’s just moved around.
When we use contrast to just create hard lines we lose tonal nuance and atmosphere. In the end, the contrast of the overall scenes is less, and viewers don’t see the nuance you wanted to show.
If you missed my video on why you should STOP using contrast sliders go check it out and also read my post about how to use the Zone system in digital to hack shadows. You’ll find more on my channel.
As I keep building these free resources and simplifying the process of understanding tone I help myself learn more and hopefully, you as I realize a dream that’s spanned 20 years to make a simple process for those of us who want to truly master our style in photography.


No comment !no comments ? … I think It’s Fantastic Content , Thank you
Realmente fascinante!
Para seguir profundizando.