July 13, 2018

Give your photo better detail, starting TODAY!

Ever said to yourself… “What is the bleep wrong with my details.” — I sure have. So here’s what 20 years as a photographer has taught me about how to fix that annoying feeling of failure.

Detail comes in different ways; often combining sharpness and softness to get an image that brings everyone’s eyes to your subject. I trained in large wall prints and which meant people will see every detail when I screw up. I’ve written about image quality in articles like 5 Tips to Razor Sharp Images and the 6 Keys to Great Image Quality. Today we’re going a little deeper down this rabbit hole and look at what makes detail perfect.
1: 5 Detail Essentials: When neglected, these produce terrible results for even the most experienced photographers. They sometimes haunt me more when I’m in a hurry because of a hectic session, or light that is running away. But the more I think about what went wrong, the less I repeat those mistakes. My first 5 rules are Camera Stability, Optical Quality, Aperture, Sensor and Post Production. These always will be critical. A camera on a tripod, a stabilized lens, a firm hold when you make the shot.

Lens quality, many new photographers get images with fuzzy detail not realizing that they need better glass. Ditto for aperture. Too shallow and your scene and things you want sharp get blurry. Stop down too much however and diffraction will reduce the quality of your glass. Sensor settings and knowing what your gear can handle, how you post process and manage those details. All of these things are important. But there’s more.

Let’s go deeper.

2: Motion or Not: Stability is always critical. Movement ties directly into shutter speed in order to overcome that movement. But sometimes we want the movement. Blurred water, a running horse or amber waves of grain streaking across the frame. The key is to remember that we need zero motion on subjects we want sharp.  I know you’re thinking, “hey captain obvious, we know.” But consider this. In traditional images, you want the whole frame frozen. A tripod offers the most freeze, Camera or lens image stabilization can help a lot. Even pressing the camera against your cheek. It’s a question of shutter speed vs motion. If the shutter is fast enough, it freezes everything.

There’s more too this. If you handhold a landscape at 100mm the rule of them says you should be at least 1/100 of a second (a tripod still gives you a better result). But what if that’s a portrait? I can end up with more blur because of the micro-movements of a living subject. Sexy people waving in the breeze as they pose or a wild kid who can’t hold still. Not only might my camera be moving, but so is my subject as they shift weight, change poses or their hair blows. I see that extra blur in portraits a lot because of body movement. We’re talking deep details, sharp eyes, beautiful skin and in focus parts. In reality, I should double my shutter for a living subject. I tripod eliminates one movement, but my subject is alive and the most natural poses don’t come from telling them to stand stiff. So in a lot of cases by doubling the ISO,  I can double the shutter speed and the pay off is more detail.

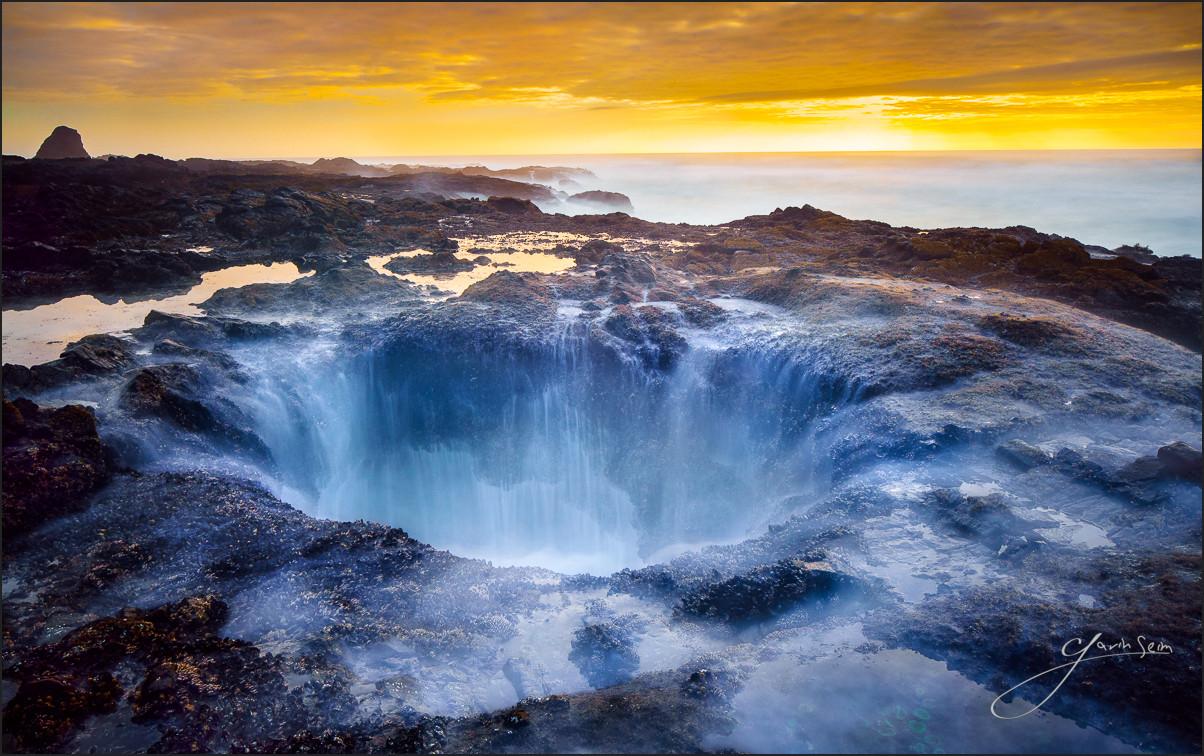
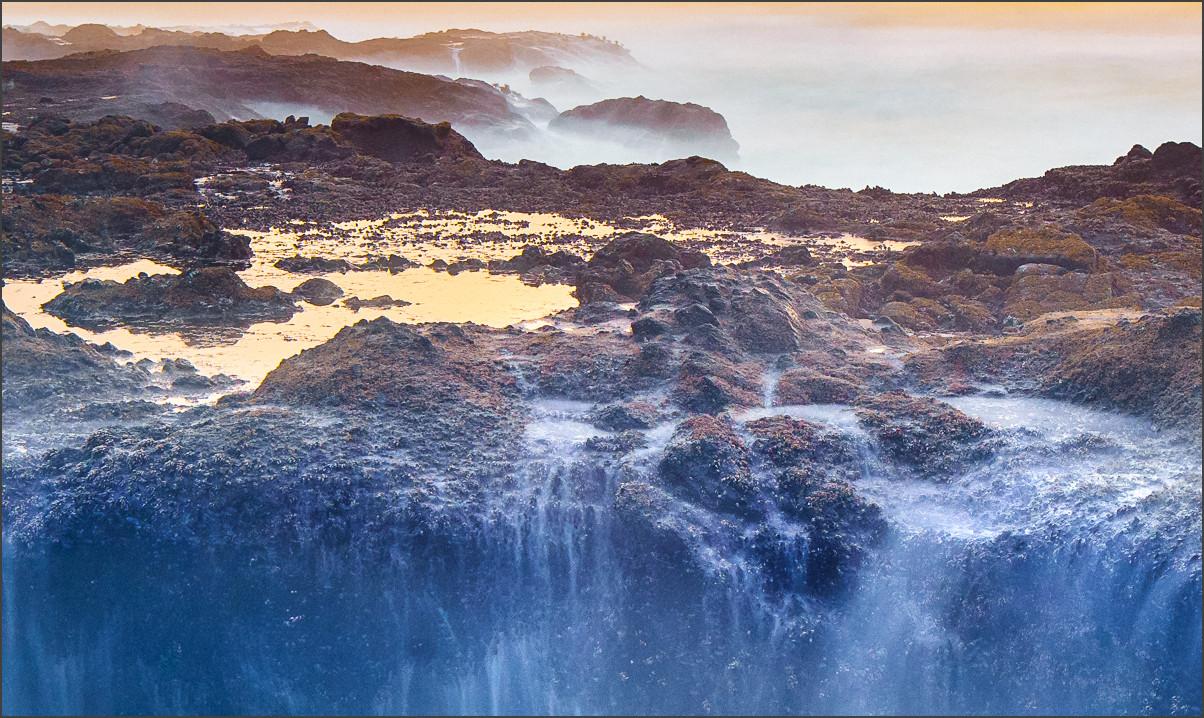
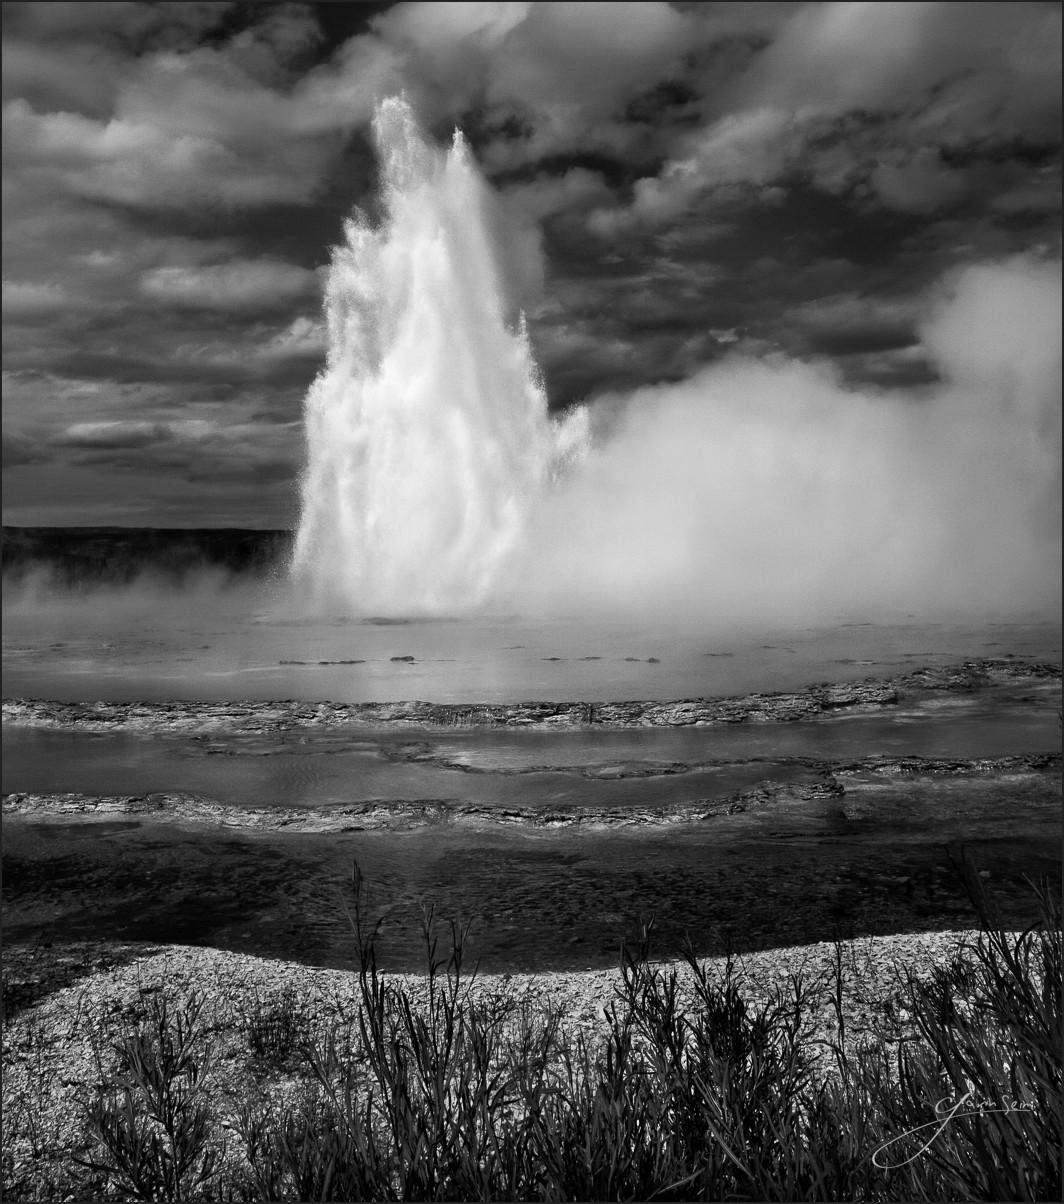
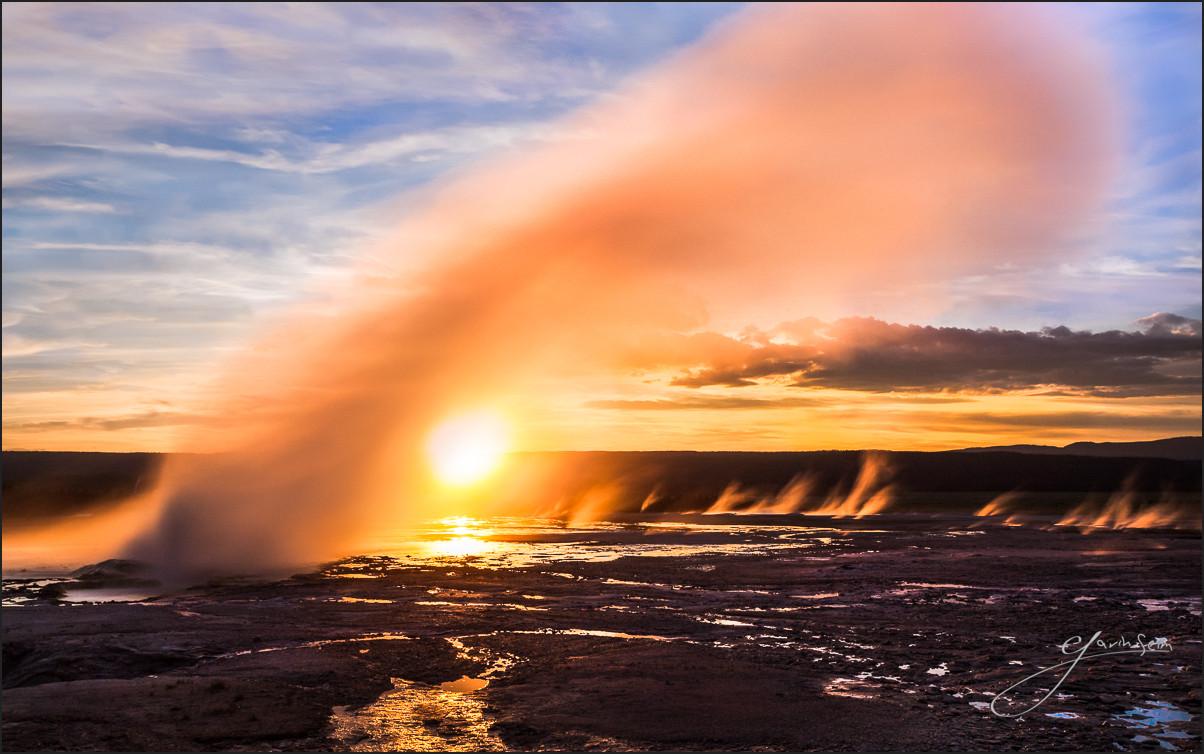
I also want detailed motion. The slow shutter is amazing but tricky and tripod is the key to winning here. Maybe I want blurry water like in this image of Thors Well on Oregon. Slow shutter does not excuse poor detail so if I’m hand holding, those barnacles will be soft. If I make my camera rock solid, my the water is detailed even in motion and the rest is as if we used fast shutter speed. Look at the geysers in my image Yellowstone and detail front to back while the steam turns to silk in the 10-second exposure. Motion is a kind of detail and how much motion is now a question of me using as slow a shutter as I need, using ND filters if needed to slow it further. I’ve done exposures over 2 hours this way and still had sharp details in the stationary objects of the scene.

3: Light and lens: A quality lens is a give. But that does not always mean sharpness. There are many factors affecting how much detail a lens can capture and you want to know them. The depth of field is important and that means knowing aperture you need to keep everything you want in focus. But don’t hop on a tripod go down to f22 and think everything will be sharp. Each lens has ideal settings. For most 35mm lenses the sharpest point will be f8 to f11. That’s not to say you can’t go past that, but doing so will often start to cost you detail. Take your favorite lens and shoot a photo at F8. Then do the same at f22 and compare the detail. The same goes the other way. Most lenses are not quite as sharp wide open as they are stopped down. Everything is a trade-off. Don’t push the limit just because you can. Learn the limits and use only what you need.

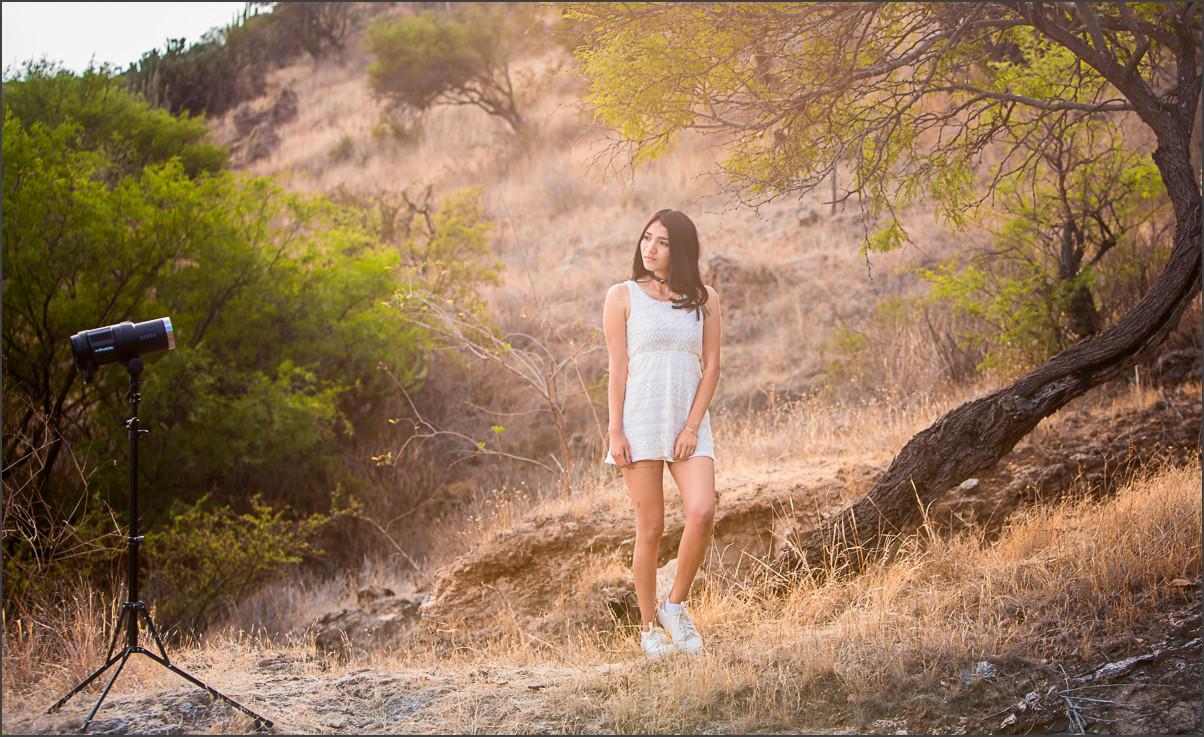
The same goes for how light is hitting our lens. If you’re getting a flare or haze fee, that means a loss of detail in that area. Sometimes is beautiful and it can look great; just remember you can’t restore detail that was never there. If you don’t want a hazey flare, then use your hood, your hand or change positions relative to incoming light. How the light strike the lens effects how an image passes thru it. In this portrait, we see a natural haze created by the light hitting the lens. Notice how the detail is softened. It works great here, but not everywhere.

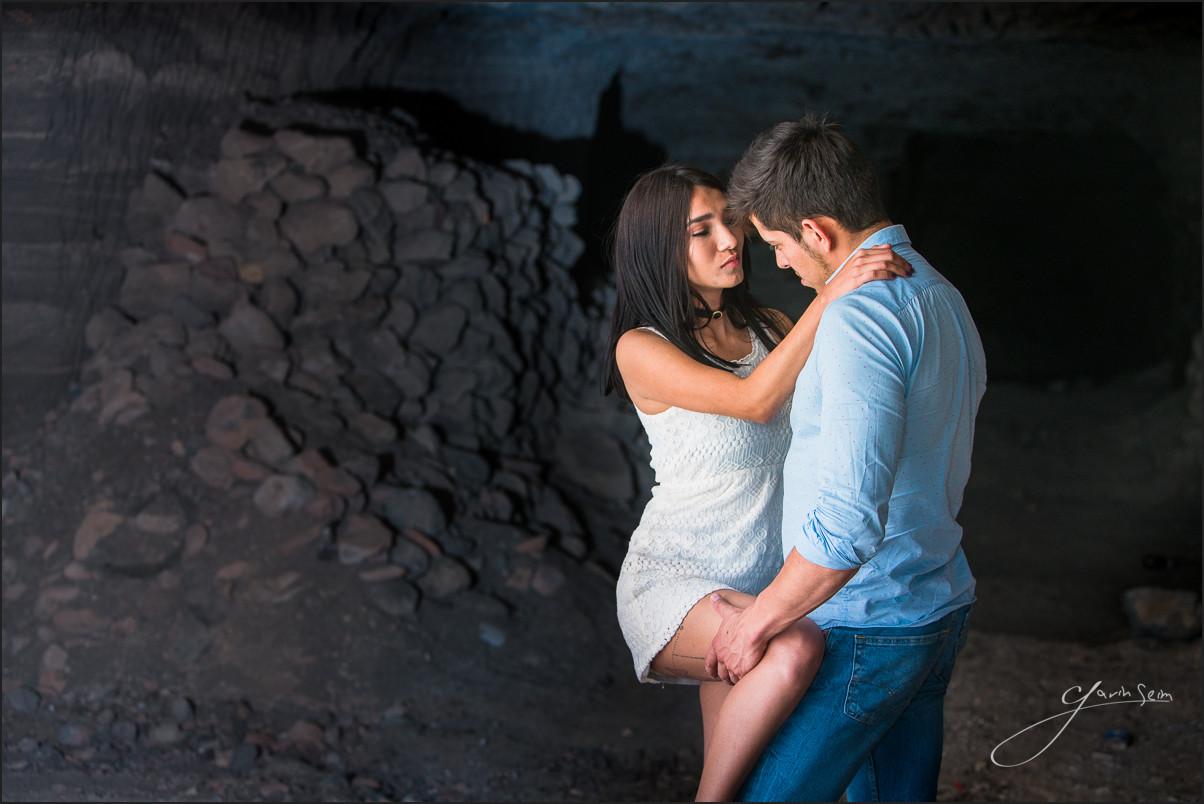
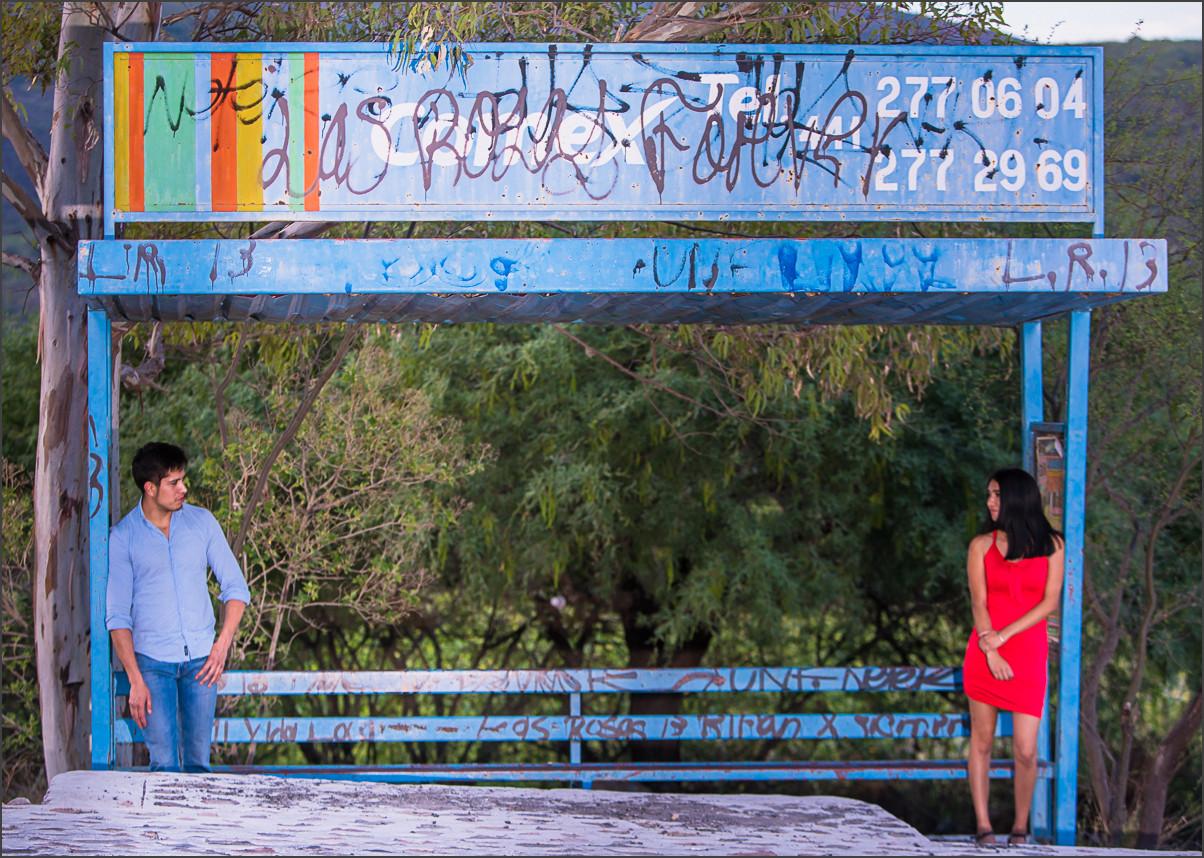
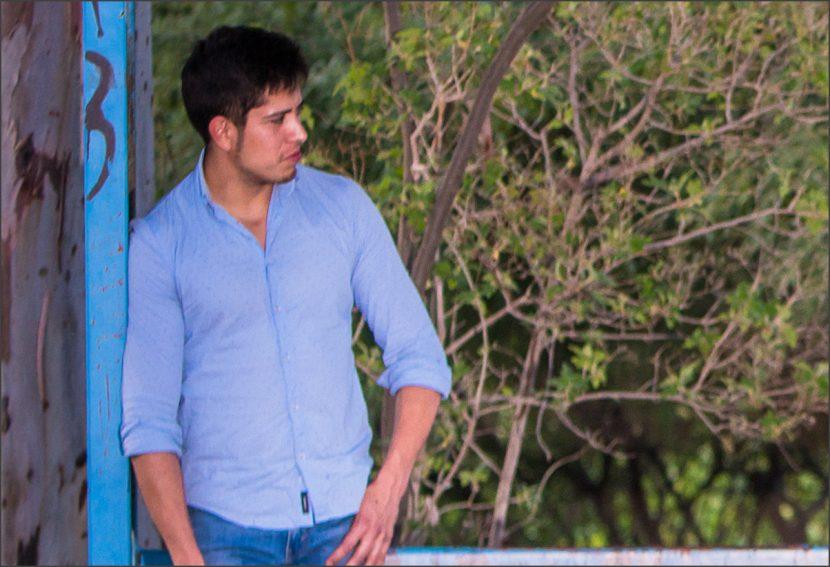
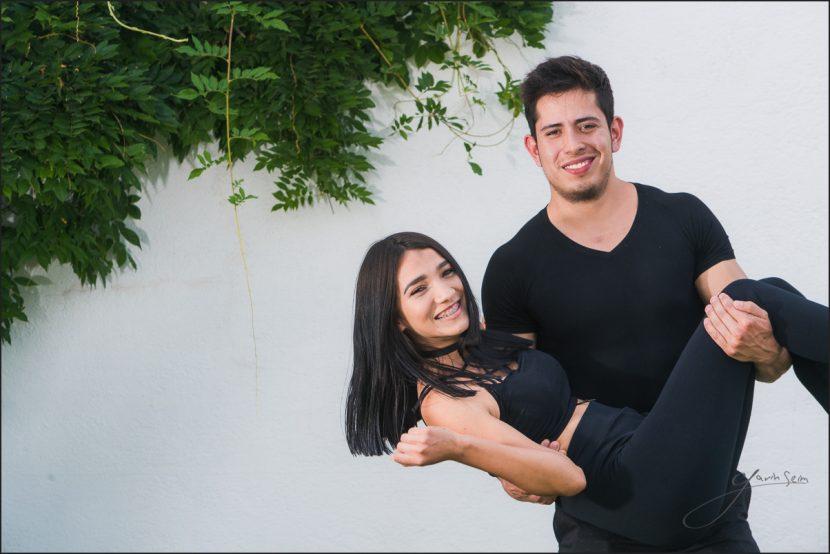
4: Getting Perfect Focus: AF has become amazing in recent years, but only you can truly know what your focus is. Sime camera focus on eyes, this is usually good for portrait. But what about that wide open aperture for a great bokeh. This means SHALLOW depth of field. So who’s eye is in focus. Say I you a couples portrait or a family, even an inch or two can change your focus. I just had this happen recently at the bus stop shoot. 90mm, f3.5, autofocus. It looks like our focus gravitated towards the overhang on the bus stop. On the left, our man still has usable detail, though not perfect. Notice how his head is further forward. Our lady is a tad further back and that’s all it took. The lack of detail on her face makes the image trash for any serious presentation.

I should have watched closer what I was focusing on. It was dark, I was losing light, I didn’t stop to examine it. Thankfully I nailed other great images for this session. How do we avoid this?

I love switching to manual focus and zooming in the live view to check that my focus is just right. I usually do this with landscapes and sometimes with portraits. But the bottom line is we have to watch for what could go wrong. It does not take much to throw the eyes or face our of focus or to have the camera see the rock instead of the tree in our landscape. Take as much time as you can to check every detail and take a few test frames to review on the screen at full zoom before you walk away. That’s the beauty of digital. It prompts us to rush, but it’s amazing if we slow down.


5: Framing Details: In the end detail is more than pixels. You can get all the above right and still have a bad photo. Great detail also tells a story. Its sharpness is mixed with bokeh or how tones are used to highlight or subdue parts of the image. It’s whether you frame the shot with the foliage sharp in the foreground os bowing in the breeze. It’s whether you took the time to move the dead cat from the frame and straight a girls hair. It’s the art of details that’s the hardest. Detail and sharpness are not simply about focus and noise. When you think about detail, think about what you want in the photo and what you don’t. Think about how using details (or lack of them) can draw your viewers eye and tell a story. Make the technical aspects a natural response so that the artistic concepts can drive your image making. See my recent video about where the frame stops.

6: Process more Detail: You can’t restore information that was never there, but you can use your tools better. All digital images have noise, this changes from camera to camera and with different settings. Most RAW processors remove some noise by default. Sometimes your camera removes noise as well and has settings you can play with. Defaults usually work well but don’t be afraid to experiment. Think about when you apply settings too. If I have a RAW file I’ll start with a basic noise reduction as needed; just don’t turn it into pasty smoothness.

I usually leave sharpness low or default on a RAW file if going into Photoshop. Too much can grow into messy artifacts. Process your details in a balanced way and then apply more at as the last step if needed. That way you’re not creating detail artifacts as you apply other looks, layers, actions etc. At the end I’ll usually apply a final sharpening and a little grain for a natural filmic look. We have some presets for this in PW6 and as well as actions for more advanced retouching and sharpening.

Let me know in the comments what you think.

A great image is about balance and it’s freaking hard sometimes. But that’s what makes it so fun. These more advanced tips go beyond the fundamentals we talked about in step one and are here to make us think harder about what’s in our image and visualize how we want it to look so we can nail it in the camera. I hope this gives you some things to think about. The more our skills become second nature, the less of a burden they become. Exercise yourself in the details and soon you will apply them easily.

Never stop asking yourself. How can this be better?

Here are some things we make to help you master what we talked about today…


Read More

May 18, 2018

Here’s how I learned to find amazing models in Mexico for my projects and what you should know if you need a model or want to do modeling in Mexico. by Gavin Seim, effects@seimstudios.com

Need a model in Mexico? or want to do modeling in Mexico?

Gavin Seim - Master fashion photographer working with models in mexico

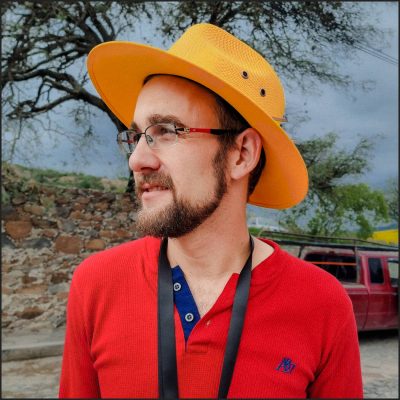
I’m Gavin, a bilingual photographer, filmmaker, and consultant living in Central Mexico. I’ve been a photographer for 20+ years and I’ve lived in Mexico full-time after moving from the USA. There’s a lack of information about working with models in Mexico. I made this so you don’t get scammed as you learn how to navigate being or working with models in Mexico for creative or commercial projects.

The first time I booked a model in Mexico it was intimidating.

You’re not alone here. I learned a lot since then living in Mexico as a professional Photographer. I’ve also discovered a lot of new models in Mexico with my own projects and I’ve updated this for 2023.

Whether you have a large-scale project on a budget, need an ongoing stream of modeling for your clothing line, or need to shoot a music video. Mexico has great creative people and amazing locations.

You can see many of the models I’ve worked with and trained on my Instagram and my gallery. But today I thought I’d share some tips on finding and photographing Models in Mexico.

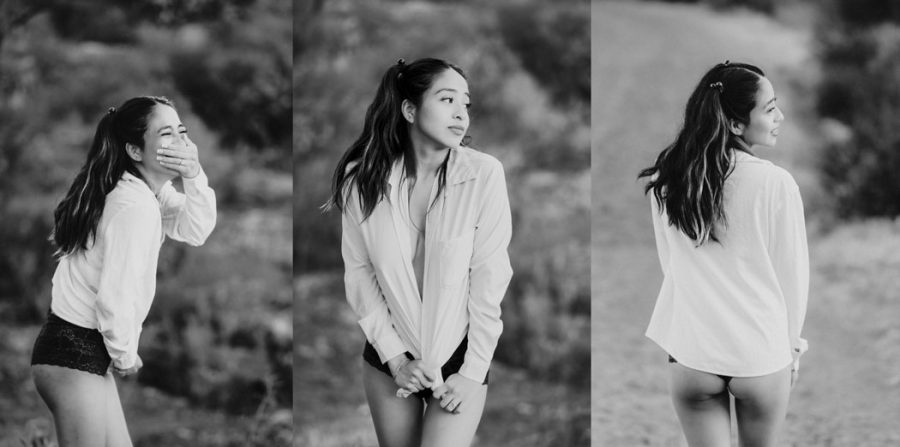
Cisla, Model in Mexico black and white session

Feel free to contact me about Mexico models or modleing in Mexico. I offer consulataions, photography and filming services. I sometimes do collab sessions as well for models wanting to shoot in Mexico – Reach me via email – effects@seimstudios.com

Most of my 20-year career was commission sessions.  I used my daily work to earn international image merits to get my master’s degree in Photography But working with models is different. The poses and setups are often easier, but finding the right people can be a chore.

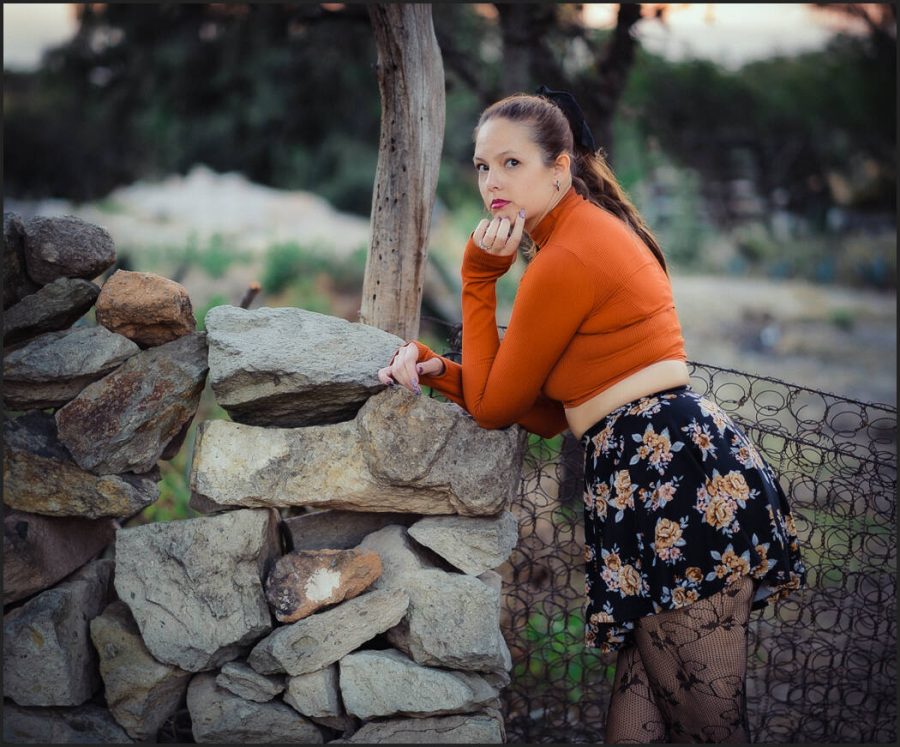
Melena, Model Querétaro Mexico session with Gavin Seim
Melena – Model in Queretaro City Mexico, a session with Gavin Seim

1. Shooting models whether for paid projects or for practice is good for your creativity.

Others might feel intimidated by the pressure of hiring a model in Mexico where it can be hard to find companies that are not seedy and that are actually responsive. Doing so with a language barrier is even more intimidating.

If you’re not a Spanish speaker You probably want someone along that speaks some English, because most of the models won’t unless you get a pricey agency from Mexico City and they will usually charge you way above normal Mexico rates, give a small portion to models and pocket the rest.

Models in Mexico project in central Mexico with Gavin Seim
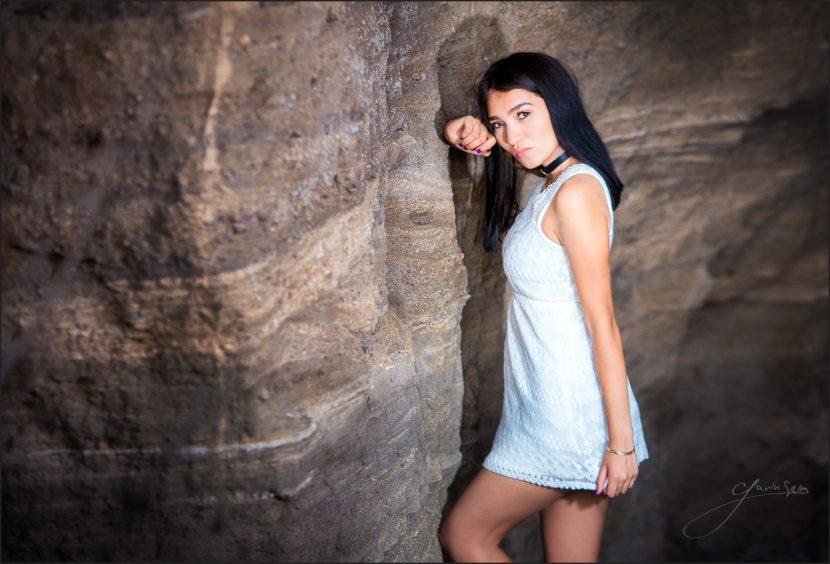
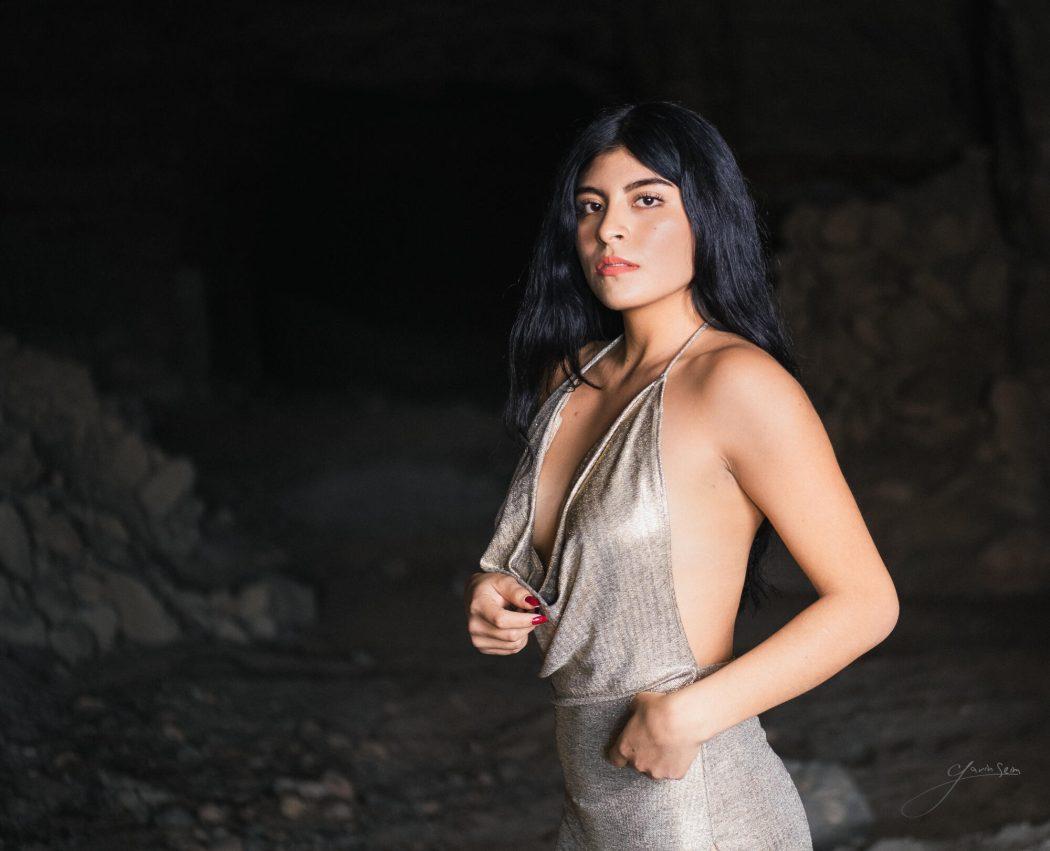
Yara, Model in Pachuca Mexico
Cisla, Fashion model session in Veracruz Mexico
Cisla, Veracruz Beach Session with Gavin Seim


I worked with my first models through an Edecan agency.

Edcans book models for projects and most work in events and in stores for weekend promotion etc. Yes, like vegas booth babes. But it’s not only women. It’s a big business here in Latin America because stores want attractive people presenting their products. If you’re a reputable photographer looking for a project, most of them will be glad to be doing modeling rather than just handing out brochures in the hot sun.

Here in Mexico, we paid about $250 US dollars for two models for about 4 hours of shooting and including travel costs of a few hours.

We contacted an agency and worked through the fact that things are different here. In Mexico, people are more laid back and even companies don’t always respond fast. Sometimes they are downright disorganized by the standards we’re used to from the USA and beyond.

Our models showed up on time along with a representative/security guard. We are after all gringos 😉 — In seriousness, though everyone was chill and the representative was there to take the money and keep an eye on things. But it was all a little stiff feeling. These models are more often than not handing out flyers or looking attractive in front of a cell phone store but they did well.

We had them sign model releases (I use the Easy Release app which has multiple languages) and off we went to make this video and photo project I was working on at the time.

“I want to do modeling in Mexico”

Ok. If you are a model and want to shoot in the exotic beauty of Mexico. Plan a trip first to work with people you trust. There are larger agencies in Mexico City you could contact. But don’t expect to get paid any rates that you expect in most countries unless you’re already well known.

Don’t rush to meet up with just anyone you meet online as you might in the USA or Europe. While many of the things you see in the news about Mexico are sensationalized, there are shady deals at times and it’s still a culture and likely a language you are unfamiliar with.

If you want to be a part of the modeling in Mexico, I suggest starting with people you trust. You don’t have to go to a tourist resort for this. Get in a car and take a road trip. Head inland like to the beautiful jungles in San Luis Potosi. A town like Xilitla, or Tamasopo is stunning, welcoming of full of incredible locations. You can drive to these places from the Texas border in about 15 hours.

Once you start getting a portfolio here, you can use that to further your work and do more modeling in Mexico with these examples and connections you make.

Sondra, Gringa model in Mexico. Photo shoot in Hidalgo Mexico
Cassi, Modleing Sesison in Hidalgo State Mexico

Getting models. An agency can be a start for models in Mexico.

But there are frustrations as business culture tends to be less responsive here and the service in these types of places can lack especially if they don’t fully understand you. There are agencies that cater to English speakers and commercial projects, but they tend to charge way over the market rate and take advantage of your ignorance. So do your homework.

Avoid scams by asking for references from your market, looking only for reviews can also be useful, and NEVER pay in full before the project. A small retainer is normal, but no one should be asking for full payment here until you all arrive on-site. It is NOT normal to pay in full in advance in Mexico as people are very wary of scams. For the same reason, you need to be very transparent with the agency/models about what you need and what you are willing to pay. Don’t assume the price they6 quote is set in stone. It’s not!

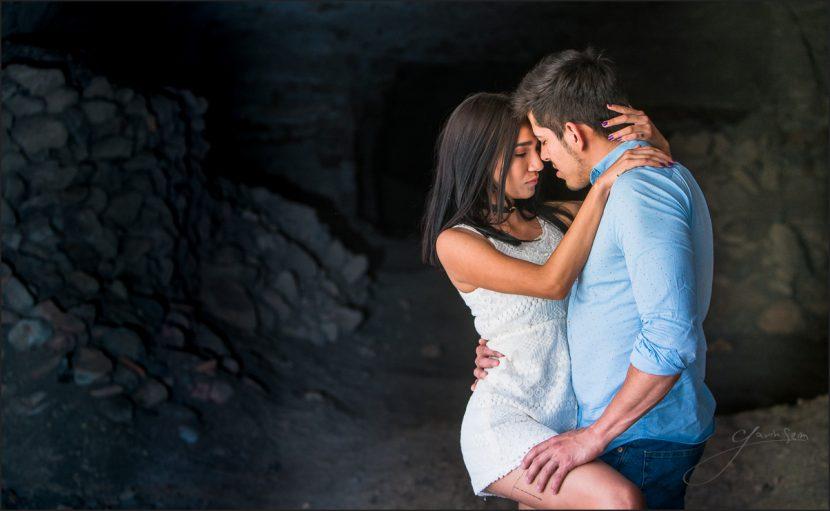
Couple fashion session gave seim
Couple model in Mexico – Gavin Seim
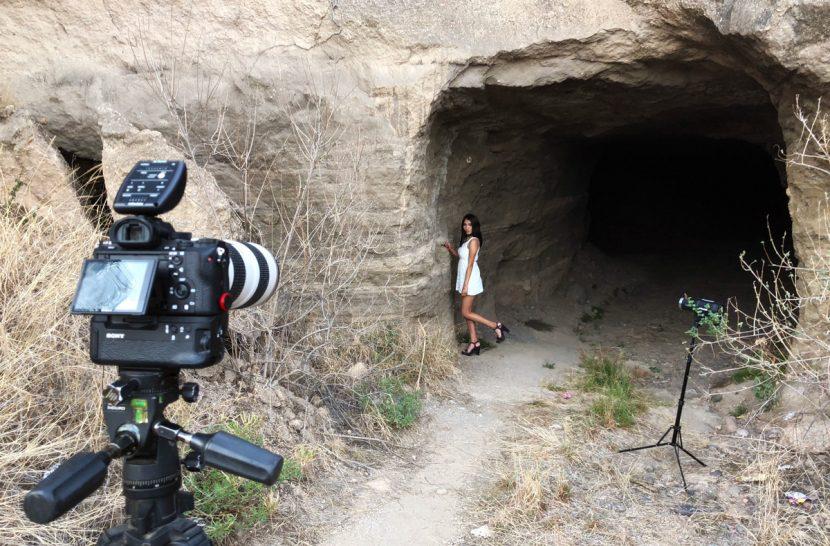
We did most of this shoot with natural light and a single strobe. I’ll show you hands-on in the coming PhotoKit videos.

2. Finding great models that simply want to collaborate in Mexico.

So you can hire models for a one-off project from these Edecan agencies. But most of my photos were done with aspiring models who may or may not be with an agency but if they trust you they are happy to go and create amazing sessions in trade for photos. In this type of session, it’s often their first time doing real modeling so come prepared to know and demonstrate poses.

For just exploring light this is my favorite way to find models. I usually buy clothes from Shein or a site like that so they have lots to try and let them pick their theme.

Mexico is a very different culture. How do you find these models?

The problem is the girls are pretty used to men being creepy here. So when they get an Instagram message saying… “Hey you’re really pretty I would like to take photos of you” what they actually hear is, how much do you charge to go to a motel with me? Yes, it sucks, but it’s true. Men will be slightly less suspicious, but folks are very cautious with new people here.

Even if you have a great Instagram and social proof with photos (you should), don’t expect models in Mexico to simply come and meet you for a session just because you sent a message. They will assume you’re just a creep. In fact, I NEVER found a model by using Instagram messages.

Modeling in mexico throwing gair
A mixed modeling session in San Jan Del Rio QRO Mexico

I find models by referral of friends who know women that want great photos or by promoting the collab on Facebook links to my page with lots of details to help them know I’m legit, not a creeper.

Even then only about 50% of the models that scheduled a session with me showed up. Some of them literally said they changed their mind because they were afraid despite me having credentials. That was after many messages, having them tell me what kind of clothes they felt comfortable in, etc.

Be very open, honest, and transparent. I’ve had women in their mid 20’s that asked to bring their dad to a swimsuit shoot. Yes, many new models will jump at free (collab) photos if you are a good photographer, but not everyone is ready to be a model. So be understanding of the culture here, but also use how they respond as a filter. They have to respect your time also.

When I’m working with models in Mexico for the first time I always meet them in a public place like a cafe and have them sign a model release. Then we go take photos, usually with my wife or one of their friends. With women, I generally say no to them bringing male friends because the men tend to leer or take their own photos the entire time. But I encourage them to bring a female friend to help them with clothes and help them relax. A friend like this actually becomes a session assistant.

You can set your own boundaries, just ensure you protect yourself and your models and be very honest and considerate of their needs. Avoid going out alone with new models. That’s good practice anywhere.

Do these things and you will gain a reputation and soon have more models than you need wanting photos, referring friends, etc. This is amazing for portraits and lighting experiences.

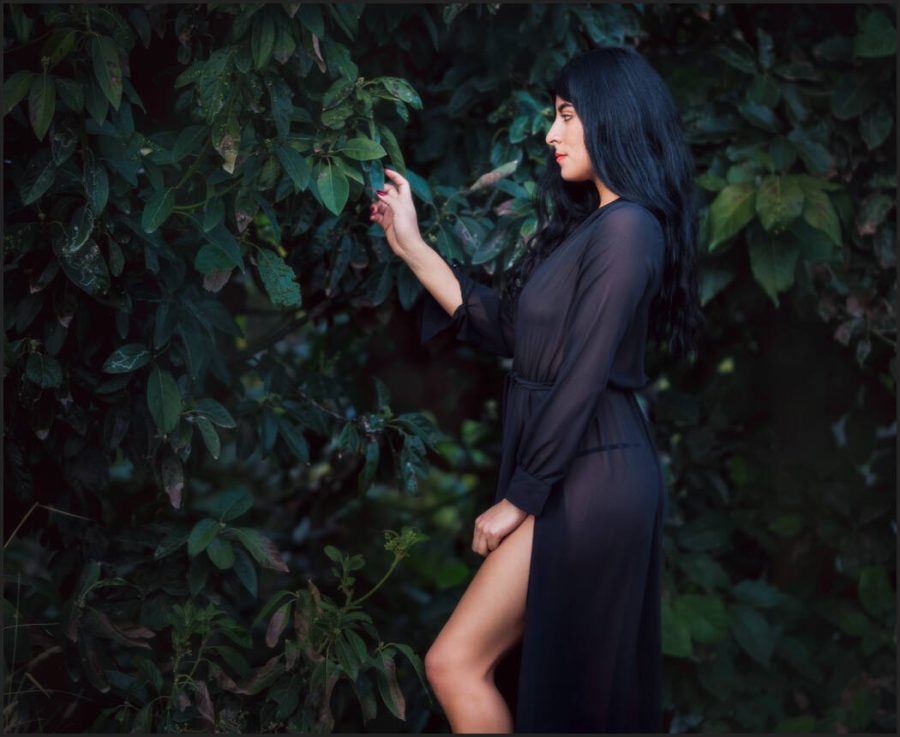
Ivanna shoot with Gavin Seim
Ivanna – Model QRO Mexico

3. Find amazing locations to work with models in Mexico!

There are beautiful people everywhere, but the exotic nature of those from other cultures makes it easy to get that creative energy. You could rent a studio or building depending on your needs but theirs a lot of outdoor scenes and urban places that are really eye-catching for projects.

The land is beautiful in Mexico also and there’s so much color in the trees. So even if you don’t have a studio, you’re fine. It’s good to know the area you are in and whether it’s calm (most are). You can legally take photos in pretty much any public space and I’ve never had a problem after many sessions on streets and in parks. It’s normal here.

Let models be themselves. Photographing beautiful people is easy; sort of. You still have to stay on top of things. Pay attention to your lights and setups and detail and do not get pressured by the fact that you’re working with experienced models and feel like the shutter needs to be clicking at all times to prove yourself. Like any portrait session, take charge, take a breath and make a plan.

Yara and Evaristo did a great job. We loaded up and headed out to some epic outdoor locations like an old mine, the bus stop, and the forested roadsides of beautiful Mexico. But that was just the start and since then I’ve started building my own list of models for when I have projects so I don’t have to use a middleman and we can collaborate as equals.

But it’s Mexico, Gavin, surely I’ll be robbed. Don’t believe the hype so easily. I’ve roamed Mexico for months. Just like any country, there are bad parts of town, but most areas of Mexico are perfectly safe and wandering around to cool locations is no problem. We were in Querétaro and Hidalgo State which in most areas have less crime than many States in the US.

Model Ivanna in a Mexico session on the River in Hidalgo
Hidalgo Mexico. One of my favorite Riverside modeling locations with Ivanna

There are talented undiscovered models of Mexico. Treat them with respect and everyone will leave happy!

Unless you’re shooting a movie, you probably don’t need fancy models that are promoted in US agencies. If it’s a commercial project you can find models from an Edecan like I did my first time or you can scout out your own. It’s a warm culture full of beautiful people.

Get out there and take some photos and then go edit them with some of my presets 😉

I also do session directing and consulting for projects in Mexico so you are welcome to send me a message if you need some help with your upcoming project.

Gavin Seim

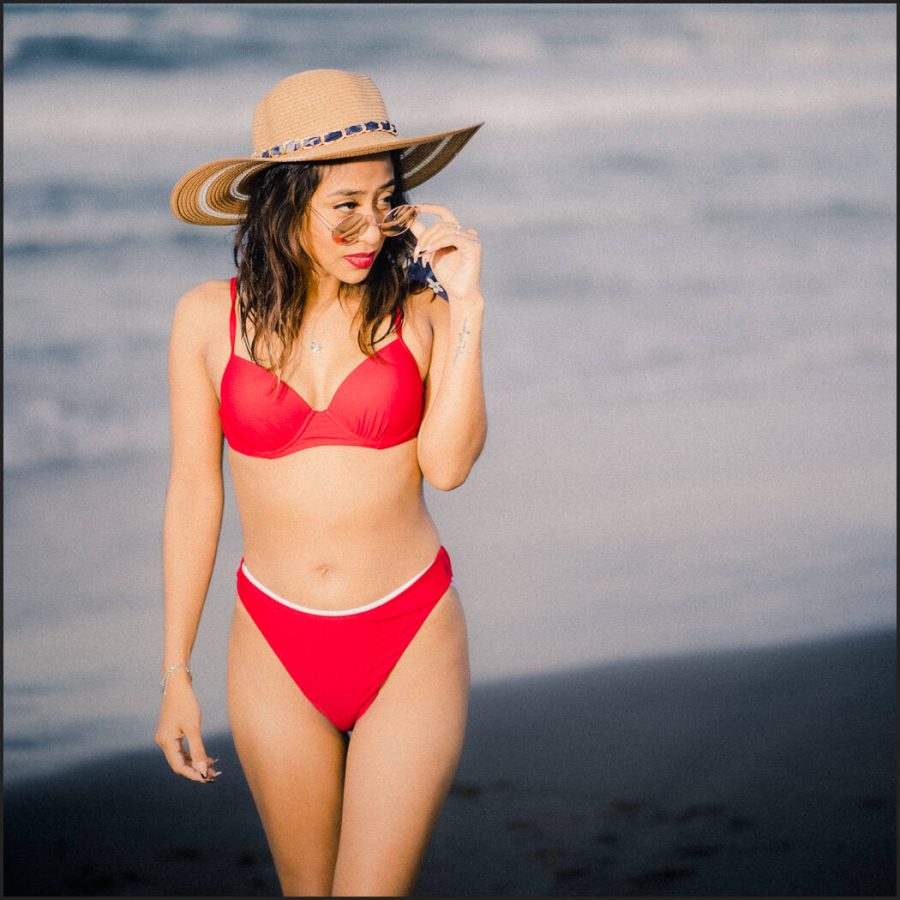
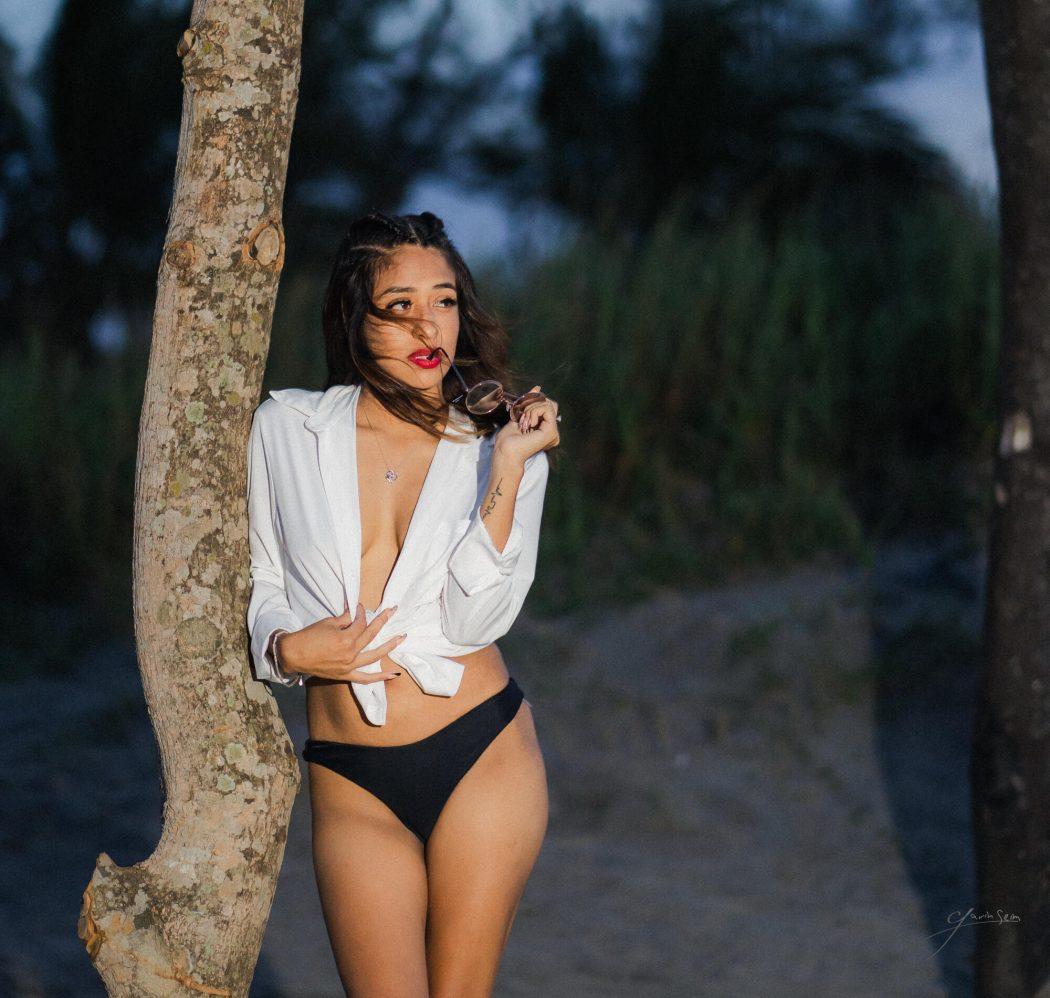
Beach session Cisla with Gavin Seim
Cisla – Model San Juan Del Rio Mexico
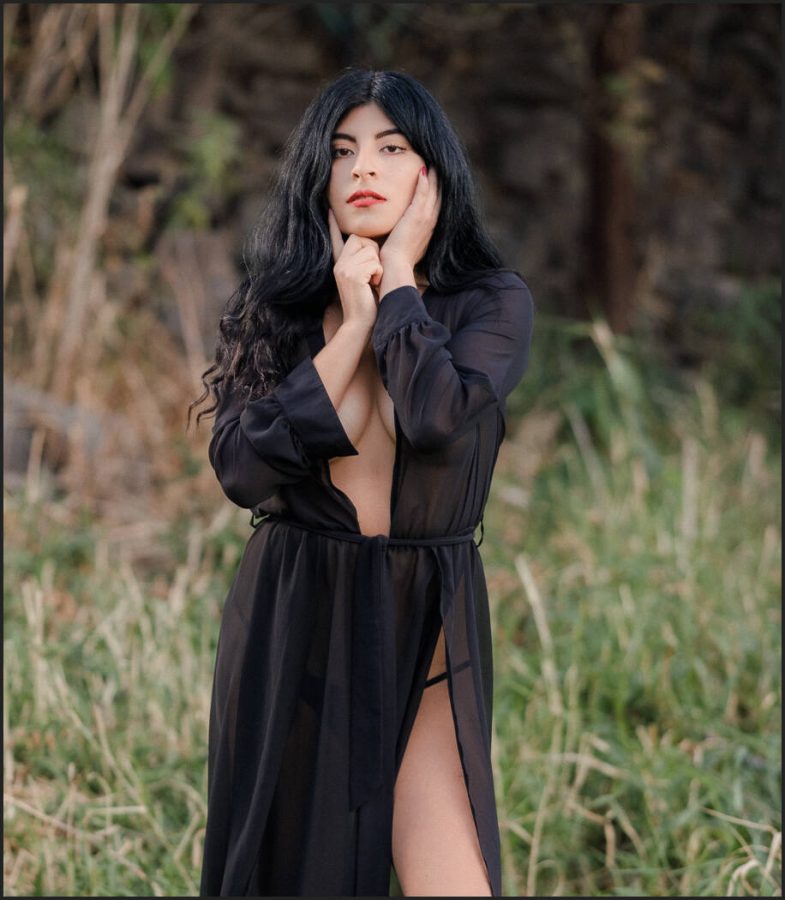
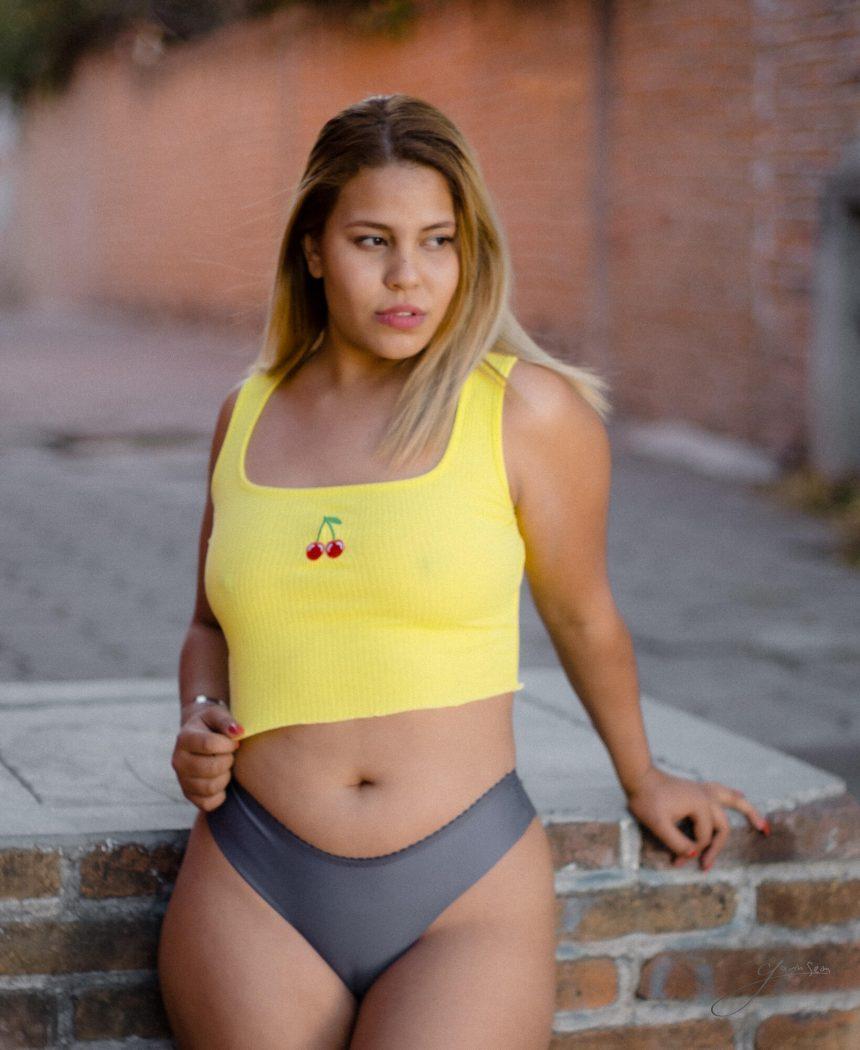
Model underwear shoot central mexico
Karen – Model QRO Mexico
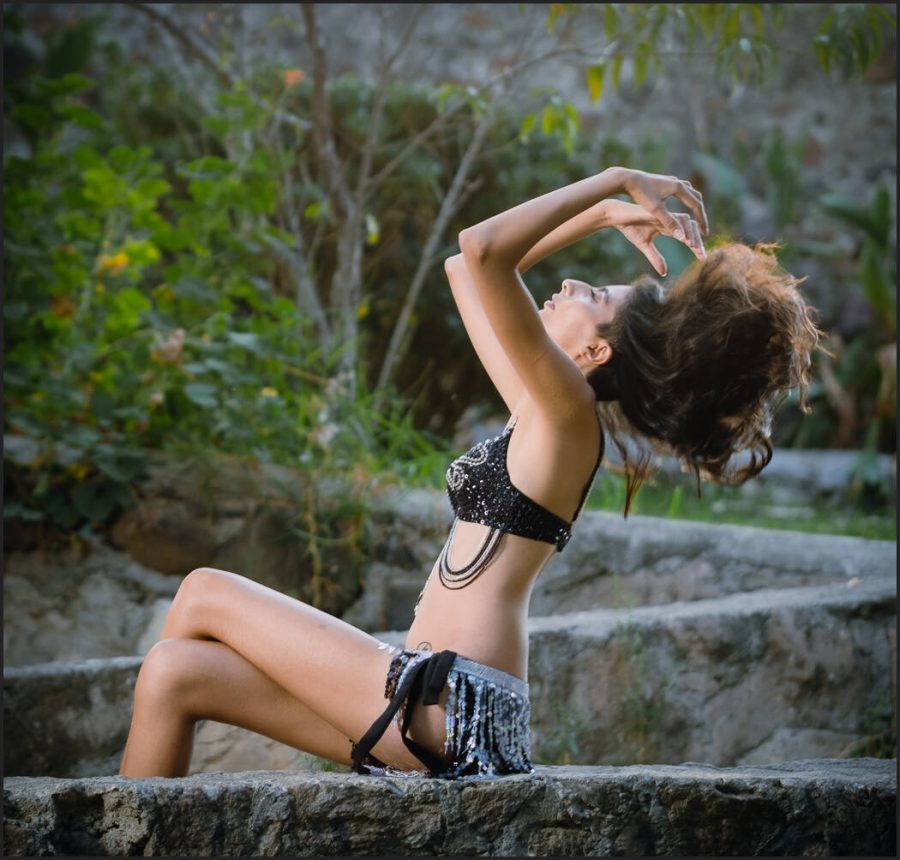
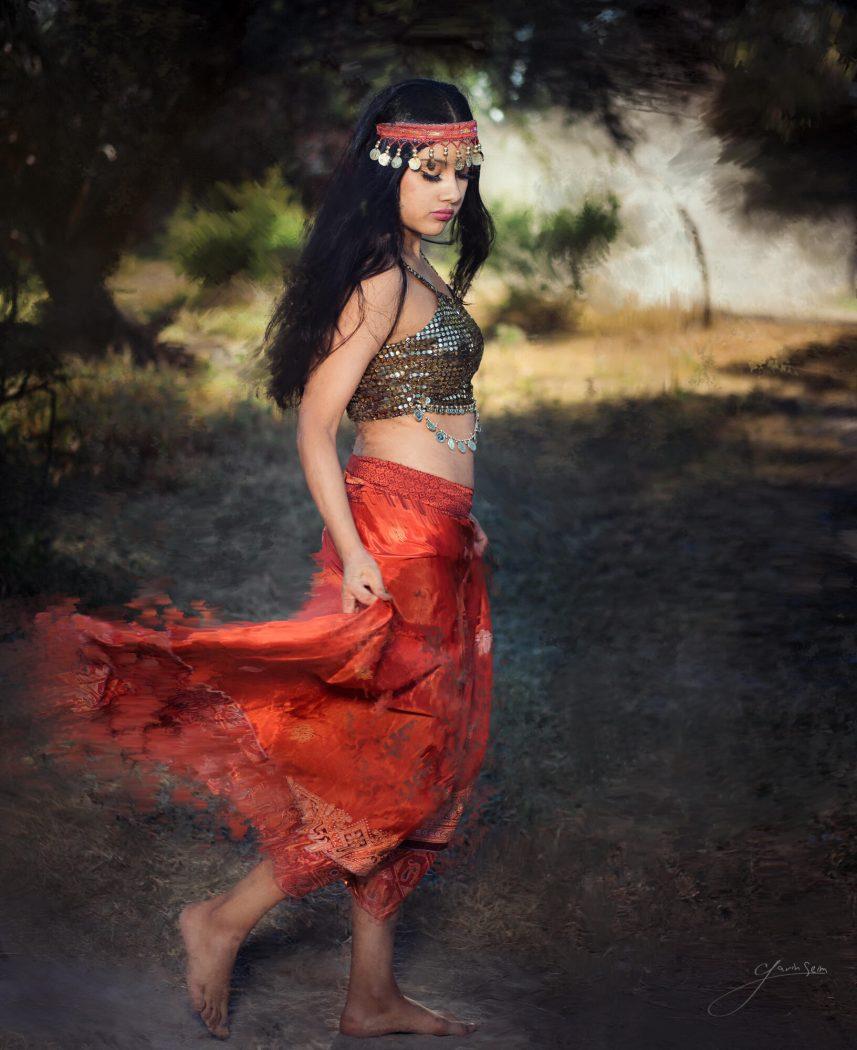
Models in Mexico dance session with Gavin Seim
Montse – Dancer and model, Queretaro Mexico
Read More

March 20, 2013

Gavin is on the road again for 3 months filming and photographing. You can follow their trip here. Barry and Dennis found the keys to the garage. Who knows what will happen. Good job guys.

Click To Listen>> Photography Podcast. PPS #91

Direct Podcast FeediTunesPodcast Alley

Today’s Panel…  Barry HowellDennis ZerwasRonn MurrayAndrew JonesSeth Hinrichs

Gavin is on the Road so Barry, DZ and their crew take the show for a spin as they talk about the latest in photography, then and now.

This show brought to you by the Seim Effects. And the new ColorFlow presets for Apple Aperture.

PPS #91 Forum Discussion HERE. Share Your Opinions.

Main Time Indexes:

  • 00:00 Introductions.
  • 02:22 What’s Old is New.
  • 33:10 News and Stuff.
  • 43:10 Barry Does Video
  • 46:06 What’s Our Next Camera?
  • 58:30 The Lightning Rounds
  • 1:35:50 Picks


LINKS…

Barry’s video on the Canon FTB.

Follow Gavin’s 3 month American road trip.

Sony NEX Series

Random PICKS:

iCandy phone video mount for SLR’s

SteadyCam Merlin 2 video stabilizer.

Also the smaller Smoothee version for GoPro/Phones.

Olloclip lens system for iPhone

Lumix GH3.

Read More

March 8, 2013

This is an article I was originally asked to write for Professional Photographer Magazine, a good read – The problem was that editing department hacked it up so badly that it was barley even my words anymore. Such is life, but I opted to not have it published. Below is the full version of the article with a few extras since I didn’t have a word limit here. Enjoy – Gavin Seim

____

I’m going to share a few things that can fundamentally change how we make images. NONE of them are new –  Sometimes it seems we arrived at digital and left behind a hundred and fifty years of photographic knowledge. I spend a lot of time studying classic techniques. Why? Because it’s not new – It’s time tested. It works. In this digital age we can get so caught up in gadgets, software and tools that we neglect how to make images beautiful from the start. I’m from the digital generation – So while I fully relate, I’ve learned to stop looking for buttons and start looking for light.

1. The Tones:

Ken Whitmire once taught me that “Tone” may be the least understood and least utilized factor in composing and finishing images.” He was right. With digital it’s easy to think “that’s easy”. But as a lover of film and digital, I’ve learned they’re not so different. A great photograph is light and shadows – We must see in terms of tone and how it relates to what we want to capture. Exposure, burning, dodging, finishing  – Proper use of tone can literally take the viewer anywhere we want them to go. Now that’s power.

Ken Whitmire on the Oregon coast – I photographed this portrait of him while he was photographing a family. The Tone is essential here. Control of the dynamic range while retaining rich blacks gives balance to the scene.

2. The Zones:

The Zone Scale – A representation from black to white in one stop increments. The language of light.

I’ve been trying to decide how to discuss Ansel Adam’s Zone System in few words. Zones may be the most neglected tool in photography today. They offer a core to how we communicate and photograph light. Zones are not just for film or black and white. Once you truly understand them you never see the same again. The Zone System is broad reaching. But it’s core is the beautify simple Zone Scale, a representation from black to white. Combine Zones with a simple understanding of metering and there is no over, or under exposure. There’s only your exposure. Your intent. I can’t explain it all here, but there’s a free video covering the basics that I posted over at exposedworkshop.com. It’s an excerpt from my EXposed series and will get you started. Don’t ignore Zones because they will change your photography. You can also read my article on using Zones here.

Lost Oasis – I was using large format film here and took advantage of camera movements. Line, tone, space and position were all critical and while in retrospect there’s things I could have improved, taking my time paid off. I took in the full tonal range from black (Zone 0) to just shy of clipping (Zone 10). More on this image here.

The Zone System – Here is an exposure sequence metered on the highlights from Zone 1 to Zone 9. More on this in the Zone System discussions on my site.

3. Space, Position, Line:

Ken Whitemire, the pioneer and master of the wall portrait, showed me the value of tones in relation to space, position and line. He has an amazing lecture he gives about this at the Wall Portrait Conference each year – Essentially we need to think about the aesthetics of our image. For this reason I love studying masters like Bierstadt, Sargent and others. We must start by truly seeing our scenes. Think about the subject. How lines lead. Where are they positioned? Why? Is anything distracting? Should it be lighter, darker? Really – Truly – See!

Morgan’s Song – I had a lot of things happening in this riverside portrait. Controlling the aspects of the scene, the position and the tone allowed me to show a beautiful scene while still keeping the viewers eyes on Morgan.

4. Visualize – Again:

Are you really “seeing” in the minds eye? It’s easy to let this slide in an age of instant previews and post production fixes. But nothing replaces visualizing. Ansel reminds us that “The whole key lies very specifically in seeing it in the mind’s eye”. Regardless of our subject, we must stop, if only for a moment. See what’s in front the lens and decide what the subject needs. Then use space, position, line and tone to make that happen.

This was my turning point in visualizing. I used 4×5 film for this wall portrait that we printed at 40 inches. I needed to keep away the distractions in the space. I only used one frame of color film, but I took a breath first. I truly saw the portrait in my mind before I released the shutter. I’ve added a zone scale for the purpose of tone study.

 5. Finishing:

The image is captured. Win lose or draw we’ve done it. I’ve learned that slowing down throughout the entire process makes me a far better craftsman. That includes finishing. It’s easy to raise the bar in post if we stop worrying about making countless “decent” images and start thinking about how to take the “best” and make them sing. Fulfill that visualization, right up until the print is on the wall. That is mastering the photograph.

Until next time… Gavin Seim

This image was a PPA Loan Collection print in 2011. It’s actually a tone-mapped piece, but more importantly, it had careful attention to detail. Focus on line, tone values and finishing made it work. Planning and execution.

Read More

February 1, 2013

Hasselblad – The Second Coming of Film

Click To Listen>> Photography Podcast. PPS #90

Direct Podcast FeediTunesPodcast Alley

Today’s Panel... Gavin SeimBarry HowellBryan CaporicciJoseph Linaschke

Bringing in 2013, the panel talks about whats new and whats coming this year as they share ideas on raising the bar in 2013.

This show brought to you by the Seim Effects. And the new Color Fantasies 2 Presets for Lightroom.


PPS #90 Forum Discussion HERE. Share Your Opinions.

Main Time Indexes:

  • 00:00 Introductions.
  • 03:00 News and latest
  • 13:00 Compact Cameras and Fads
  • 40:10 Adobe CS2 Adventure
  • 43:30 Ideas for 2013
  • 1:06:25 Copyright – Lighting
  • 1:25:50 Composition – Lighting
  • 1:39:20 Picks of the Month
  • 1:58:58 After Show


LINKS…

Follow Gavin’s 3 month American road trip.

Brother QL570 label printer.

Ifrogs BOOST

Powershot N


Olympus OMD

Sony NEX Series


Adobe CS2 Download Archives.

Wall Portrait Workshop 2013

Film is Coming Back.

Gavin’s LIGHT LETTER

PICKS:
Bryon
Herman Miller Aeron Chair

Barry:
Hassleblad 500CM

Joseph:
Eye-Fi SD Card

Read More