I kept buying what are called the BEST lenses. And they kept sitting in my bag. I learned the best lens may not be what you think it is. Today I’ll show you why.
Here’s why your Camera Lens is bluffing you.
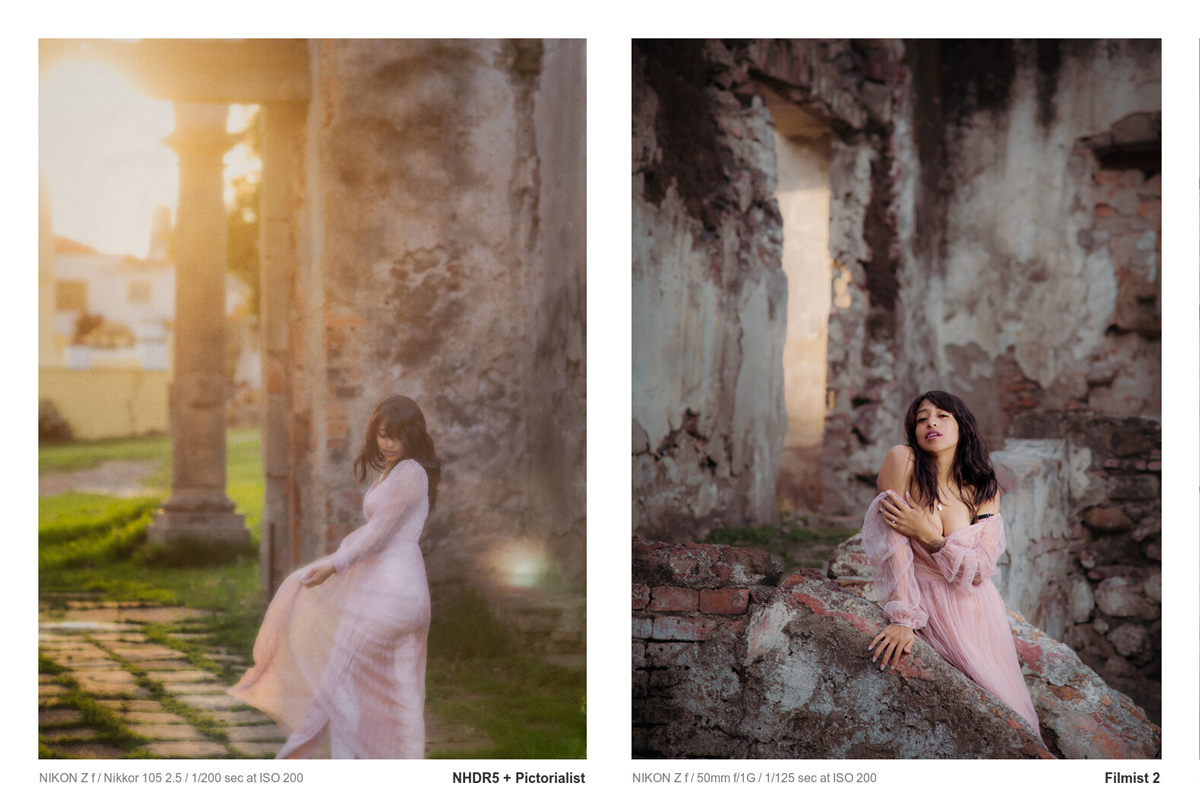
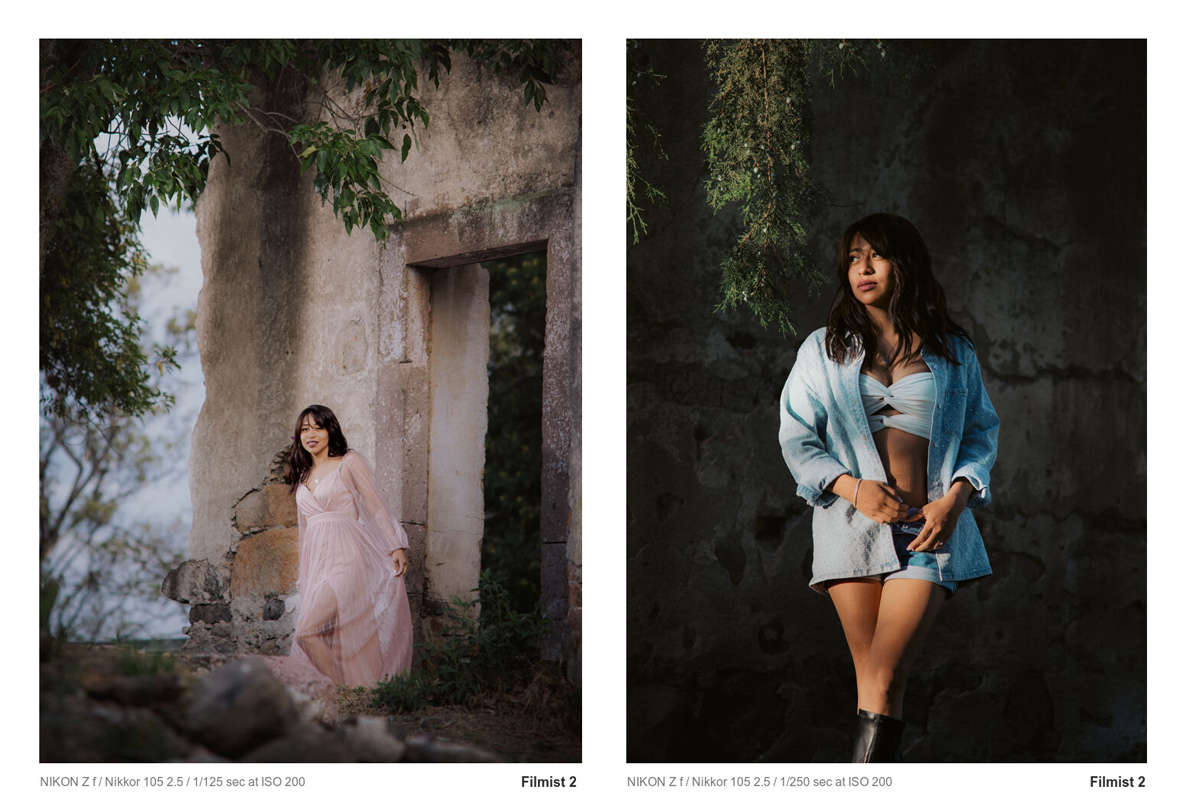
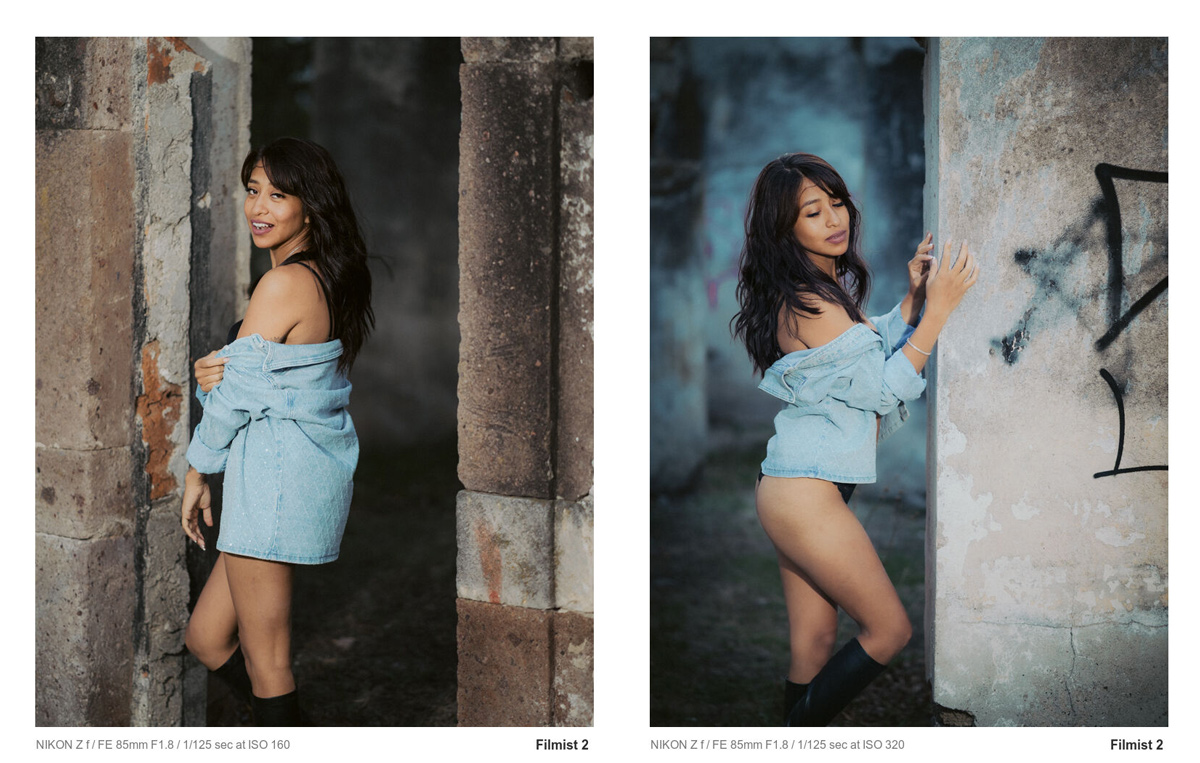
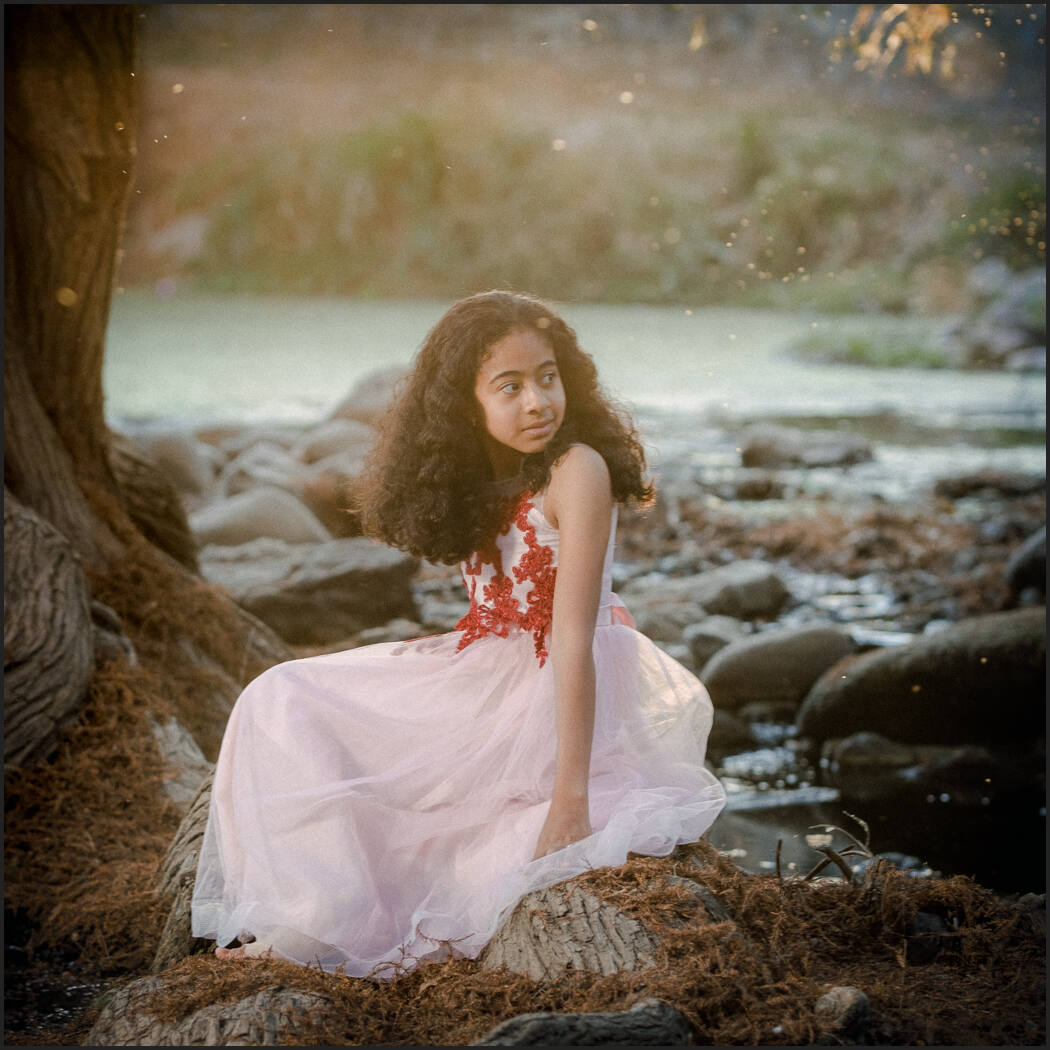
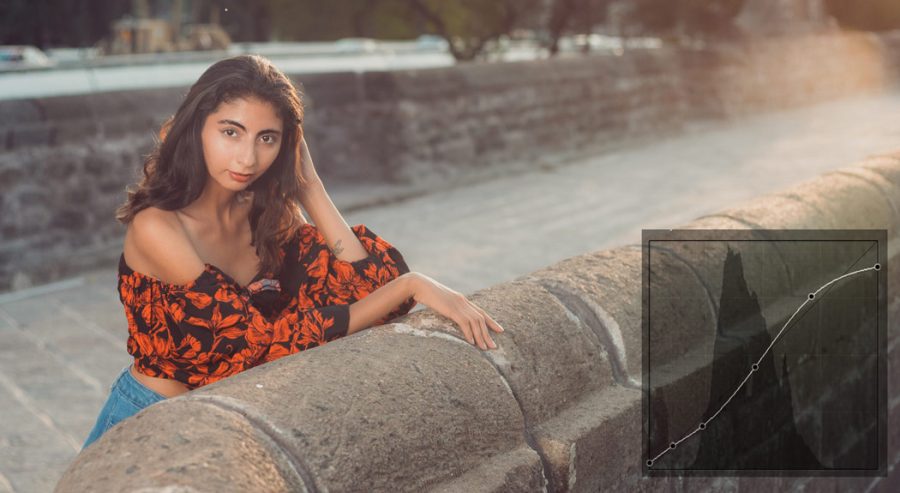
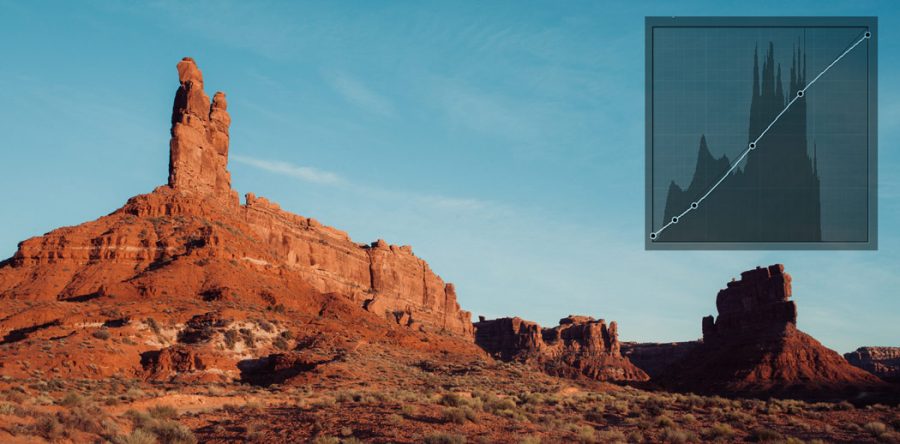
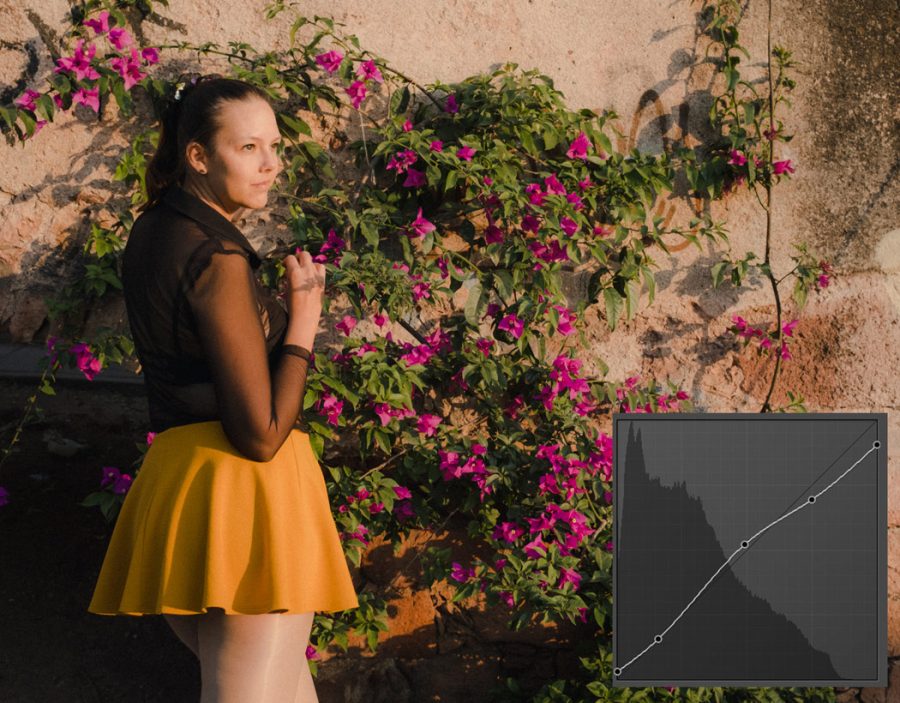
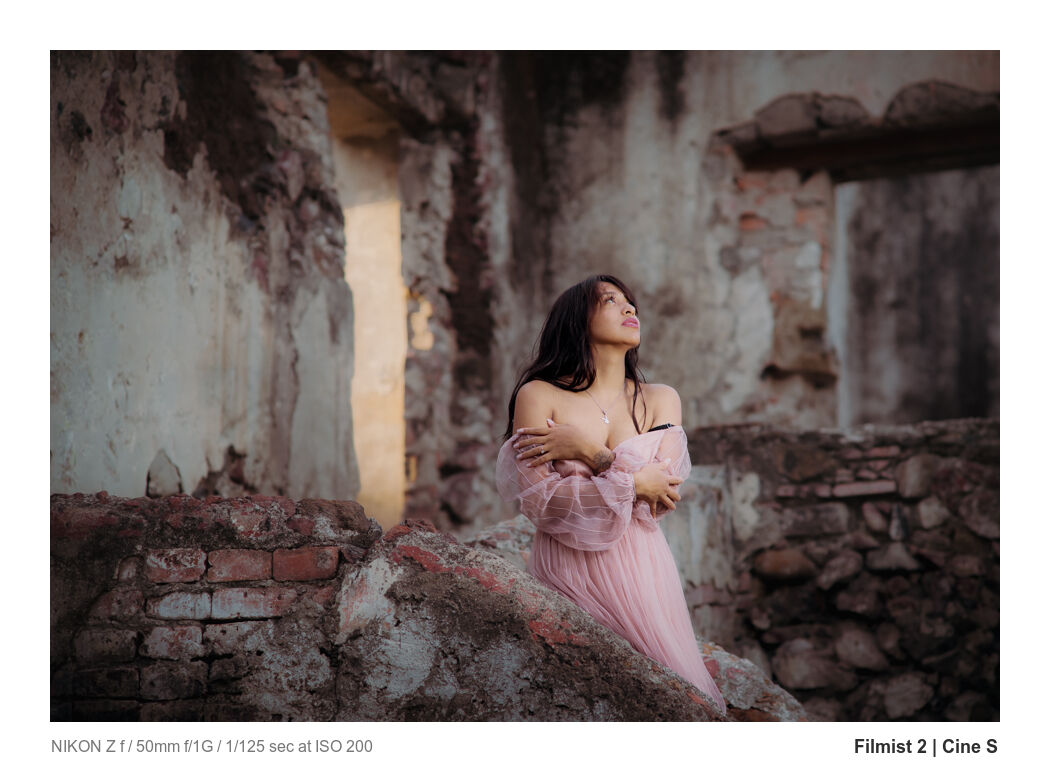
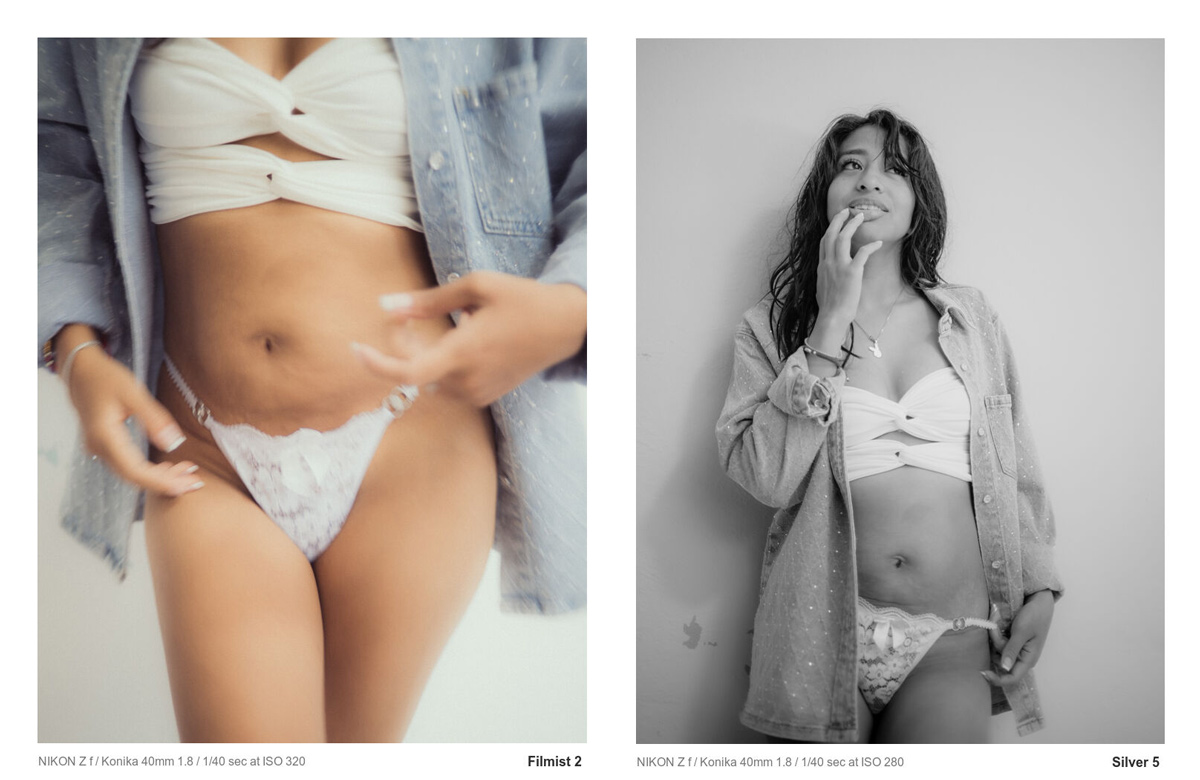
I edited with session with Filmist 2, and Natural HDR 5 presets and in Photoshop with Pictorialist actions. Try the free samplers of other the preset packs.
The “best lens” is not always the best lens.
You’ll see me use 3 lenses in today’s video and only 1 was a modern lens. Yet all were sharp clean and cheap. In fact I barley own any Red line or G master lenses anymore.
We’ve been taught to think that super expensive lenses make us better. They don’t. Sure a 50 or an 85 in the F1.4 to F2 range is great because you get bokeh that you usually wont even get with super expensive and large 2.8 zooms.
And no you don’t have to use vintage lenses but there are a ton of good cheap primes in vintage glass that you can adapt and are full of detail and atmosphere.
It’s more about how you use that lens.
Today’s video was the opposite of a review. Sure the lenses I chose are great.
But the bigger point is that when you have big heavy expensive lenses you don’t always phonograph better. When instead you pick the lens that feels good for today’s session and use it magical atmosphere happens.
Photographers don’t realize they leave a little part of their soul in a great image. The more you feel, interact and get emotional about a shot, the lens you shot it with, the extra attention you put to slow focus. All these things create photos with more feeling.
Big spendy perfect lenses can be great. But once you know, often you pick up other lenses because they are heavy and clunky and feel sterile.
It may sound silly. But I see it time and time again.
So what lens is the best lens?
Honestly. Whatever lens make you feel something right now. Usually that means not to heavy, a focal range you like etc. Glass is amazing. But it’s how it pushes you that matters. Sure you should prob have a go to lens with fast focus etc. Sure you sometimes want a super sharp landscape lens.
But I use old and mid level lenses 10x as much. Usually they are sharp, sometimes they have imperfection and more often the imperfection they do have contribute to making a photo feel real.
Just like I keep begging people to stop taking all the noise and grain our of their photos because it makes them feel fake, perfect sterile lenses often feel empty. But they have to sell those super expensive beasts so they get influencers to tell us they will change our lives. They wont/
Gavin Seim