I talk a lot here about Shadow Hacking, exposing better in camera zones and beyond. But today I was to show you something that almost no one is using in Lightroom, Raw, and Capture One. Recently I made a video about the least-known secret in Photography.
Now I’ll show you a way to edit exposure beyond the slider.
Learn more about exposure and shadow in my Shadow Hackers Live class and grab some free presets From Natural HDR and Filmist.
#1 Don’t think of Exposure as a slider.
Thinking more like you’re in the darkroom gives you a more complex view of how exposure works and relates to contrast, shadows, and lights.
The exposure slider in any app is just one way, one mix of volume and tone for those pixels. When you use curves, levels, and other methods you’re just adjusting the volume of those pixels in different ways like using EQ on your stereo.
Thinking this way keeps you from always doing the same thing and will let you easily adjust for higher or lower contrast situations like we did by pushing or pulling the film.
#2 Don’t do it all manually.
You don’t have to buy anything, you don’t have to use my presets. Or you may use mine but then make your own variants. That’s the beauty is saving things. It lets us repeat, then refine more with time. In doing so your entire process will improve.
Make these as presets, styles, and actions like I do in my mods and packs and you nyou will be glad you did.
They are simple recipes really and not like making a Film or advanced combo. Just a simple push and pull of tone and then you can turn them up and down with amount sliders or opacity layers. It’s magic.
#3 Mix it up.
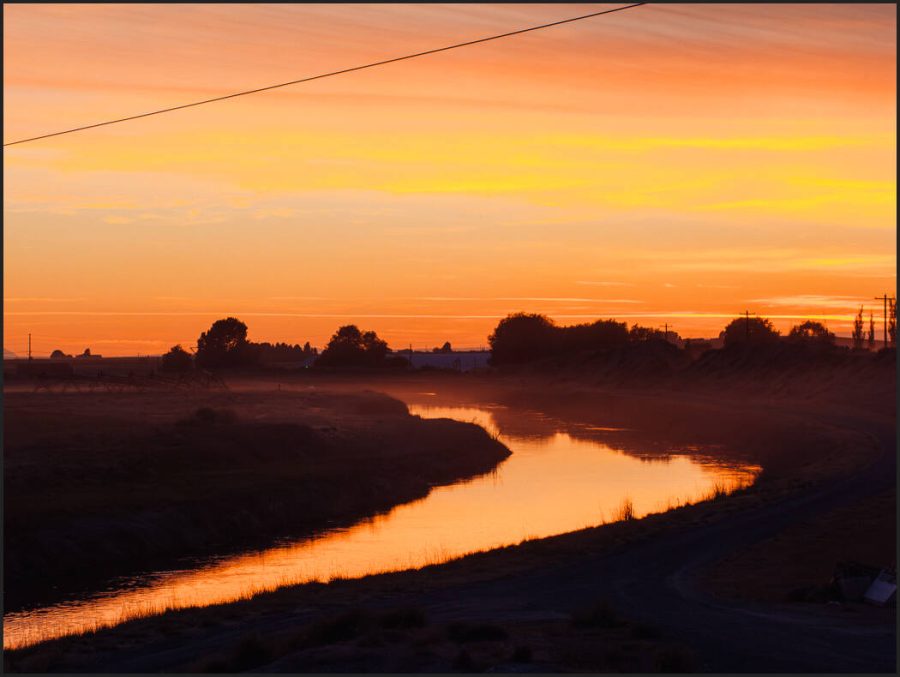
In the video, I showed you different photos and how the same photo can work in more than one way. Exposure is not an absolute. Once you understand shadow hacking you know that with every photo you take.
Sometimes you want light, sometimes you want dark but those shadows are hard or soft and how they create contrast matters and the way you mix your exposure and tone boost makes a big difference.
On your stereo you have volume. But you also have EQ which is just volume targeted to specific frequencies or tones. Editing photos is the same and once you really get that there are no limits.
Go have some fun – Gavin Seim