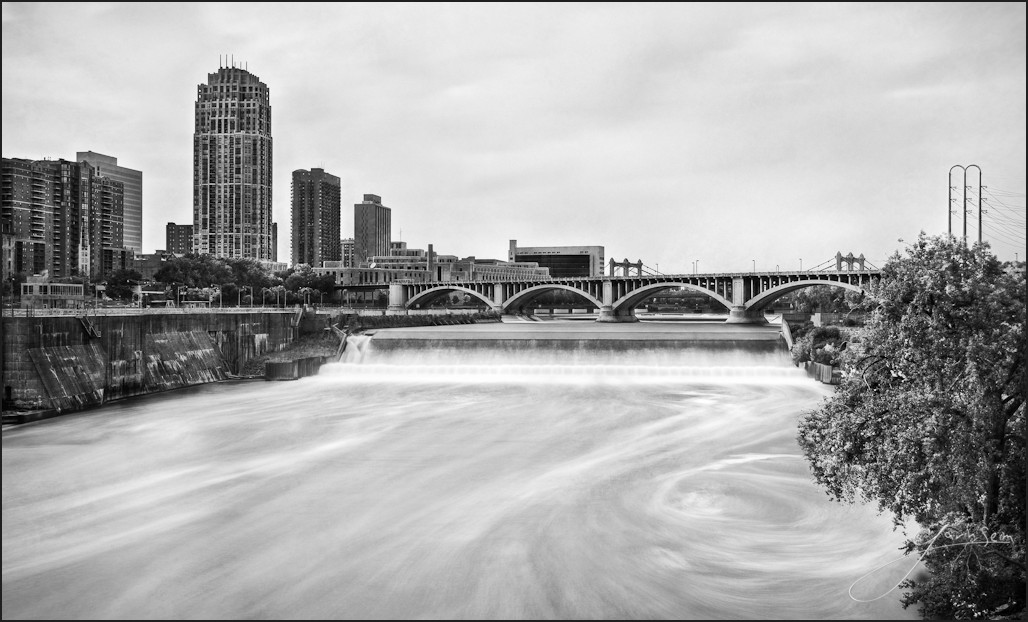
This was about a year ago now, during our Fall 2010 road trip and my visit to the Twin Cities to teach an HDR workshop. I was walking with my group downtown, crossing over a bridge, the name of which escapes me. It’s big city here. industry and concrete. But flowing water always mesmerizes me. I took my time setting up, feeling that if I hurried I would get little more than a snapshot. In the end my effort paid off in this long exposure just between St. Paul and Minneapolis. The structures of the city meeting with the awesome power of the water and doing a dance right in front of my lens.
Release Details: Prints Coming Soon… Contact Gavin for details.
For photographers. How it was made…
Canon 5D MK2, 17-40L 4.0 @40mm, f16, ISO50 – 15sec, 21sec, 40sec.
This is a three image bracket merged in Photomatix as an HDR. It might have worked well without tonemapping and just with some layer masking, or even as a well exposed single, but the bracketed HDR gave me lots to work with. And lots of work to do.
The advantage of a full tone mapped HDR like this is you get a ton if information to work with. The disadvantage is you must be work that information correctly, because if you leave all of it it generally breeds chaos. There’s will generally be too much light and not enough shadow due to mostly mid range valued of the tonemapped image. I’m not suggesting either approach is bad. They’re just tools and it’s how you use them that counts.
I processed the tomemapped result with Silver Shadows and then tweaked details until the image looked good in LR. Then I went into Photoshop for the real work. Spending a good deal of time burning and dodging very specific details to control my tonal values. I also did some Pixel Painting in the clouds and water to control the details even more. Pixel painting is where I sample a color (say a cloud) and gently paint over it at a low opacity to soften, add detail etc. It’s a manual process but very effective in everything from portraits to pictorials. It’s something I cover in depth in my Cloning video workshop if you want to learn more.
Also in finishing I gently added texture using the Fossil Stone texture from Naked Elements. When I use texture I usually blend very gently. It’s there, but it may not jump out at you. It just gives a subtly to stone and sky. A little more depth of character to this pictorial scene.
All told, I used the tonemapped HDR merge to being out the detail I wanted and suppress detail that I felt would be distracting. A cropped a bit off the sky, as while there are nice clouds, it’s not the subject and too much of them was too distracting. I always have to remind myself not to include a lot of sky for the sake of it. Only when it’s right and contributes well to the scene.
All told I’m quite satisfied with the result here. It’s a good memory of a neat city and it will look good hanging in my gallery.
Until next time… Gav
