Here’s how I get my one file HDR from styles and presets in Natural HDR 4. And free presets for you.
Thanks for checking out my Natural HDR presets. The way to create better HDR formulas. I’m also uploading a free sampler pack of Natural HDR 4 here for LR, PS, RAw, and C1.
This week’s video is training on my HDR presets, but it’s also full of secrets of how I edit single files into HDR using LR, RAW capture one, and more. It’s truly amazing what we can get from a single file, especially a raw file if you edit well.
Today’s editing techniques come from years of tinkering and I’m going to upload some free presets to help you get started fast without buying anything.
Photographers keep under-editing their work. But just dragging the sliders won’t fix it. Heck, that was the theme of the Muse editing pack that we originally shot this session for. So lets edit portraits better with some simple techniques.
It’s always harder in real life I know. We are gonna dig into that today as we take on the cute photo session we did for the Muse launch and I’ll show you hands on how I edit with it.
How do I edit portraits better. How prevent myself from under-editing blues. I always use tools that push be to go past the basics. I stay sharp Lightroom presets or Styles for Capture on to edit fast, I use actions or watch videos like this one. BUT I also use those manual tweaks to get your look perfect. I’ll show you in this weeks video. It’s time to edit portrait better. It’s time to to stop under-editing your photos, so let’s tale this bull by the horns.
Here’s some useful links related to the video as well.
There’s a couple more in depth training videos from this shoot for PhotoKit members where we dig more into the session and some more advanced edits.
The winning formula to get a better portrait edit here, was starting that edit in camera. Finding the light, getting a great look and then being unafraid to edit like we meant it. Even though we have not taken any of these into Photoshop, used actions or made detailed fashion or skin edits, they still look great and from here we can go wherever we like. Hope you enjoy, let me know if you want to see more like this.
Gav
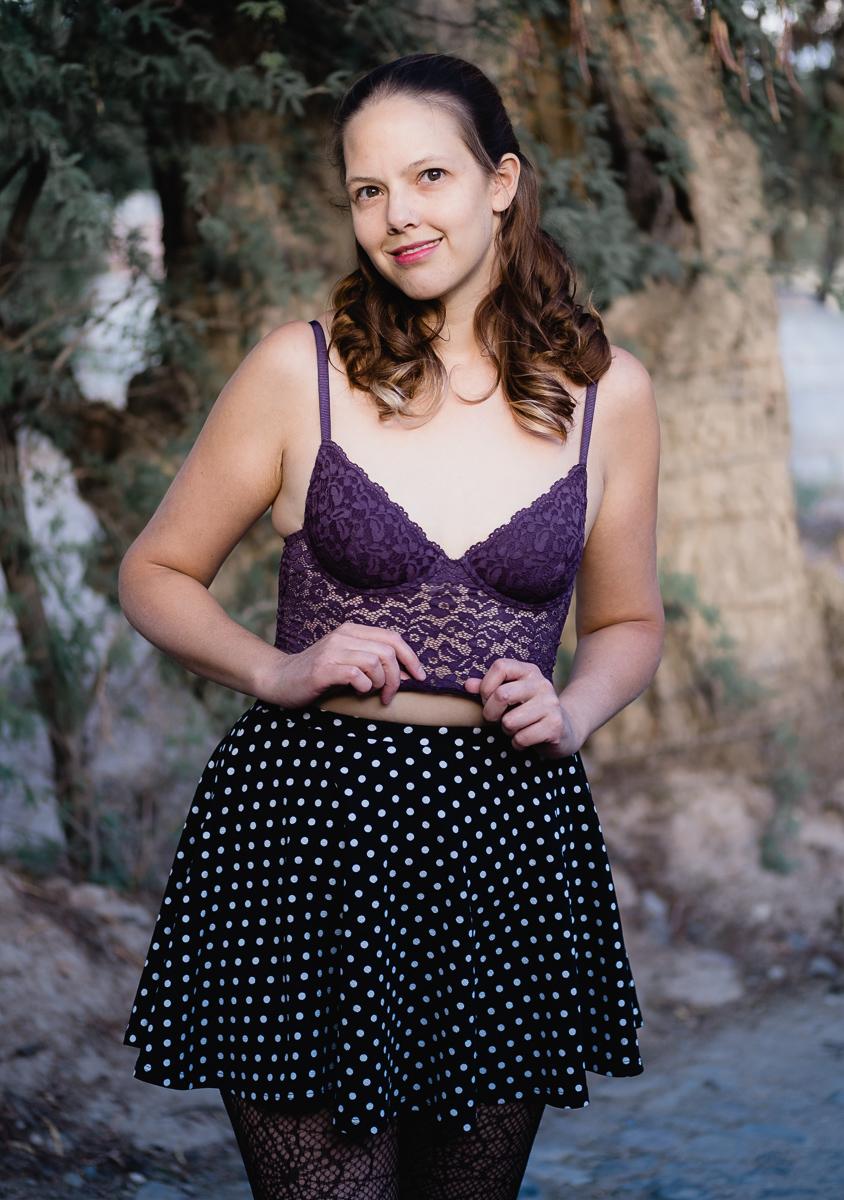
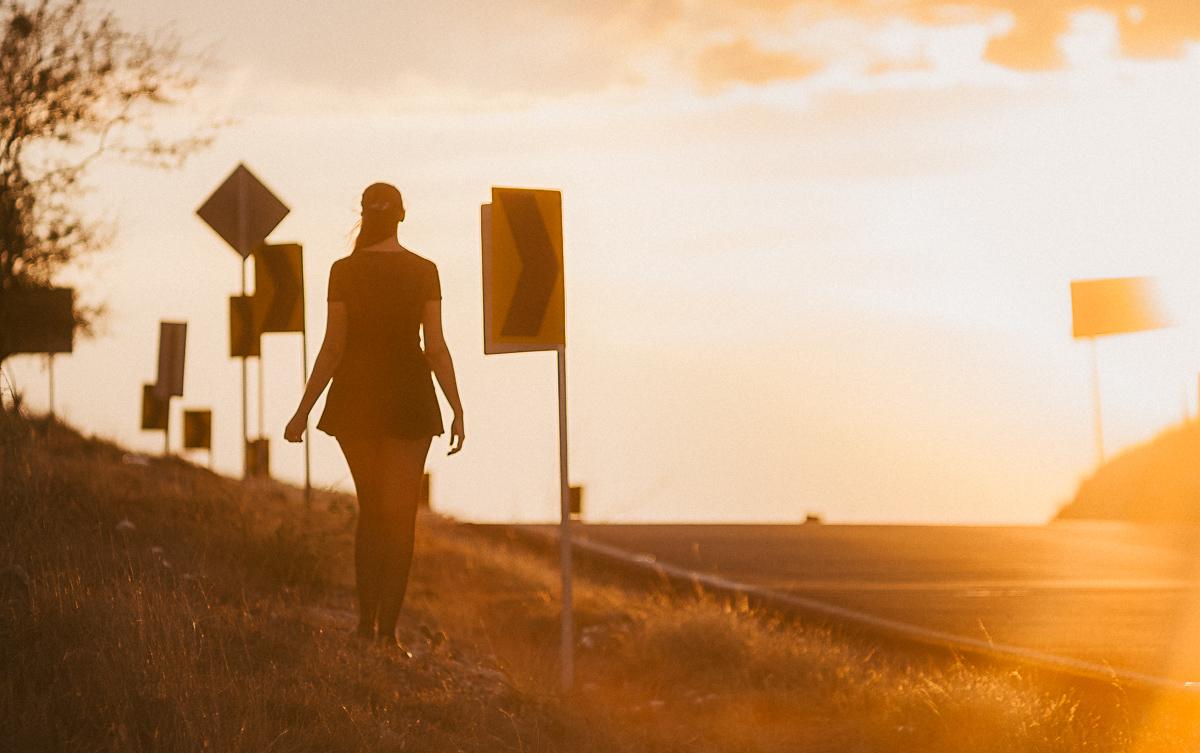
Golden sunset shot edited with muse lightroom presetsA soft edit from muse of this cute bustier. It’s all about editing portraits better.
What’s the difference between Muse and Filmist?
PLUS free presets!
A lot, so to show you I’m going to make another free Lightroom and Capture 1 free presets mini pack for 2020.
When I made presets it’s always a battle to find formulas that balance to make looks that work on every one of your files. After that, I try and find a way to convey that in the promo and training videos I actually use to sell them.
Muse mini is a great free portrait preset pack. A Free Lightroom Presets and Capture One styles pack
Filmist (free sampler of that here) was a passion project and I spent soooo much time trying to get real film looks. But when I made Muse is was more like “Screw the rules!” I’ll take the color inspiration and deep tactics I gained making Filmist; but then make a pack that does not have to be like any film. It’s not a copy, it’s almost like an expansion pack that takes the ideas of Film and just has fun with them.
In the promo video for Muse I talk about getting inspired. I like these because they have nothing to be compared to or that they have to be. Intense, but not lame ugly edits. We should not be afraid to tinker with mixing colors, add golden glows or faded green to deep luscious meadows. This Muse mini pack includes presets for Lightroom classic and Lightroom mobile as well as Capture 1 styles.
I’ll put 7 Muse presets in here so you can play around yourself. If you like what you see check out the full pack. Either way, enjoy and don’t be afraid to edit all the way,
You can also get the complete Muse Preset pack with all 46 presets here.
And you can get the Filmist Preset Pack here. Get both and save using code: BUNDLE
Does C1 give better results on Fuji or other files? Today we look at some hard-to-process files from a Fuji XT-3 and see what the results say.
We’ll take a few FUJI RAW files and see what really hap[pens when we do the same process in LR and C1. To do that we’ll use the Classic Negative look from Filmist which will process the images almost identical in both.
Let me know if the comments what you think about the results and what you prefer.
Sometimes I get these amazing shots and think, maybe I should leave this in color. But no. In this video I’m going with my vision, converting this to a great black and white with Silver 3 and going all the way to print and frame. I think going all the way to print is an important thing for any photographers no matter what you shoot and on this week YouTube I’ll show you why. You can also check out more video and subscribe to my channel.
Talk to em in the comments and let me know what you think about printing.