Most of us make black and white by converting color RAW files. That’s the best way. But even if you shoot monochrome digital or film, you must use these colors as filters.
Drop Color for black and white is just as magical as in color.
You’ve probably seen my video about Drop Color how 2 simple colors eliminate the ugly digital look and transform your process. It’s super easy but a game-changer. But what I didn’t tell you in that video is that this works amazingly in black and white with a slight twist. I’ll show you…
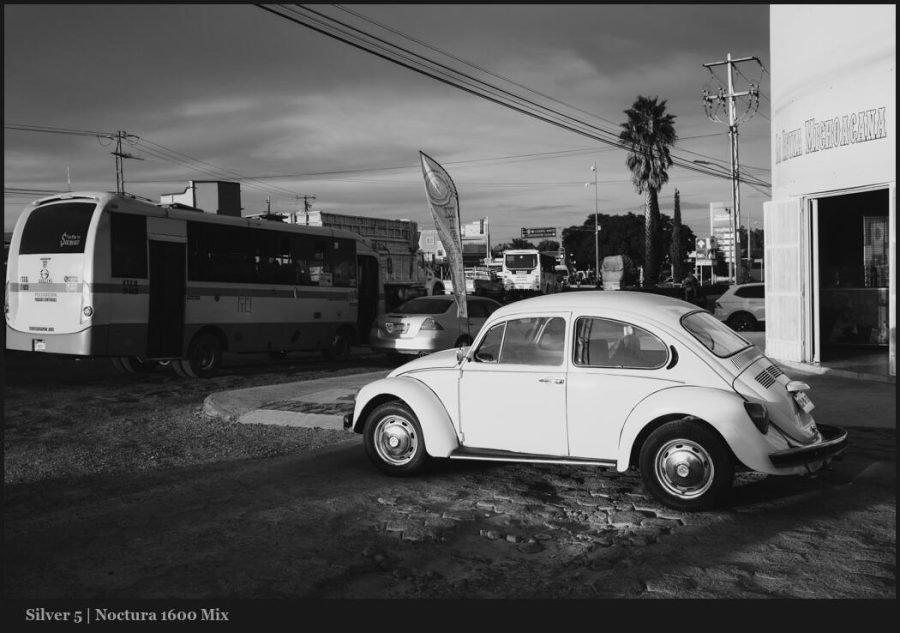
You can get the free mini version of Silver 5 presets here and see this in action. To take my tone down further I also use Blackroom and Emulsion 4 in Photoshop.
All the channels matter… But these 2 are magic.
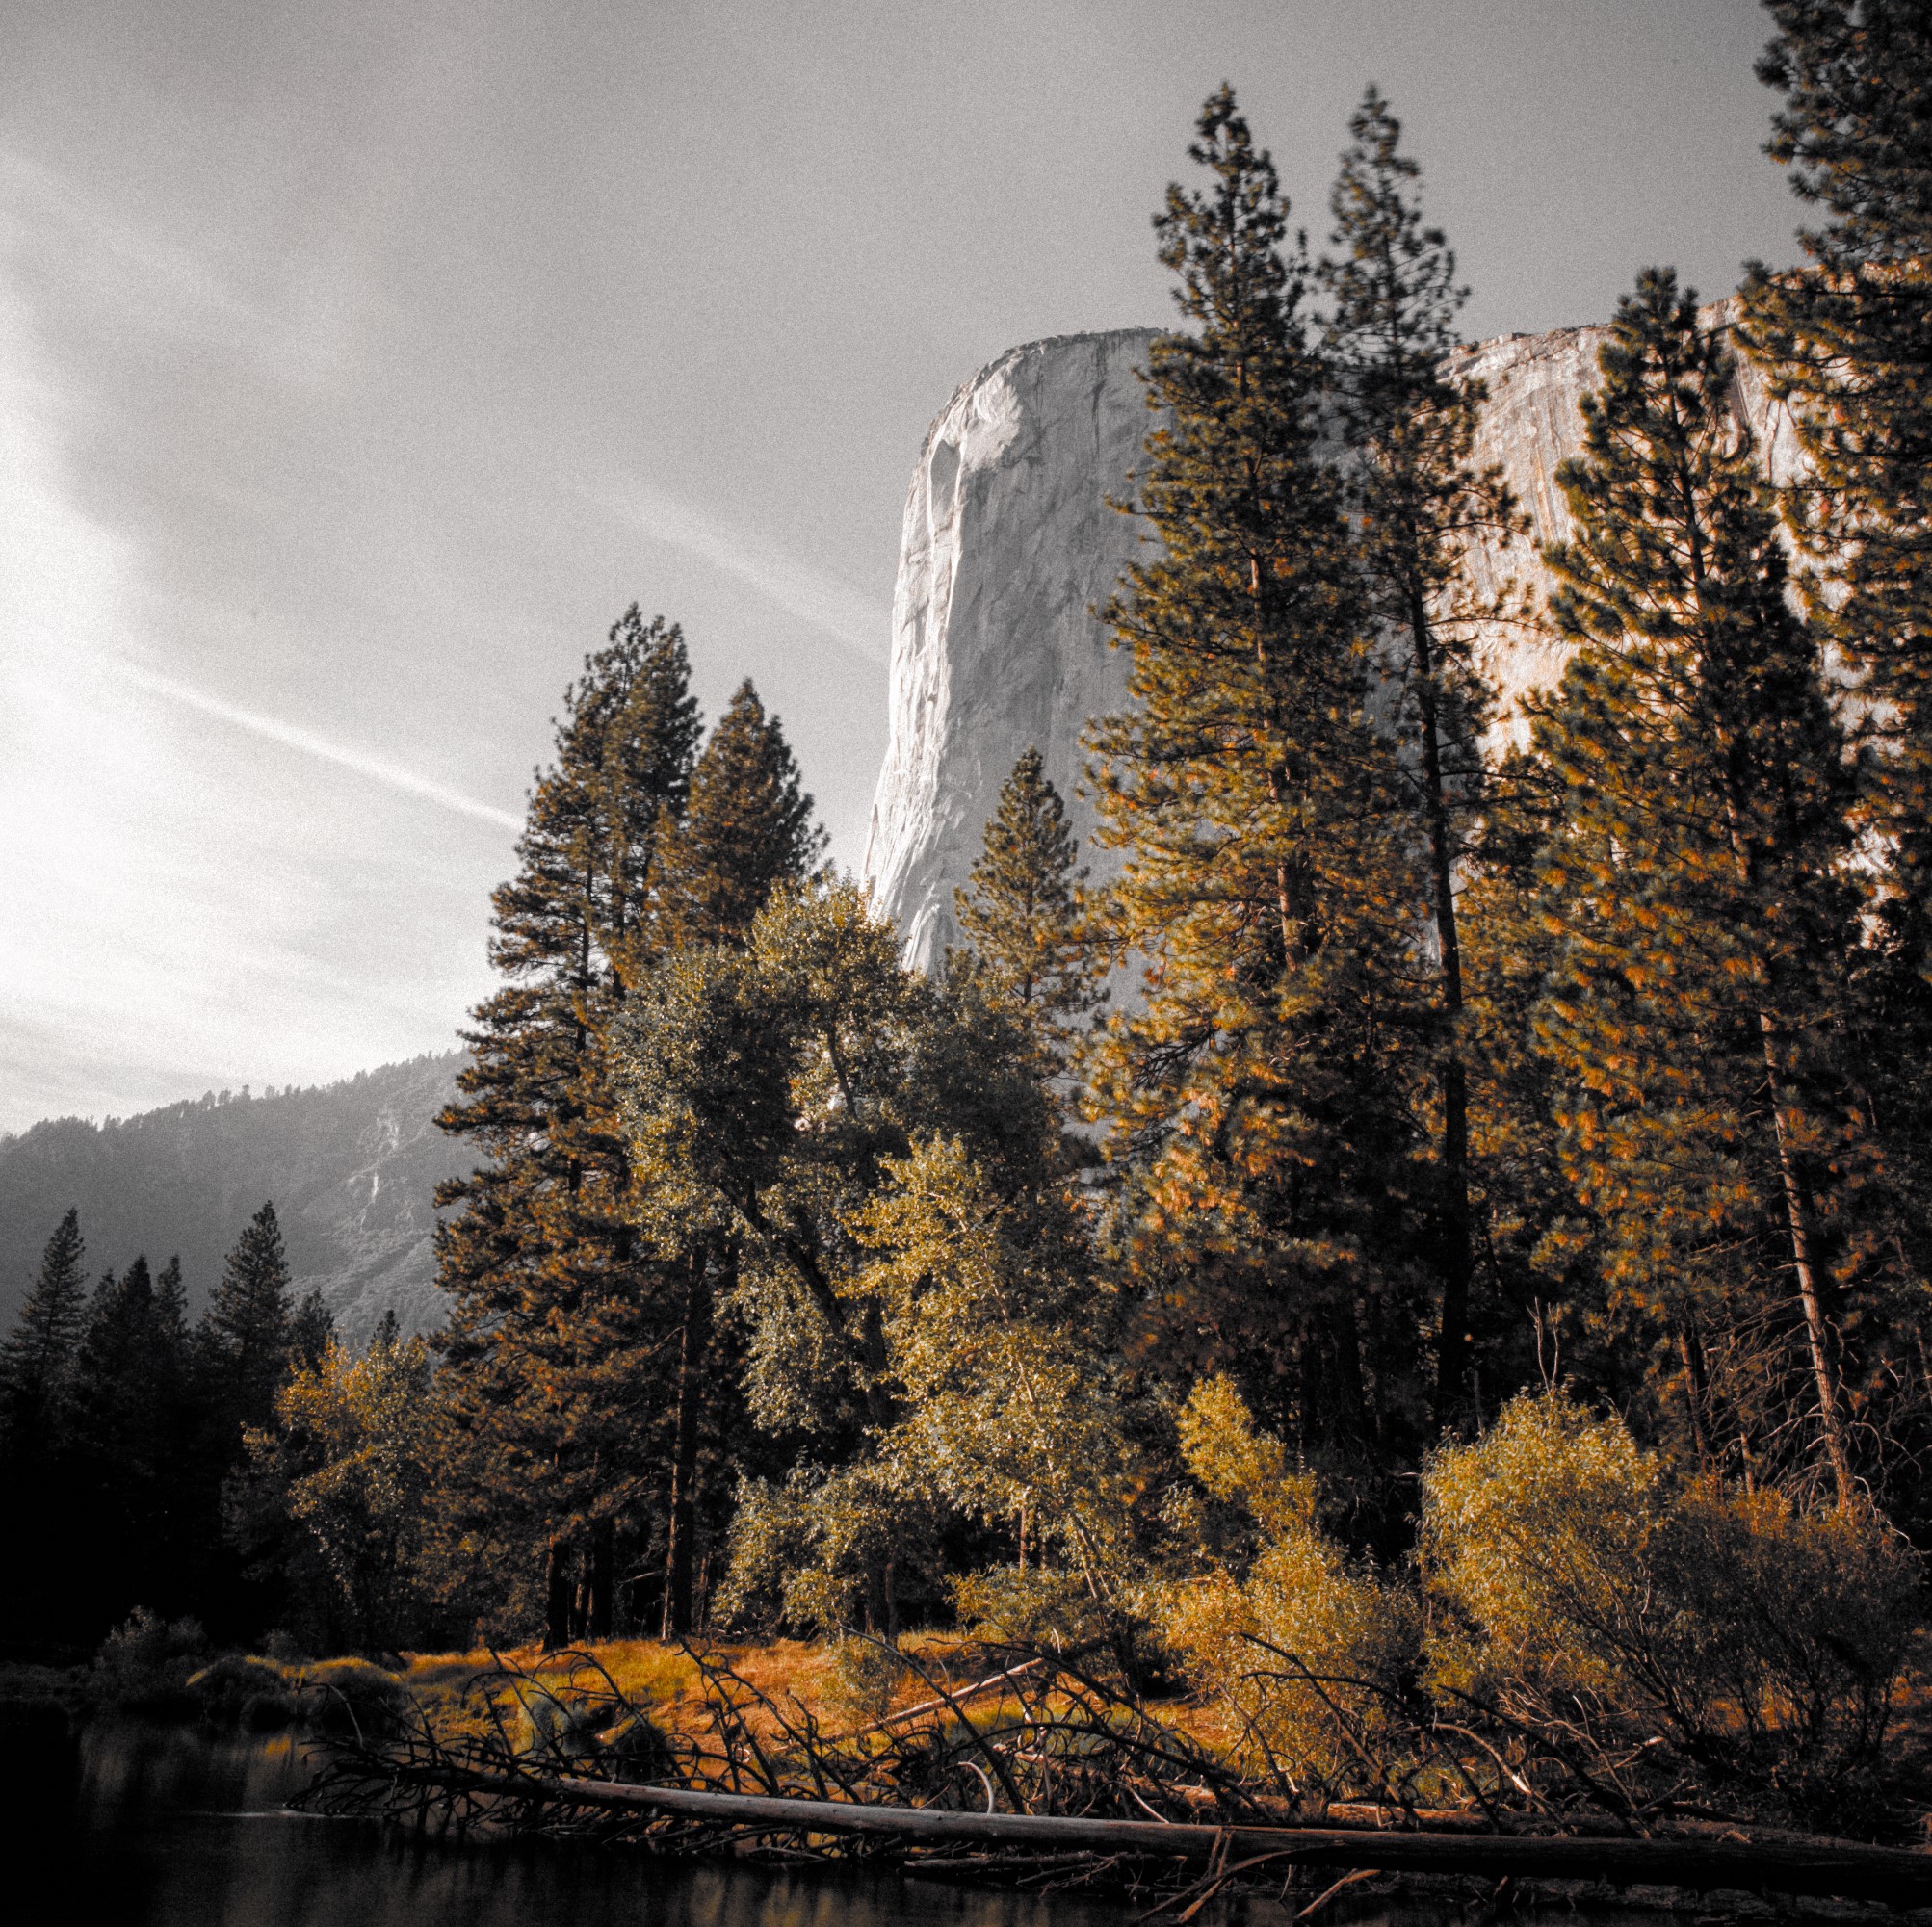
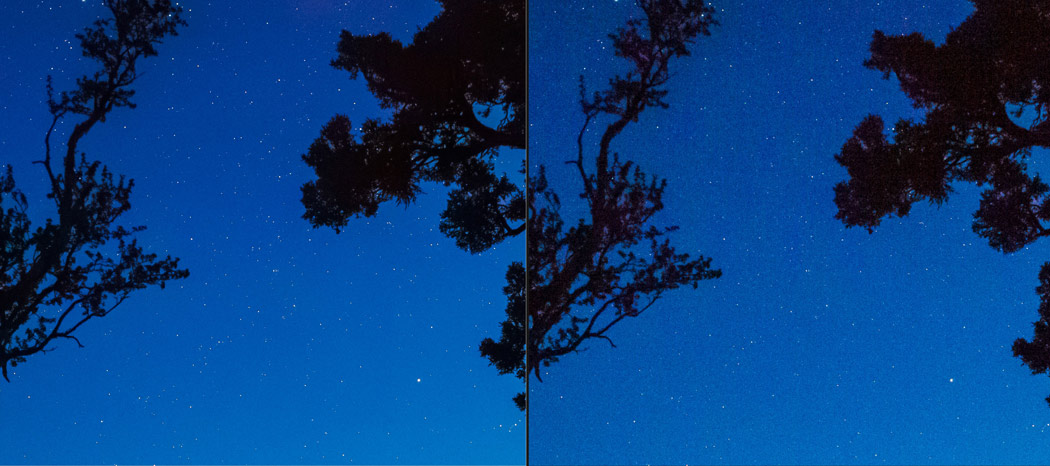
Like the drop color method of a color photo, the color channels on black and white conversion work the same on luminance values and help you create better black and white really fast.
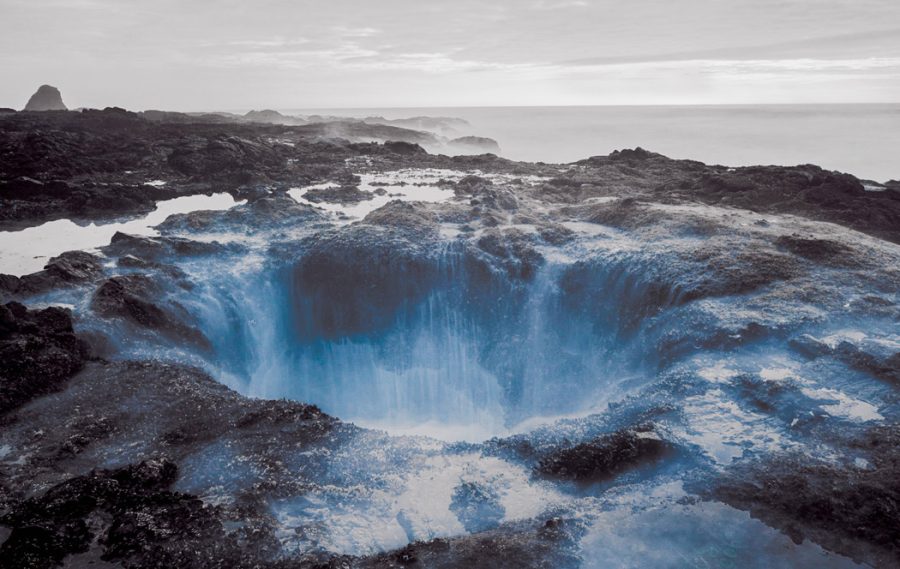
This is the same concept as using the color filter on black-and-white film to limit the light of certain colors and create more contrast and tone. Only in digital do we have more control.
Don’t get locked into one slider direction.
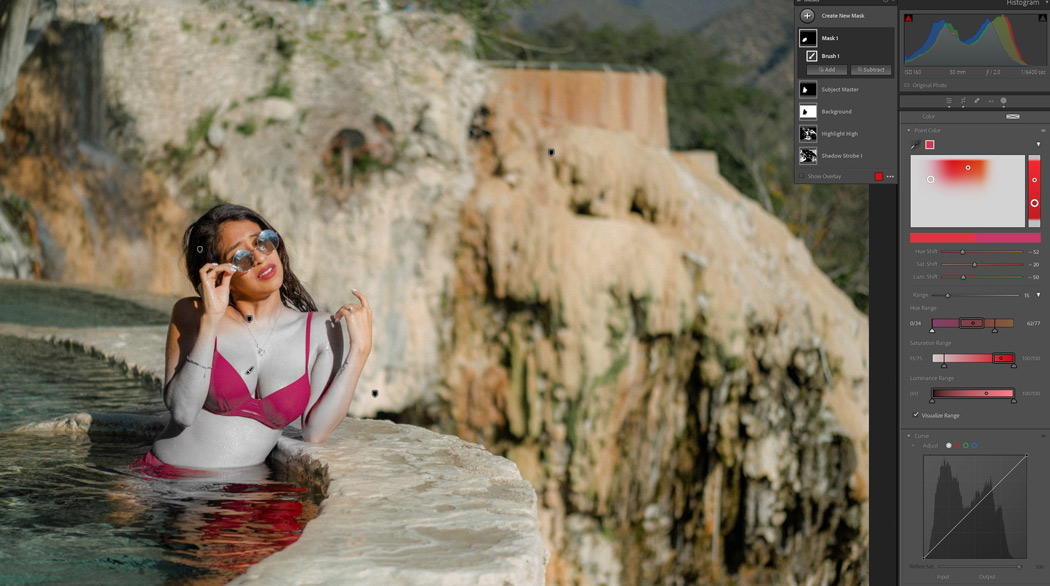
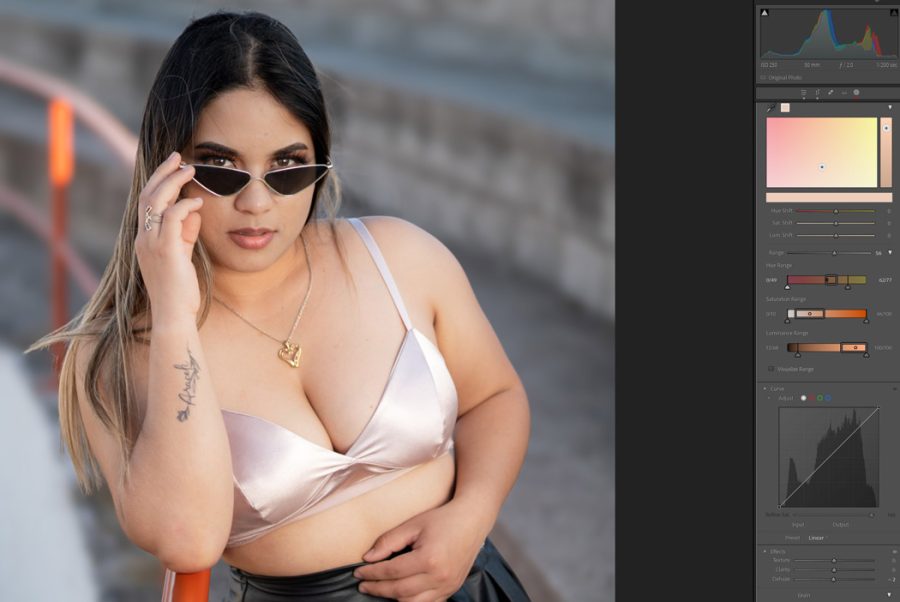
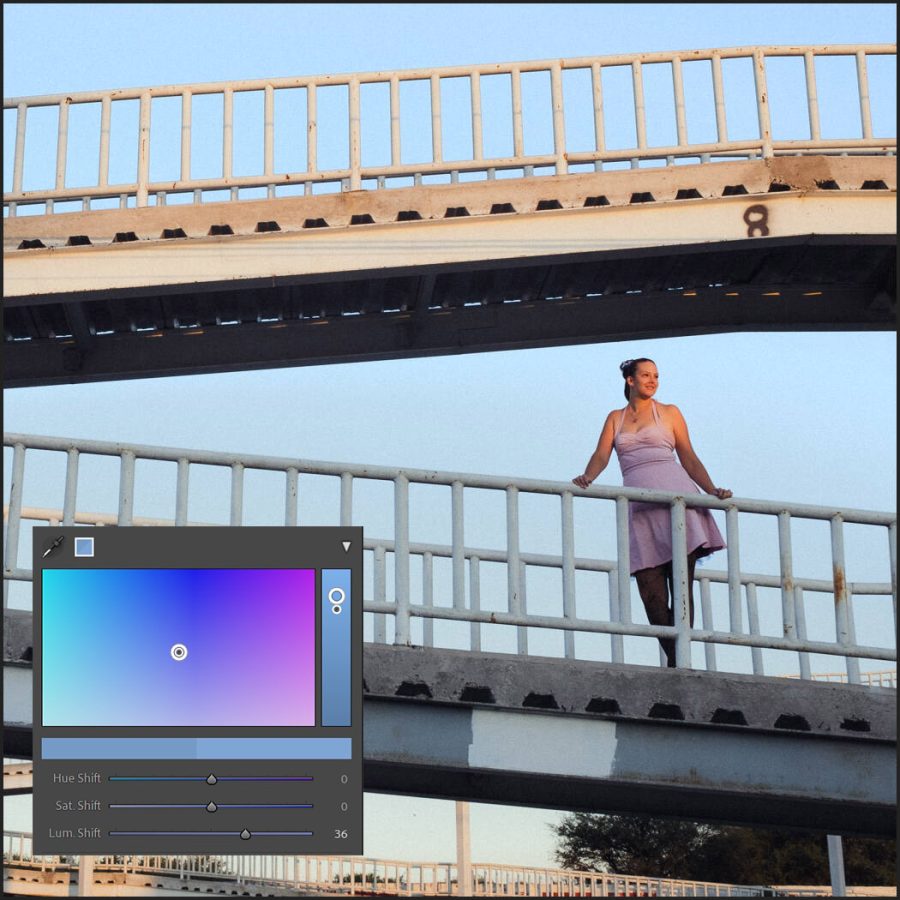
So generally a drop color is pulling done the saturation, or in this case the brightness (luma) of a color channel in HSL. But you can always push a color like I show at the end of the video.
Remember that these methods give you control. But don’t get locked in. And if you pull one color, push another, and see what happens. Usually, blues are pulled for better skies, but sometimes you push them.
It’s the same with green and orange. I’ll show you a great example at the end of the video.
Use this to key your background!
Pay close attention to where I mention exposure. How all these sliders are essentially small bits of exposure but for example on a single color.
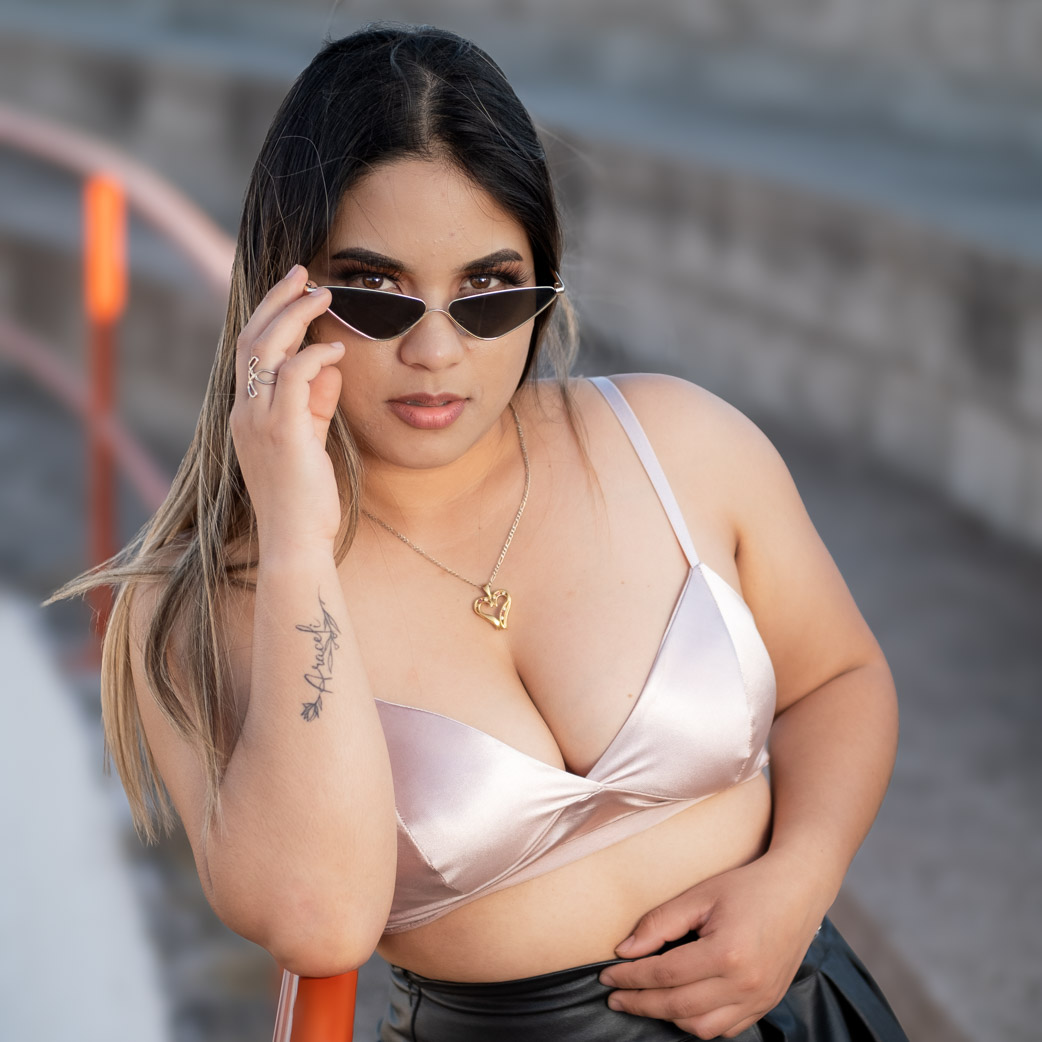
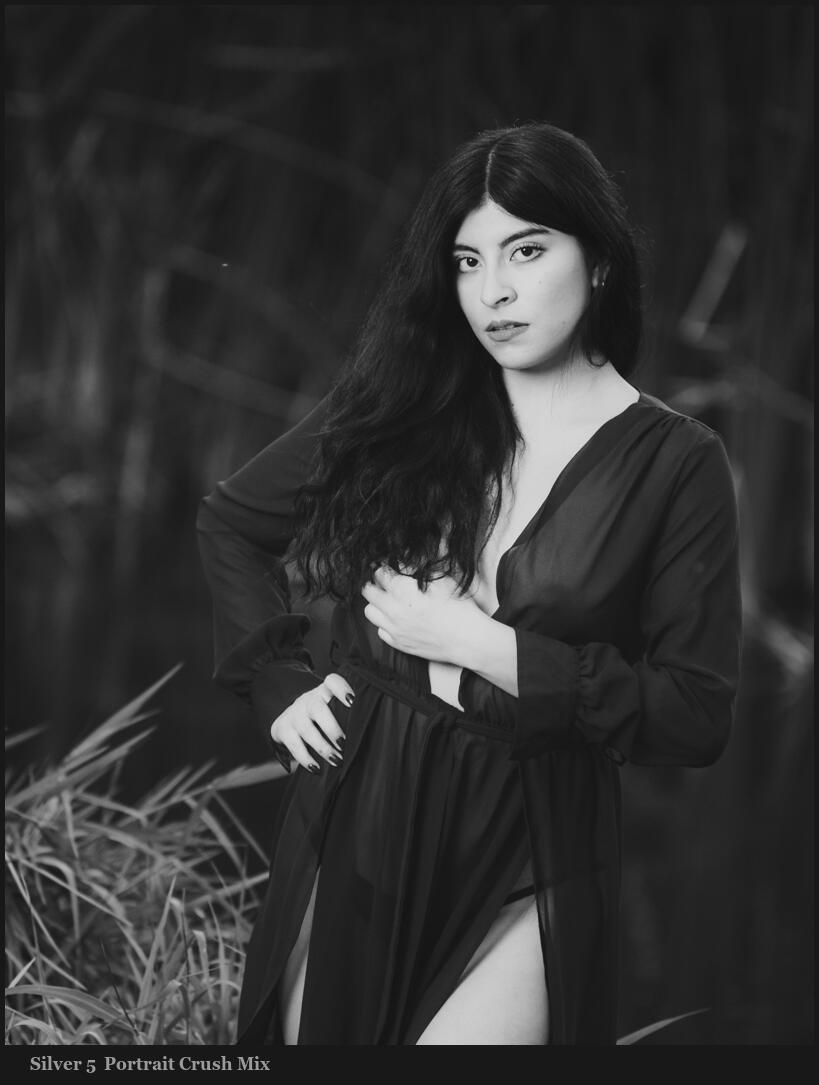
So look at the example I show you. By pushing up the skin tone like I did the image gets a little too bright for what I’m trying to do in the portrait. This is actually a good thing.
Because pushing the luminance values in my black and white makes the subject too bright I compensate with an overall minus exposure until the skin is in the Zone I want.
The magic is that it maintained the subject brightness while darkening or keying the background and creating a natural dramatic contrast.
Put the tips I showed you to work with drop color on your black and white photos and watch your edits transform overnight.
Gavin Seim