October 24, 2011

And How it Can Change Your Life in 30 Minutes.

By Gavin Seim (updated 01/13) – This may be the most important piece I’ve written on photographics. Because no matter what you photograph, once you see in Zones, you’ll never see the same again. You’re on your way to truly mastering light.

I started photographic study when I was twelve. But in recent years I’ve started working with 4×5 large format film and digital side by side. I’ve explored endless exercises in tonal control, “truly” learned to visualize, and implemented the Zone System that was developed by Ansel Adams and Fred Archer, both in my film and my digital work, in color and black and white. Zones are the language of light and they’ve changed everything about how I see.

Master Zones & Exposure Dynamics – Get Gavin’s Workshop Series.

The idea of visualizing and using Zones is not promoted much today. It seems much of the industry arrived at digital and decided that the past 150 years of photographic knowledge were somewhat irrelevant. Maybe it’s that many never took the time to understand Zones to begin with. Which is a shame because it’s so brilliant. What I’m about to show you is not taught much, but understanding it WILL change your image making forever. I’m not kidding; once you grasp this, you’ll never see light the same again. You’ll probably want more after this, so check out the links at the bottom for further reading. Also you can get hands on in my annual 3 day Lights & Shadows workshop. And check out my video series, EXposed which gets deep into Zones. OK lets dig in.
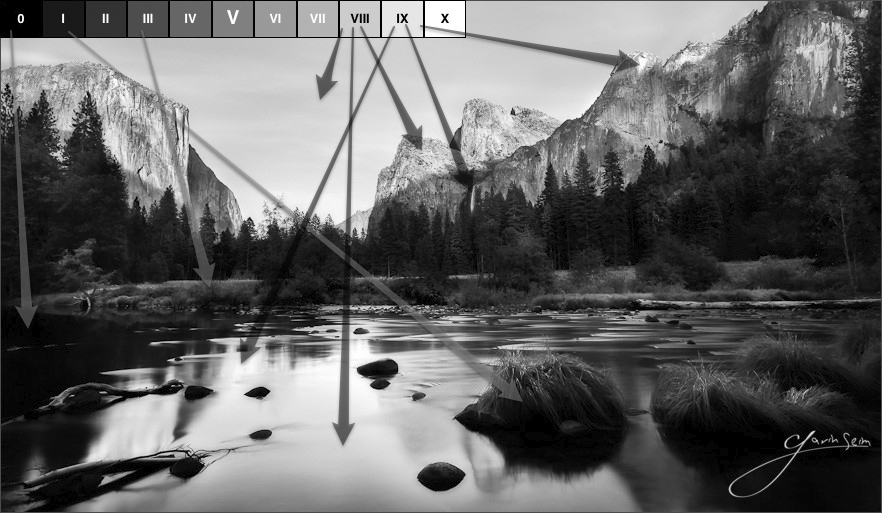
Sunsets Hidden Falls. Yosemite, 2010 – A general look at where I placed the scene elements in relation to the Zones. Each arrow leads to what I see as the zone on the scale.

I’m going to stay simple because these concepts are simple. I’ve not come up with a new digital based zone system, a stripped down version, or an article filled with nerdy equations, white papers, or complex charts. This is not hard and you can start putting it to use TODAY. Since most of us are in the digital world, I’ll focus on that. I’m going to show you how to use the core of the Zone System to make you a vastly better photographer. I’ve also brought along some examples for analyzing said Zones.

To those of you who already know this, kudos. But I challenge you to consider whether you’re really using it, or just buzzing along in digital bliss and fixing things later. Excuse my bluntness, but this is happening to the best of us. We need to get back to basics and visualize, control tone, dynamic range, image quality and presentation

The Zone System was a complete approach that included everything from the initial exposure to the final print. Now we don’t use darkrooms much these days, so I’ll focus on the pivot point of the Zone System: the Zones themselves. That said, I would encourage you to study the whole process even if you don’t use film. It will help you gain a better understanding of photographics. Not only that, but old books like Fred Picker’s Zone VI workshop deal with it quickly and effectively and can often be had for mere pennies.

1. The Zone Scale.

The Zone Scale lies at the core of the Zone System. It consists of eleven squares that span from clipped black (Zone 0) to clipped white (Zone X). Each square represents a change of one stop. The first part of using Zones starts before you release the shutter. Truly visualizing your image is like nothing else. Once you master it, you see the image you plan to make (including your edits and refinements) in your mind before you ever take the photo. It changes how you photograph and how refined the resulting images become.

Brilliantly simple, the Zone scale allows us to visualize all our light from complete black to complete white in clear one stop increments.

To begin with look at the Zone scale. Now look at your scene. Now back to me 😉 What’s outside your window right now? Visualize what Zones the things around you fall within. Then imagine you’re taking a photo. Imagine where the Zones “would” fall if the image came out exactly as you wanted. It does not have to be what you “see” but what you “visualize” for the finished image. How do YOU want to make it?

Think about how Zone levels on various objects in this scene would complement your primary subject as well as your supporting cast of elements. Sometimes it helps to begin by visualizing a scene in black and white even if your final image is going to be color. Thinking in terms of tones can be helpful, especially early in the process.
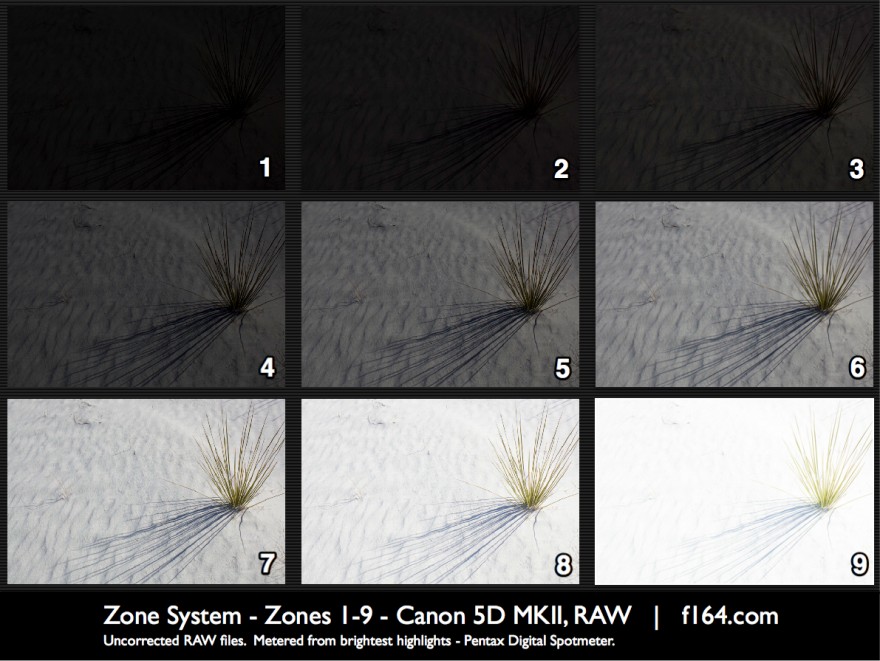
All nine detail Zones photographed with digital. Metering was based on the brightest area here, but we could have metered meter any element and uses the system to place that element in any of the time values but simply moving exposure up or down (click for larger view).
Read More

August 2, 2011

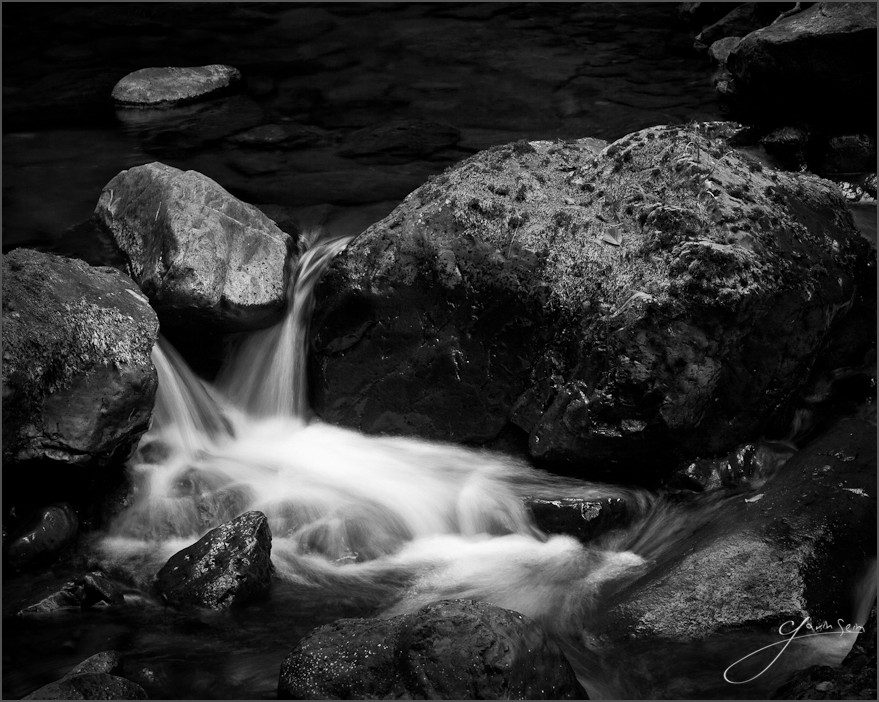
The Whispering Brook, Olympic Forest, below Dosewallips Falls. Gavin Seim, Summer 2011

The water of the rainforest always seems to be moving,. Running, drizzling and dancing over the ground. Dosewallips falls rolls down a face of stone into the gathering pools below, overflowing them and running on towards into the deep forest, making a journey to the larger streams and rivers, then finally to the sea. It’s a mesmerizing dance of water set in one of the most beautiful places and is something to stop and look closer at.

We spent the past few days in the Olympic forest and as beautiful as the it is, I find it can be complicated. There’s so much to see that it can be a challenge to covey simple beauty in a single frame. Part of that challenge is deciding what element best conveys the feeling the the place when the image is initially made.

I found myself looking closely at the stream below the falls, all the rocks and paths the water had made. But I stopped in this one. It’s shape and line telling a story of waters journey in a simple scene. There’s a lot of little details here, but you have to take the time to look for them. It’s simple, but complex in it’s own way and as always, I am mesmerized the the subtle complexity and beauty of creation.

Release details: Prints available. Contact the gallery. Learn more about prices. Available prints…

For photographers. How it was made…

Read More

July 6, 2011

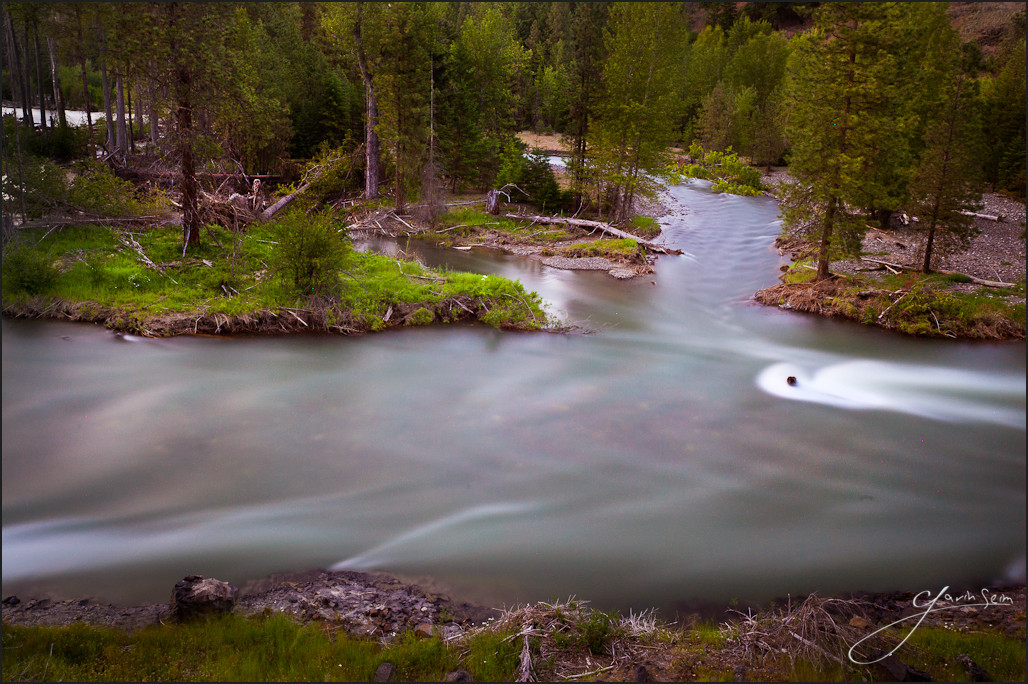
River Forks, Snoqualmie National Forest, Summer 2011. Non released example image, 8 minute exposure at ISO 100.

This is for you photographers. It’s an 8 minute exposure I did just after sunset on the river. I processed it with the Velvius preset from Power Workflow3. It’s not a stunning image and that’s not why I posted it. I felt it was a good image to use to talk a bit about pixel science.

To me, what merits discussion is the noise. I’ve done images much longer than 8 minutes. The longer the exposure, the more potential for noise to be generated as the sensor heats up. But, as myself and some others have found, the warmer the environment, the worse it seems to get. It was probably in the low 70’s here in the mountains, and the warmer temperature seemed to make a great deal of difference compared to images I’ve done in cooler environments.

Look at the image and the crop section I posted below. The noise produces a banding-like effect on the frame that really reduces quality. The large color artifacts are easy enough to fix, but there’s an almost patterned, under-the-surface noise that really is a challenge. And this was with in camera long exposure reduction turned ON.

I talked about this type of noise in depth in the making of 140 Minutes of Night ( 2+ hour long exposure) and looked at techniques to deal with it, but it’s not easy to correct. When you get into bad heat noise, the plethora of noise plugins and tools we have won’t just take it away. Well, they will, but only at the cost of losing a lot of detail everywhere else. And that’s just not acceptable.

Read More

June 4, 2011

Endless lines with dappled light and colors, even after sunset. I think there’s a lot to learn about photography from the ocean: the patterns and lines, the way it plays the light.  Never have I seen so many perfect lines as in the waves and currents. Now excuse the quality of this video as I was using only my iPhone, and  it was nearly dark, but crank it up to HD, and I hope you’ll get a little of what I felt here.

This is from our Spring tour while in Pismo. I did take home some photos of the ocean that you may have seen in the archives, but the other thing I took home was awe. Maybe I just sound crazy, but my excitement was genuine. I came away with stronger concepts of line and tone. I’ve always loved water, but this challenges me to look at it even closer; to see beauty even in the smallest details of surf and learn something about light from its ever changing surface.

Read More