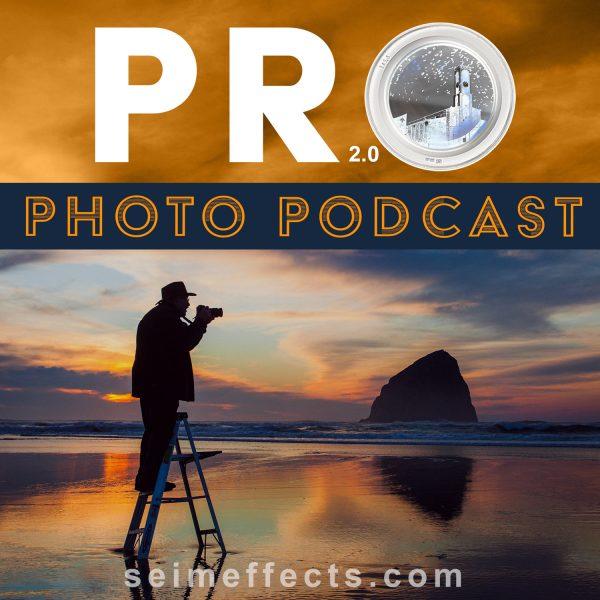
Podcasts are perhaps the best way to catch up and tune in. A pure form where you listen on your terms to your favorite topics. After over 7 years of radio silence, Pro Photography Podcast is back.

The listing should be live in most podcast apps. But there’s direct links to subscribe and episode archives here on the podcast page
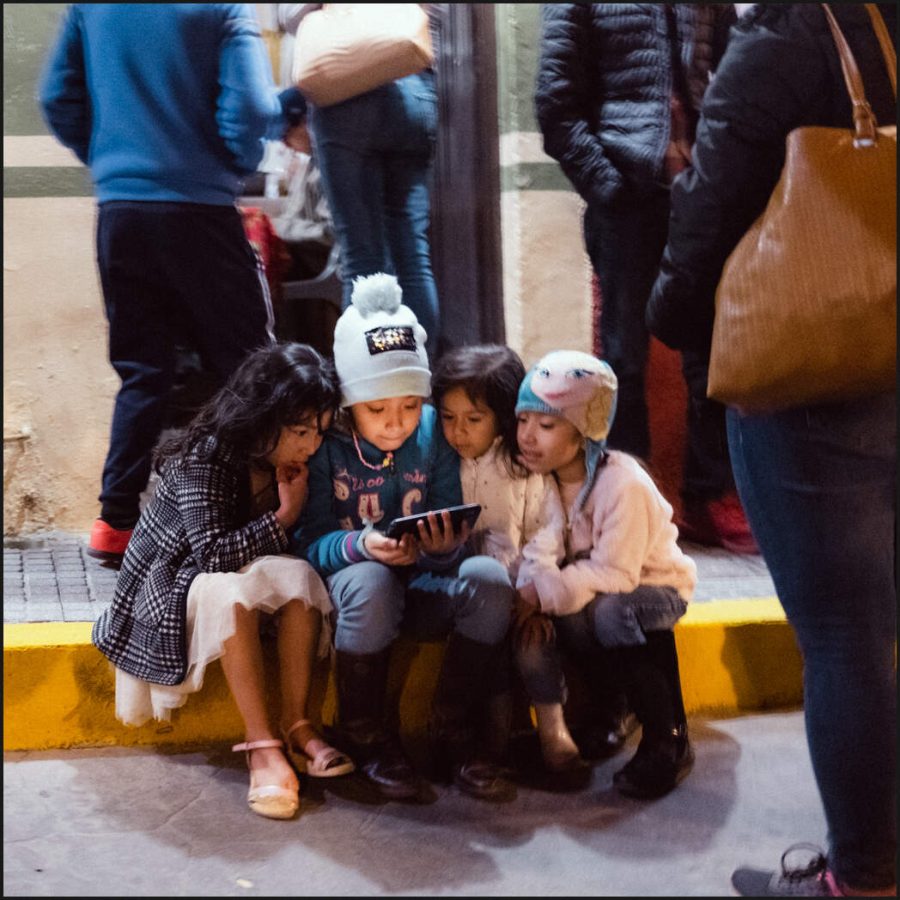
When I make a video on my YouTube channel the demands are high to cut tight and stand out. It’s hard to keep people watching and we always have to work for that goal to get views. In a podcast we can discover more about a topic.
A podcast is more like a talk show than a YouTube hit.
Almost everything for me started with the Pro Photo Podcast back in 2006. There were very few good photo podcasts then and my first episodes were not so good either. But they improved and my growing up and career was all in that podcast.
PPS had a good run and tons of great guests and co-hosts that I miss. It transformed changed my career and my understanding of photography at a time when everything was changing for all of us. I was told by many that it helped them become the photographers they wanted to be.
What happened to Pro Photo Show 1.0
Pro Photo Show started before Facebook was the thing. We had forums and contests and shows every week. It was a lot of work and very rewarding.
Then I started doing more YT videos and traveling. Life and even my human right activism absorbed my time and made wore me out. Then some of my regulars didn’t want to co-cost anymore and I was feeling beat down. At episode 100, PPS quietly faded into silence. I’ve missed it ever since and honestly felt a little sense of failure for not keeping it going.
In these past 7 years I earned my Master of Photography, I’ve improved in every way, worked tirelessly on growing my YouTube channel and even moved across the world. (Well the continent at least). And while life will always get in the way, my passion for photography has only grown and my abilities improved.
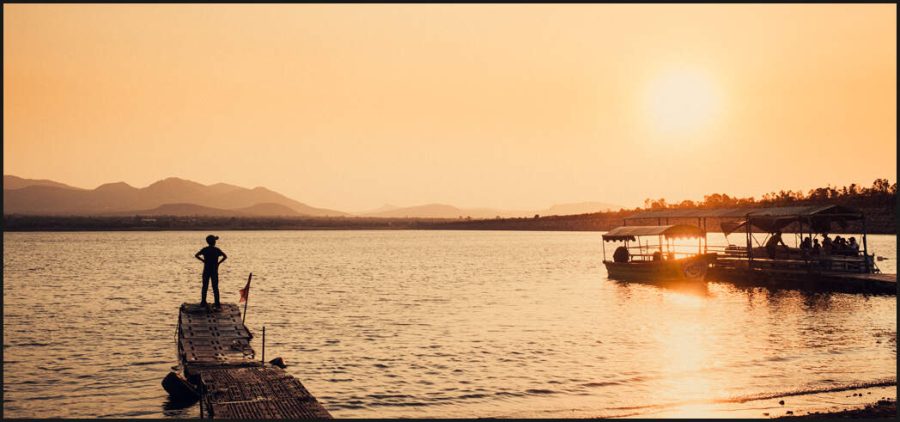
I’ve always been someone who was candid and spoke my mind even if I don’t fit in. Living in Mexico learning a new language, absorbing a new culture and world. It’s all taught me to never give up and that the beautiful light never stop.
The world of Photography has changed again.
Right now mobiles are at new levels. And Ai revolution is happening and standing out as a pro photographers is harder then ever. A good time to come back to a pure form of Photography d8icvssion with a photography podcast for profession and enthusiast photographers.
I’ve been busy and a bit intimated to make a Photography Podcast again because I know I have to make it good to keep up in these times. But after years of editing video, I found the process and simplicity of an audio podcast a pleasure. There’s something about just audio.

The new photography podcast plan.
I’ll have solo episode, panels, and guest. To start with a show every two weeks but maybe every week soon. I’m wanting your feedback on what kind of shows you want, but I have no many thinkings oppponing into my head and make more sense here than in a video. That said some shows will be recorded LIVE on my channel so make sure you subscribe.
Pro Photography Podcast will be our place for relaxed conversations about how to create better and sell more. And it will be backed my visual content that I create on my YouTube channel. Together we’re going to improve photography.
I’m Gavin Seim and I’m Glad you’re here for the Pro Photography Podcast.