October 17, 2024

There are a lot of influencers talking about DXO PhotoLab 8. But most of those are sponsored videos or affiliates. This is 100% not. and today we do a no-nonsense review for pros.

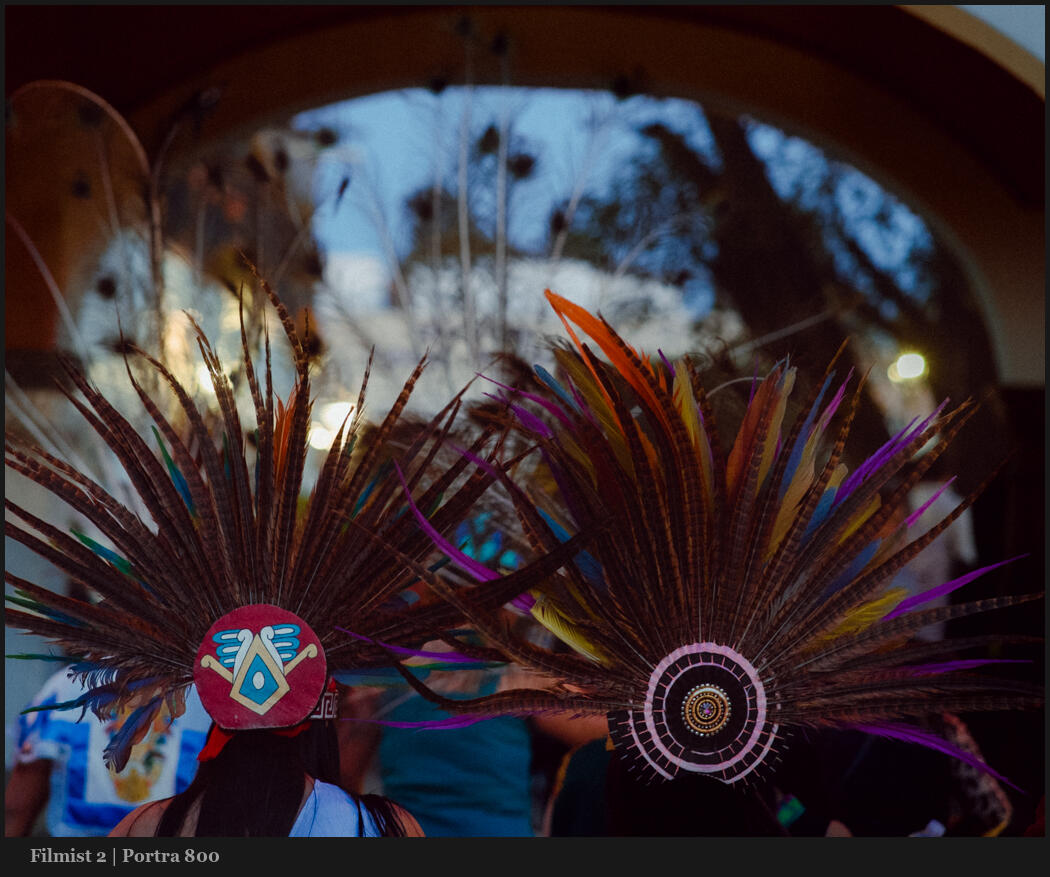
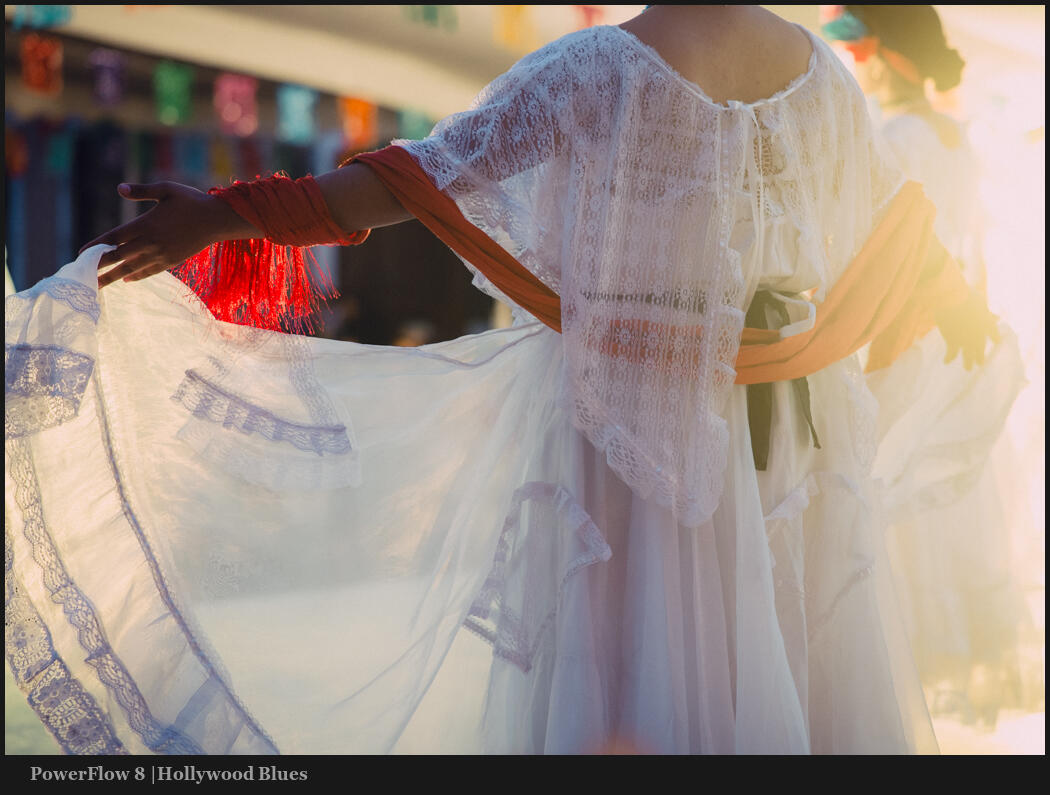
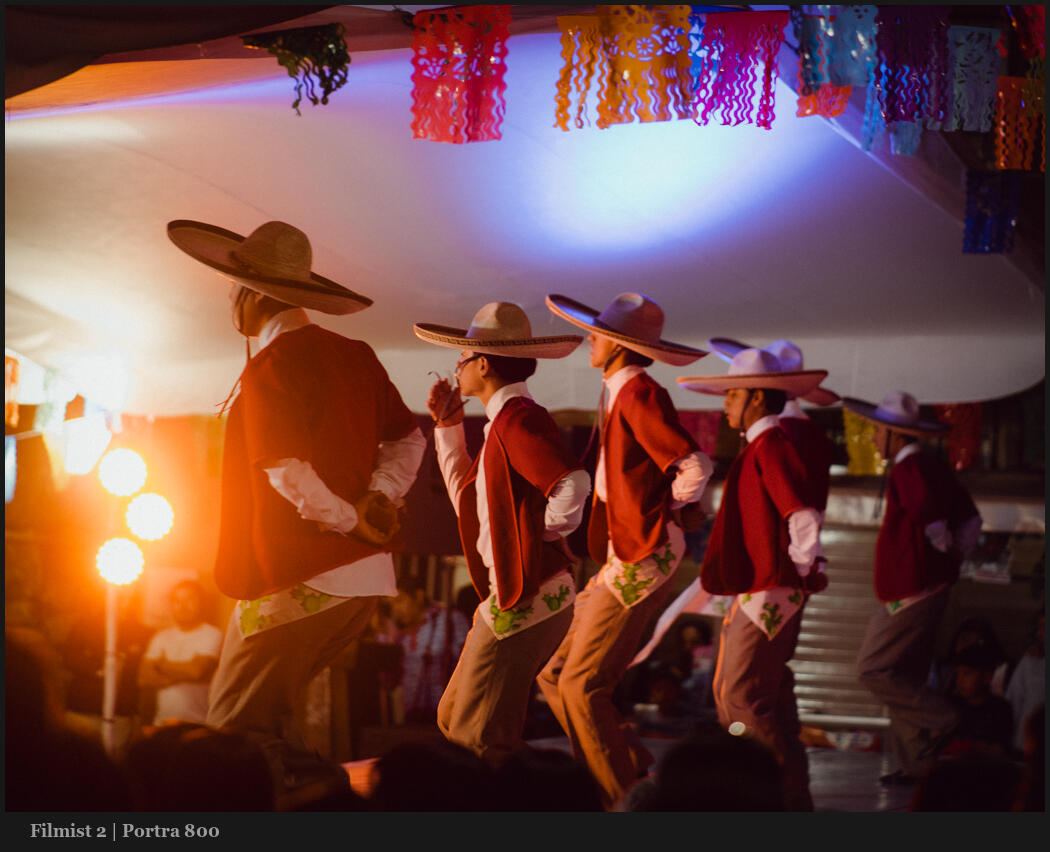
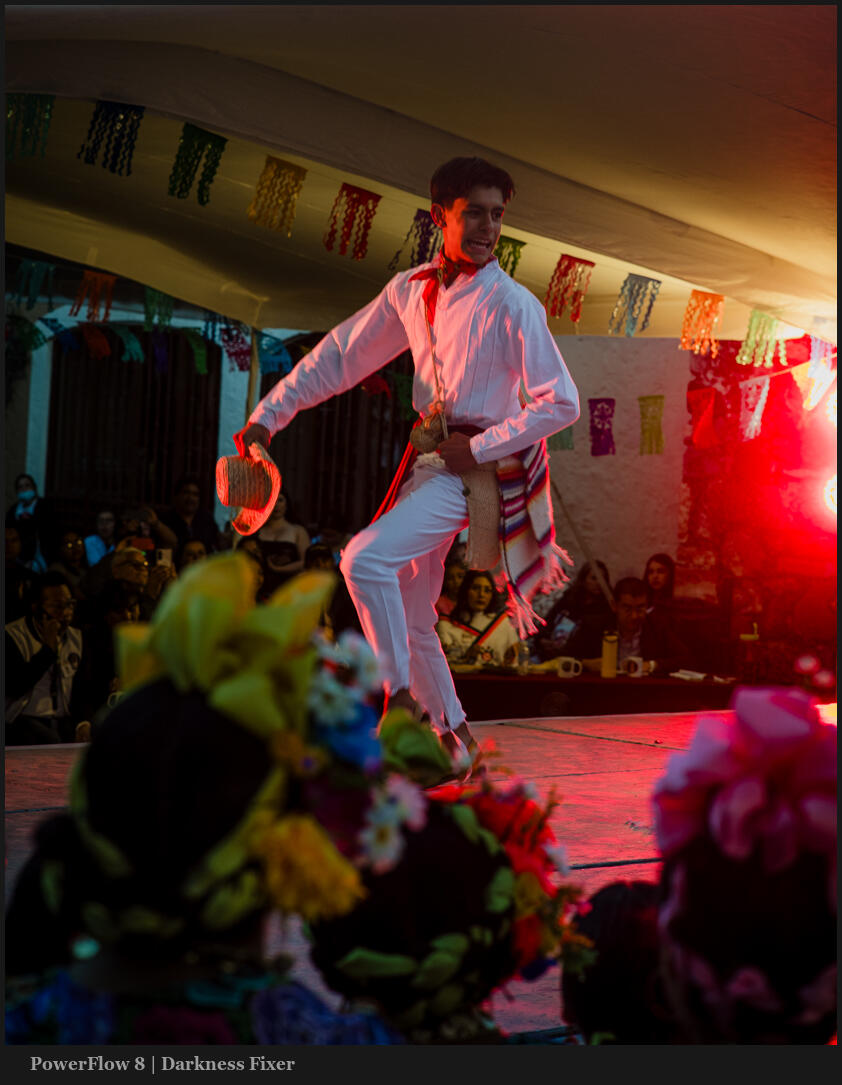
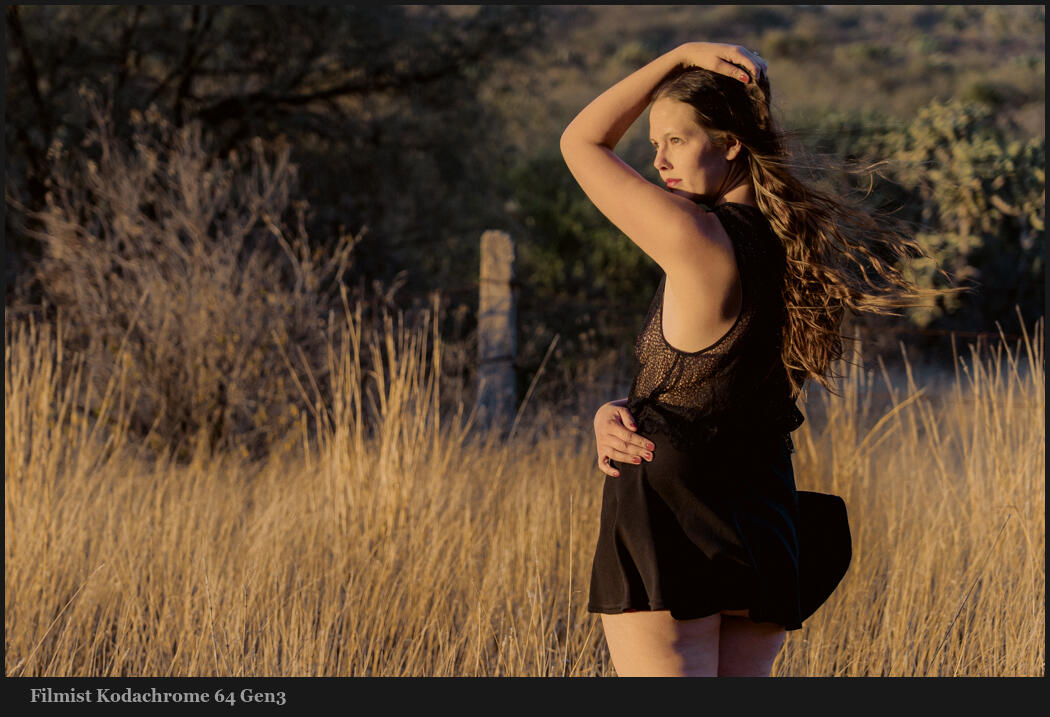
You can download a trial of Photo Lab Here. I’m also testing creating PowerFlow 8 for DXO. Good presets will help here. You can also use LUTS from packs like Filmist 2 in DXO.

There’s no doubt that at $10 USD per month, LR+PS which also includes cloud and a great mobile app is the most bang for the buck. But it also comes with being stuck in the Adobe ecosystem.

Capture One is another option that’s at this point pretty much subscription only. But it’s is good. While it lacks the advanced noise reduction of DXO Photo lab, Capture One is more like Lightroom in terms of overall developed features. But Lightroom is still ahead in terms of extra modules, export tools, and AI-powered selections.

But at $229 as of this writing, you could get Adobes PS and LR combo for nearly two years!

Paying more is not always bad. But we need to be given something special in return. The presets and actions I make here and not cheap. But they are true master-grade tools supported by my own time and energy and always listening to customers’ need.

Sadly this is not usually the case in larger software combines like DXO, Phase One, Adobe etc. They do what they think will make them more money and often they are out of touch.

Users keep telling DXO the basic features they need to improve like I did in my DXO Photo Lab 7 review, but the focus of development gets put on features that advertise better on new releases.

To be honest, Photo Lab 8 is much different than Photo Lab 7 and most of the complaints I had that are holding it back are still not fixed.

Adobe is ahead in so many areas. Most RAW apps like DXO and Neo are behind in image processing features and then new features that will soon be requirements for pros like Content Credentials now integrated into the 1015 version of LR.

DXO, C1, and others don’t have to match Adobe features for the feature to be good. But they need to listen a lot closer to what the photographers using their product are saying and stop living in the echo chamber of what affiliates and fans are saying.

I rejected DXO sponsorship at this point not because I am against them. I am rooting for them. But I want to be able to say everything without bias

What’s next? You decide after watching my video above and tell me what you think.

Gavin Seim

Read More

September 6, 2024

Today’s video is another keystone in my Master Tips Series. I’ve shown in Shadow Hackers that contrast is not what we were taught and while shadow photography and pools should be first-year photography, it’s rarely taught anymore.

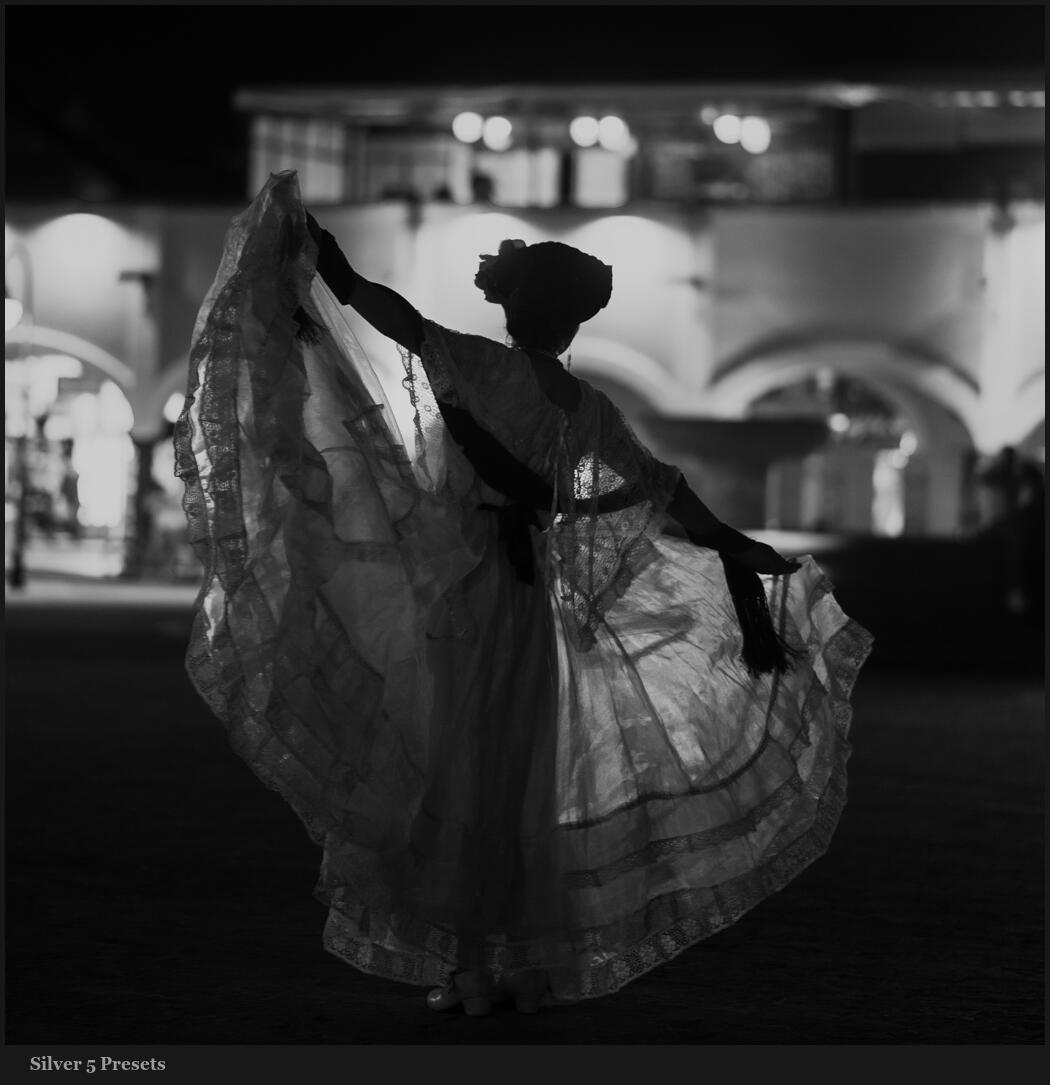
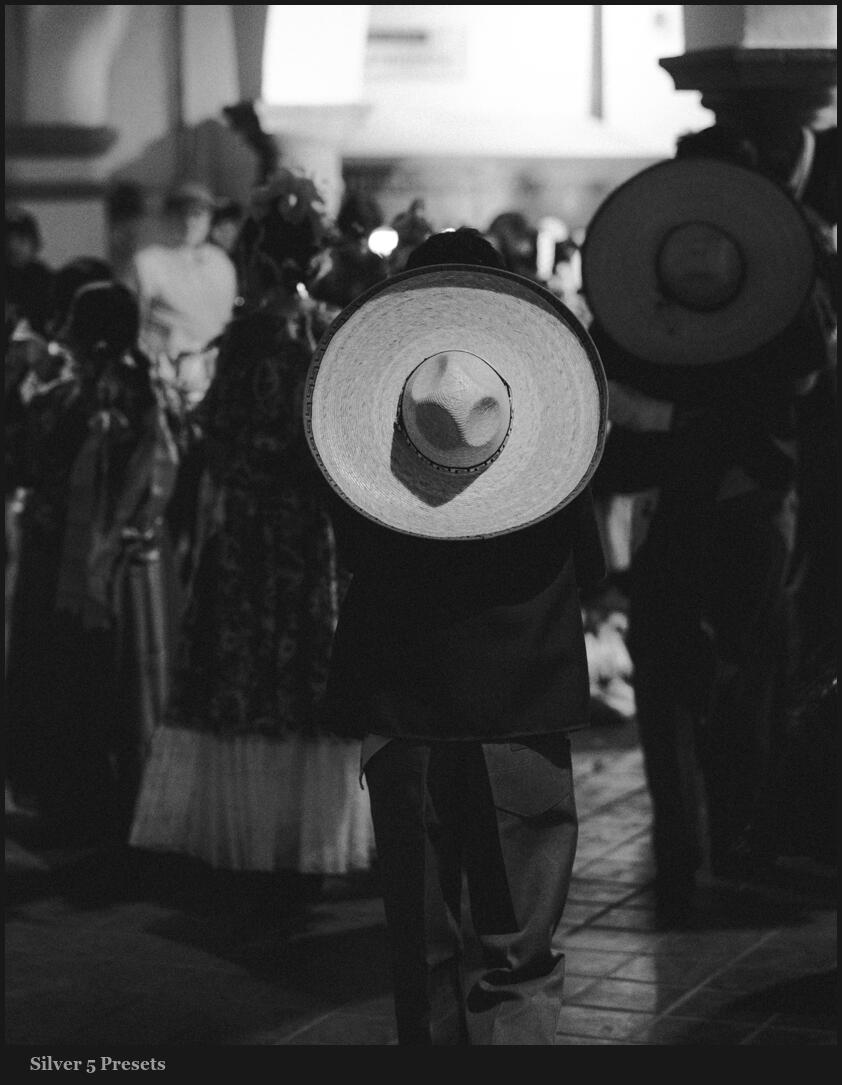
In the video, I mentioned the free Portra 160 preset from Filmist, Silver 5 and Pictorialist. Also, make sure you join me for the next Shadow Hackers LIVE class.

Taking advanced concepts and making simple methods out of them has been my mission lately because, in this AI world, practical photography technology is rarely taught anymore.

When I saw shadow block and contrast pools I also saw I was racking my brain to explain what I was seeing and how this worked. I realized that contrast is just pools of dark and light. But knowing the way those pools shape your photo changes everything.

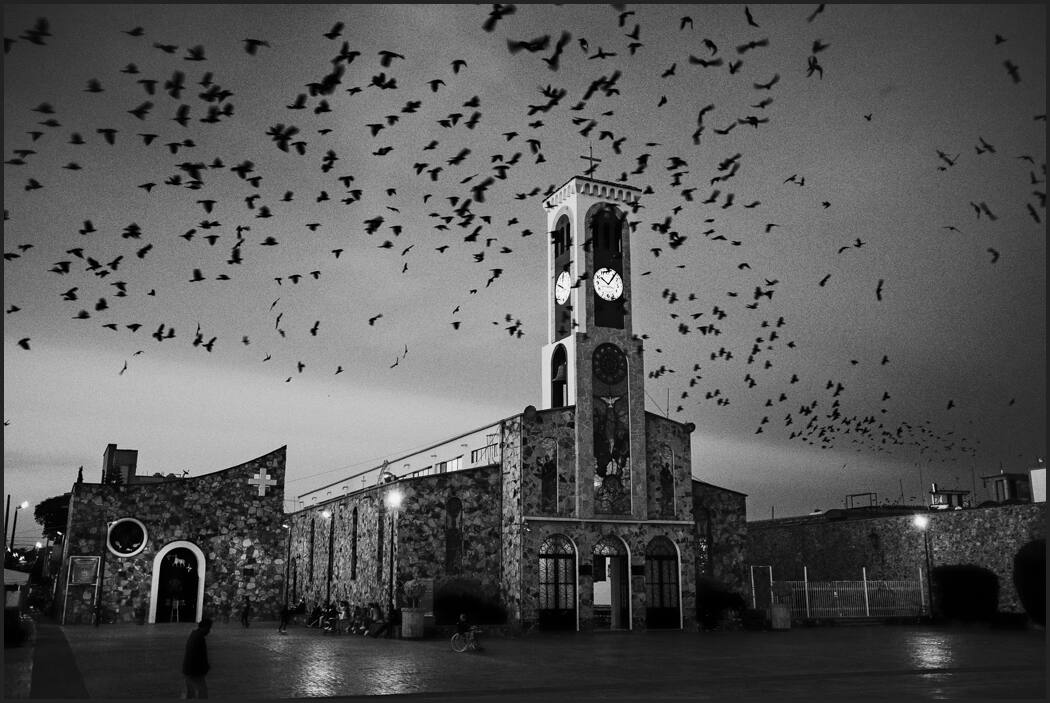
We focus on shadow because if you start there great photos will naturally emerge. But as we see in the high key black and white you can not only use lighter pools but adjust them to make even windows disappear.

We’re using no cloning to Ai here. Just a practical use of tone value and zones. See the zone primer video here and we also look at them as we study shadow photography in Shadow Hackers.

Once you start using shadow and contrast pools, they instantly give you building blocks to see any scene shadow first and build a strong image by moving, placing, and exposing elements to surround them in pools that lead the eyes.

You can have dark and light pools anywhere. But if you have none as we show in the “bad light” situation you will usually have a bland photo.

Contrast pools give you better photos and let you hack shadow hacking by simply framing your subjects with pools of feather-blended light and dark. shadow photography hacking completes the circle. Use pools from the camera to edit and you will be surprised.

Gavin Seim

Read More

August 23, 2024

The Drop color method starts with orange and green. But it does not stop there. Color is so misunderstood because colors are overused. This does not mean your images need to be low saturation.

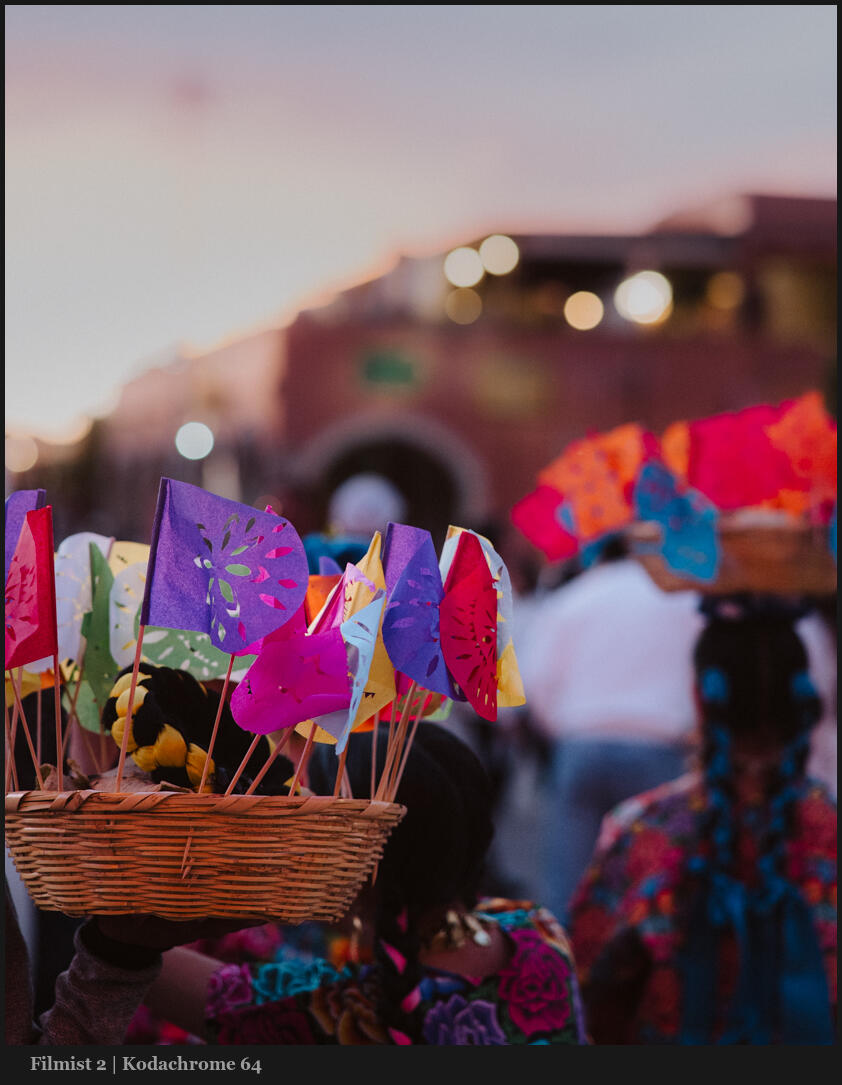
In these videos you’ll see me using presets like Filmist, Silver, Natural HDR and more. This lets me apply years of testing instantly. But everything I show you here can also be done manually.

Ove the past weeks I’ve made a series of videos on specific color channels and what they do for and against our photos. Most are being used wrong and with just a slight easy HDR color adjustment the change is amazing.

You may have seen one or more of these but this post brings the entire series into one place so you can really understand the power of Drop color and HSL channels in both color and black-and-white photography.

So last but not least. Here’s how drop color affects black and white and how you can instantly make more impactful black-and-white edits.

Read More

August 12, 2024

The blue channel in photos is powerful and most photographers are using it wrong.

The video I did on drop color was a game changer for a lot of photographers because it transforms how you edit. But the color blue and the blue channel when editing your photos are nearly as powerful.

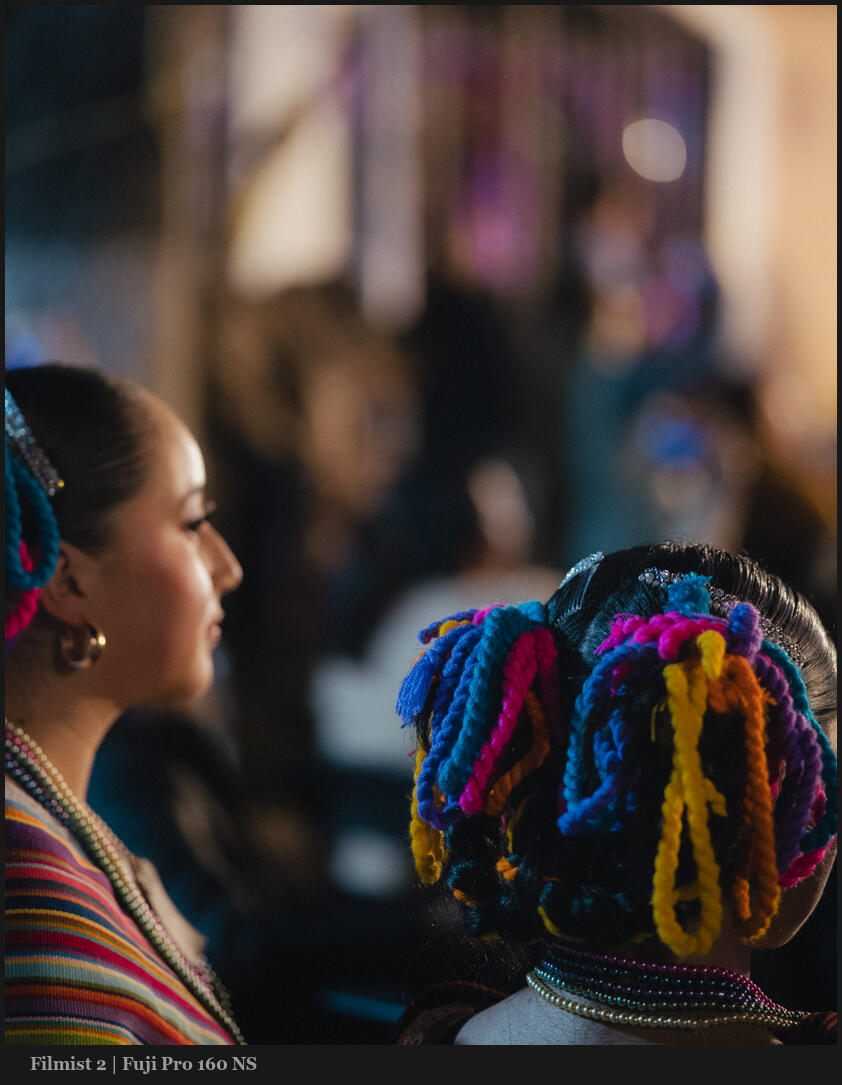
You can get the free versions of Natural HDR and Filmist 2 to make this blue control easier. You can also check out PowerFlow presets here.

In the original drop color we looked at orange and green. So you would think that blues work the same. But they actually affect the image in a very different way.

You want to base your blue channel edits on the types of images and mix it with how you use white balance and other tools. But if you really want to know what blue is doping, use the fully down slider method I show and then move up from there.

You may be seeing a pattern, Any one channel is pretty simple. But as you add another you start to get complex mixes that apply to any image. I showed this in my follow-up on the black and white color drop methods.

Yes, today’s blue color tips also apply to B&W photography as well. These are not about looking like film or any particular style. These are about controlling your color and knowing what color is important in each image.

That said if you use my presets you’ll see these implemented in their correct form for each presets or style. Filmist looks may be more toned down, the Natural HDR looks may be stronger. But the methods are still being used.

You can download my free packs but even if you use nothing of mine when you get the right mix start saving your settings as presets for Lightroom or styles for Capture One and you’ll see they work across nearly any photo.

Gavin Seim

Read More

July 28, 2024

Most of us make black and white by converting color RAW files. That’s the best way. But even if you shoot monochrome digital or film, you must use these colors as filters.

You’ve probably seen my video about Drop Color how 2 simple colors eliminate the ugly digital look and transform your process. It’s super easy but a game-changer. But what I didn’t tell you in that video is that this works amazingly in black and white with a slight twist. I’ll show you…

You can get the free mini version of Silver 5 presets here and see this in action. To take my tone down further I also use Blackroom and Emulsion 4 in Photoshop.

Like the drop color method of a color photo, the color channels on black and white conversion work the same on luminance values and help you create better black and white really fast.

This is the same concept as using the color filter on black-and-white film to limit the light of certain colors and create more contrast and tone. Only in digital do we have more control.

So generally a drop color is pulling done the saturation, or in this case the brightness (luma) of a color channel in HSL. But you can always push a color like I show at the end of the video.

Remember that these methods give you control. But don’t get locked in. And if you pull one color, push another, and see what happens. Usually, blues are pulled for better skies, but sometimes you push them.

It’s the same with green and orange. I’ll show you a great example at the end of the video.

Pay close attention to where I mention exposure. How all these sliders are essentially small bits of exposure but for example on a single color.

So look at the example I show you. By pushing up the skin tone like I did the image gets a little too bright for what I’m trying to do in the portrait. This is actually a good thing.

Because pushing the luminance values in my black and white makes the subject too bright I compensate with an overall minus exposure until the skin is in the Zone I want.

The magic is that it maintained the subject brightness while darkening or keying the background and creating a natural dramatic contrast.

Put the tips I showed you to work with drop color on your black and white photos and watch your edits transform overnight.

Gavin Seim

Read More