How I choose the best black-and-white method!
Black and White Photoshop style gives you more nuance while the RAW style of LR and C1 gives you more speed. So how do you decide?
“Gavin should I use, Silver presets, or BlackRoom actions?” people ask about the presets and actions I make. But this answer applies to however you edit. Let’s start with basics in this video.
Lightroom VS Photoshop for Black and White…
Don’t forget to grab the Silver 5 free sampler presets to try this yourself. Also you cab get BlackRoom and Emulsion here for more advanced PS edits.
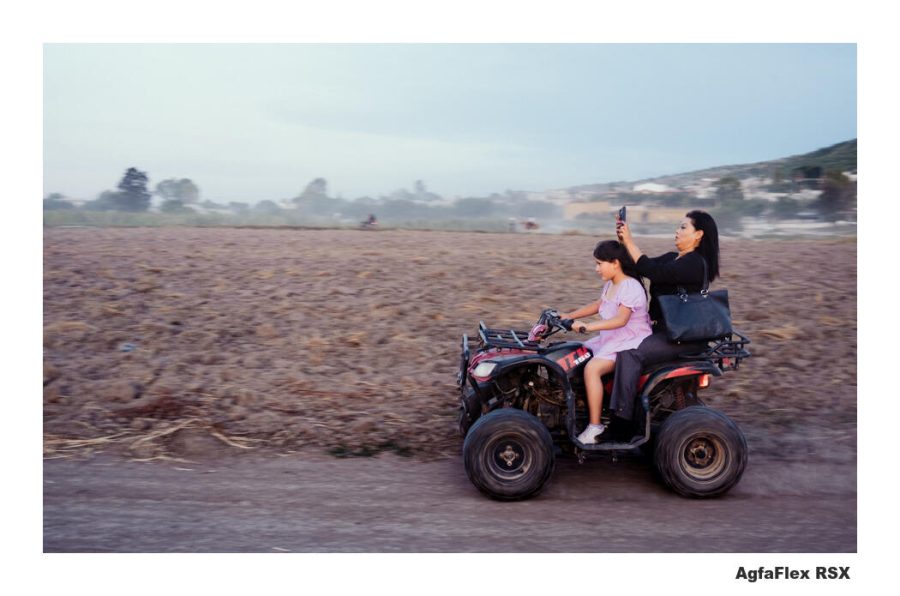
Let’s see more examples then……
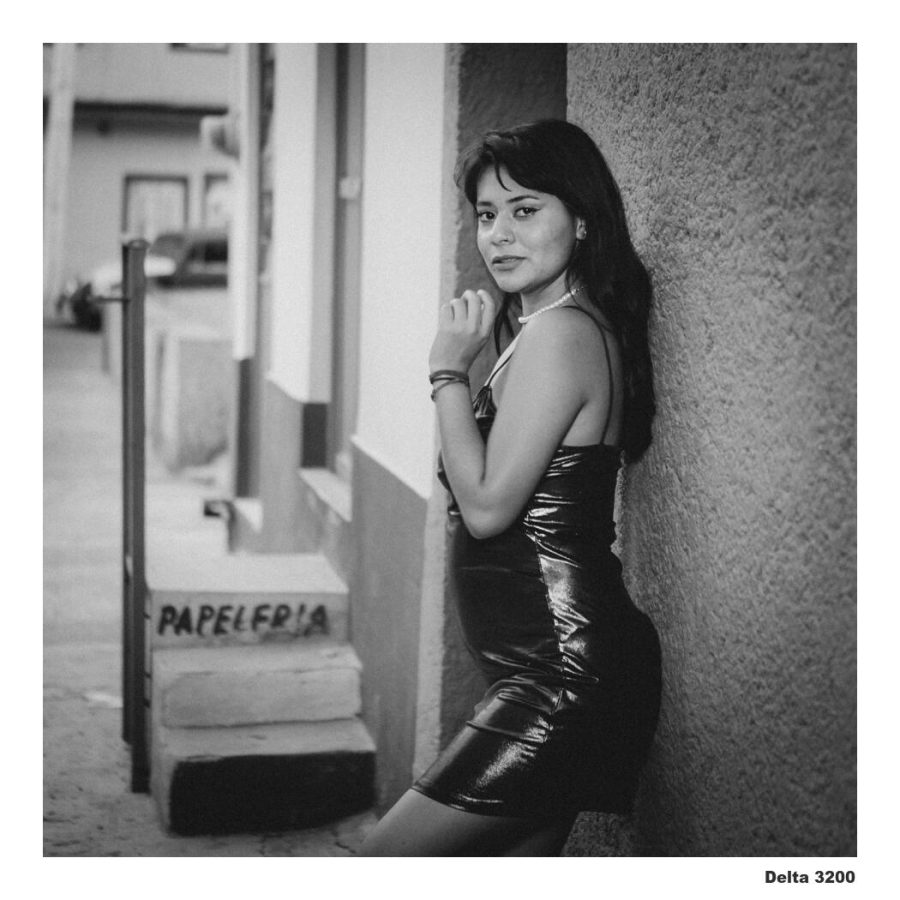
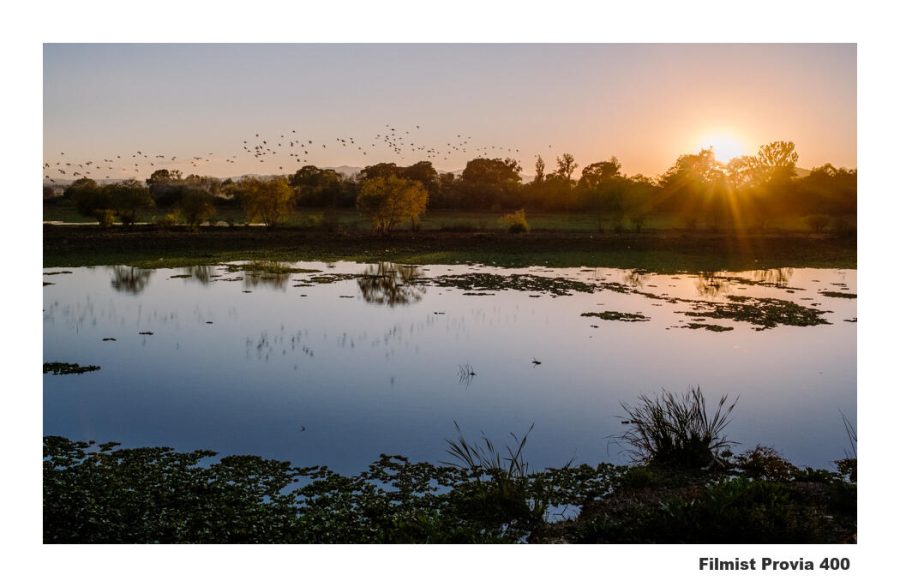
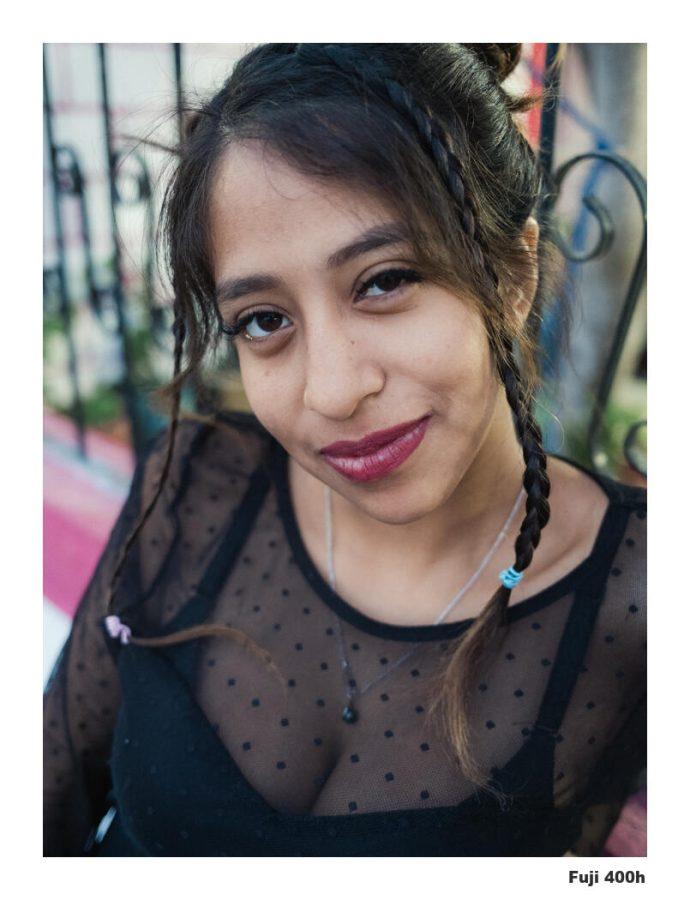
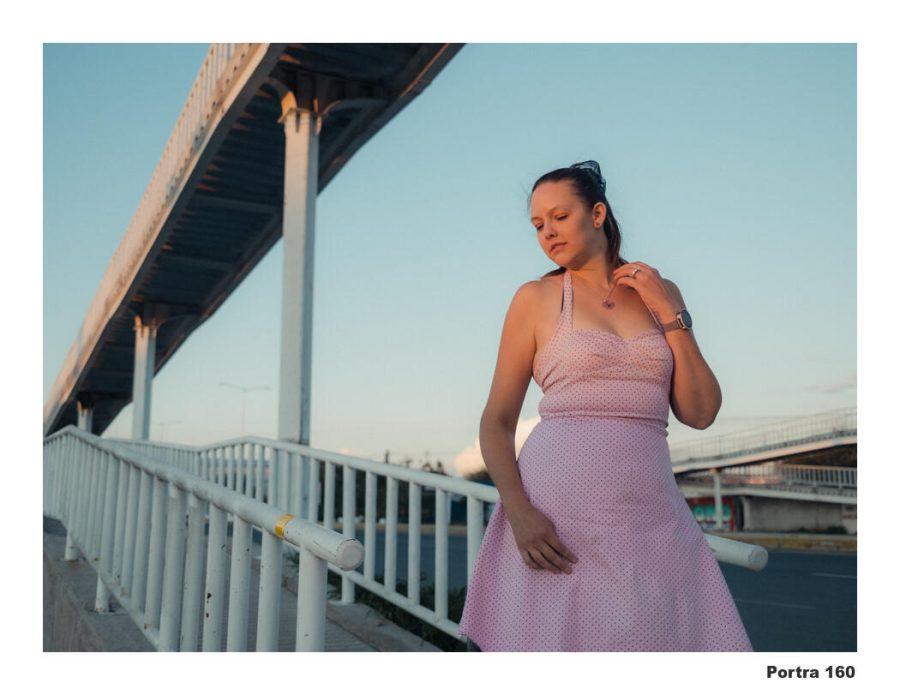
PRESETS” I always start with presets and Styles in Capture One such as Silver or Filmist. These are recipes that combine many settings to instantly create an edit in LR, RAW, etc. Presets can be used from Photoshop from within the Camera RAW filter (see this video on my channel)
Actions in Photoshop are like mini apps that run in PS. Commands that are run with one click. I create actions like BlackRoom, Lumist, and others. They use the native tools of Photoshop without PlugIns and can create in 30 seconds which would take me an hour to do manually. Giving me layers and effects to mix as I want but without the manual labor. Lightroom can’t use actions.
Look at this edit in LR vs Photoshop…
Actions make advanced edits in Photoshop much faster. Often people have Photoshop and take a file from Lightroom only to find they don’t know how to make it any better. But with time, or with actions that make atmospheric edits natural, Photoshop is easy and will always give you more tools.
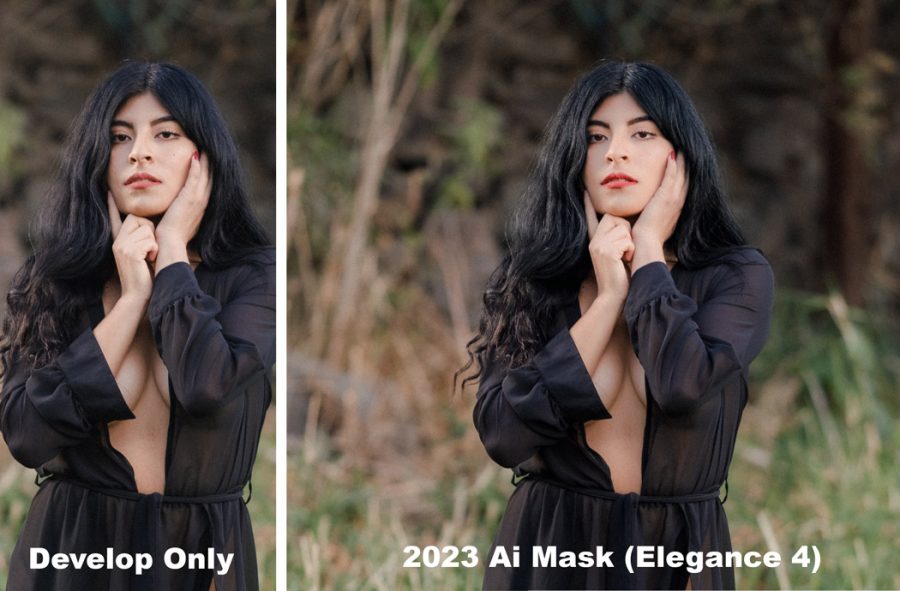
This first photo is only a Lightroom edited using my Silver presets and some easy manual tweaks.

Next is the same shot editing in Lightroom but then taking into Photoshop where I used layers and BlackRoom actions. At a glance, they may not seem that better. But if you look closely see see much more control in specific tonal ranges, details, and more. When you make a print, these details matter.
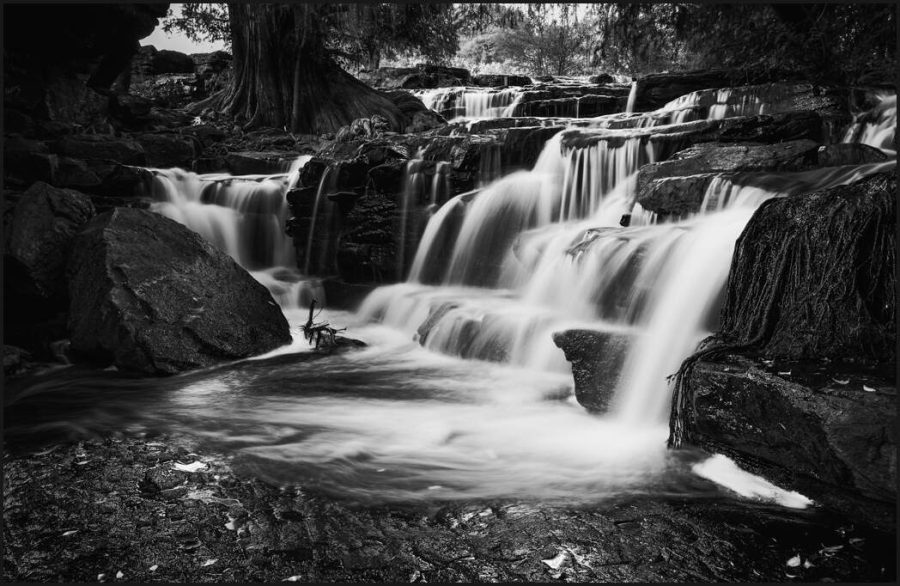
Yes, these are subtle things. But for serious black and white shooters, they change a lot of things.
Don’t edit ONLY in PS thinking it’s better. You will experiment less because it takes longer. Often making you less creative. Start with that basic RAW edit and go to Photoshop when you are ready for more by restoring the color channels while leaving your RAW tone edits in place. In my Silver pack, this can be done with the included mod preset.
LR or C1 is the starting point because its sliders, channels, and fast shadow control helps you create. Photoshop will give you more advanced and refined edits that you save right back into your photo library. If I use BlackRoom actions, the Photoshop part is fast with more detailed layer style controls that I don’t have in Lightroom.
So Lightroom VS Capture One for black and white?
There are always more choices and while I make tools for LR and C1 users, you need to decide how that fits in. Those are both RAW apps and neither replace Photoshop or even other pixel editors like Affinity. So in this second video let’s compare the apps LR and C1 in relation to Photoshop.
Photoshop is for when you’re serious!
You can almost think of Lightroom and Capture One as black-and-white film choices back in the day. It’s how you start. Then Photoshop is your Darkroom where you us native tools and layer mixes to make your image Ansel Adams-level perfect.
On a small screen, you may not see much difference. As a photographer who wants gallery quality, it’s a big difference. Black and white photographers who want the best do the final work in a layer-based editor like Photoshop. But I use a RAW editor for 90% of the photos. Having well-planned presets/styles, and actions is a must to expand creativity. Even if you make your own!
All of this matters. Even if you only use Photoshop in 5% of your photos, that 5% will be your best work. Think overlook how much those images can improve.
I hope you find this helpful in your Lightroom vs Black and White Photoshop questions. It’s really not a dilemma. Both are good! If it’s still confusing, let me know in the comments and I’ll try and address it in future videos on my channel.
Gavin Seim