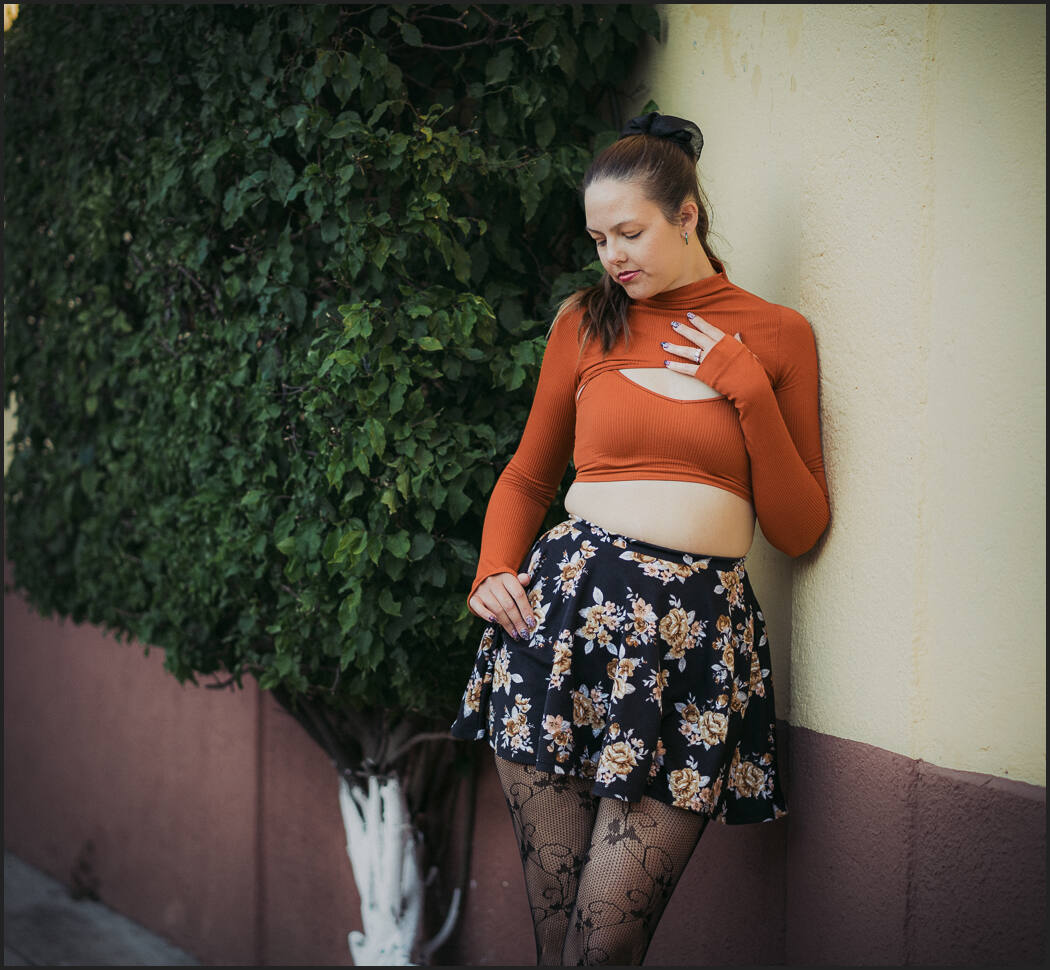
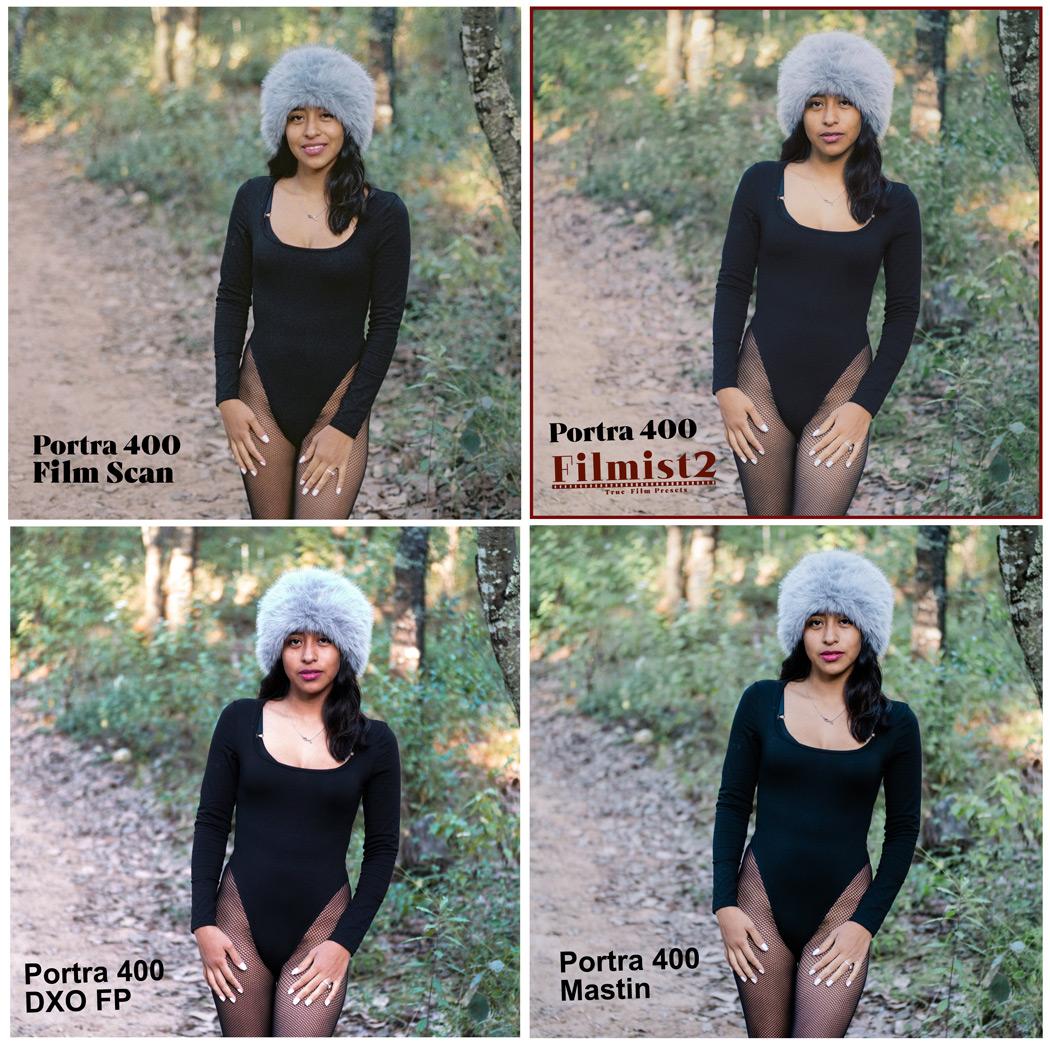
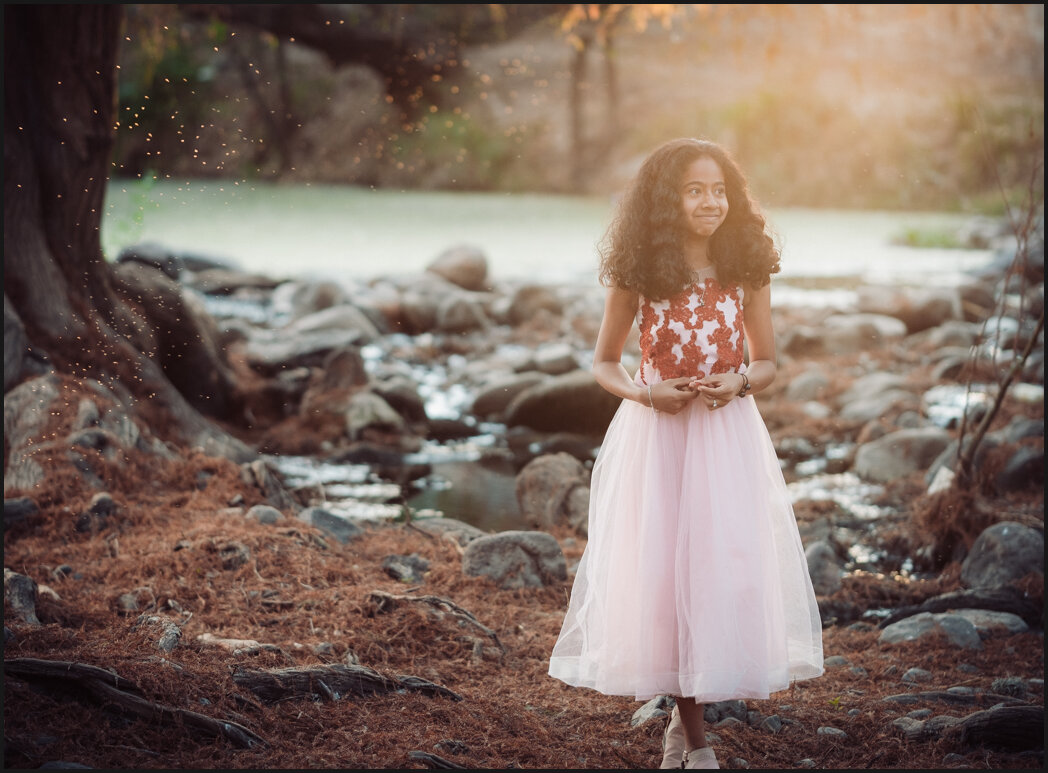
Scanning film for natural film color is not as easy as it seems and most of the labs are sending you scans that won’t look like your film. So what the best and cheapest scanning method (at least for 35mm) and how does film affect our non-film photography every day?
Good scans will change your digital photos also!
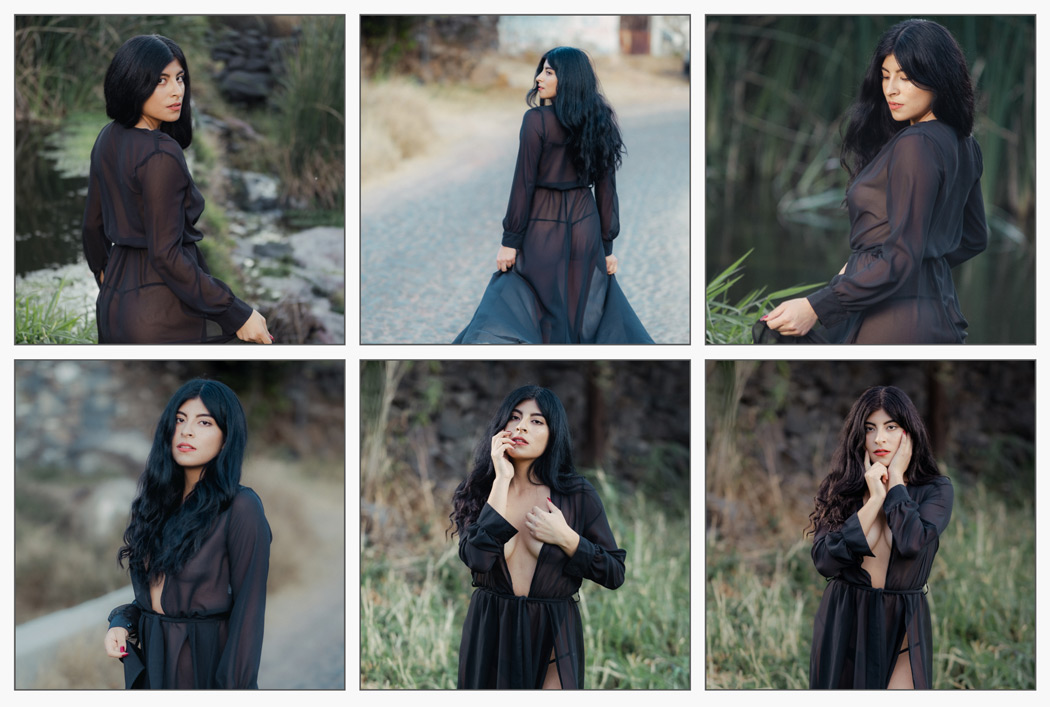
I’ve scanned pretty much every way and it can be hard. In today’s video, I’ll show you my new favorite way to scan 35mm film and how you can use it to make better colors from your digital camera. This is exactly what I used these better scans for in the Filmist 2.2 film presets update.
See the before-after results of how these tests improve Filmist presets on the Filmist2 page. Also, download some free film presets from the sampler pack of FIlmist.
How negative scans help you edit digital files better.
Today I reviewed the TTArtsian 40mm 2.8 Macro with this Film Scan Adapter. But we’re also reviewing film color itself see you can scan film better and edit digital in a more natural way.
It’s that grounding I’m always talking about and why I always start edits with FIlmist presets. If you use Filmist you will see that grounding as you edit your photos.
You’ll also see how the scans we worked on today are improving the quality of those p[resets so they work more like film instead of working great on one file and horrible on another file.
The film has real shadows and atmosphere. Let it
Film is not a slider. So when you scan it don’t be like most lab techs trying to make it HDR and getting nasty shadows. I see this a lot with lab scans. We’re so conditioned by digital. But reversing that lets our edits be grounded in an organic process that is real.
Studying film does not make me stop editing black and white with Silver, Using Natural HDR for bold color, or going to Photoshop to add Alchemist to a portrait.
But that starting point gives constant edits that are fast and always stay on point. Whether you use film presets or shoot and scan your own film you will see this result.
There is no correct color. Not really!
At least not in a practical sense. You can see this in my recent video about why you do not need a white balance card.
Everyone wants to define what great skin tones are, or the perfect greem They criticize us on social media of we don’t comply with the “norms”. But in truth, like every eye sees different, every film sees different but they all work in almost any situation and feel RIGHT!
That’s harder to do on digital. Pushing sliders may not be bad, but it often results in edits that are really extreme and unnatural. Unless you are creating those edits with intent, they will usually come back to bite you and often what looks good on one photo looks bad on another.
So in studying film color and using that same chemical-inspired process on Film Lightroom presets and styles, we see that a balanced process on digital can also work on nearly everything. And where it’s off a bit, I can quickly correct it with Chem-Kit to turn things up or down.
You can do the same in your workshop and get sessions that are edited with the consistency of a true pro.
Gavin Seim