May 18, 2016

by Seim: When I was starting our over a decade ago out I struggled with how the best images makers made such pristine sharp work. I set myself to the task; HOW ARE THEY SO SHARP and along the way I discovered the foundations of what makes a crisp beautiful image. I want to share some of that today.

There’s not one magic formula, but there are important rules that all have to work together. This is not about how much digital sharpening you use. Whether you’re Ansel Adams or Joe Digital Smith, razor sharp images are not an accident. Clear images are married to the artistic vision itself, starting in camera, not in post.
 

The Bottomless Pit
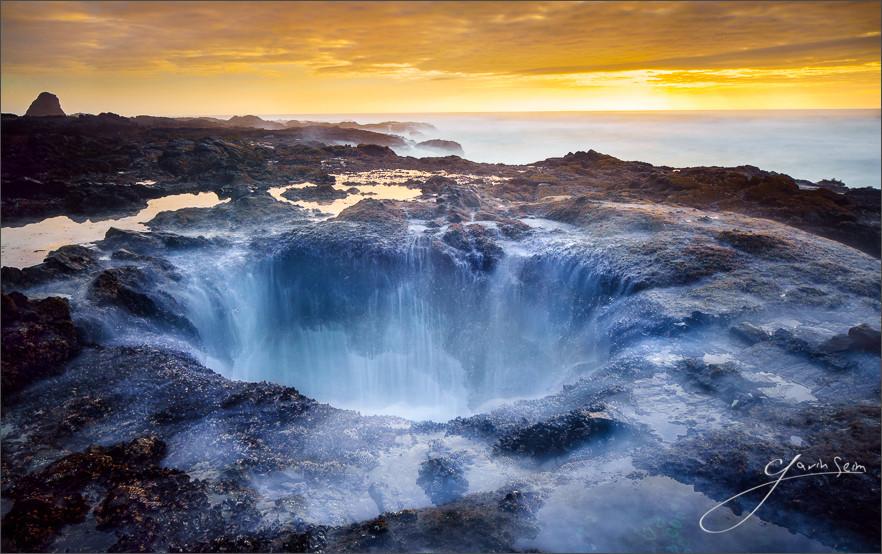
The Bottomless Pit. Taken on an A7R II, this image represents the most dynamic range I’ve been able to capture in a single RAW file. Correctly processed it resulted in a smooth single frame image with abounding detail. The slightest movement during exposure would have ruined it.
  • #5 The Depths.

Depth of field not looked at deep enough. The wider the aperture (smaller number) the more light you get and the more fallout on focus you get. That background blur can be stunning, but let’s say you focus on a person 5 feet away who is slowly moving towards you, those eyes will be soft in the time it takes you to press the shutter. Those wide open apertures are fickle things.

We can raise that aperture setting higher (smaller opening and more depth of field) 5.6, 8.0, etc. That will help give more focus depth, but will also require a slower shutter speed which could introduce motion blur. Even if you are stable, too high an aperture number (smaller opening) can bring you loss of detail on the far end because of the limits of your lens. Don’t assume that because you’re doing a landscape you should use the smallest aperture available. I close the aperture down only to get the depth I need.

When you can, use a tripod help keep that camera still. For static shots it’s about finding the balance. Not too small, not too wide. I use the depth of field preview and I use the concepts of hyperfocal focusing to get the near and far in focus at a balances aperture that won’t lose detail on my current lens. There’s formulas for this but I find it’s as much art as science. For portraits try setting the focus point right on their eye to get your focus dead on. Practice makes perfect. Without focus and good depth of field control you’ll never be razor sharp.
Midnight Seattle - Seattle WA from Kerry Park, 2009.
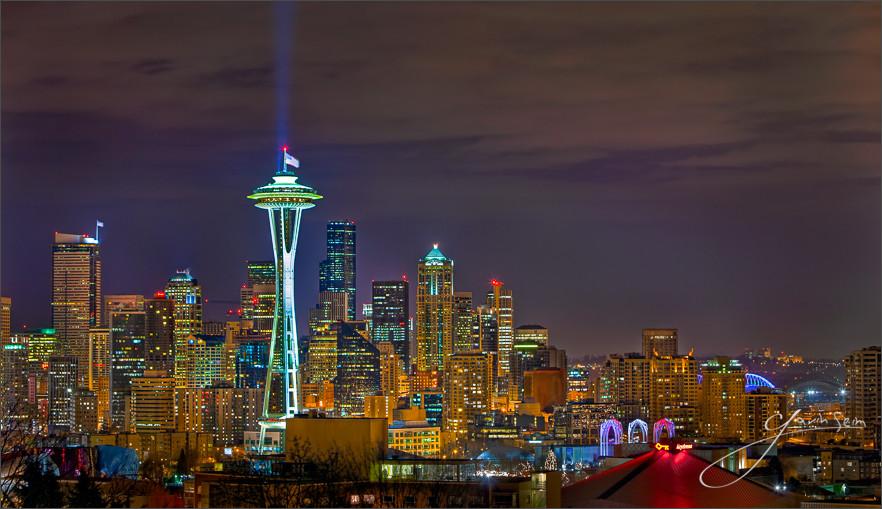
Midnight Seattle – Seattle WA from Kerry Park, 2009. This is a bracket mounted firmly on a tripod and very carefully process to prevent artifacts and detail loss. The result paid off and was admitted into the International Loan Collection.
  • #4. Speed of Light:

Another factor is light and shutter speed. The common rule of thumb is that your shutter speed is less than the focal length of your lens, then it’s too slow. So a 100mm lens needs 1/100 sec or faster. Faster is good, and slower is possible. You have to know your camera, and get a feel for what you can do. I’ve gotten clear images of moving race cars at 100mm  and 1/30 sec by panning with the movement. But most of my work is on a tripod regardless of shutter speed. Just know that even micro motion effects detail at a deep level.

If you want tack sharp you generally want faster shutter speeds, unless you’re solid on a tripod. Even then make sure you don’t have camera or wind shake. I use a solid tripod with a timer and or cable release when using very slow speeds to eliminate any shake. Watch that shutter speed. if you must shoot handheld, press the camera firm against your cheek. Amazing results can come from creative shutters speeds, but get comfortable with norms so you can always get the shot. We talk about the deep aspects if light in my EXposed workshop series so check that out it you crave a deeper understanding of exposure.
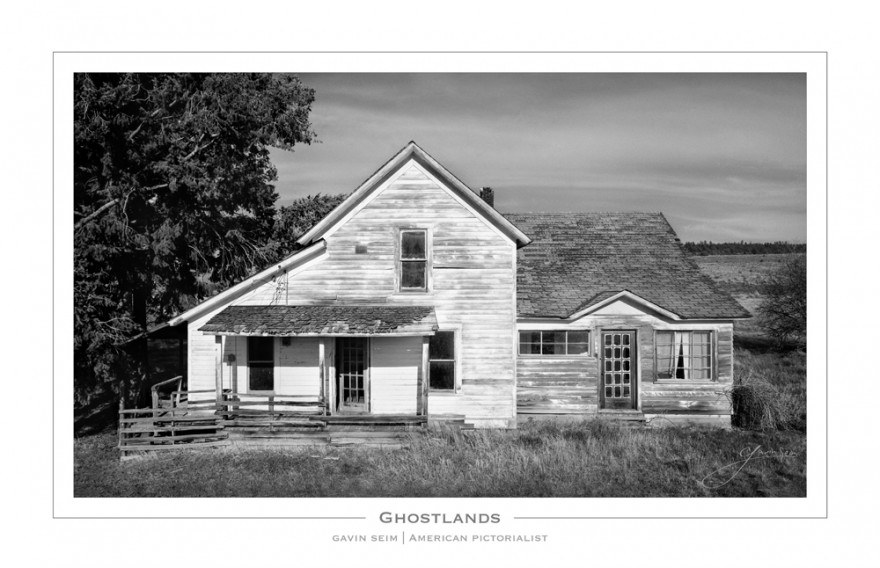
Ghostlands - Eastern OR, 2012.
Ghostlands – Eastern OR, 2012 — Gavin Seim
  • #3. Sensor Settings.

We speak of aperture and shutter speed, but pristine images vary from every image and every camera. Higher ISO’s will give you more light sensativity but will result in more noise and artifacts which will cost you detail. I like to shoot at my camera’s native ISO when I can. Usually that means 100-400, but it varies by camera. Nearly every choice is a trade off off and we need to understand the Six Keys of Image Quality to bring all of that together; read those if you have not yet done so.

Mechanical settings like shutters speed are key, but consider the settings in your camera. Is stabilization on or off? how does you camera handle IS when on a tripod? Usually IS should be turned off when mounted, but there can be exceptions like in panning. Some in-body IS can help stabilize even on a tripod if you have a long exposure and are fighting wind. Try things and learn you own gear. Cameras don’t make images, people do.
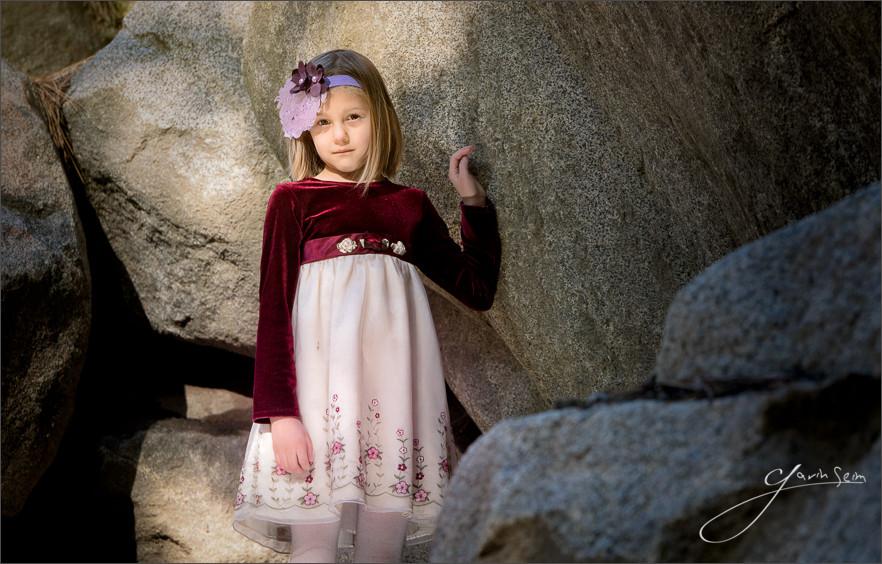
Alchemist Drama Recipe
Stability and clear focus on the subject is all that was needed here. Cutting the clutter is also a part of maintaining a clear image because clutter distracts the focus of the end viewer.
  • #2. The Cameras Eye:

There is truth to the saying “You get what you pay for” That 18-55 lens that came in your kit might get you some great shots, but when it comes to lenses you usually lose image quality by saving $. This is especially true at longer focal lengths. I’m not saying you should automatically buy the most expensive lens. Read reviews and see what others are saying before you buy. You may find a great value. Just remember that it’s not really the body, it’s the eye in front of it.

Early in my career I discovered the true value of great glass. People kept telling me “it’s was all in the glass” and I don’t think I really believed it until I tested for myself. I had a Tokina 24-200 zoom lens that I really liked. It served me well, and I got some great photos from it. But I kept thinking… “Why aren’t my images RAZOR SHARP?” I finally broke down and spent some real money on serious lenses. Below are the results from the sample shots I took with each lens.

A top of the line lens is worth every penny if you want the best image you can get. For many lenses sound as exciting as that new camera body, but it will give you much more. In the end it’s always more about experience than gear, but great lenses just may be your key to getting that tack sharp image your looking for. Get good glass even if you only have one great lens.


what a good lens can do 1

  • #1. Post Production!

Last but not least is the post production work. Sharp images happen in camera, but the RAW file is like a negative and the final touch is in post. Sharpening can really transform the image. When you see a shot that makes you say. “WOW THAT’S SO CLEAR”, balanced sharpening had a hand in it.

The thing to remember is that sharpening is not an excuse to be lazy. While it might make a poor picture acceptable, it will never make it great. A great image starts out great, and is made better by post. Try taking your photo into Photoshop or Lightroom just start playing with the sharpen tools. You can play with “high pass” as well along with blending modes. My Alchemist action set also has some sharpening tools that do just that. Too much sharpening will ruin an image. You have to get sharp in camera, then finish with detail work, sharpening, grain etc to get that pristine organic feel you crave.

That’s all there is to it. You control each element, but as always it’s easier said than done. When in the field ask yourself questions about the image you are making before you press the shutter. Think about what your settings are, what you are seeing in your minds eye and see the finished image before you press the shutter. This final tactic will raise your standard in quality and detail so that when to get to post, you have the very best to work with.

Good luck and keep it sharp. — Gavin Seim
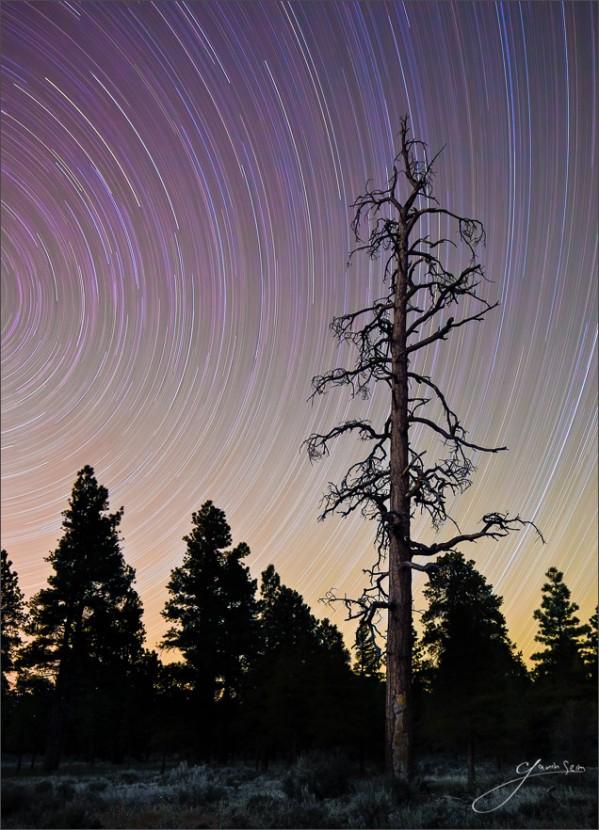
140 Minutes of Night - Near Grand Canyon NP, 2011.
140 Minutes of Night – Near Grand Canyon NP. With a 2 hour+ exposure I had to make sure I was rock solid and had my settings exact. I only got one chance. You can read about making this one here.
Read More

September 24, 2012

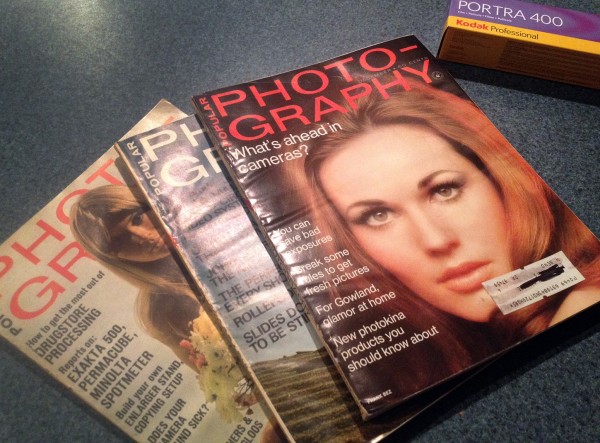
Vintage 1968 photo magazines I bought. It’s refreshing to see articles on how to make good photos, instead of how to fix ones that were made wrong.

by Gavin Seim: (rev 05/13)

It was Spring of 1968. Motor Trend had just crowned the GTO car of the year, Eddie Adams just made one of the most iconic images in history and in a few months the Detroit Tigers would win the World Series. Pentax was telling us they made “fine photography easy.” and the Polaroid swinger was happily swinging off shelves. Topics ranged from the quality of drugstore printing to the latest spot meters. And yes, publishers knew that bare breasted woman sold photo magazines. Even then.

It was in the Spring of 2011 when I jumped back into film. I had cut my teeth on it back in the late 90’s. That was around the time the Unibomber was captured, scientists cloned sheep and Titanic sunk into theaters with a splash. As I grew, digital did too and soon took over the game. It was fresh, exciting and before long, even practical. Soon professionals everywhere were laying down their film for what were essentially 35mm SLR’s with a bit less detail. It was in some ways a downgrade, and yet digital does offer many advantages.

So I decided to go back and take film seriously. Loading it up for my travels to use it alongside digital. At first it was for the simple reason that a well scanned large format negative could produce vastly more detail than today’s digital. So I bought a classic 4×5 Linhoff and went to work. And it was indeed work, I picked one of the harder formats but it would turn out to be well worth it.


– 4×5 HP400 Film, Linhof Technika IV


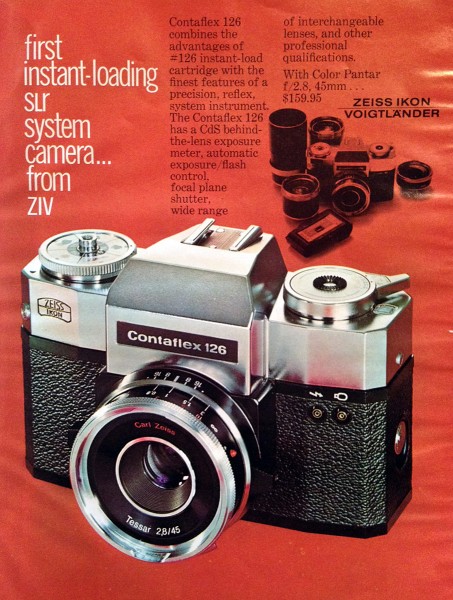
Popular Photography 1968, ad for the Contaflex 126.

A few months earlier in ’68, the world saw Charlton Heston tell his primate overlord “Get your stinking paws off me, you damned dirty ape!” A classic was born, that would be somewhat tarnished by less impressive sequels. Meanwhile The soft focus filter was in vogue. Forty-four years later my wife would stand next to me in the living room looking at a cover portrait from a 1968 magazine and say. “It’s blurry.”

Back in the twenty-first century we’re making coffee and I grab my Olympus 35RC rangefinder to take a photo of my kids helping out on the kitchen counter. My daughter giggles adorably and I realize I forgot to wind the film. I react quickly before they move and release shutter. One frame and it’s back to lattes.

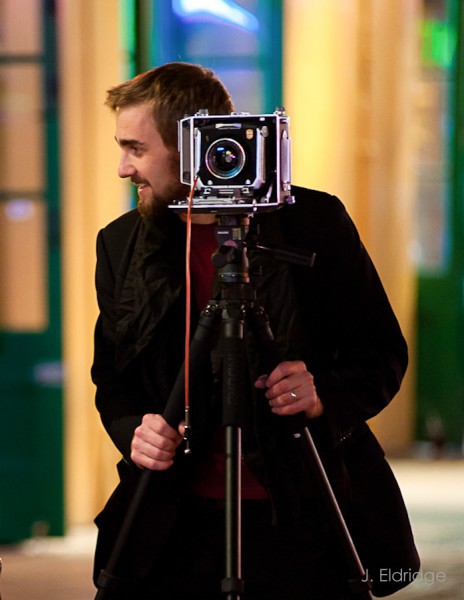
I’m in New Orleans with my Linhof. Jan, 2012. It quickly draws a crowd and I’m happily chatting. Photo by Jason Eldridge.

I was not the first to be out there rooting for film in this digital era. Many of the best Pictorialists never stopped using it. People like John Canlas, Ian Ruther and a few others had also been sharing their passion for silver for awhile. But I was not so into the romance, I just wanted the quality. People acted like I was a little crazy, but they still were a bit breathless when they saw my Linhoff Super Technika IV that came out around 1956. It started to become a part of my brand. Not just in my pictorials, but in my portrait work.

Next I started talking about film. I started talking about how I blended it with digital. Scanning, editing, printing. I have nothing against the traditional darkroom and I hope to build one when I have more space. But I’m a digital kid and I have a workflow there. There was a method to my madness. I needed to be able to get great images made and printed large in reasonable time for a reasonable cost.

Soon I had a Jobo ATL1000. A remarkable machine in which you load with a small batch of film and a very small amount chemicals and return about thirty minutes later to finished images, color or black and white. The next step was to scan on my V700 using a wet scanning attachment and then into Lightroom and other tools for the finished image. The result was amazing resolution from this 60’s era camera that has not changed much in half a century. I can get around 100-200MP of detail from 4×5 and a beautiful organic feel that digital somehow misses.

Read More

July 10, 2012

Dreamers Tree. Near Yuma Arizona, winter 2012.

I found this back near Yuma during our Winter tour and I took my time on it. It’s a perfect scene for a relaxing afternoon, but it has just a bit of mystery thrown in too. We were taking a Sunday evening drive and the tree was just off the road. But had the light not been hitting it just right, I would have passed it right over.

I frantically turned the truck around and was able setup my tripod and photograph it before the light faded behind the hills. I think I could go back and almost lie in it’s threading braced and fall asleep. But the question is, would it eat me?

Release details: Prints Available.. Order Open Edition originals above.. Master prints and Signature Limited Editions are listed below and can be ordered by contacting gallery.

Released prints….

For Photographers. How it was made…

Read More

January 4, 2012

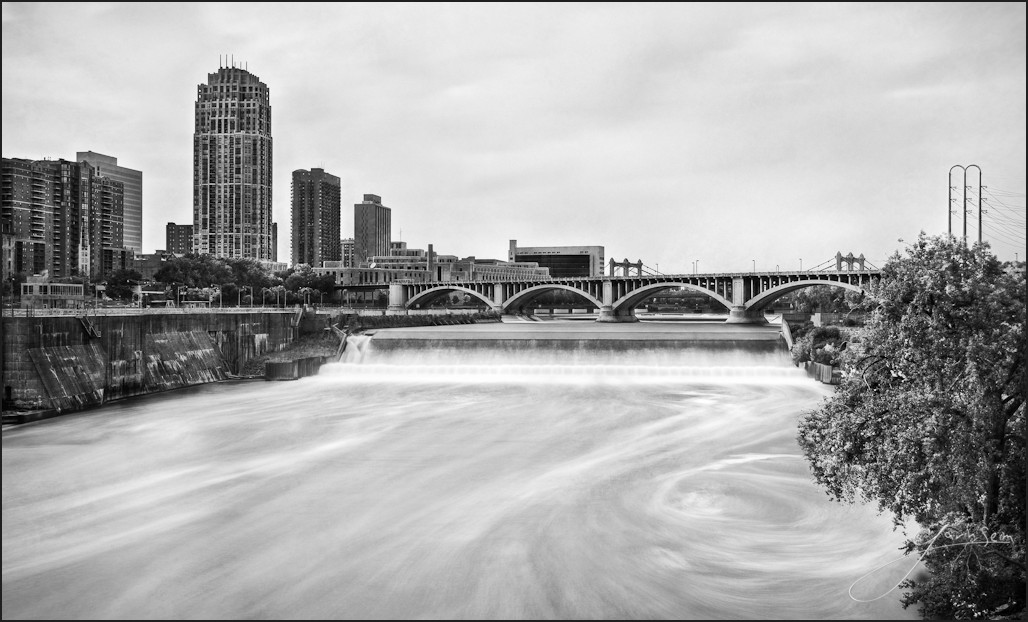
Swirling City, 2011 by Gavin Seim. From the bridge, Twin Cities MN. Time Exposure.

This was about a year ago now, during our Fall 2010 road trip and my visit to the Twin Cities to teach an HDR workshop. I was walking with my group downtown, crossing over a bridge, the name of which escapes me. It’s big city here. industry and concrete. But flowing water always mesmerizes me. I took my time setting up, feeling that if I hurried I would get little more than a snapshot. In the end my effort paid off in this long exposure just between St. Paul and Minneapolis. The structures of the city meeting with the awesome power of the water and doing a dance right in front of my lens.

Release Details: Prints Coming Soon… Contact Gavin for details.

For photographers. How it was made…

Read More

December 14, 2011

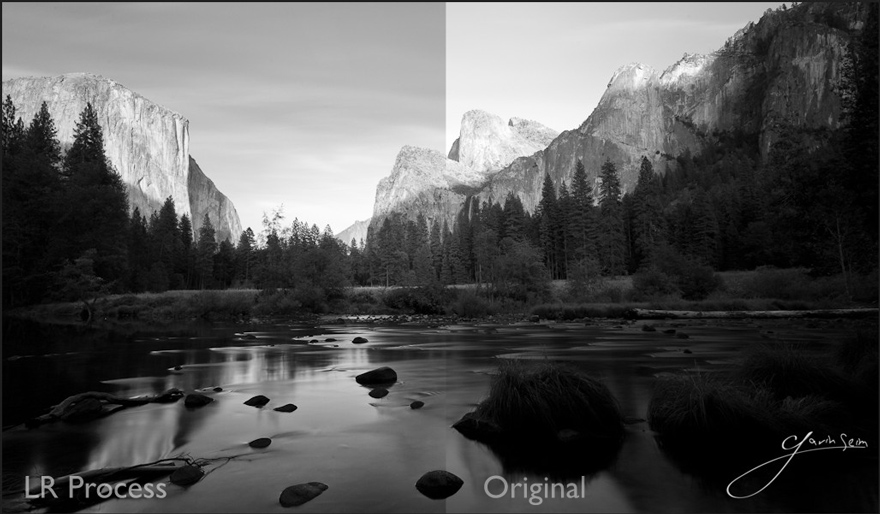
Right cut. Original RAW file desaturated in LR. Left cut, same file with the Dynamic Silver III preset from Silver Shadows 2 applied in LR.

Just a few quick observations today. One reason I stay in a RAW as long as possible is that quality and dynamic tonal control is at it’s highest on an original RAW file. Once we leave that environment, we can certainly still work with tonal values, but we throw away some of that precious information.

On the right is a sharpened and desaturated original file from Sunset’s Hidden Falls. On the left, the same file with nothing more than applying Dynamic Silver III from my new Silver Shadows 2 toolkit. This effect pulls out dynamic range without flattening the shadow and contrast too much. It could also be done manually of course.

Once I have the dynamic range under control, then I’ll move on to external edits as needed. I don’t hesitate to go into Photoshop (though I try to stay in 16bit mode) for detail work. I did plenty of that on the final version of this). But getting my basic tonal range managed before I leave the RAW file behind gives me better results and helps me maintain that quality as high as possible for my wall prints. It’s a better wokflow and a better image.

Gav

Read More