And what no one told you about HDR photography?
Working on some refinements for my Natural HDR preset pack, I started thinking about the reality of HDR and that it should be explained better. I will say that everything I show you today will be amplified if you come to my Shadow Hackers class.
If you want easier edits do check out my Natural HDR presets, Lumist, and Filmist tools that I used in the video. But NONE of them are needed to implement these tricks.
The HDR Photo lie that tricked us all?
High dynamic range photography as a term became popular in the early 2000s when the digital camera did not have much dynamic range so we took to stacking and bracketing exposures to get sometimes magical and mostly strange-looking photos.
As sensors grew into monsters of image quality, HDR was being taught wrong. Like that heavily edited Dave Hill, crushed tones look was HDR. But it was not. That continued and I started pushing back with more balanced edits like in my popular Natural HDR presets, my photo courses, and workshops.
What’s wrong with that HDR Photography “Look”?
Who am I to say you can’t edit intensely, gritty, or crush your tones? It’s not that we can’t each decide how our photo should look. It’s that HDR is not really what they sold it as and if you know what HDR photography is, we shoot better.
The problem is that HDR is about tone, not style and that does matter because understanding it wrong leads us to more misunderstand tone.
Today’s video will show you what HDR Photography really is and what it’s not. Not a style, but a way we plan a photo just like a high-key portrait is not a style in itself.
This does not mean the HDR software is bad or that you should not experiment. Only a lot of fake information has been put out about HDR and if you know what really makes a photo HDR you will make everyone better.
Two kinds of HDR Photography – Input, and Output.
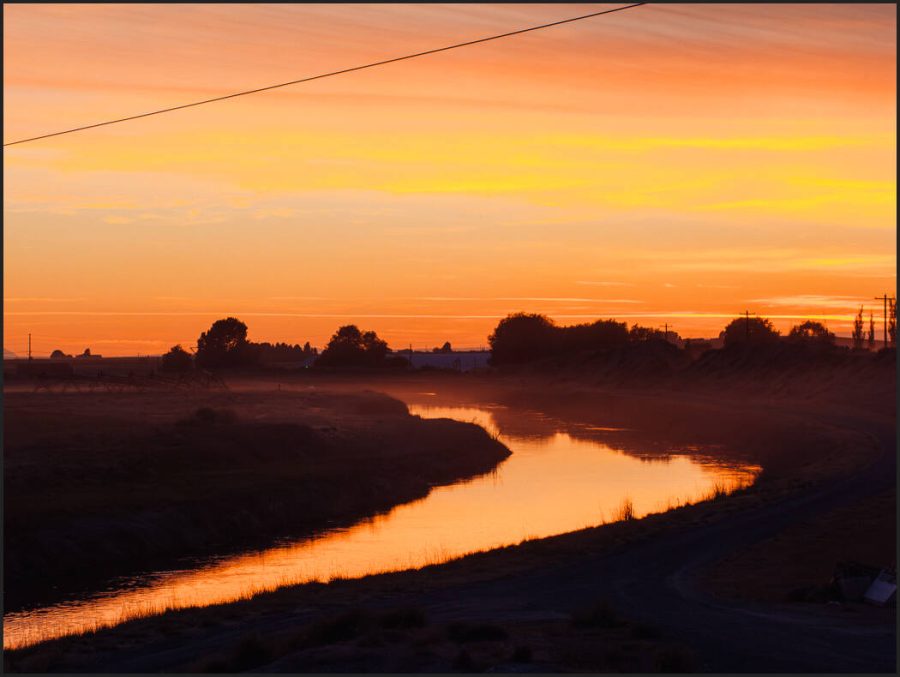
After the video, this should make more sense. HDR Photos are about tonal range of light and shadow. You can capture a photo loaded with Dynamic range and edit it for that.
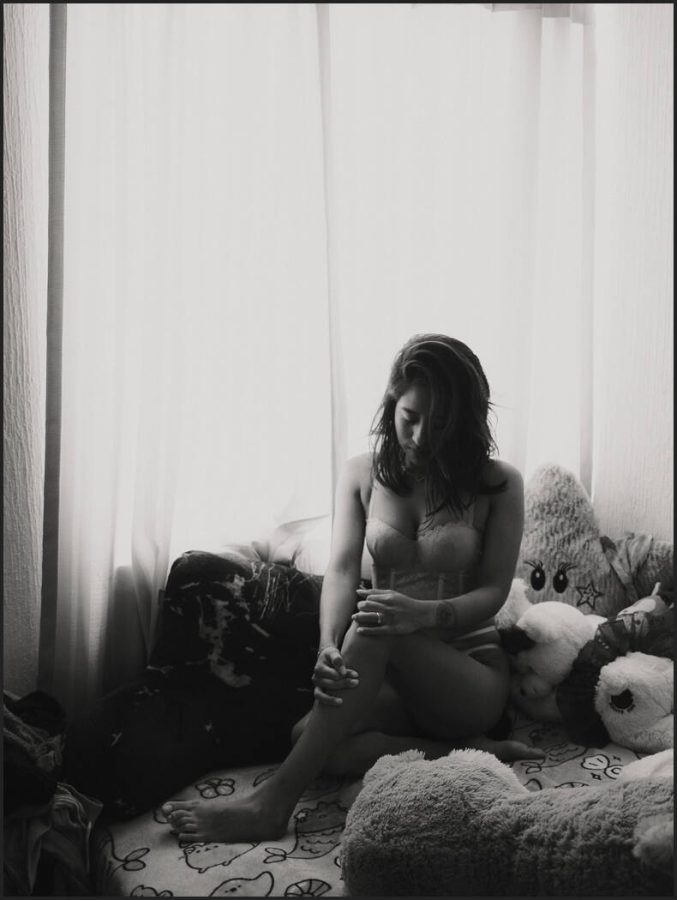
Or you can compress the tones, taking an HDR scene and making more LoFi. Like the portrait below edited with Portrait Crush from Silver 5 presets. Taking a lot of dynamic range in the capture, but toning it down in output.
On the other side, you can take a scene that’s flat and not very HDR feeling and expand its contrast and range in output as we talk about in the video. This is easy to overdue so a good knowledge of shadows helps.
Both are ways to manage HDR Photography and neither is wrong.

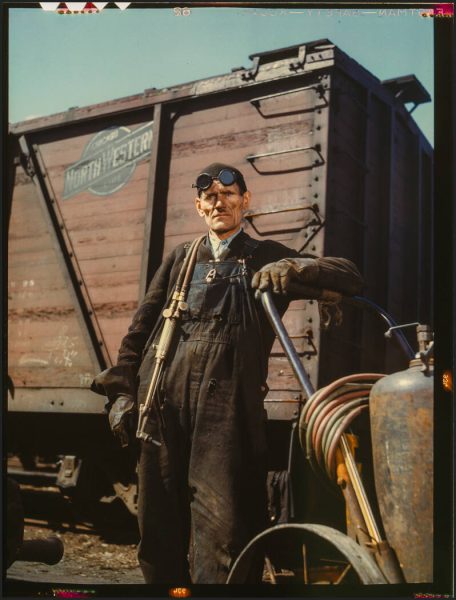
HDR without Shadows. What are we?
Believe it or not, for years this is how most “HDR” was done in most online courses and demos. This is the result of forgetting what we learned in the darkroom and killing the shadows. That’s why it looks so strange.
It’s probably the biggest mistake in HDR Photography. To be HDR you need High Tonal Range. As I teach in Shadow Hackers, photos need shadow, but especially HDR Photos. Without it, you lack the HDR component.
Leave a comment and tell me what you think.
Gavin Seim

Gavin, this is the first of your videos that I've watched, and I've discovered that the two of us seem to think alike in many ways. I have always preferred HDR that looked like a natural photograph over those that are over processed too. Truth be told, I stopped using third party HDR programs and reverted to using the algorithm in Photoshop, which produced results that were more pleasing to my eyes.
One other thing, I've always believed that the shadows, when used correctly, told the viewer more about the mood, and content, of the picture. I strive to share just enough information to tease the eye of the viewer, causing them to look further, seeking more information.
I'm an old film shooter, and also shot slides. Today I seldom worry about the dogma of exposing to the right and tend to expose as I did when shooting slides. I've even discovered that there are times when a photograph will not have a solid black, or white, but when they do, that tone should be pure.
I enjoyed your video, Thank you,
Steve