May 9, 2025

I reviewed DXO Photo Lab 8 awhile back and Lightroom won! But all the sudden this week I saw reviews popping up for Pure Raw and I wanted to learn more. Because…

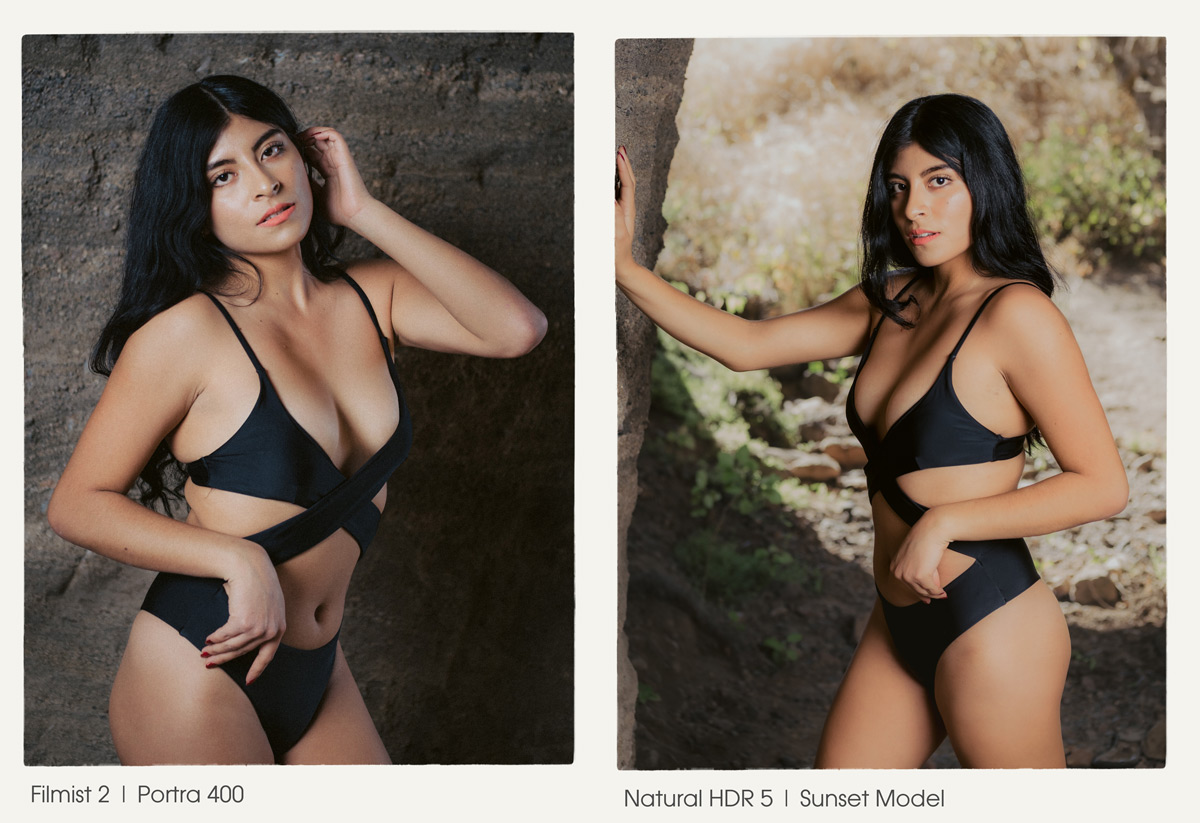
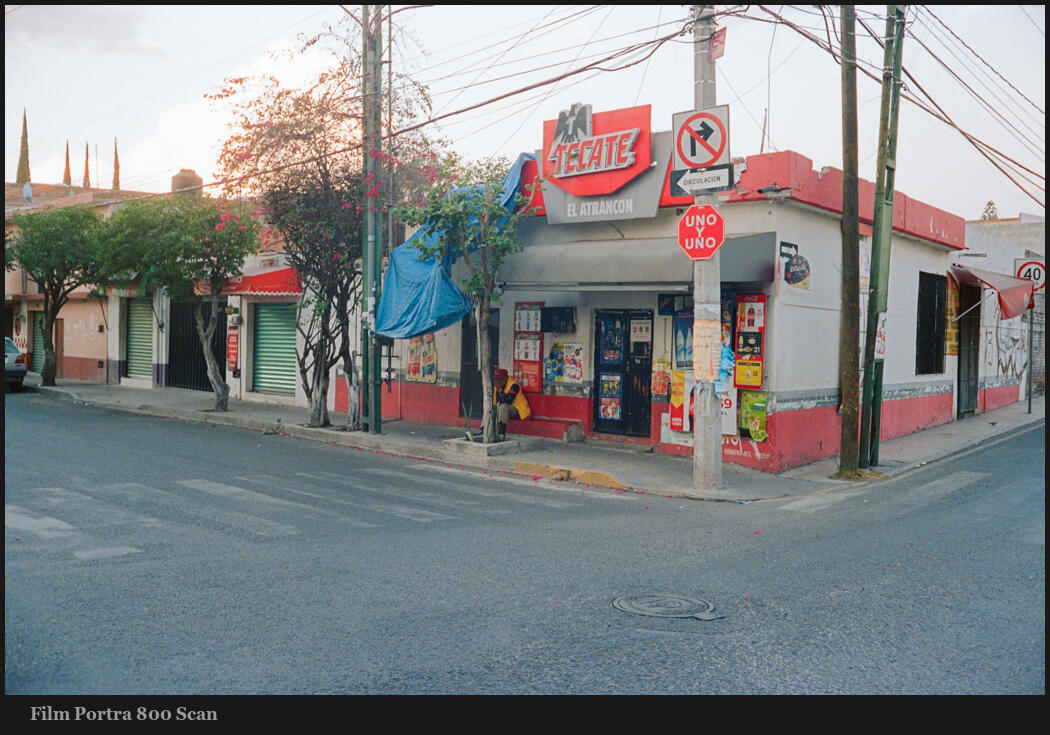
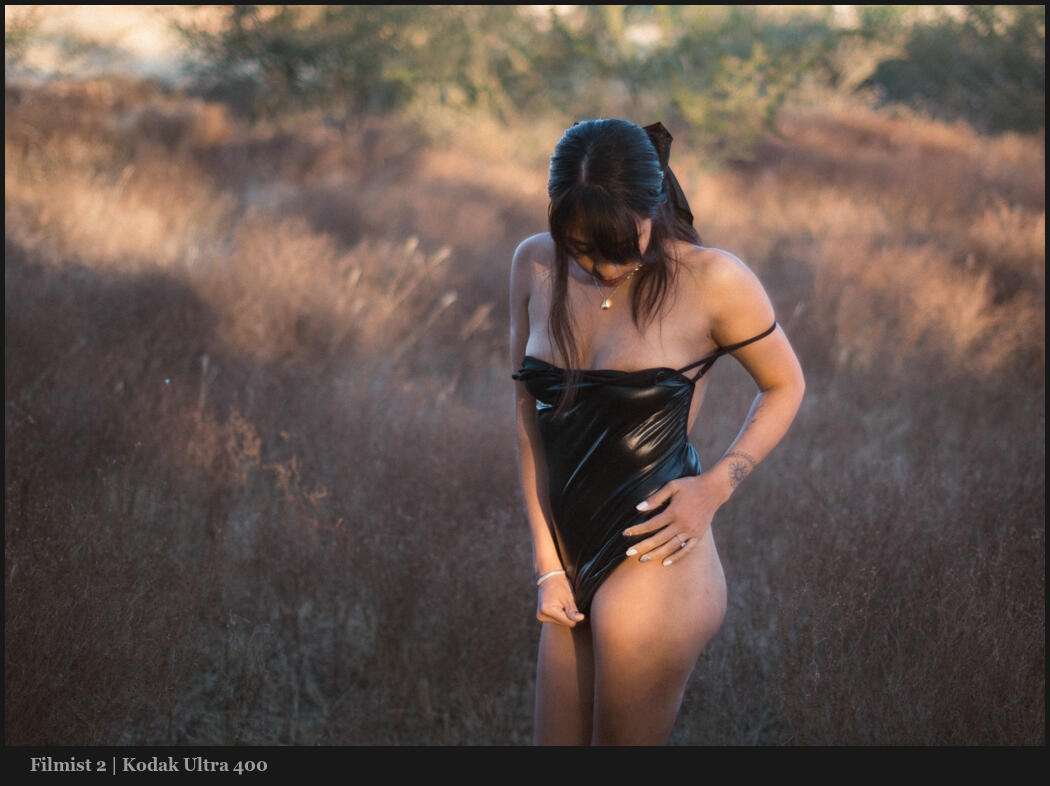
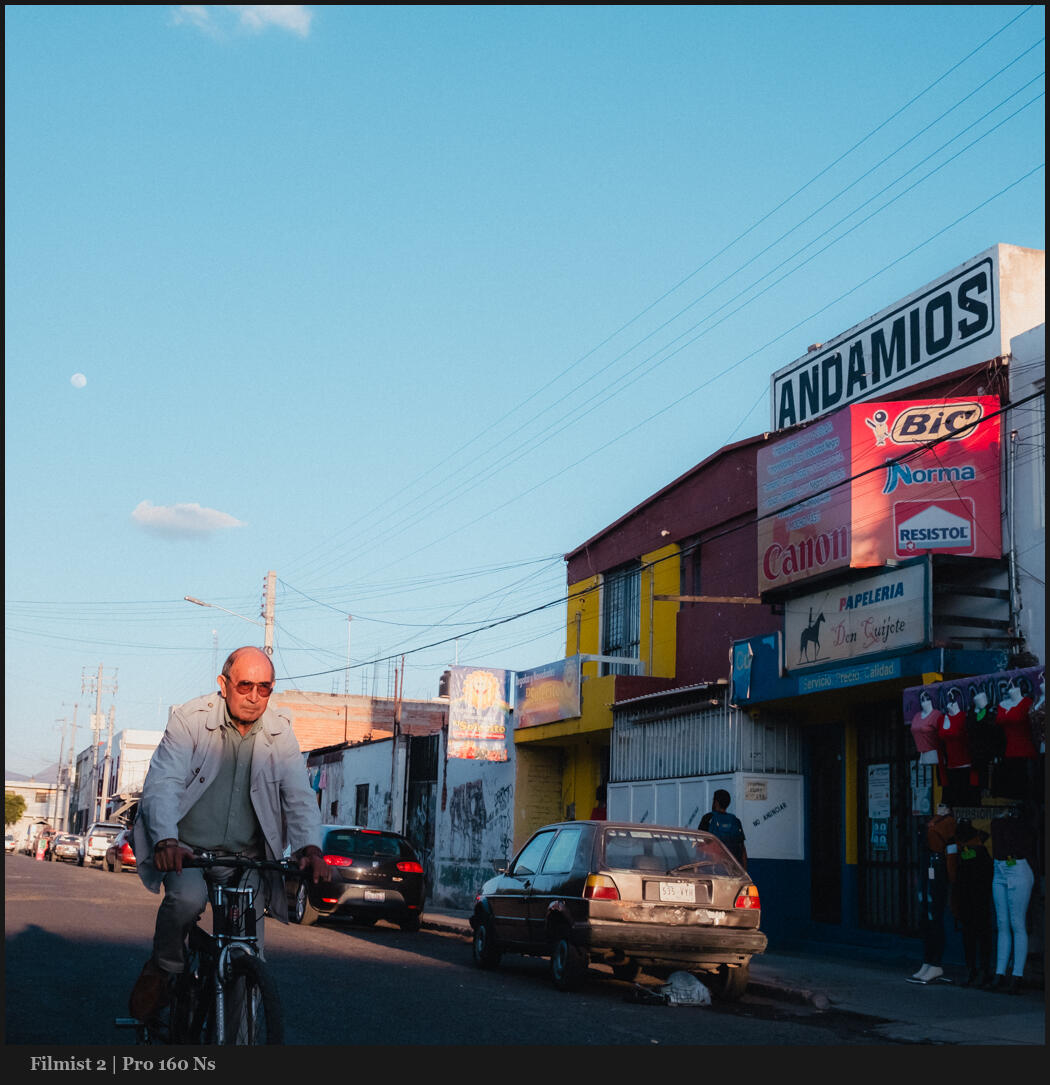
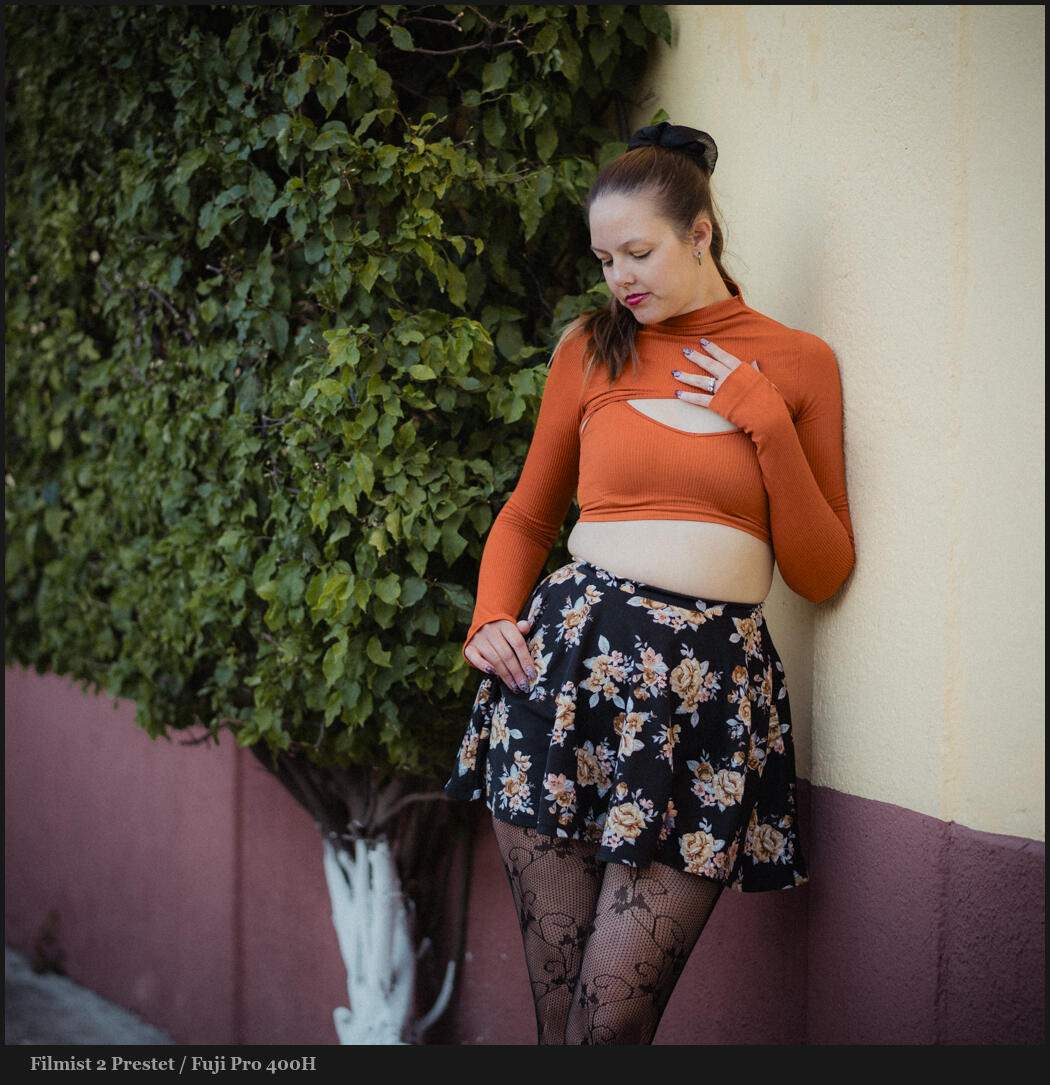
You can try out DXO Pure RAW yourself here. Also check out my Natural HDR and FIlmist film presets that I mentioned in this video.

The biggest conversion left out of these kind of reviews is that you usually don’t need this kind of noise reduction. Especially in modern sensors, the noise is usually low, organic and film like with just a little Luma noise reduction and grain.

So really you only need this extra step when you have something SUPER noisy or when you need something super clean. For me I rarely want a perfectly clean image because it tends to feel fake. All these tools can me cranked up like we see in reviews, but in real life that’s not the best look.

There’s also other tools like Topaz and the Luma noise tools on LR and capture one.

The bigger question here is should you be using so much noise reduction or should you stop and let photos be themselves. We’ll talk about that in the video.

Pure Raw 5 is a $120 plugin for noise reductions and lens correction. I’ve use their tools off an on for years and they got famous mostly for offering lens correction tools before most apps had them. There are a few Noise reduction modes in Pure RAW 5

  • Deep Prime 3 – I find this works on everything and is t he only mode I need.
  • Deep prime X2DS/XD – This says is more about detail. In practice I found it reduces noise a little more but is a tad more pasty and does not feel more detailed.
  • Deep prime XD3 X-Trans 0 We test this in the video and I found it softer. It is in beta. In reality X trans files are no longer a problem in 2025 and Deep prime 3 works perfectly.

In the review I left the sharpening tools off and we just left native Raw file sharpening levels in Lightroom. Sharpening is not a measure of how good noise reduction is but it is an option in DXO that you can play with. I found it did not give much advantage.

I’ve taught for years that sharpening should be done last not first. While it’s not a RULE, I find it’s good to see how your image looks once you process it to the style you want. Then decide what sharpening it needs.

Pure RAW 5 is good. But it’s still plugin (or standalone app) and you have extra steps and hassles like I show in the video. The biggest for me was losing all my develop settings. Sure you can run this in batch before LR import. But I cant imagine running this on hundreds of photos and having to wait when most don’t even need this level of processing.

Pure RAW has simple but powerful noise tools and a few more options that Ai noise reduction i Lightoom. But in the end the Deep Prime 3 worked the best on all images dingily Fuji X-Trans.

There is also lens correction which were about equal to those in Lightroom and some extra like sharpening. But I did not find they did a lot and I prefer top add sharpening after so I left it off.

IN the end both give results that are almost evidential with a little tweaking. So based on the facts that Pure Raw adds extra steps and workflow hassles, I have to give Lightroom the win overall.

If you use Capture One or other apps with no Ai noise there is a big advantage in pure RAW in terms of how much noise you can take out. The question is how often you need this much NR in your photos.

In the end Lightroom is more than enough for most and integrated better into a Lightroom users workflow. But DXO Pure Raw 5 is world class noise reduction. Si in the end, use what inspires you and fits in your workflow.

Gavin Seim

Read More

March 12, 2025

I’m back with my annual review of Lightroom VS Capture One pro in 2025, and we have a lot to compare this year. In fact, I skipped last year waiting for features to iron out and boy, did they.

C1 VS LR. They are King and Queen of editors. But who is King?

When using presets I used as many free pack as I could like the Silver 5 and FIlmist 2 samplers. For speed masks I used Elegance 4.

In the video we test new features, noise and look at the whole picture. But in the end this is not like my DXO Photo Lab review or my Luminar Neo review where both fell short on basic pro features.

My review is finally here and in putting LR and C1 head to head what we see is competition is fierce this year and other apps like DXO, Luminar and OnOne need to step up.

In the war of RAW editors, both Lightroom and Capture One are top notch in their process and feature,s and you can feel good going with either if one makes you feel more creative or productive than the other.

No, nothing this year is a game changer. But there are improvements coming from both lightroom and Capture one. More subtle in Lightroom and in Capture One, things like Match look and Ai crop.

The most game-changing thing in Capture One is actually what they are not focusing on that much and that’s that they have finally almost caught up in masking tools and layers and I’ll show you that in the video.

I do say almost, because there is still no sky mask and this is actually a big lack. I didn’t get into it the video, but I’m hoping Capture one will add this soon.

Capture One Studio has also been added with a few extra features that are mostly collaborative, a few extra Ai tools etc. And it costs nearly twice as much. Making C1 alone nearly as spendy as the entire Adobe Creative Suite. Most won’t need this and it’s a bad look for C1 as these features should be in the pro version. They already cost more than Lightroom.

What about Lightroom instead of Lightroom Classic. The develop and base features are the same and with Lightroom you get both and the mobile app for one price. You can can switch around as needed, but in general I use Lightroom Classic and it has more features. I do compare that in this video.

There is also an App for Capture One but it’s still IOS only. I have not done a review of it, but compared to the Lightroom Mobile app which actually doe nearly everything and can even simply sync with a collection on from LR Classic, the Capture One mobile app is pretty limited.

In the video I’ll give my opening and final conclusion for the best photo RAW app of 2025 and whether you should use Lightroom or Capture One. Either way you’ll still need a pixel level editing app like Photoshop, even if you use an older version like CS6. I’ve touched on this in the video.

What I am confident in saying is that both meet my own high standards and can create world class images. But in short, Lightroom Wins again overall.

But that does not mean it wins for you.

Watch the video, leave your thoughts in the comments and please share – Gavin Seim

Read More

February 15, 2025

This film is long gone but it was the true legend of color films and one of the hardest to reproduce digitally. So I spend years refining it to this this new KodaChrome 64 preset.

You can get Kodachrome 64 Gen.3 the new Velvia 100 and more in Filmist 2.4 complete. If you have Filmist 2 go to the update tab. I’ll also show you my settings during the video.

If you watched my recent video on color science in your camera or on How to use White Balance better, you know that a little cast can easily be correction with a quick slide right or left.

But the iconic look of Kodachrome 64 is something more. As what is considered the most iconic Kodachrome by most, Kodachrome was the defining look of legends like Steve McCurry.

One of the patterns I found and something especially hard to defeat on digital is that is always has this rich coffee chocolate sort of brown. This is not as simple as a white balance slider. It goes against what most digital camera produce.

If you’ve ever held up a strip of film you know it’s not all roses. As light changes the color shifts and most digital cameras fix this on the go with auto white balance.

Because of this and many other factors there s no one single look that is Kodachrome, Velvia etc. When I design film presets (and this is especially true in Kodachrome) i looked at hundreds of tests to find the balance. What did this film look like in it’s best moments.

But camera sensors also vary. So if you apply this and it feels a little red leaning or too cool. That’s where the white balance comes in. You don’t need to rework the curves or the color of the recipe itself in the presets. Just nudge that white balance a little bit and that cocoa undertone shines thru. That is Kodachrome 64.

I’m not sure there’s any such thing as a perfect recipe. I’ve never found any Kodachrome recipe that gets this close. It’s rich look works digitally on portraits , streets weddings and anything else.

There are many you make recipes in camera. The problem is that these are very limited. If you see how I made this recipe it’s with complex color controls and a lot of detail. Detail you can’t get in camera. For in camera profiles I don’t usually recommend trying to really emulate a film. If you really want a film look, shoot RAW and add presets or styles after the fact.

Also As a positive film it did not have the dynamic range we have today. That can be good. It give you those rich shadows I teach you about in Shadow Hackers. Don’t push setting up just because you can.

That said. I often use the chem kit mods in Filmist 2 to add a little more range while still retaining the rich color. Nothing wrong with mixing it up. But the preset itself trues to remain as true as possible to Kodachrome 64

Read More

January 18, 2025

The main goal of camera makers is to lock you in maker is to sell new products. That’s why every year they pretend they have revolutionized everything.

You can try some of the film presets I was using including Classic negative here in the free film sampler pack. Also watch my video on white balance and the Drop Color method.

It’s not that we should be lazy about color. But notice in the video how the differences are not always that huge,. The more you stop stressing about color and use the tools, presets, filters and setting to get the look YOU want, the easier color becomes.

The science of color is real. The color science we’re being sol is a marketing lie.

In the end you can apply any look you want and then adjust the Color-Science of it a bit with a very small adjustment. So Sure I might use Classic Negative or Portra. they are great. But I’ll do it as a preset or profile after on the RAW. Usually as a preset because I can us that on any camera.

I know pros always say this and while the things I show here can be done on JPEGS, shooting RAw will always get you better color control. JPEG bakes in a camera profile and not always the best one for your scene. So then you edit again and it’s like baking a cake twice.

In camera profiles are fun. But in the end they are simply a preset that you have a lot less control over and pay over and pay a lot more for than the packs I make here on Seim Effects.

Taking time to dial in perfect color and save it is great. But Don’t get stuck on one look.

That newest camera wont make your color better.

And there’s no one right color for sunsets, skin or landscapes.

Tale Canon who gets you ins their system then over charges for lens and prevents third part lenses from being sold. It’s a bait and switch. But you don’t need to be loyal to a camera brand. They all do the same thing.

Did you notice how much color changes in my video, with even small directional changes. That’s why you don’t want to be locked in. Any camera can be good on any of the situations. You just nee to know how to nudge your color like I showed you here.

If you want more videos on this topic let me know – Gavin Seim

Read More

December 4, 2024

Film and darkroom processes do make you think more about your photographer. But are they the right tools for improving especially for beginners? Probably not! But there’s a viable alternative.

You can also get the free Filmist presets here to see real film tones in your edits. Also actions like Emulsion were created based on darkroom processes.

Film has made a big comeback in the past few years as people tire of fakery and Ai and want more organic real experiences. But it’s also very expensive.

Whether it’s the magic of Instax or POloroids or whether it’s the subtle shadow and color theories you understand better using film. It does pay off. I just don’t think it’s the secret sauce for newer photography for the reasons I mention in the video.

Someone recently told me they liked my LIghtroom presets because they were not gaudy and pointless. A lot of that is that I’ve been making pro-grade presets longer than anyone on the market. But what I immediately thought of is film.

My film and shadow hacking studies have shaped the way I create tools and it’s a big reason why they are different from the others on the market. The way film helps you understand subtlety and tone and color versus just pushing a slider increases the more you use it. If you spend any time on analog I think you’ll understand what I mean.

If I plied film is not worth it that’s not what I mean. What I mean is that film is a tough tool to start on. It’s more something to work with once you are at that intermediate or advanced level where it’s nuance will mean more to you.

So yes, everyone. Get some vintage lenses. Shoot some film on the cameras that often come with them. But don’t think you need film to improve your photography. Slow down and let the shadow lead you.

Gavin Seim

Read More