October 4, 2024

In a world where we are told to focus on Ai tools, noise levels, and new sensors, they often fail to teach us photography itself and of course how to use light and shadow.

I’m always bringing us back to shadows because shadows are the only way we see beautiful light. Stop using the exposure slider and fix your photos.

Come to the next Shadow Hackers this will all come togethor. You can also try the free Filmist Pack or the new PowerFlow 8 to see these exposure methods in action.

A great score is not better just because it’s loud. There’s a time to use volume, and exposure, like I show in the speed editing video of PW8. But volume with balance is just gain.

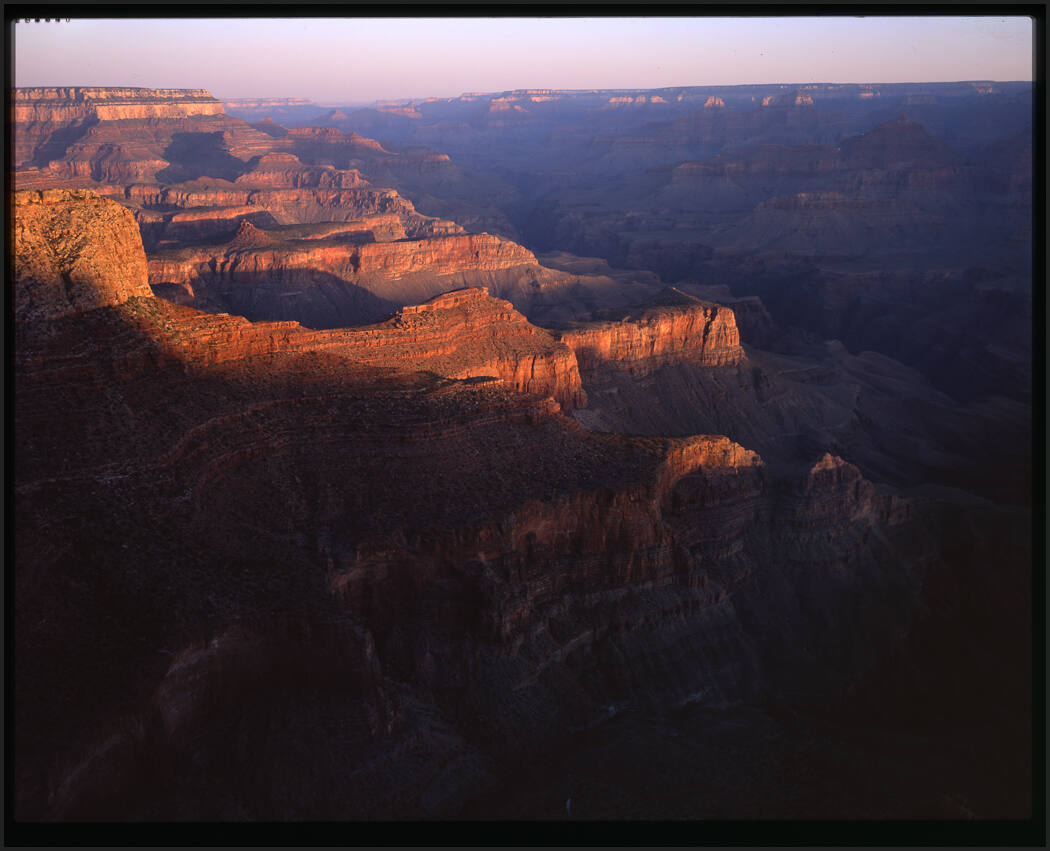
The grand canyon with 4×5 Velvia film

All of these are EQ sliders. They increase gains to specific parts allowing you to create the separation you want. Even simple sliders like blacks or whites can work. But avoid contrast sliders as I explained in Stop Using Contrast.

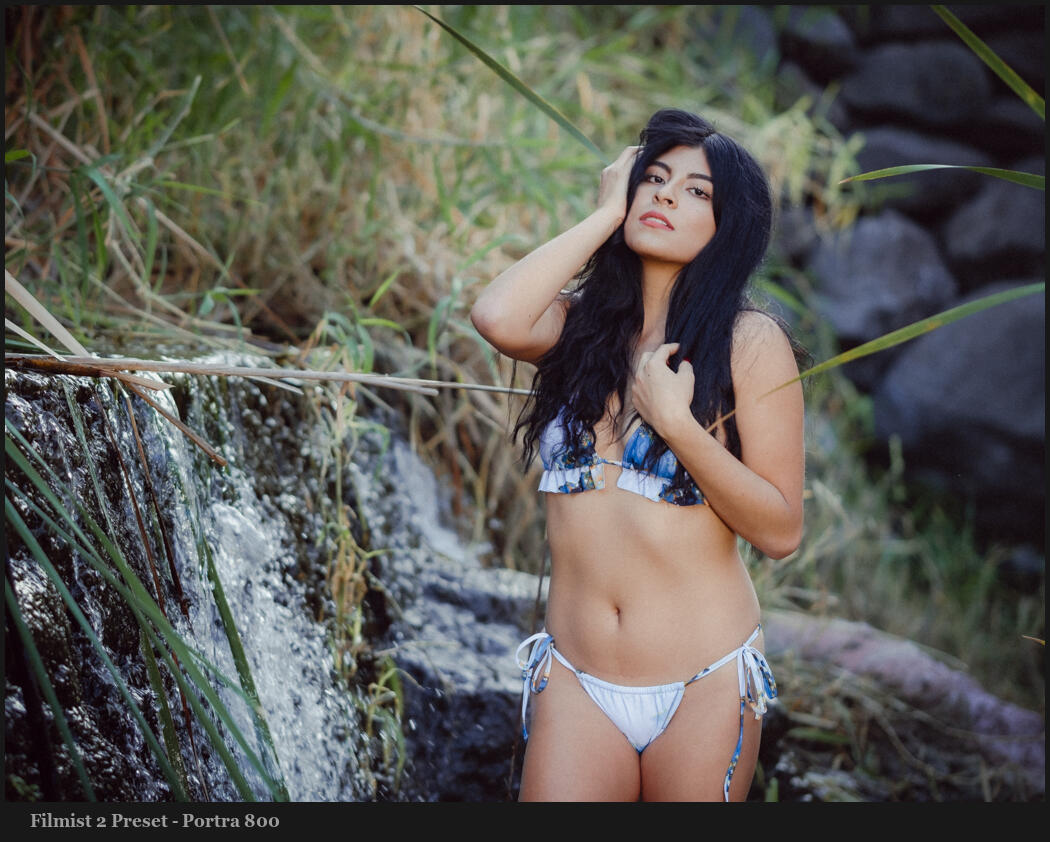
A different kind of exposure balance using the shadow from PowerFlow 8 presets

This is the absolute best time to decide on light and dark tonalities overall. Because in the camera you get real exposure. You’re using aperture and shutter to help create the feeling you want. Then you can perfect it with good edits like an F Curve.

Once you start thinking this way and hacking Shadow. The real wizardry begins.

Gavin Seim

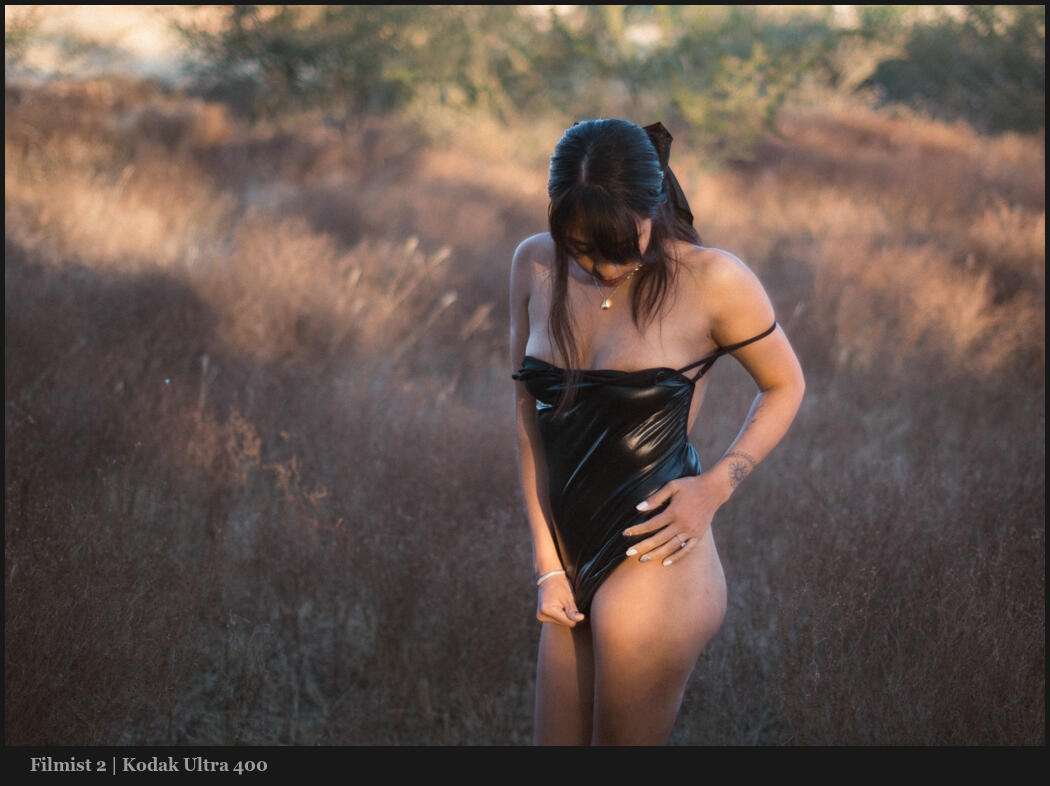
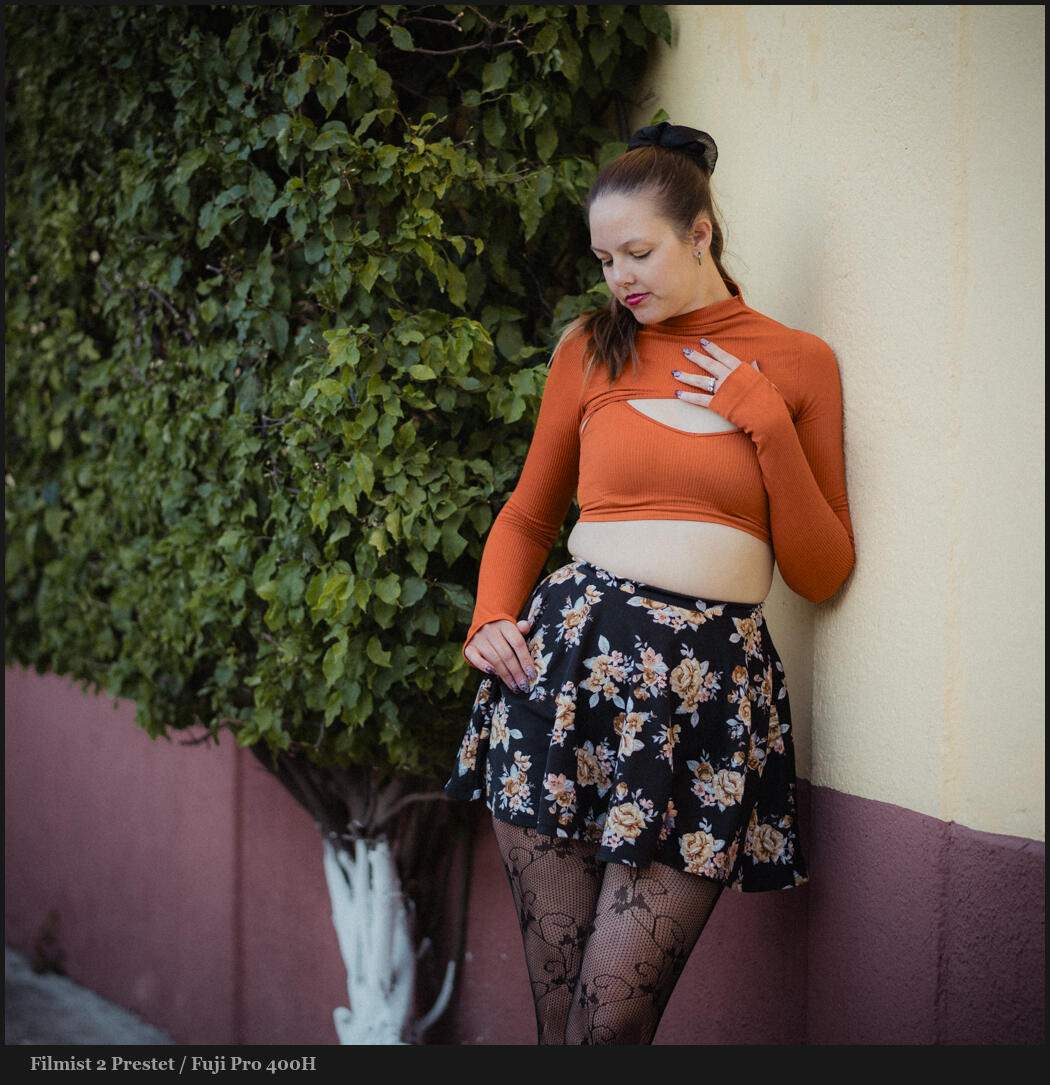
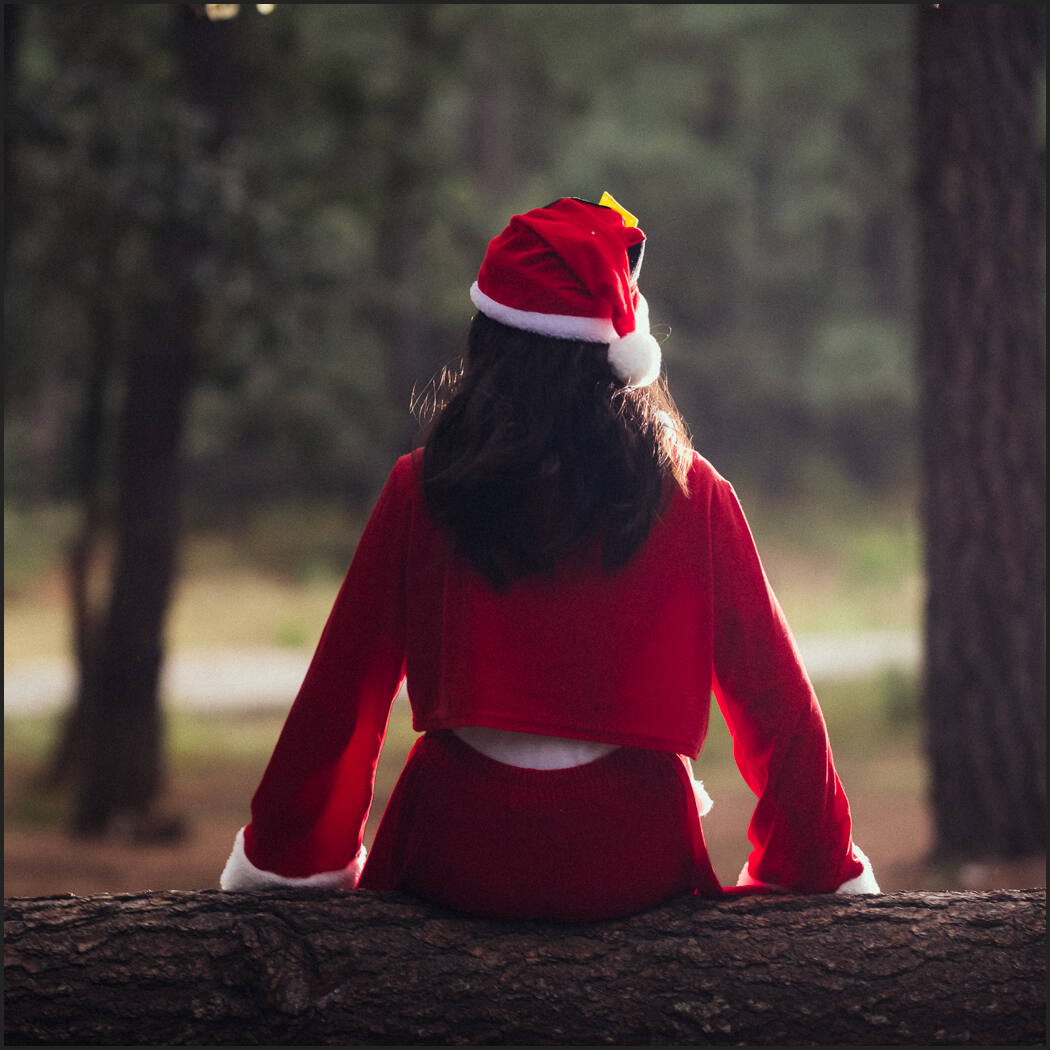
Agfa Vista 400 from filmist and a little white slidert. You can download some free Filmist 2 presets.

Read More

June 8, 2024

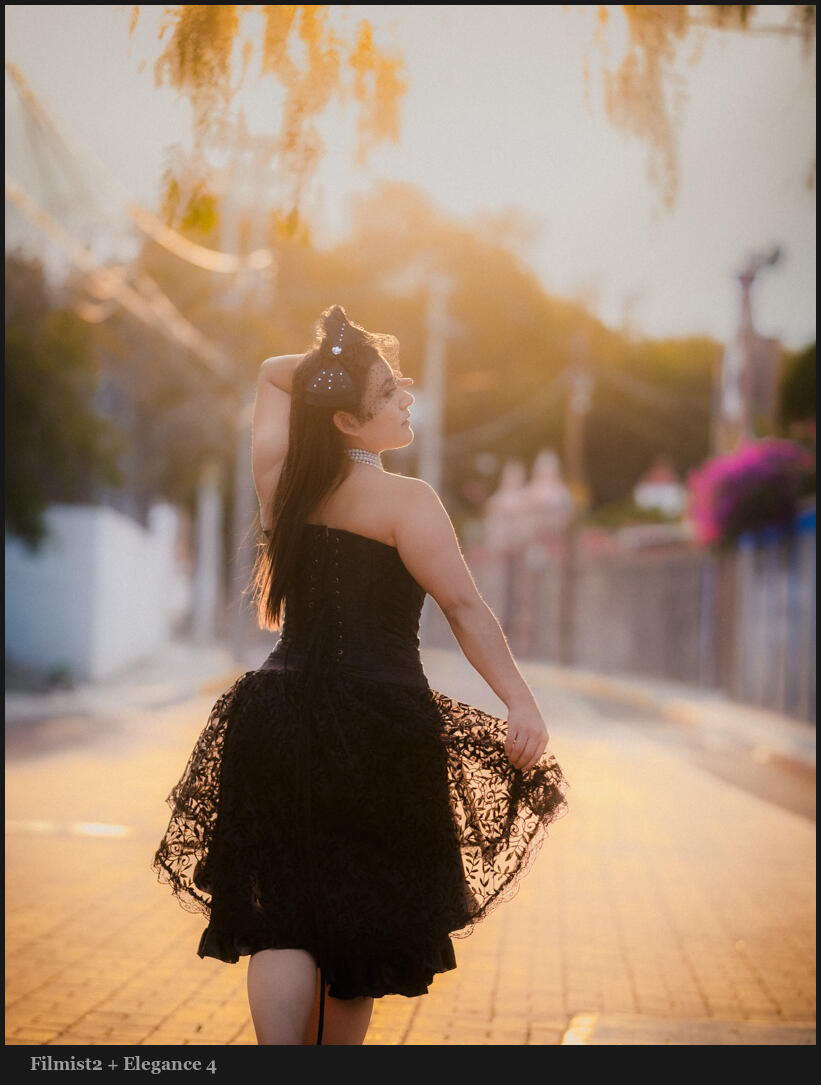
The glow is something that happens when you nail a photo. Your lights are set just right and everything is magical. It’s what you look for in every photo and I had in in this week’s session.

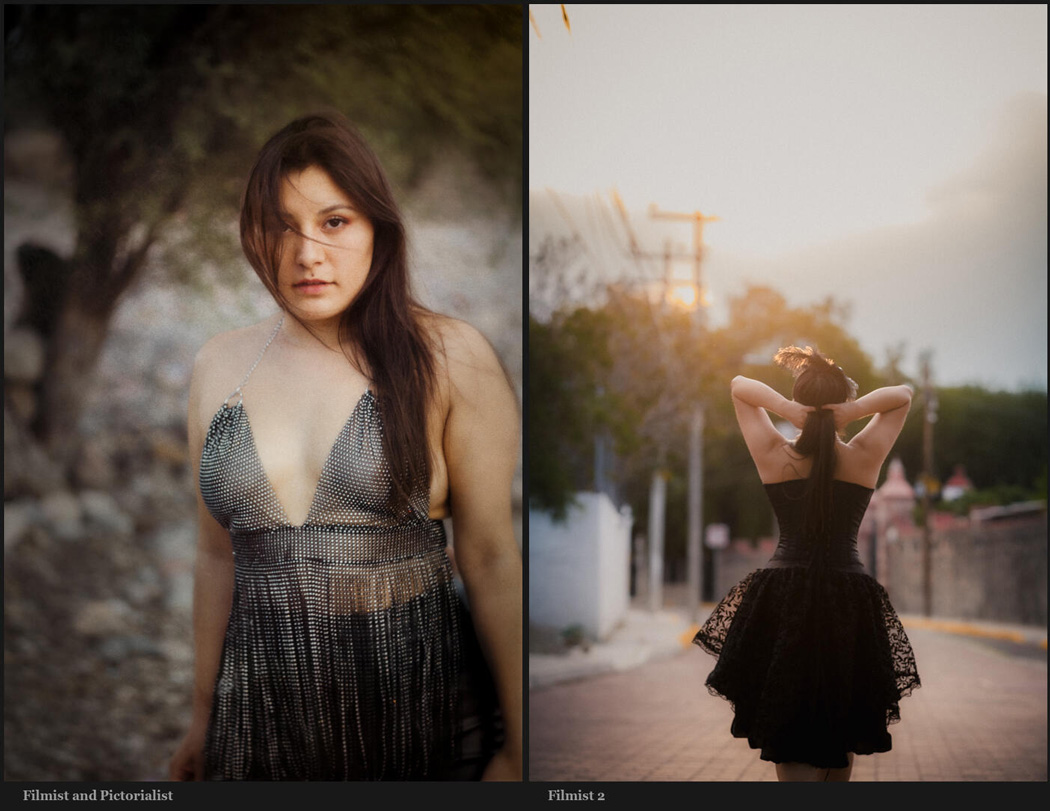
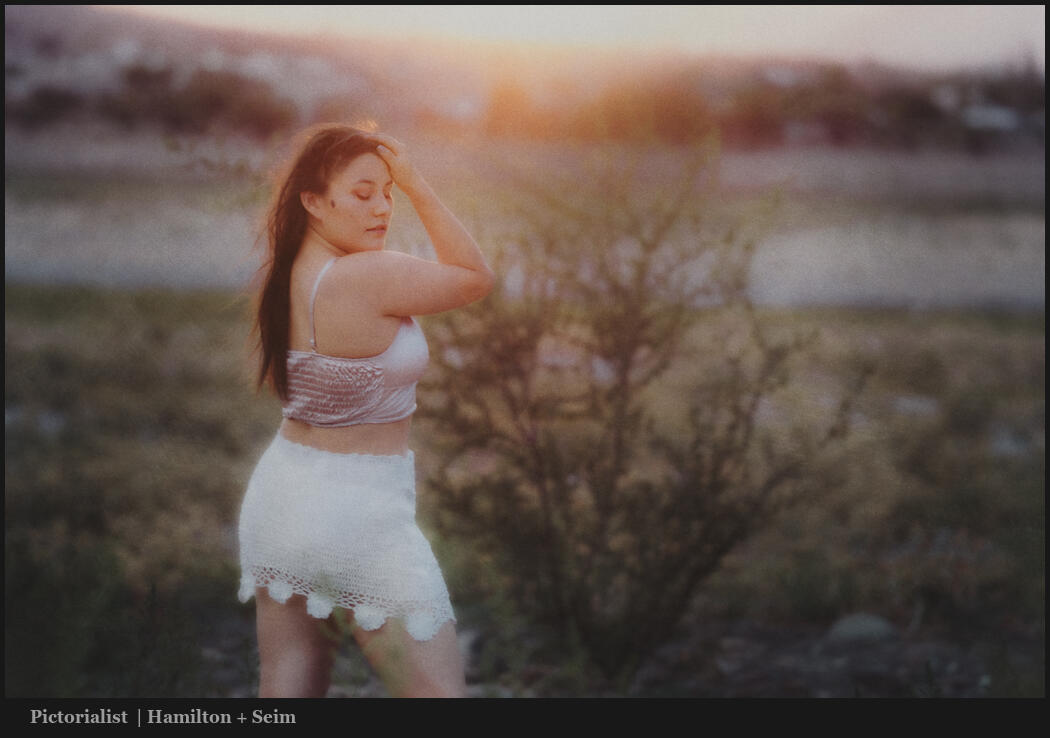
In post, I mostly used Filmist 2, Elegance 4 to balance glowing skies and Pictorialist actions to add dramatic finishes.

Yes, the tools I’m editing with help bring out that softness and you can even create a glow-like look as we often do in pictorialist-style edits. I’ve been showing a lot of these lately. But The Glow is not limited to Pictorialism.

But as I mentioned in the video. Your edit is only a measure better than your starting photo. Listen to the tips especially at the end of the video because you will train yourself to see the Glow just like you train yourself to see shadow as we talk about in my Shadow Hackers live workshop.

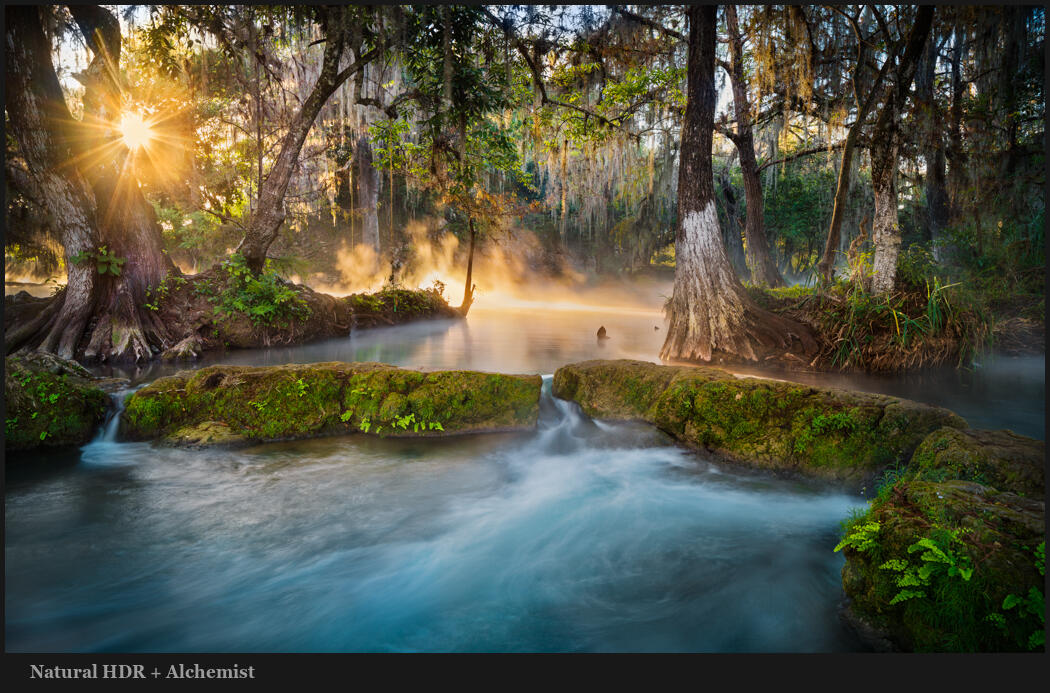
The Glow is not just for portraits. It’s about how light meets shadow in perfect form. Here we see a great example of the glow in this sunrise landscape in Tamasopo Mexico.

People often think they need to light the face or landscape subject and the brightest part of a photo. In truth you just need to draw attention two and having your subject in shadow can be powerful.

With the glow use Shadow hacking and don’t get stuck in the rut of always lighting the same. The glow comes in various ways and all can have that magical shimmer. Front, back, and rim light enhanced of created by strobes.

Now that you know how to look for the glow. The main thing is don’t wait. If it’s the streets, a landscape, a portrait. Whatever you are shooting when you see it take the shot. The glow is a fleeting atmospheric moment in your photos. It creates a feeling and gives you amazing results nearly every time.

Location will matter. Even moving a few inches to the left to make the lens flare just right. The time window is usually short unless you are using strobes to create a glow with your lights. Youb can also mix the two, but you have to be prepared.

Go put what I showed in this week’s video to work. See shadow, see light, and combine the two for THE GLOW! It will take you to the next level with Ai fakery.

Gavin Seim

Read More

November 15, 2022

Photography has seen many transitions. Glass plates to film, black and white to color. One of the biggest was the film to the digital which saw many photographers unable to transition.

Will we photographers be needed in a world of Ai?

I’ve shown you in recent videos how the Lightroom Ai with tools like Elegance Speed mask presets makes advanced retouching of portraits unreal. Watch that video here. But while we can’t do this in Capture One yet, it’s perhaps not as big a deal as it looks. I’ll show you why…

(or watch on YouTube)

There’s more than one way to develop a photo.

I’ve always started edits with presets like Filmist or Natural HDR. These work across LR and C1. Then I would go into Photoshop and use Alchemist or BlackRoom and others to refine. I still do all of this, but the new Ai tools make me do more in Lightroom.

We need to stay ahead of the curve but we don’t need to let every new tool change our look. Artificial intelligence is the buzzword. But tools like the Lightroom Ai masks are still not really that intelligent. They do however bring a sign of what’s to come.

For now, things like Lightroom Ai are about saving time. But do we really need the Ai, Is Lightroom really better than Capture One because of it? Is it the best way to edit or should we still use a little Photoshop or Affinity to refine our photos?

It’s pretty amazing what the Ai masks can do. This transformation was virtually instant using my Elegance Speed-Masks which define the parameters and stack the LR Ai masks in one click. But as we see in the video, other methods might take a tad longer but can yield nearly the same result.

In the end, it’s what we create in the camera that defines our photos. Let’s not get blind-sighted. But I also think software can be overhyped. A focus on creating with emotion and soul comes before the edit. The shadow hunt. I think those things are still king.

Don’t miss my next live Shadow hackers workshop so we can talk more about this. Also, leave a comment to share what you think about all these Ai tools such as Lightroom Ai.

Keep creating – Gavin Seim

Add on’s I used in today’s edits… Elegance Speed Masks, Filmist Presets, BellaDonna presets, Alchemist Actions.

Read More