The blue channel in photos is powerful and most photographers are using it wrong.
The dirty secret of blues and how to fix them every time!
The video I did on drop color was a game changer for a lot of photographers because it transforms how you edit. But the color blue and the blue channel when editing your photos are nearly as powerful.
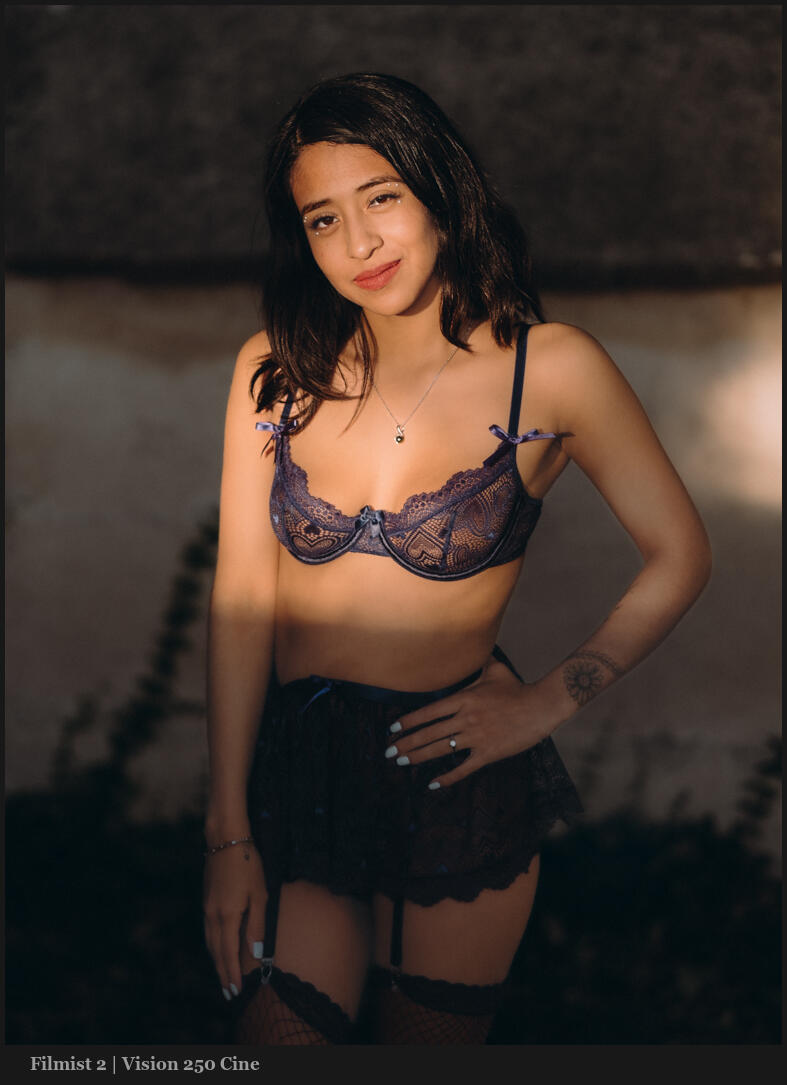
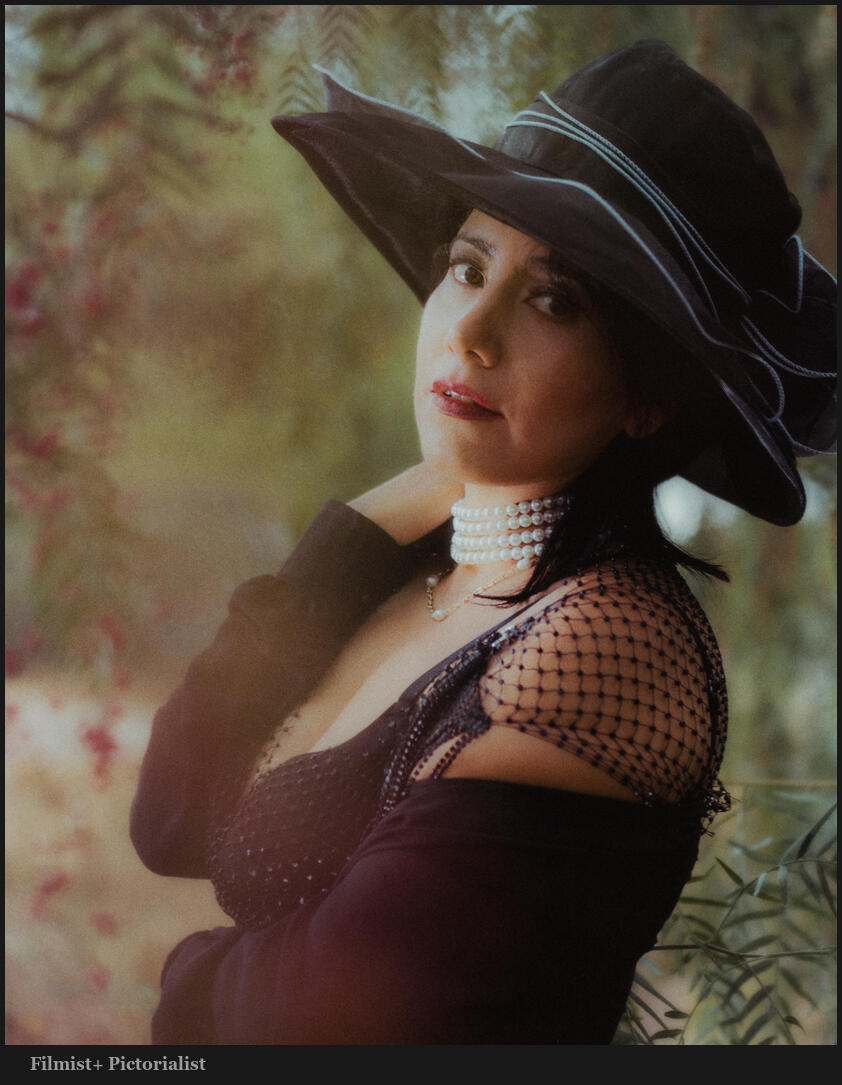
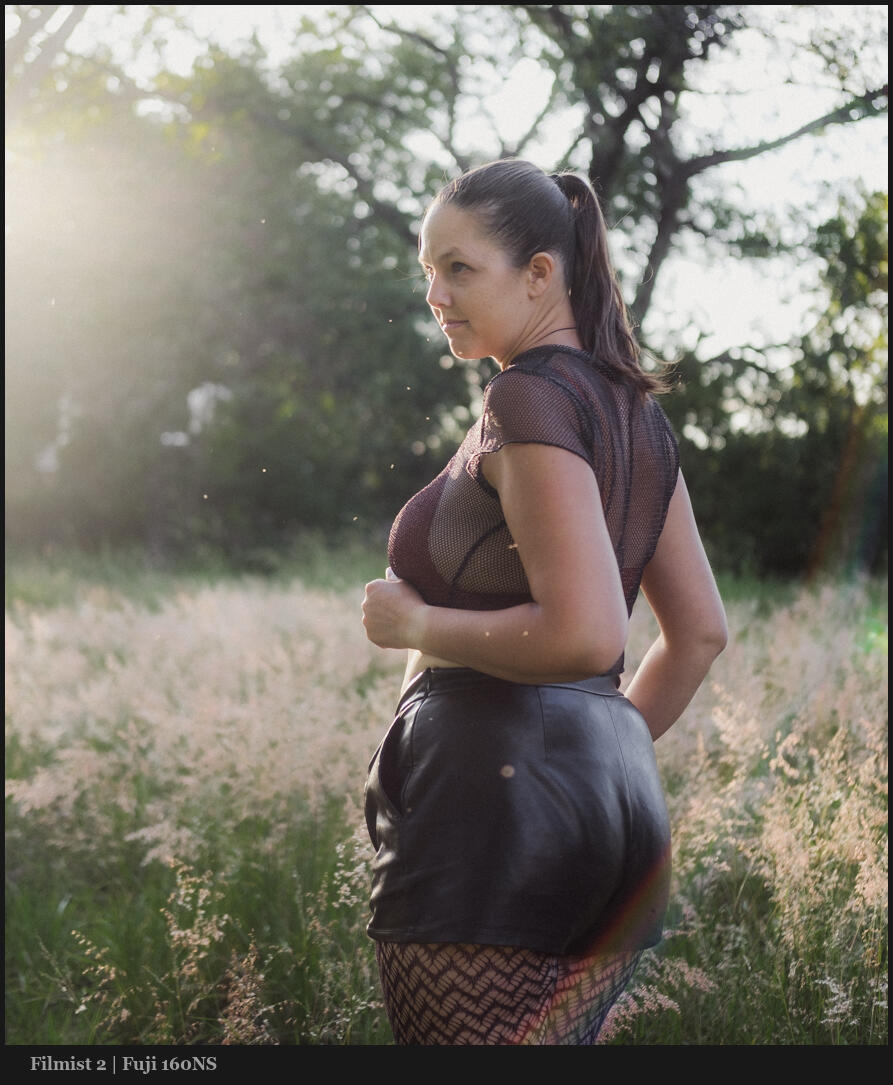
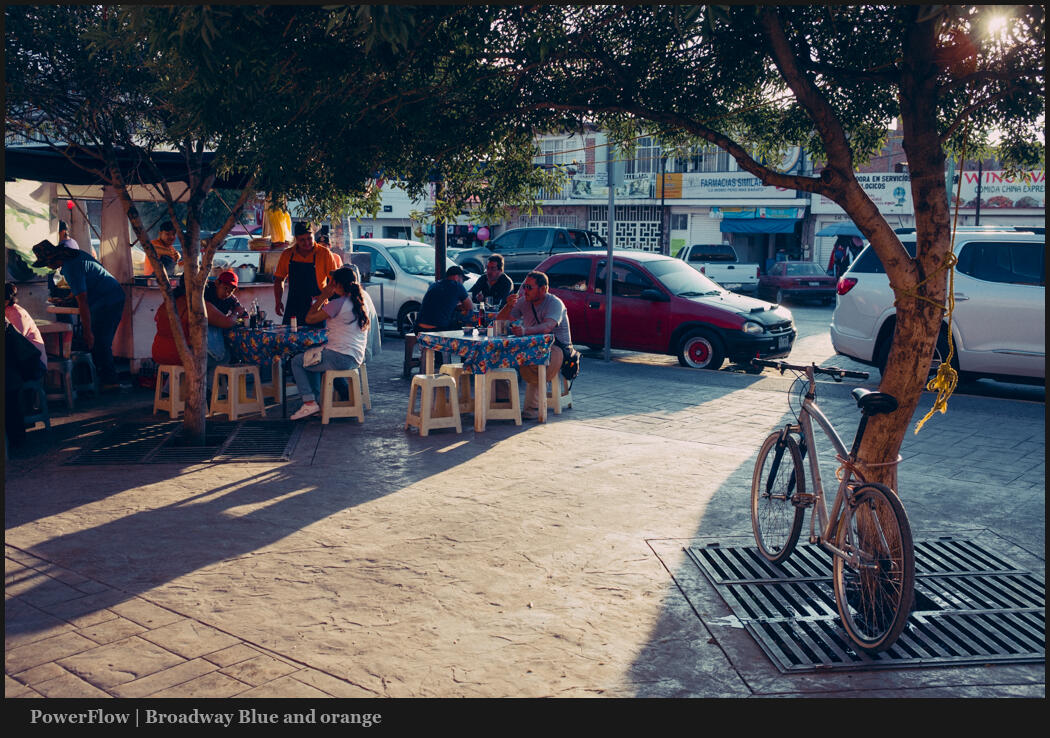
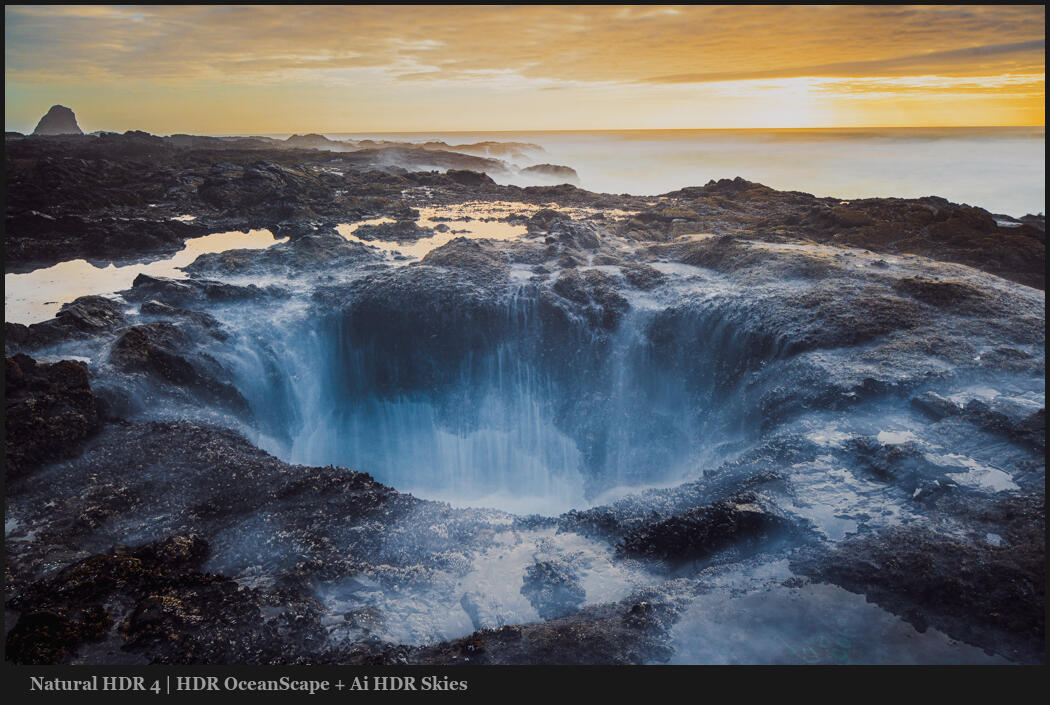
You can get the free versions of Natural HDR and Filmist 2 to make this blue control easier. You can also check out PowerFlow presets here.
Like every other channel, right?
In the original drop color we looked at orange and green. So you would think that blues work the same. But they actually affect the image in a very different way.
You want to base your blue channel edits on the types of images and mix it with how you use white balance and other tools. But if you really want to know what blue is doping, use the fully down slider method I show and then move up from there.
A pattern of channels and light.
You may be seeing a pattern, Any one channel is pretty simple. But as you add another you start to get complex mixes that apply to any image. I showed this in my follow-up on the black and white color drop methods.
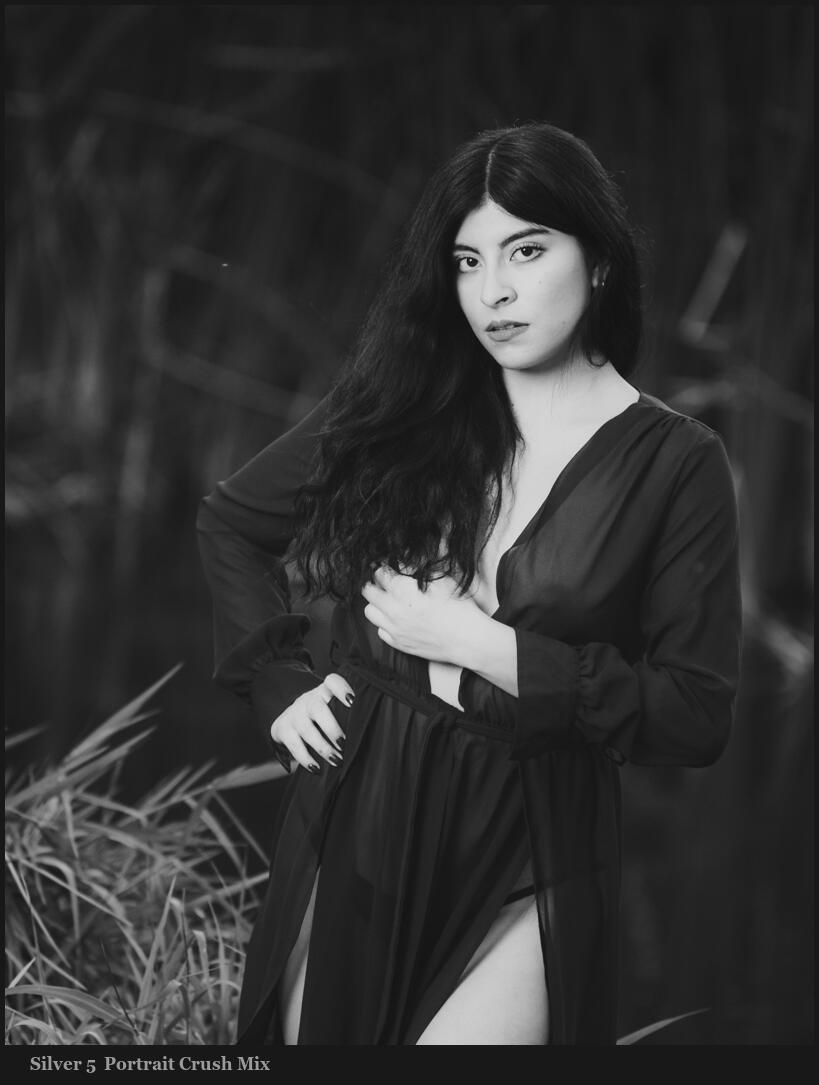
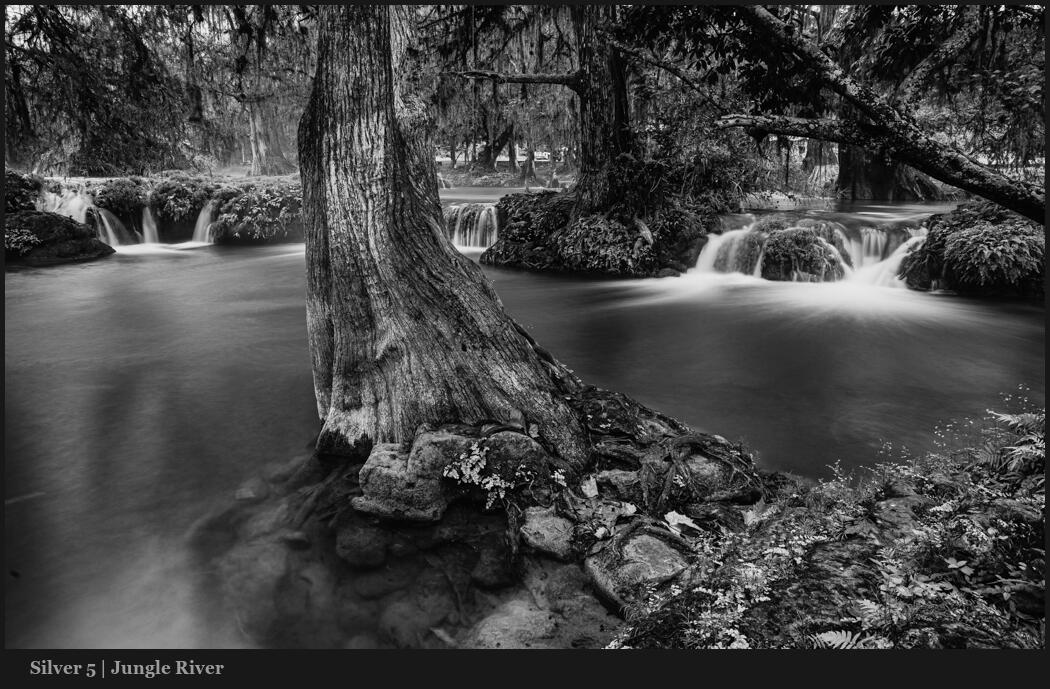
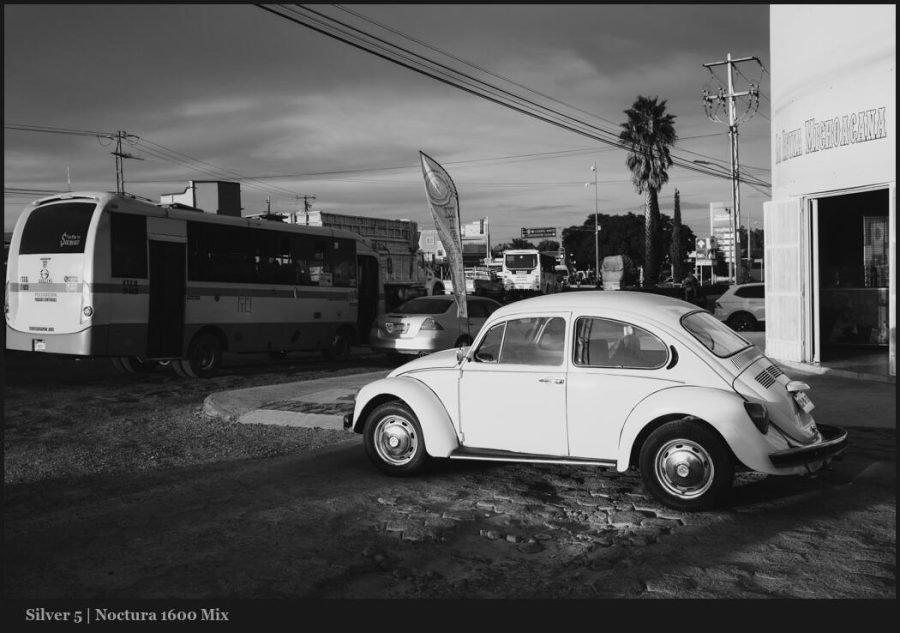
Yes, today’s blue color tips also apply to B&W photography as well. These are not about looking like film or any particular style. These are about controlling your color and knowing what color is important in each image.
Keep your results in a preset.
That said if you use my presets you’ll see these implemented in their correct form for each presets or style. Filmist looks may be more toned down, the Natural HDR looks may be stronger. But the methods are still being used.
You can download my free packs but even if you use nothing of mine when you get the right mix start saving your settings as presets for Lightroom or styles for Capture One and you’ll see they work across nearly any photo.
Gavin Seim