June 17, 2025

I kept buying what are called the BEST lenses. And they kept sitting in my bag. I learned the best lens may not be what you think it is. Today I’ll show you why.

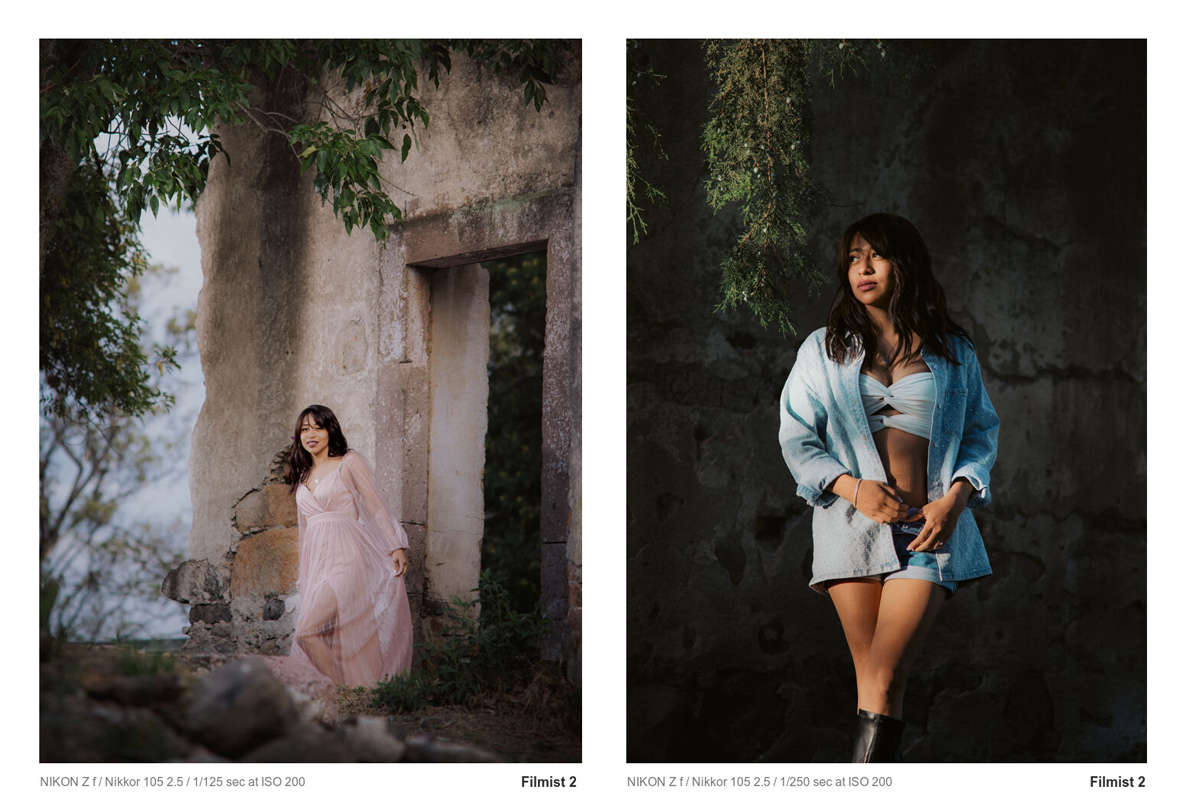
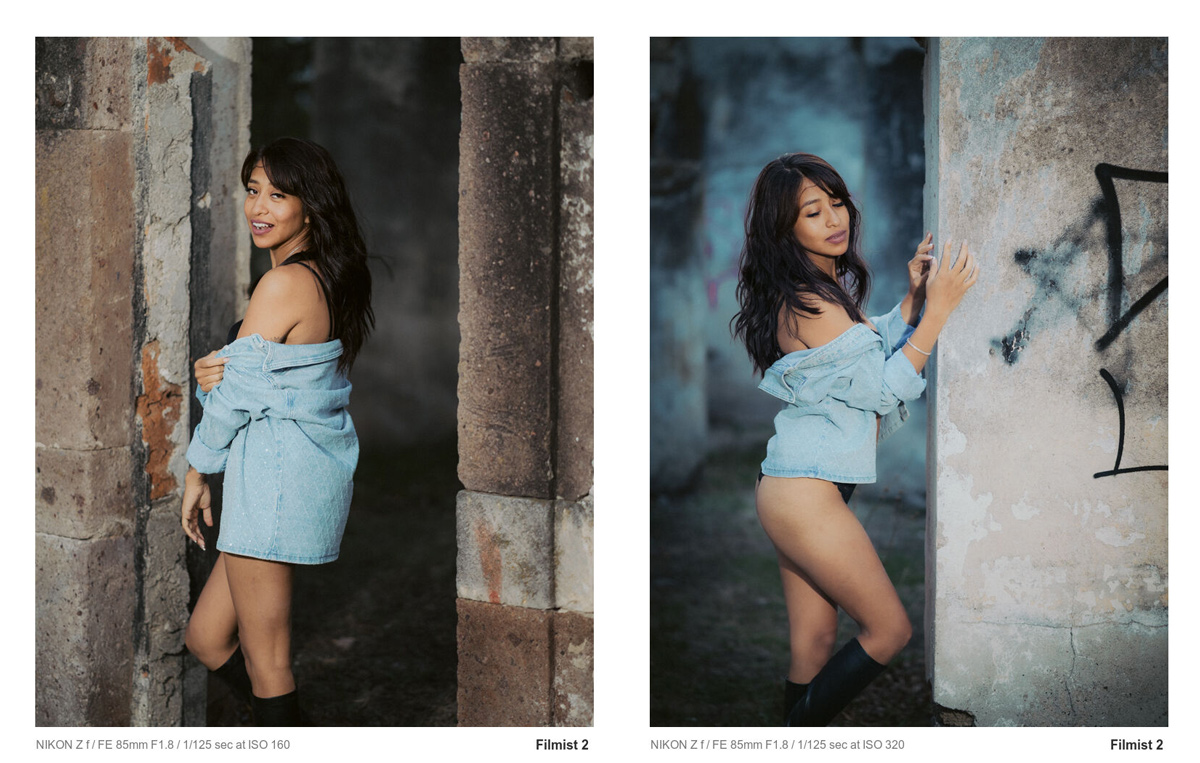
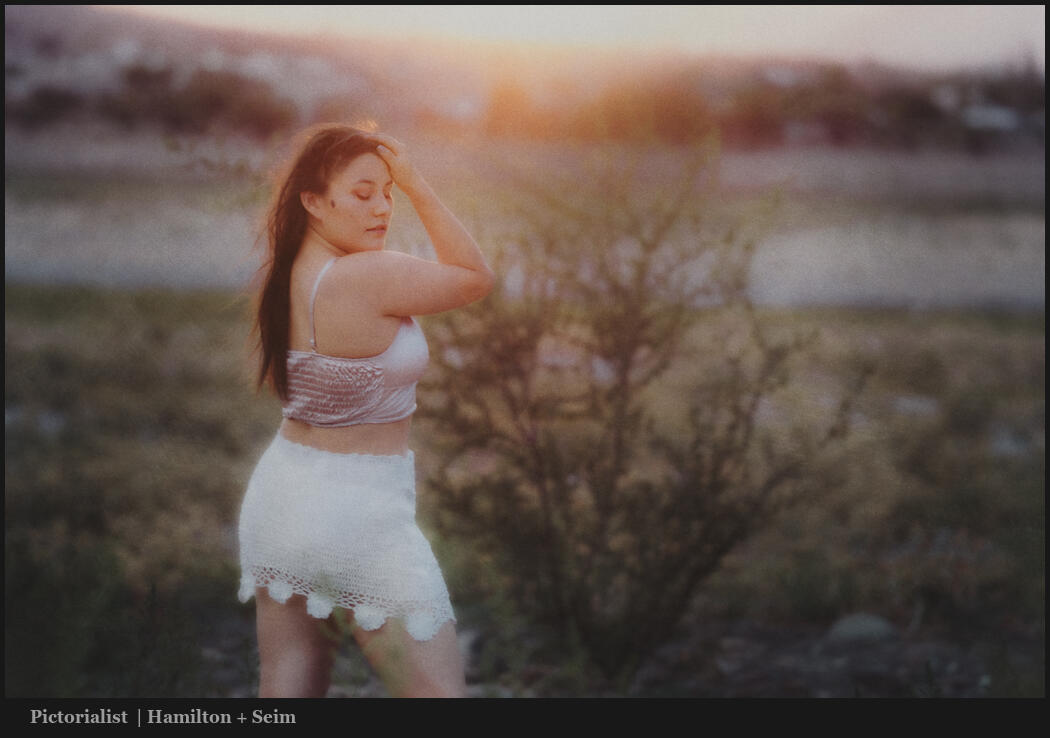
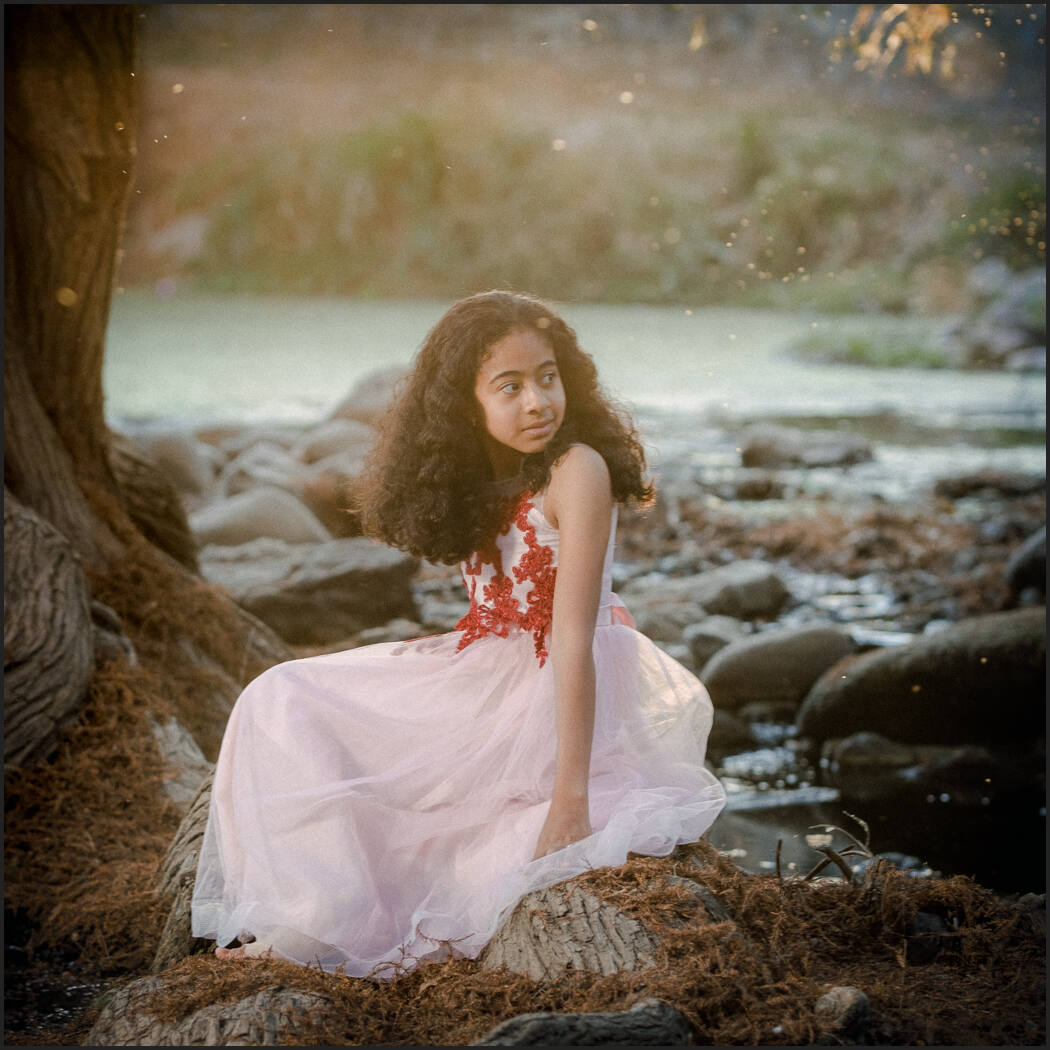
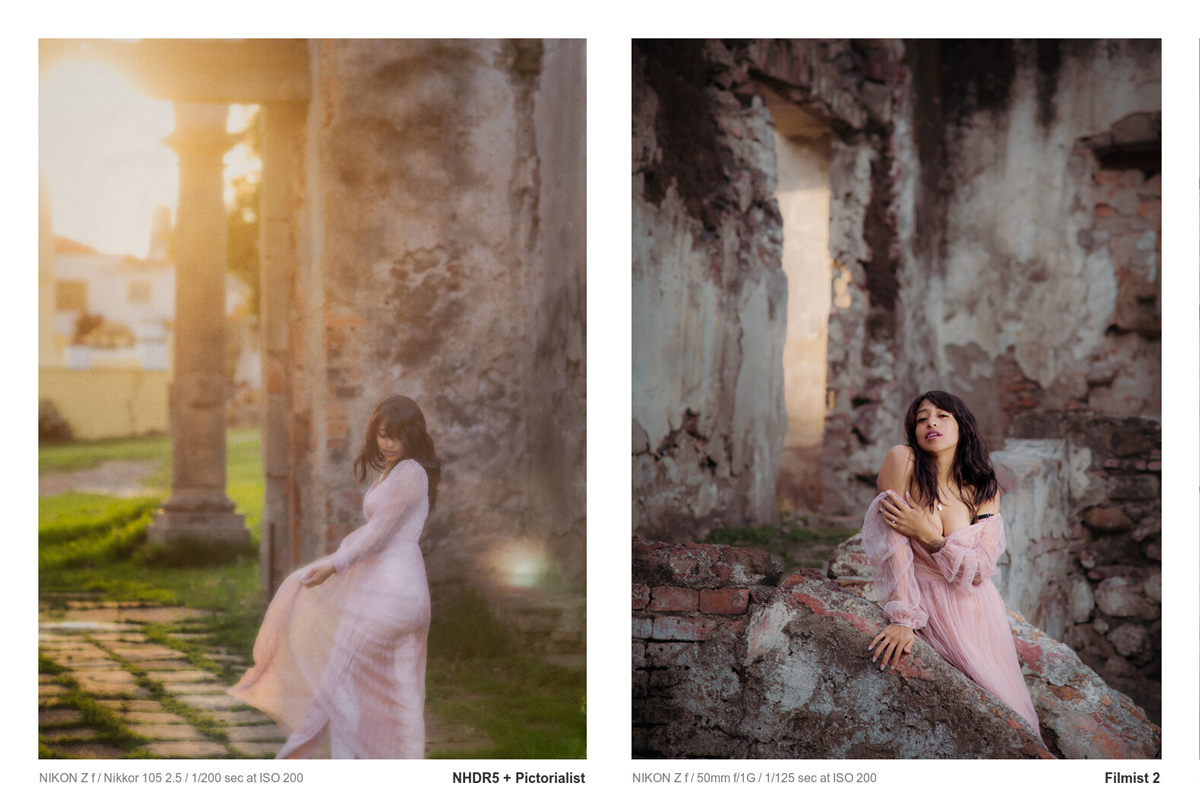
I edited with session with Filmist 2, and Natural HDR 5 presets and in Photoshop with Pictorialist actions. Try the free samplers of other the preset packs.

You’ll see me use 3 lenses in today’s video and only 1 was a modern lens. Yet all were sharp clean and cheap. In fact I barley own any Red line or G master lenses anymore.

We’ve been taught to think that super expensive lenses make us better. They don’t. Sure a 50 or an 85 in the F1.4 to F2 range is great because you get bokeh that you usually wont even get with super expensive and large 2.8 zooms.

And no you don’t have to use vintage lenses but there are a ton of good cheap primes in vintage glass that you can adapt and are full of detail and atmosphere.
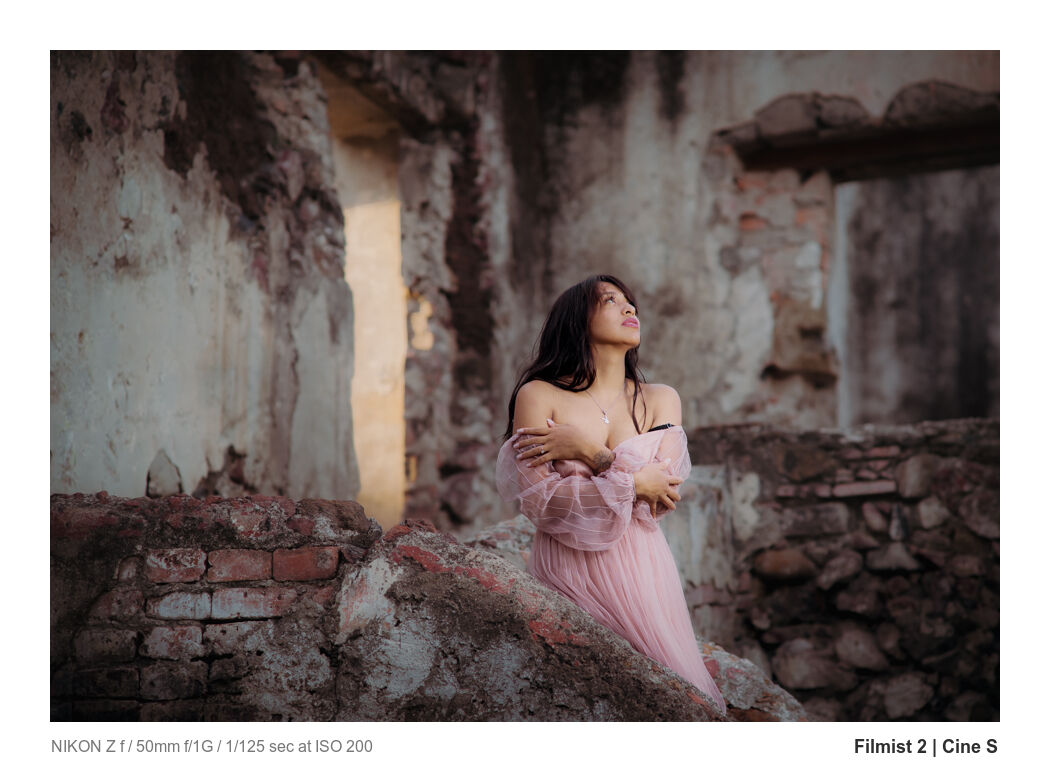
Today’s video was the opposite of a review. Sure the lenses I chose are great.

But the bigger point is that when you have big heavy expensive lenses you don’t always phonograph better. When instead you pick the lens that feels good for today’s session and use it magical atmosphere happens.

Photographers don’t realize they leave a little part of their soul in a great image. The more you feel, interact and get emotional about a shot, the lens you shot it with, the extra attention you put to slow focus. All these things create photos with more feeling.

Big spendy perfect lenses can be great. But once you know, often you pick up other lenses because they are heavy and clunky and feel sterile.

It may sound silly. But I see it time and time again.
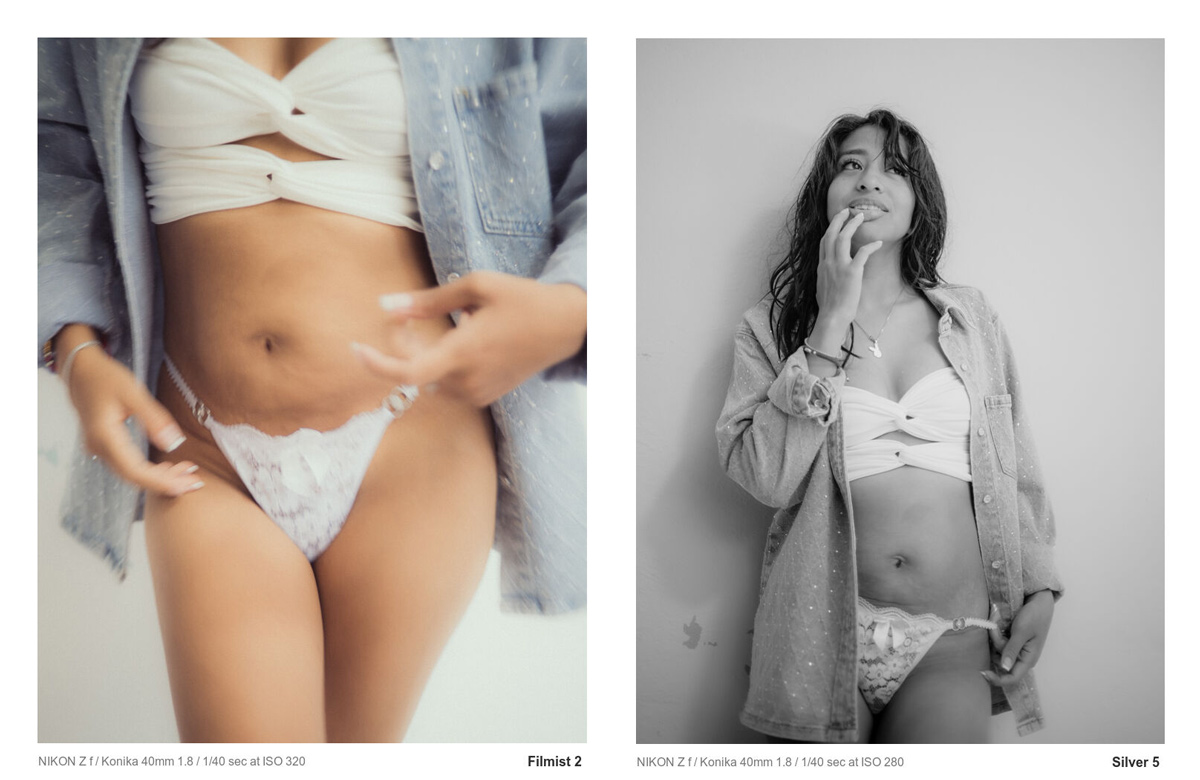
Honestly. Whatever lens make you feel something right now. Usually that means not to heavy, a focal range you like etc. Glass is amazing. But it’s how it pushes you that matters. Sure you should prob have a go to lens with fast focus etc. Sure you sometimes want a super sharp landscape lens.

But I use old and mid level lenses 10x as much. Usually they are sharp, sometimes they have imperfection and more often the imperfection they do have contribute to making a photo feel real.

Just like I keep begging people to stop taking all the noise and grain our of their photos because it makes them feel fake, perfect sterile lenses often feel empty. But they have to sell those super expensive beasts so they get influencers to tell us they will change our lives. They wont/

Gavin Seim
Read More

June 8, 2024

The glow is something that happens when you nail a photo. Your lights are set just right and everything is magical. It’s what you look for in every photo and I had in in this week’s session.

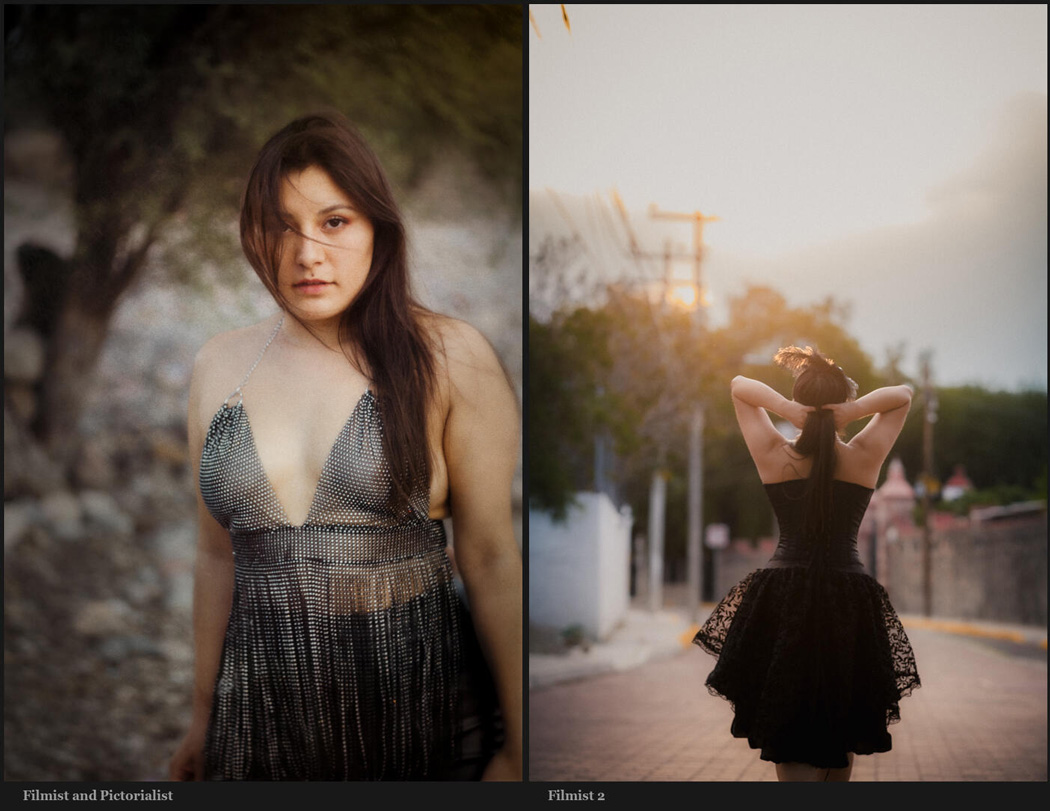
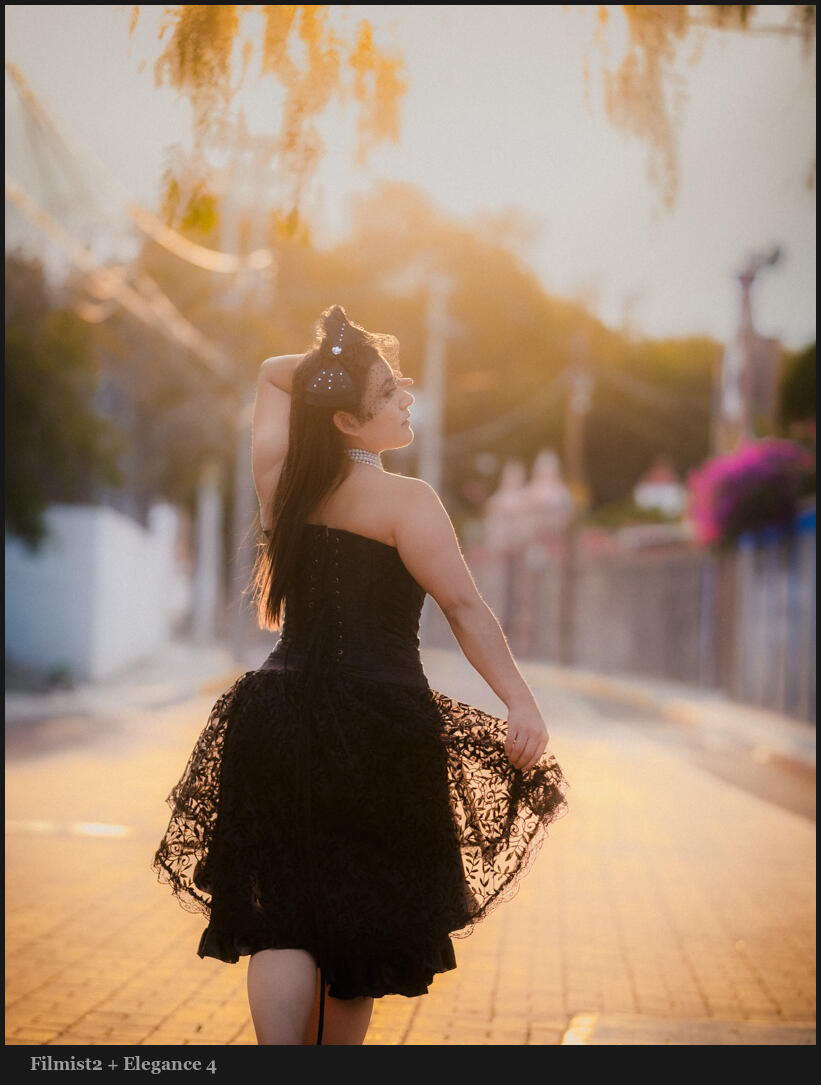
In post, I mostly used Filmist 2, Elegance 4 to balance glowing skies and Pictorialist actions to add dramatic finishes.

Yes, the tools I’m editing with help bring out that softness and you can even create a glow-like look as we often do in pictorialist-style edits. I’ve been showing a lot of these lately. But The Glow is not limited to Pictorialism.

But as I mentioned in the video. Your edit is only a measure better than your starting photo. Listen to the tips especially at the end of the video because you will train yourself to see the Glow just like you train yourself to see shadow as we talk about in my Shadow Hackers live workshop.

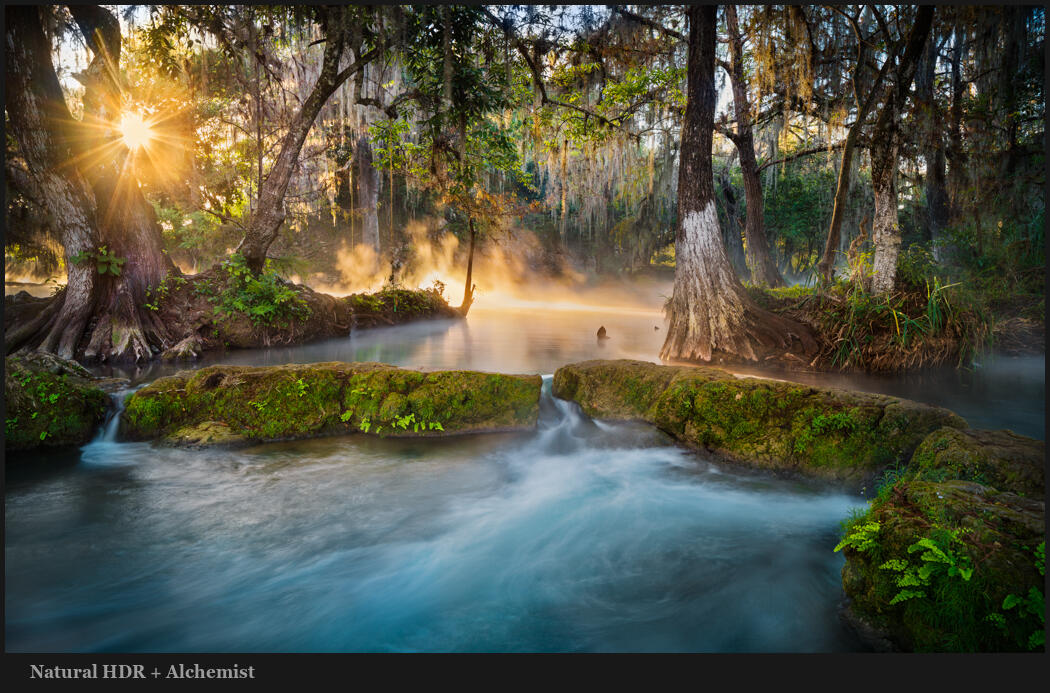
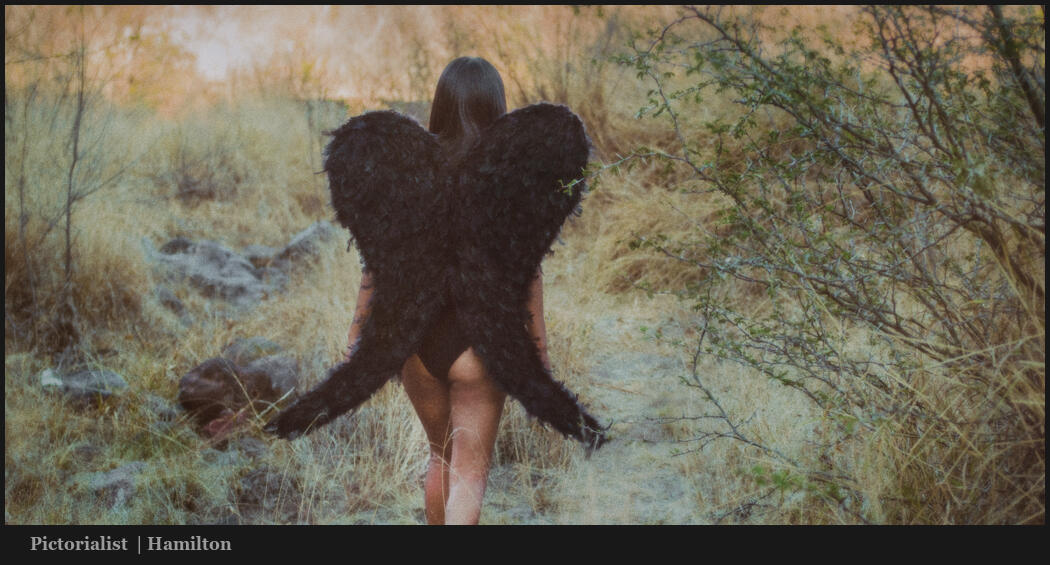
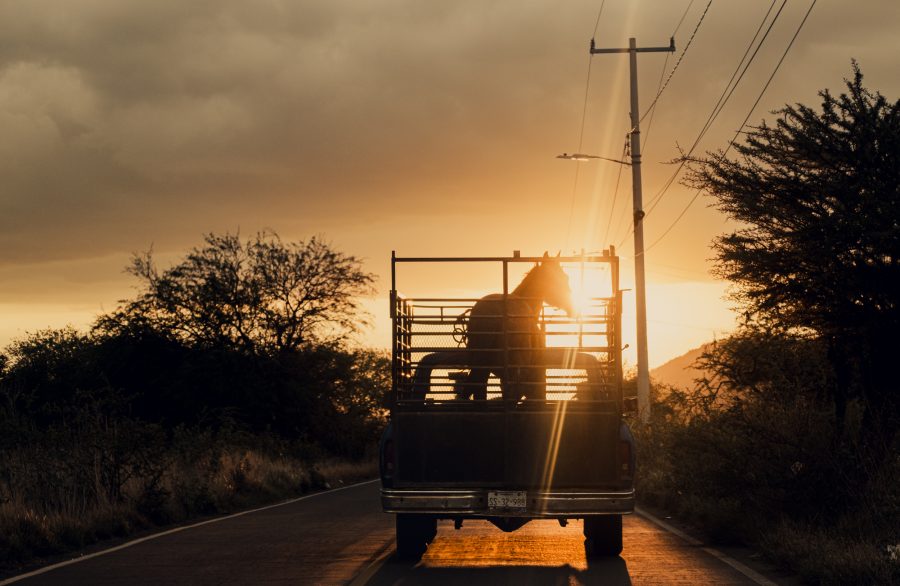
The Glow is not just for portraits. It’s about how light meets shadow in perfect form. Here we see a great example of the glow in this sunrise landscape in Tamasopo Mexico.

People often think they need to light the face or landscape subject and the brightest part of a photo. In truth you just need to draw attention two and having your subject in shadow can be powerful.

With the glow use Shadow hacking and don’t get stuck in the rut of always lighting the same. The glow comes in various ways and all can have that magical shimmer. Front, back, and rim light enhanced of created by strobes.

Now that you know how to look for the glow. The main thing is don’t wait. If it’s the streets, a landscape, a portrait. Whatever you are shooting when you see it take the shot. The glow is a fleeting atmospheric moment in your photos. It creates a feeling and gives you amazing results nearly every time.

Location will matter. Even moving a few inches to the left to make the lens flare just right. The time window is usually short unless you are using strobes to create a glow with your lights. Youb can also mix the two, but you have to be prepared.

Go put what I showed in this week’s video to work. See shadow, see light, and combine the two for THE GLOW! It will take you to the next level with Ai fakery.

Gavin Seim

Read More

May 16, 2024

Most viral photos you see now are Ai AI-generated FAKES. And the more you comment and say it’s fake, the more the algorithm rewards them. There’s no point in pretending. So how does Cinematic Technique help us win?

Get more cinematic faster with my Pictorialist action kit or tools like Alchemist.

Studying pictorialism helped me see that all this fake Ai photography has no emotion. We win when we stop thinking sterile and boring. If we to discover cinematic techniques with true feeling.

Cinematic photography. Feeling and emotions. Think about when you watch a great movie or see a show. You don’t want perfect sterile blandness. You want to feel emotion and life!

The feeds are full of Ai fakery because compared to plain boring photos they seem incredible and people don’t know. How do we complete impossible scenes that blow people’s minds? But creating more emotional photos in camera and in post.

I would love to say. hey use my Pictrialist actions, my Filmist presets, Emulsion etc and you will always have amazing cinematic photography.

But I don’t make these tools to fake it. As I showed you in the video by re-wiring your editing process you will discover the emotion you already felt taking a photo. And you should feel something.

This starts in the camera. You can go back and edit with pictorialism and cinematic photography in mind and vastly improve past photos. But when you start planning for it in Camera, everything goes to 110%

A dramatic photo means in the camera and in the edit. Cinematic Technique give you that.

Even if you have a strong style, it will get stronger as you edit for cinematic photography and emotion. You still need to experiment and feel what’s inside each photo.

I’m a photographer who makes large prints. So details matter. But it’s not always about the max megapixels or sharpest lens. Pictalism has taught me that emotion is first. yes, I maintain detail, but the blur is not always what it seems, and mixing detail with less detail creates atmosphere, emotion, and focus.

Pictorialism gives you a Cinematic Technique and is the essence of conveying real feelings in your photos. Because of that, it’s the opposite of what fake Ai based images create. You may not approach every photo as a pictorial. But once you know how, you see everything in a new way.

Gavin Seim

Read More

January 11, 2024

I’m on a mission to change that and I want my first video of the year to do that. Most photographers don’t realize that photographic tone is the secret skill that makes them understand every shot. Today we learn it…

But videos like this did not exist when I was starting out. These are the 3 keys of tone in photography so you can master them fast regardless of your experience level. And they will change how you create photos.

Step it up… Join my next Shadow Hackers LIVE workshop. Also in the video, I mentioned Filmist film presets, Silver 5, Natural HDR, and Lumist Actions.

The unabashed flaring of the sun gives a natural haze to this morning street that can’t be done with a single slider. It was processed gold using GoldChrome

The photographic tone is the foundation of great photos. But the tone is a wide-ranging one that comes from the painters and the way they learned to understand shadow and contrast long before cameras.

This is the lost skill in Photography that I go on deeper in my workshops and today I’m sharing the keys to unlock this door in the simplest way I know how. IN consists of 3 elements that lead us to what tone does for us and why it is important.

  1. Shadows create contrast
  2. Contrast reveals tone
  3. Tone creates atmosphere

These 1,2,3 lists mean little to your photographic tone without context. So in the video, we’re comparing different photos to see how not only edits but how shadow contrast and ambiance in each will define our result.

IN another Xpan style crop we see light creating bloom and reducing contrast. The net result is that tone is more subtle and more contrast is created in the overall image. Edited with Street’ist.

In my Exposed Master class, we learn everything about exposure and zones. Those are the technical aspects. But if you’ve been to Shadow Hackers or seen the Photo Perfect workshop you know that combining those with the artist’s aesthetic is what makes a great photo.

In the end, the tone is pretty simple and yet subjective. But if you constantly remind yourself of the three factors. Shadow, contrast, and tone, which is the combination of all the light and dark and mist and color. All of them combined create a tone in your own style.

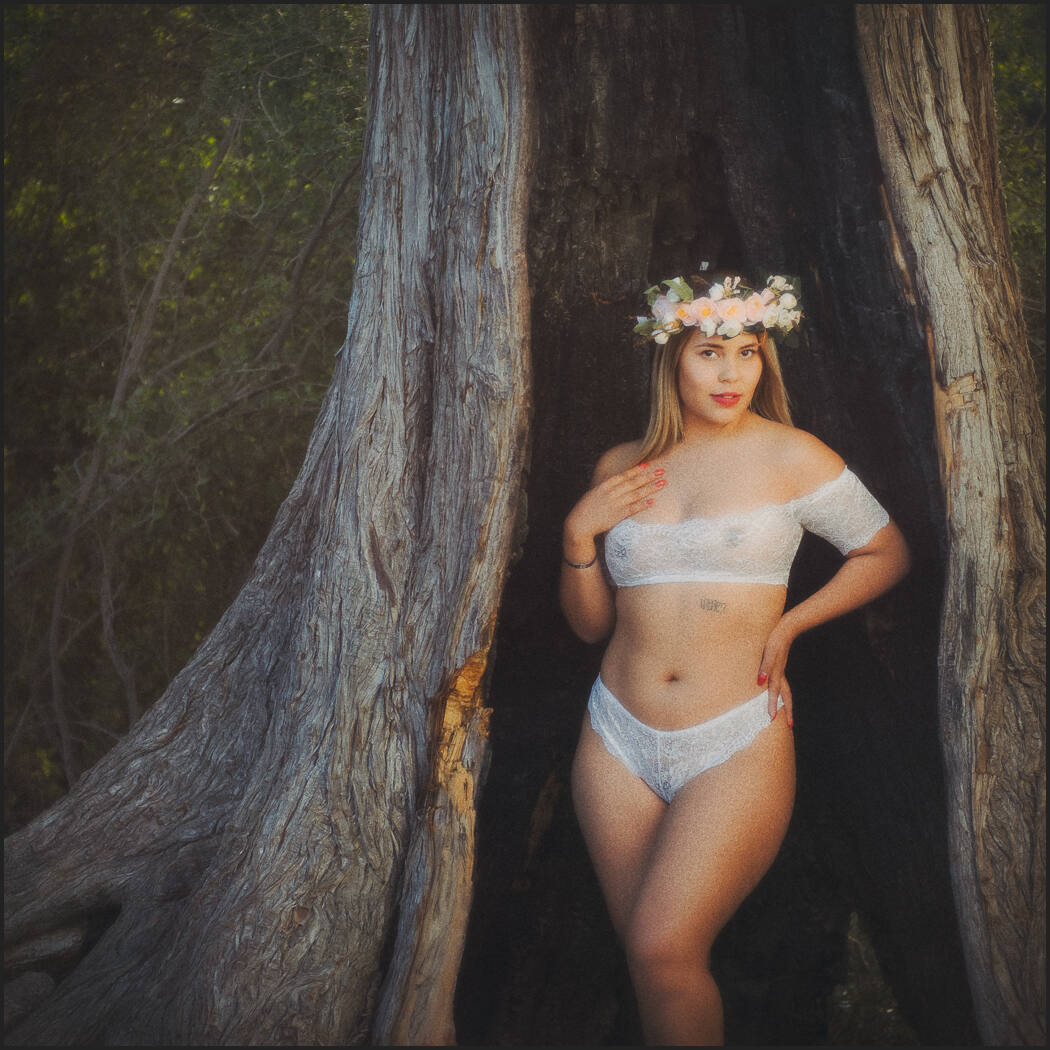
We see the contrast between the burned tree and the tone of the model. Then edited with a David Hamilton-inspired process to create softness with contrast and balanced photographic tone.
We see the contrast between the burned tree and the tone of the model. Then edited with a David Hamilton-inspired process to create softness with contrast and a balanced photographic tone.

As much as I use sliders and settings and layers inside and out in my tool packs. Tone-like shadow is not created by the slider it’s just moved around.

When we use contrast to just create hard lines we lose tonal nuance and atmosphere. In the end, the contrast of the overall scenes is less, and viewers don’t see the nuance you wanted to show.

If you missed my video on why you should STOP using contrast sliders go check it out and also read my post about how to use the Zone system in digital to hack shadows. You’ll find more on my channel.

As I keep building these free resources and simplifying the process of understanding tone I help myself learn more and hopefully, you as I realize a dream that’s spanned 20 years to make a simple process for those of us who want to truly master our style in photography.

We compare two of these in the video. Note how the tone of this one is softened but less distracting than what might be called the contrast image.
We compare two of these in the video. Note how the tone of this one is softened but less distracting than what might be called the contrast image. Edited with Filmist.
Read More

August 5, 2023

Photo contrast was normal in film but is so misunderstood in digital. And the contrast slider is not helping. Not yet attended Shadow Hackers LIVE? It’s a game-changer. Sign up here for free.

I’ll show you how to create great photo contrast and stop the slider.

You can check out the tools I mentioned like the new Silver 5.3 black and white presets Filmist and Blackroom. Also if you own Silver 5 login and update here.

Contrast is not a slider – That’s the problem.

I make use of contrast. But not like they teach us. The contrast slider It’s last on the list, not first.

This week I worked on Silver Presets v 5.3 and there are a bunch of new updates which I’ll show in today’s video. But what I teach you in today’s video is actually where the refinements of Silver came from this week.

In general digital photography is pushing everything too far to the right and in today’s video we’ll see how that does not improve our photo contrast and we[‘re being taught contrast all wrong.

Photo contrast in good conditions is easy
You can’t fake it. Perfect morning mist, light mixed with shadow THEN good processing wins.

Silver 5.3 update.

I always use what I discover to improve our editing tools. Today is no exception.

Today’s video was my mindset when I did the Silver 5.3 Black and White presets update. I’ll cover the updates briefly in the video as they related to this. But even if you’re making your own presets take note because these tips are really powerful in black and white presets. If you own V5 already you can log in and update.

Shadows hold your photo contrast hostage.

SO you have to hack the shadows. You may be watching this video as a primer before my shadows hackers. But the slice of shadow we focus on today in managing photo contrast and ending our reliance on the slider is very powerful.

Here the photo contrast is plain and no  exiting will make it great
Even with a Classic Chrom Filmist edit, this flat photo lacks direction. The shadows don’t lead the eyes.

Photo Contrast is the heart of your photo.

It’s not always the same. Sometimes that contrast means deep blacks, other times misty darks that blend with bold highlights. It’s the separation they create that I teach in other workshops and videos using Zones, editing, and in-camera techniques that lets us draw them out.

It’s the mixing of all this combined with the organic emotion or impact of a photo that brings it all together to make a great image filled with perfect photo contrast.

Go try these tips in your Photo contrast and then go further with Shadow Hacking.

Gavin Seim

Dark tones still can be full of photo contrast
Read More