I updated the Signature Emulsion 4 action pack to 4.2. This lets you mix platinum, selenium, cyanotype, and wet plate darkroom looks on digital. So I wanted to share some tips.
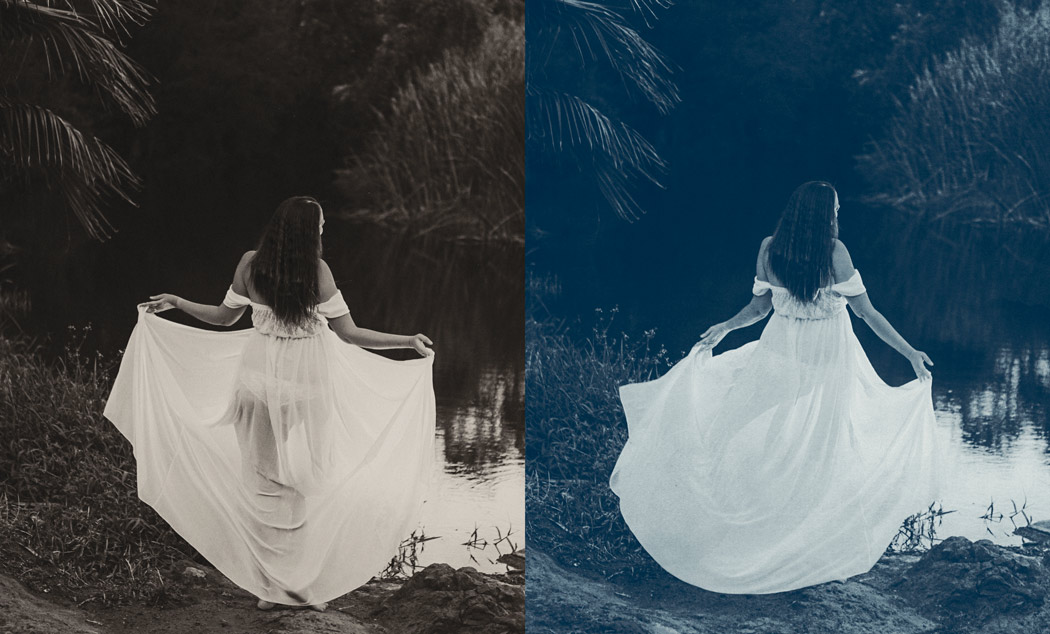
Creating perfect Cyanotype / Platinum that respects the darkroom.
In today’s video I’ll show you what’s new, but also how to create better cyanotype, selenium, and chemical looks to get amazing results, even if you are doing this manually without my actions.
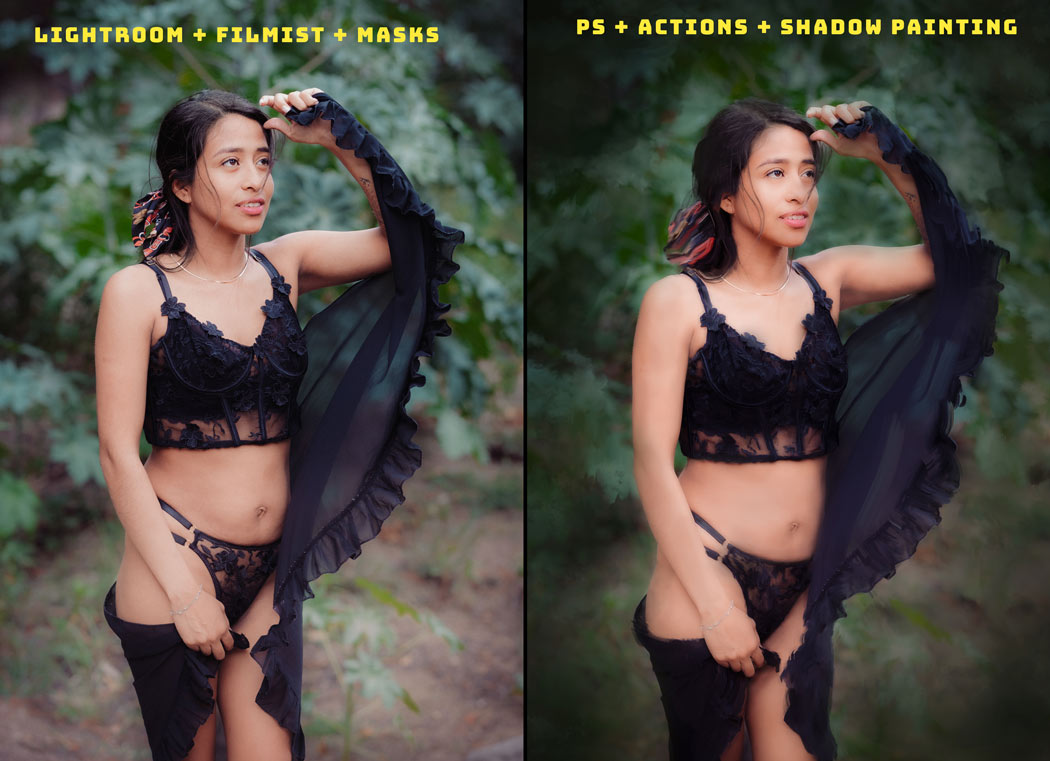
My black-and-white editing lineupstarts with Silver presets in LR and C1, then goes BlackRoom actions in Photoshop, then Emulsion 4 for darkroom toning. You can use one or all depending on the photo you are creating.
Emulsion Actions 4.2 update.
In the video, I’ll show what’s new. But you’ll want to delete your old version and update to this so LOGIN HERE and download the latest.
Note: You can see how I use each emulsion of Emulsion 4 in this Playlist on YouTube.
If you own a V3 or older version and want to upgrade, send me an email, effects@ seimstudios.com and I’ll hook you up with your discount code.
PS: Make sure you share your results in the Shadow Hunters group so we can learn from you.

Mapping shadows and gradients for better cyanotype, platinum, and more.
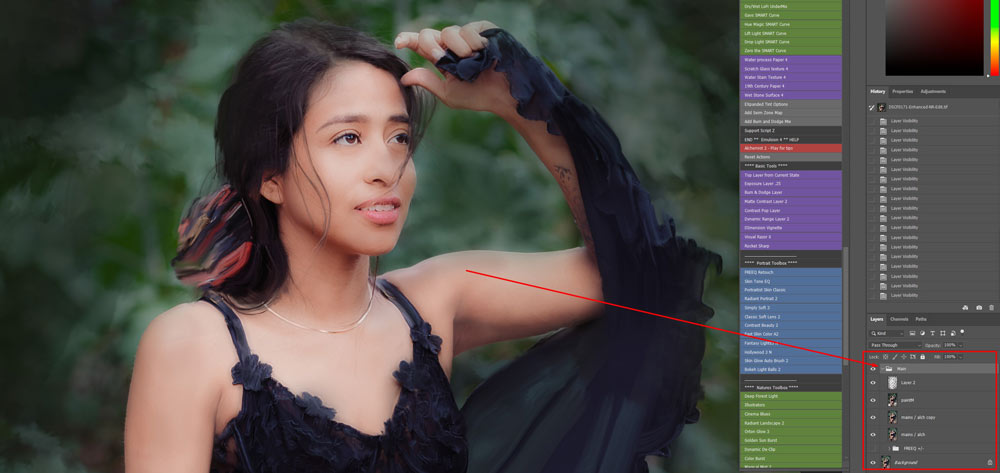
Since V4 Emulsion uses a gradient map approach Like my BlackRoom actions.
So let’s say I want a Cyanotype or Selenium tone. All the layers below effects the contrast shadow mix etc and you can use the base recipe or use the actions I show to mod them.
You can take the same approach if you are doing everything manually as well, it just takes longer to build all the steps and controls. But you coudl make your own actions this way also.
So at the top of the layer stack, a gradient map layer is created that maps color tints I’ve sampled from darkroom prints like platinum, wet plate, and cyanotype.
Variants of each hue are placed using that map in specific shadow and tone points creating dimension. That’s the power of converting with a gradient map and I use it for all kinds of black-and-white conversions now.
Why not just stay in RAW?
If you see my Silver presets you know I create some cool tones in those that use the Split tone. color grade tools. These can create really nice looks for quick edits, but I find they lack the depth I want in a fine art print.
The problem with just Split toning or color grading as we see in Lightroom or Capture One is it’s just sort of a shadow muid and highlight tone. With the mapping approach, we can many more points of tone.
You can see in the video how this vertical layer approach in Photoshop lets anything be adjusted and the tones are remapped based on shadow and light in real time creating intimate control.
Contrast this to an effect in a plugin where you just get a look and then it pastes onto a flat layer. This is why native tools like presets and actions are always more powerful than plugins.
I hope you enjoy this update and learned something today – Gavin Seim