The right edit is hard sometimes, isn’t it?
Some edits just work and others you can’t seem to get. It happens!
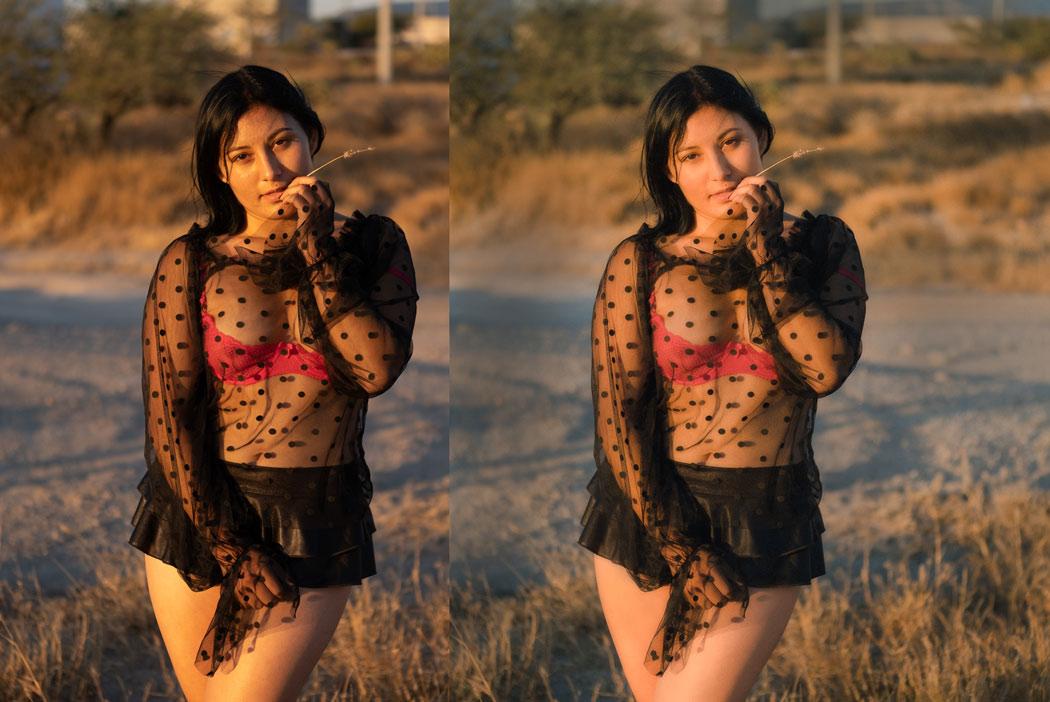
So in this week’s video, I took a photo that Paul sent me that was having trouble with. A very tough file with a lot of highlights and a lot of shadows. We’re going to use Photoshop, Camera Raw with Silver 4 and BlackRoom actions and find a mix that works. But no matter what you edit with, these tips will work for you.
Watch the video in 4K on my channel. Whatever tool you favor. Actions, presets, a plugin, your on inventions. The key is to stay open on your edit. Try new things always. That’s the basis of how I create editing kits and how I try to keep my own photos fresh.
Grab Blackroom actions and try your hard edits.
There’s a double sale on BlackRoom actions now when you enter the Spring promo code: SPR22. It’s a huge saving and you can also use this code for anything in the store.
RECAP: 3 steps to a fast effective edit in any software:
- 1: Try basic classic edits, presets I know I like, actions, and common tweaks, and fulfill my visualization.
- 2: Do more advanced edits, add effects, reset and try again. Usually, by the 3rd try, the edit will start to draw out.
- 3. If it’s not working ask myself if it’s the editor a lack in my image. If it’s not critical, move and mark it to try again later when I have new inspiration.
So let’s take this rather difficult shot and make it work… Gavin Seim