Cameras have become so good that you can get one from today or from 10 years ago, and you’ll do just fine. Today, I’ll give you some much better alternatives to the X-Half. But more than that…
This is not a Fuji X half review – It’s their insecurity showing!
Things I mention in the video include the Filmist 2 Free Sampler pack as well as my Silver 5 and Natural HDR 5 preset packs. There are free samplers on those as well. Go play!
Focusing backwards is the new trend.
Pros keep telling companies what they want. They are ignored and given trinkets instead.
Photographers don’t want more “VIBE” they don’t need more Ai. They want useful tools.
It’s odd to me… In a world full of YouTubers selling bad presets, I get lumped in and mocked despite being the creator of the first pro-presets back when Lightroom launched and spending decades studying color and tone to make the finest tools on the market.
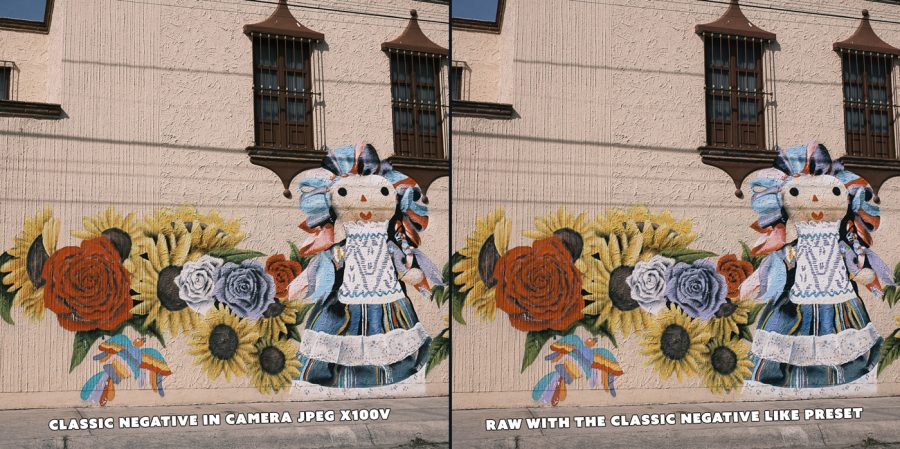
But Fuji loyalists defend to the death comparatively primitive in-camera presets pasted to their JPEG files. As if Fuji is the new Apple, and anything they do is touched by God.
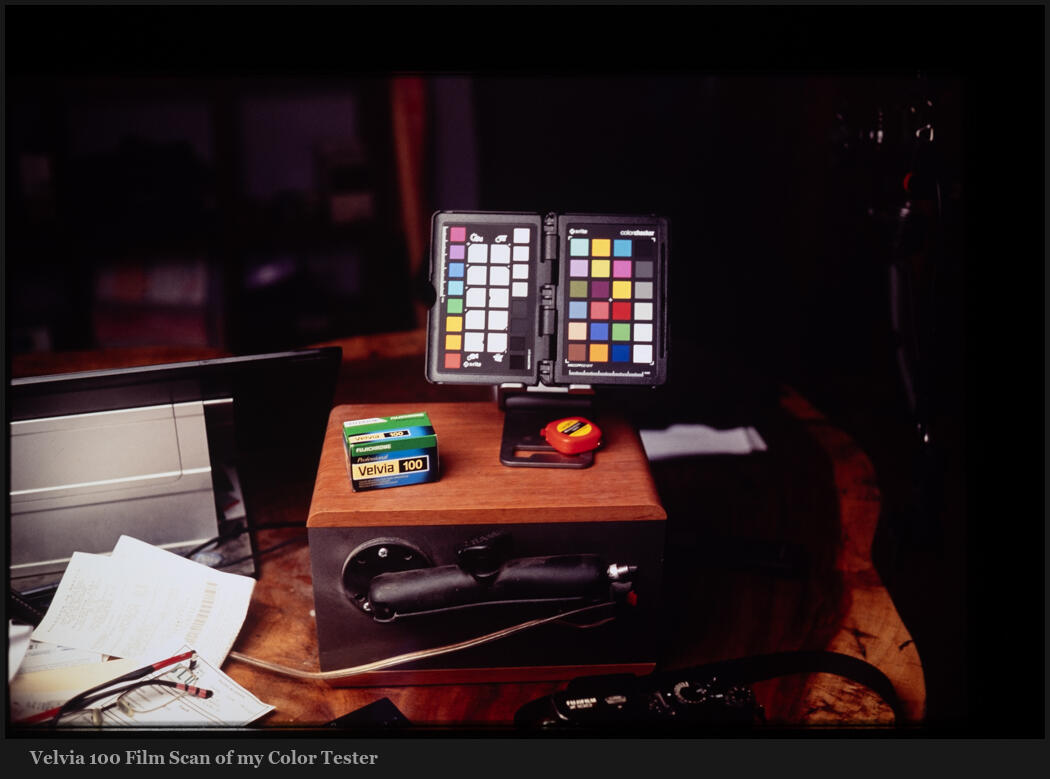
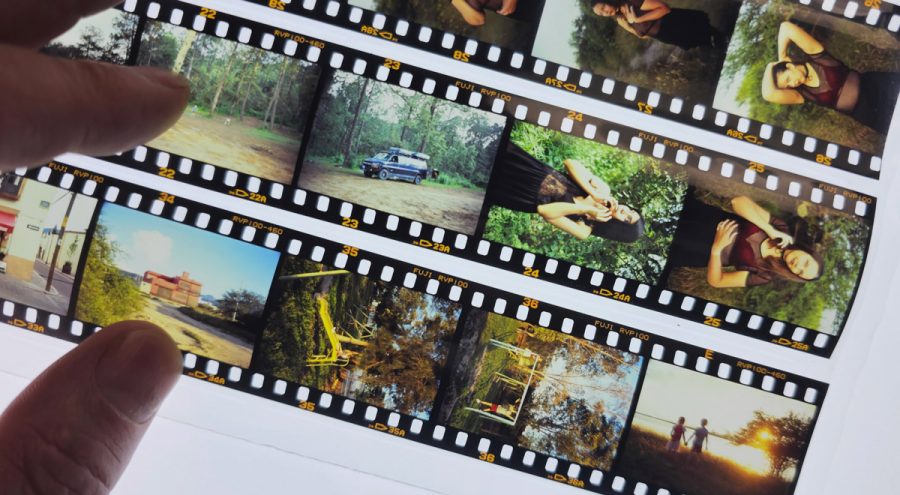
Now I get that the sharpest and most perfect is not always needed. I shoot film. I like old lenses. I talk about atmosphere a lot in my videos and make tools like Pictorialist based on it.
But saying VIBE does not make it good. The X half for example lacks most of what makes Fuji cameras good and replaced it with things like Diptychs that have been in the cameras for years and fake film winder knobs. This is not innovative.
The worst tools come from fashion brands.
Because they place being trendy above working well.
I’ve happily used Fuji for years. I use lots of other cameras, including Canon, Sony, Micro Four Thirds, and Nikon. I switch creativity and for testing, so I can make tools like PW8 and Silver5.
I used to use all Apple products! But when Jobs died and they switched to milking you for every cable and making themselves a fashion brand. I left. We’ll cover this more in the video.
Watching Fuji go from focusing on great retro-inspired cameras with good color profiles to making hipster toys like this X half camera is odd. Almost any Micro 4/3 compact is better in every way!
Camera Makers are faking it
Once upon a time, new camera models were game-changing. But now with each release, they say game-changing, knowing that their innovation is minimal, and they see you don’t need what they are offering.
Camera components are worried. I believe this is True of Sony, Fuji, and everyone else. So they are doing crazy things to try and grab a trend and make fast cash on “innovating” that don’t cost them very much.
I have quite a few Fuji cameras and definitely don’t need this you which should cost 399, not 850. But this is not really about hating on this camera. If you have money to burn and you think it’s cute, get it. Then watch it sit on yourself as you reach for more capable cameras.
What I want you to hear me out on in today’s video is the bigger picture. Camera makers are not innovating. They are mostly pretending and making it look cool but using YouTube influencers to make you think you need their product.
When they give us that square universal sensor. That will be innovative.
Gavin Seim