Adobe Cloud was a trap from day one, even if it is a great deal compared to the alternatives. But there are issues with having one big dog and this week they got worse. Today we talk about how that affects us as photographers.
I’ve got you covered from my end…
You decide. If you use my presets and decide to switch, all current packs include LR6 and Capture One files. Have Street’ist or Power Workflow for example. Just go access your downloads here and get the latest files.
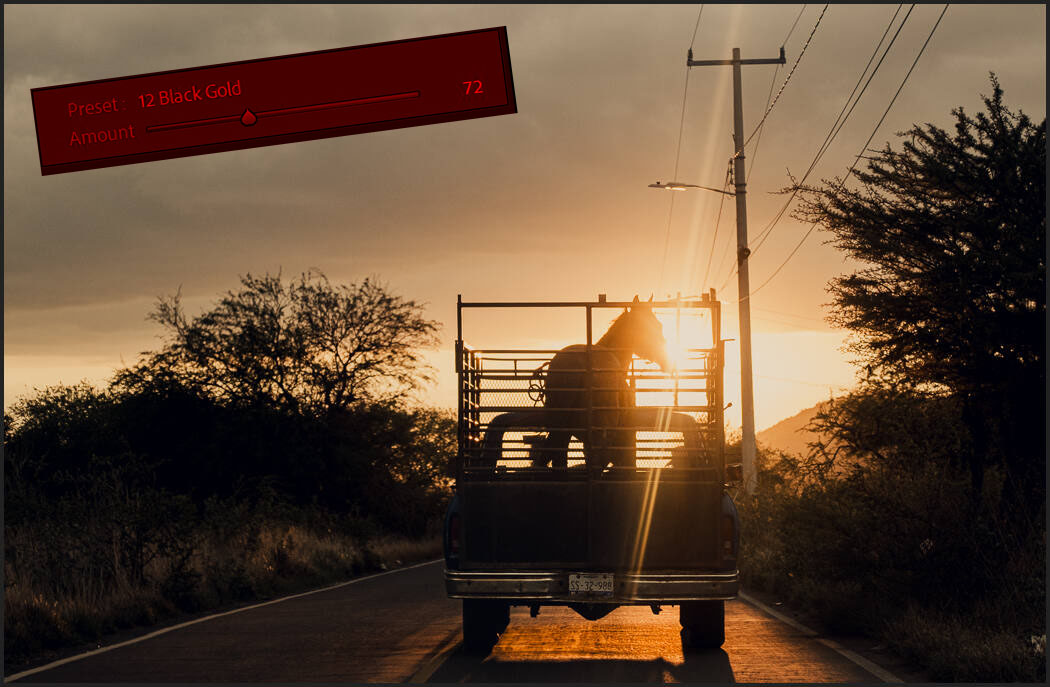
Preset packs like Filmist and Natural HDR also include LUTS and those can be used in many apps like Affinity, DaVinci Resolve etc. In fact I edit nearly all my videos with FIlmist LUTS.
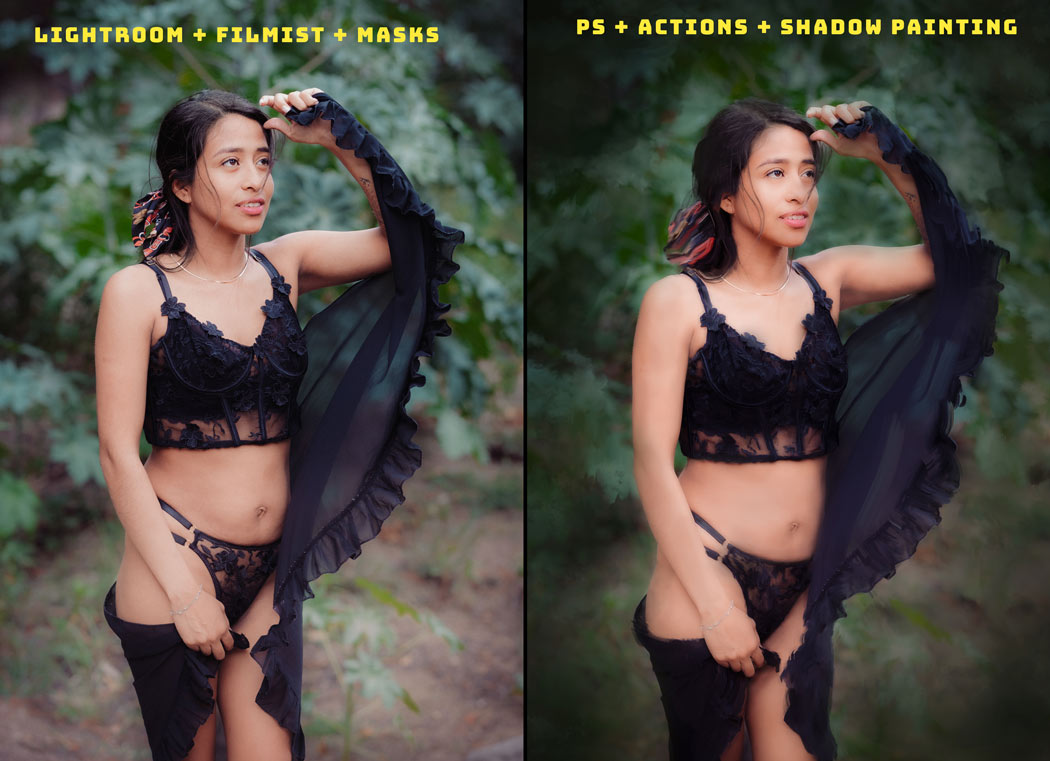
Also, all my Action packs, even the new Pictorialist work in CC and CS6 as well. So if you want to go subscription you can still get the iconic looks you’ve been getting for years.
Yes, a lot of people are fed up with Adobe.
Lots of people are dancing Adobe. But it’s not like the other options are all roses. Phase One scrwed over long-term perpetual license holders last year and Capture One cost more than LR and PS combined. Luminar is woefully lacking in processing quality and Affinity is not the best workflow system.
You don’t have to switch or cancel just because people are mad. Negativity is now always a good response. But it’s good Adobe is feeling the heat. This makes more room for competition and improvement and they should no that their actions are not OK!
Consumer rights time is all the time.
As I talk about in the video this goes way beyond Adobe. There’s a trend of large companies who have us locked in switching up the rules and taking us to the cleaners. Netflix, Amazon, Adobe, the list is long.
My theory on this is depending on where you are, one service or another may be worth canceling. When companies abuse customers like Adobe is trying to do, then gaslight them, acting like nothing is wrong and they are crazy for being upset it’s right for people to respond.
But it’s not worth stressing about either. Don’t throw your summer wedding season into chaos just because everyone says we need to cancel. You decide!
There are alternatives to Adobe
I go more into the video. Adobe is indeed the most complete suite of tools for creatives.
But as I mentioned above, I work hard to make sure you have options and we are not totally locked in and I’m sure other developers are doing the same.
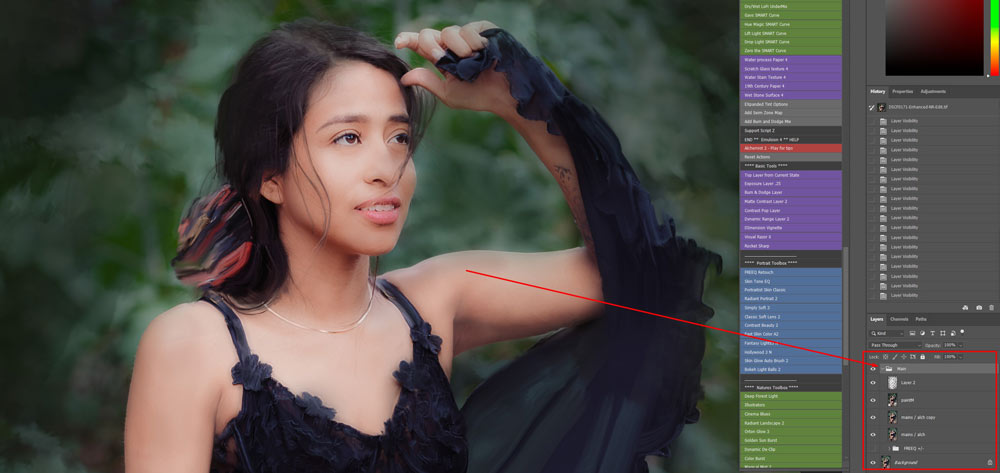
An established workshop is hard to charge. While Adobe is king, I am always trying to make sure we are not stuck. So for example I could switch to C1 as my main editor and all my tools still work. Even my Elegance Speed masks now work in Capture One.
I long ago switched to Resolve for video editing. There are Capture One, DXO, and others that may be possibilities for you. And for many older versions of Adobe tools works just fine.