It took me 20 years to find this because no one taught it until now.
In this primer on shadow hacking I’m going to share was I found. If you follow my work you have seen me shift focus to shadow over light. Not to say ignore light, but that there so much focusing on the light has only caused us to learn half of what makes great photos.
Not signed up for my Shadow-Hackers LIVE class? Sign up it here.
Should you lift or drop shadows? Push or pull exposure. How do we bend the shadow in new ways and why doe sit matter. Today I’ll show you some examples and if you attend my Shadow Hackers hackers class you’ll be ahead of the curve for watching this.
Look for where your shadows are broken and stop photographing light.
I hope this is coming across. I promise that if you start looking to photograph shadow, it’s going to change how you use to light your camera and what kind of results you get. Try this and see for yourself.
Gavin Seim
Things I used to edit with today… My new Elegance Speed Masks… seimeffects.com/elegance Filmist, get my free presets… seimeffects.com/filmist/ Lumist actions… seimeffects.com/lumist BlackRoom actions… seimeffects.com/blackroom Natural HDR4… seimeffects.com/dynamic
In today’s video, I’m going to show you how to un-clip any photo.
Fixing a photo at this level may seem difficult at a glance but it’s actually not hard and we’re going to make short work of this. I’m going to show you what to do when NON of that is enough and you have an image so clipped that it seems like it’s useless. This is how you can fix ANY clipped photo.
If you expose well you can usually get rid of clipping and have stunning dynamic range using simple sliders, presets like Natural HDR or Filmist presets with a few of its dynamic chemical mods.
So for me there are 3 levels of clipping. Here’s why it happens and how to fix it every time.
You can also DOWNLOAD the RAW file I use in this to follow along.
I made this short video workshop showing my editing process on this shot so we could talk about the anatomy of a good edit. It’s only about 5 minutes long!
I’ll just me suing using some of my favorite tools from Filmist, Lumist and Alchemist in Photoshop and Lightroom and I’ll show you how I get this image balanced and ready for print with just a few minutes.
If you guys like this fast study format, drop a comment, and we will try to make more in the future. You can also find all the add on’s I used in this here on the site.
Next, SHOW ME YOUR EDIT: DOWNLOAD THE RAW FILE and edit this yourself and see how it looks. Then head over to the post on our Facebook page and share your results.
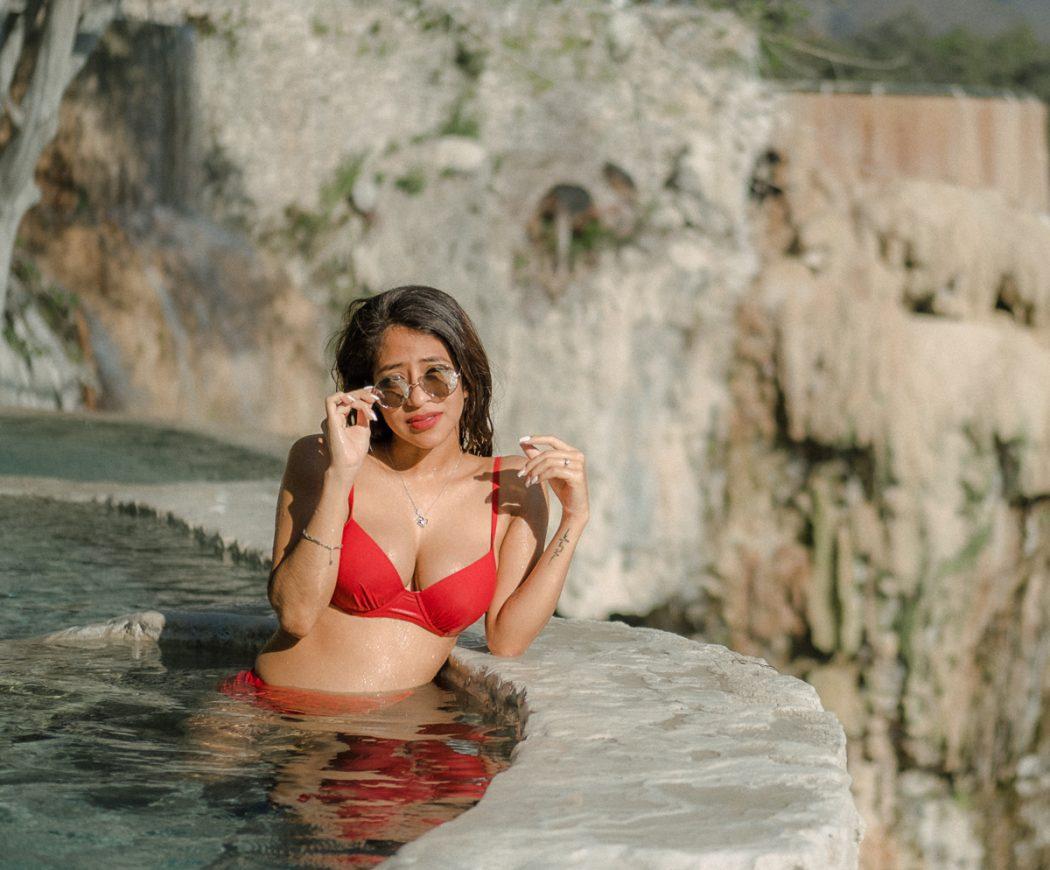
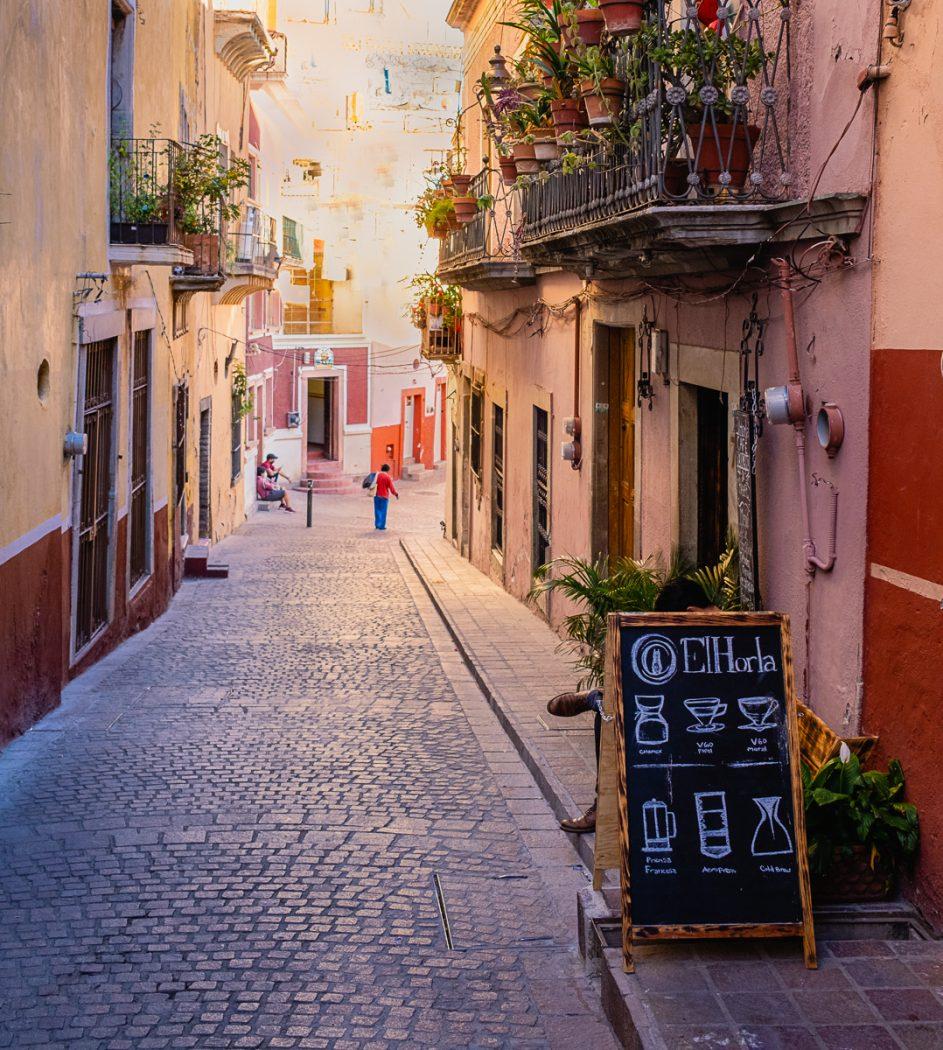
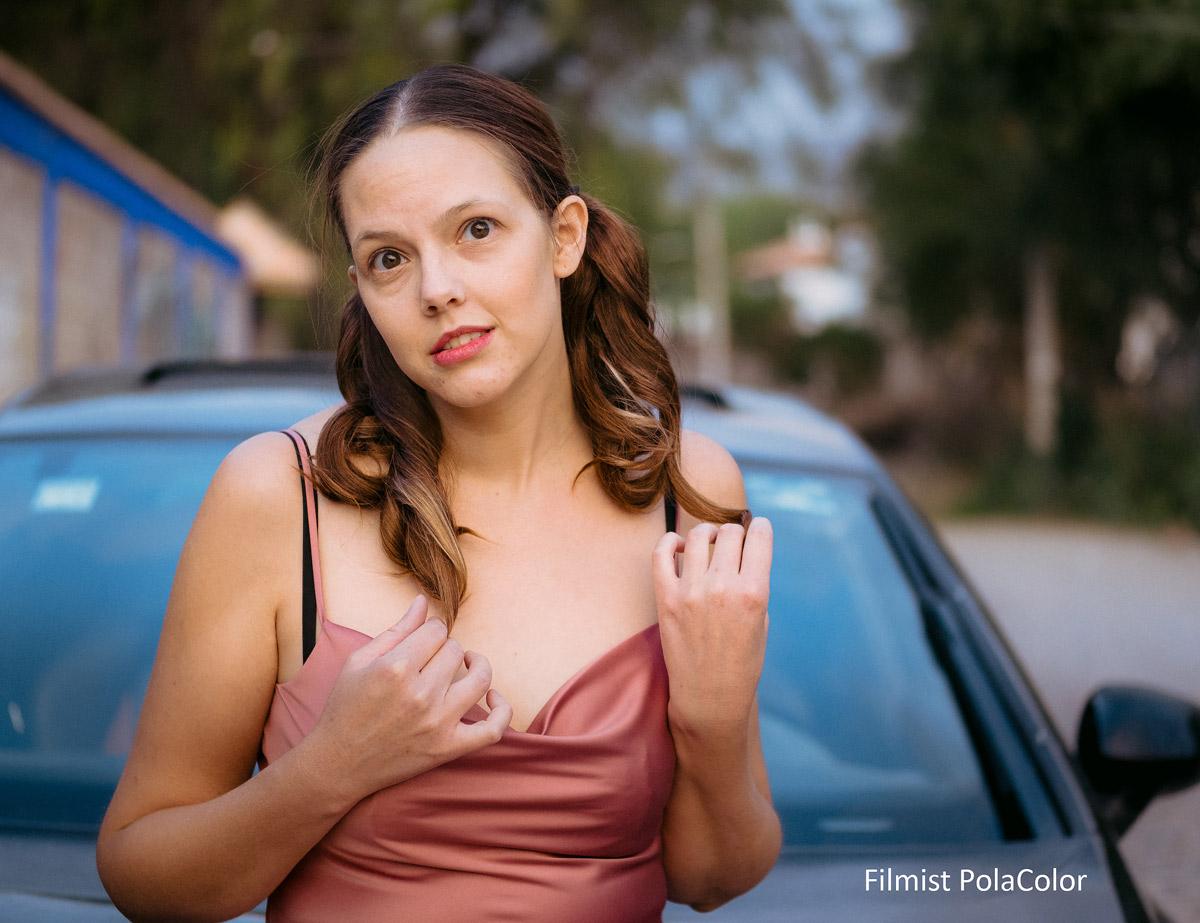
Last week I was working on the 1.2 update for our Filmist emulsion presets. We develop these for Lightroom Capture 1 and LUT. I needed some fresh test image so I took my model Sondra out for a quick natural light shoot on these quiet side street in central Mexico.
The soft light seems a bit flat but there’s direction to it and it’s perfect for portraits. The quiet greens made for a sublime contrast to the dress and the sunset light was filtered like a giant softbox. Then we started editing with FIlmist. No need to lose ourselves in over saturation. There’s a reason film color was refined for over 100 years.
I’ll with just some color grades and then do more detailed finish work on my top favorites. This first one is just the new 160V Pushed presets which gives a nice poppy push to the RAW file with this really soft light. We want to bring out the shape of the light. The reason good presets are so powerful is not because you can’t edit sliders manually. It’s because you cab quickly browse looks that are close and get the one that really fits the image you’re working on. You get to see things you would never see if you editing everything manually.
I start with the RAW file color grade. If it’s a 5 star image that I will edit in PS, I will take off the grain until after my final edit and then add it back to keep the image surface clean and free of artifacts. This one is just a preset and is now ready for some quick detail work in PS.
The key with great color in a portrait is to separate the object. To make your subject pop and have that 3D feel. It’s starts with light but the way we mix colors is huge. That’s why it used to be so important to choose the right film, today we can do that with color grading or tools like Filmist which are my go to because they give me the right mix.
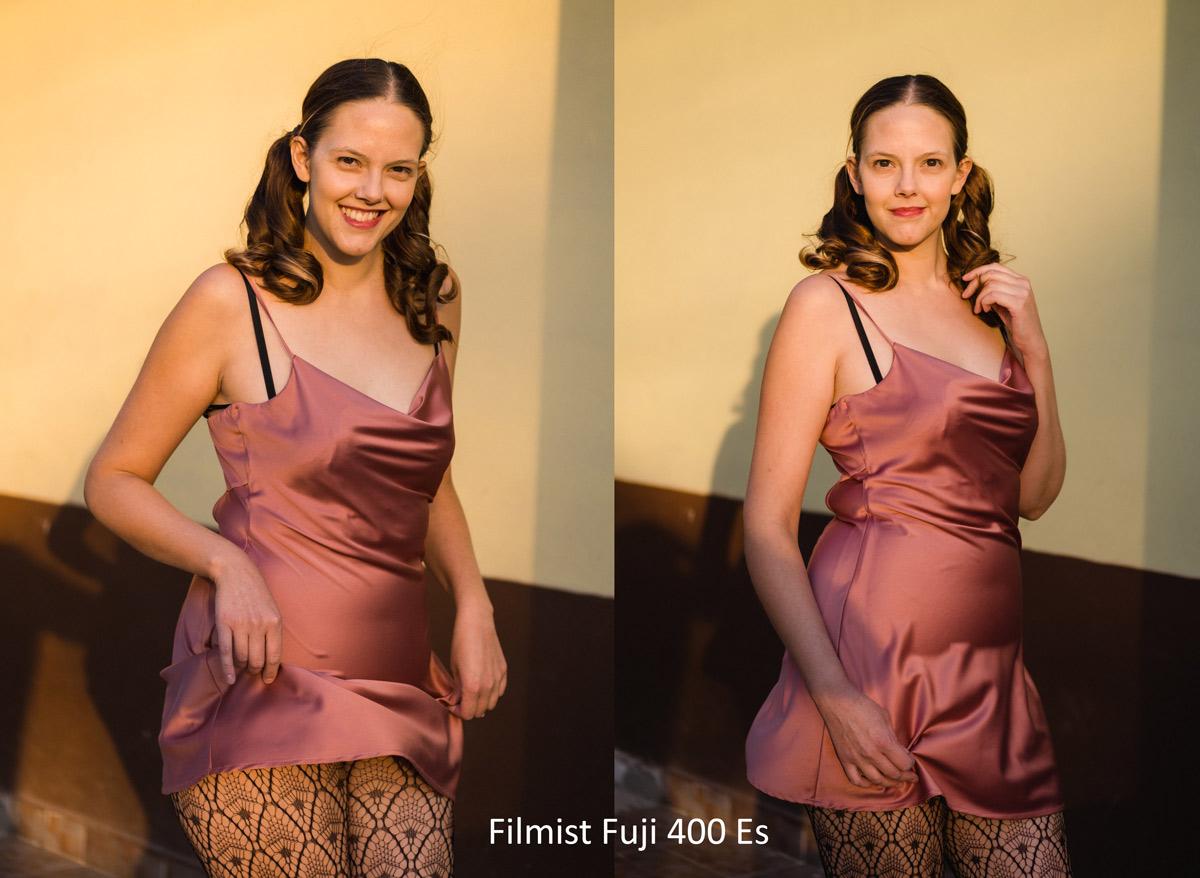
After the presets I went into PS for quick skin and sharpness detail using Alchemist retouching actions and last but now least SHARPist actions to give it that final zing. Here’s the finished shots and I’ll mark the film look I used on each one of these.
It’s worth noting that while I speak of the tools I use to save me time, all these things can be done manually. Using color sliders to control the mix and get a filmic look, using frequency separation for gentle smoothing, eyes bags and more,. Using sharping for that final pop. These are all tools we have in nearly every photo editor. It’s just a question of how you apply them.
The anatomy of an edit. We started with a nice soft Raw out of camera, then use the Color Pro 400p preset for a nice filmic color grade. Then I spend 5 minutes in Photos. I used Alchemist for a very subtle frequency separation skin retouch, the eye bag brush to quickly soften the eyes, the Alchemy eyes brush to make them pop and finished with a bit of burn and dodge and the Rocket Sharp action from Sharpist. Boom, bang, boom.
These are just fun shots and I don’t even need Photoshop. This super warm sunset light looks great but I don’t want top over saturate so I’m using a nice soft Concept film like 400 ES that keeps the color soft.
After the presets I did a little work Alchemist using tools like the eye bag brush and then a sharpening using Sharpist. Not too much, just a little final clean up.
The final edit
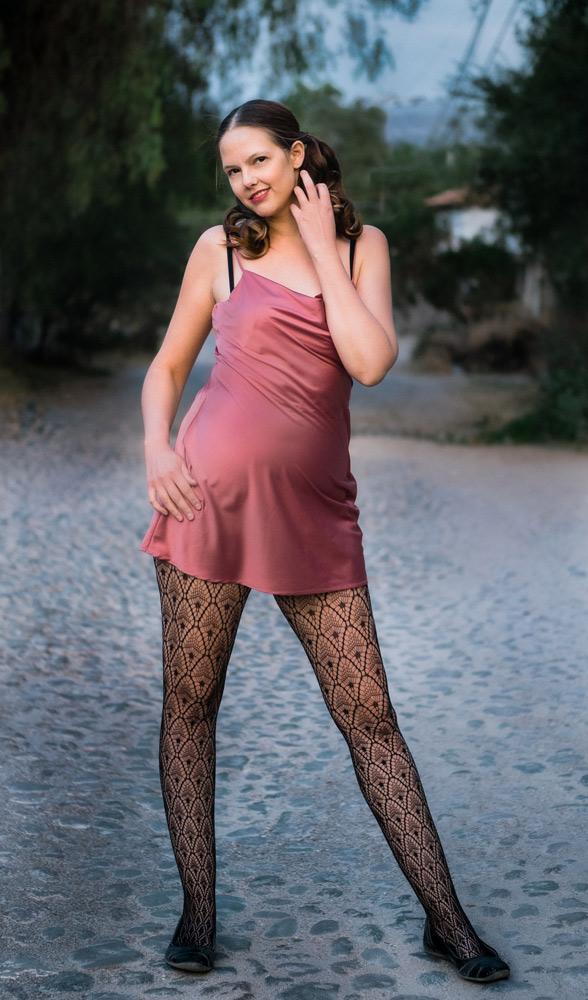
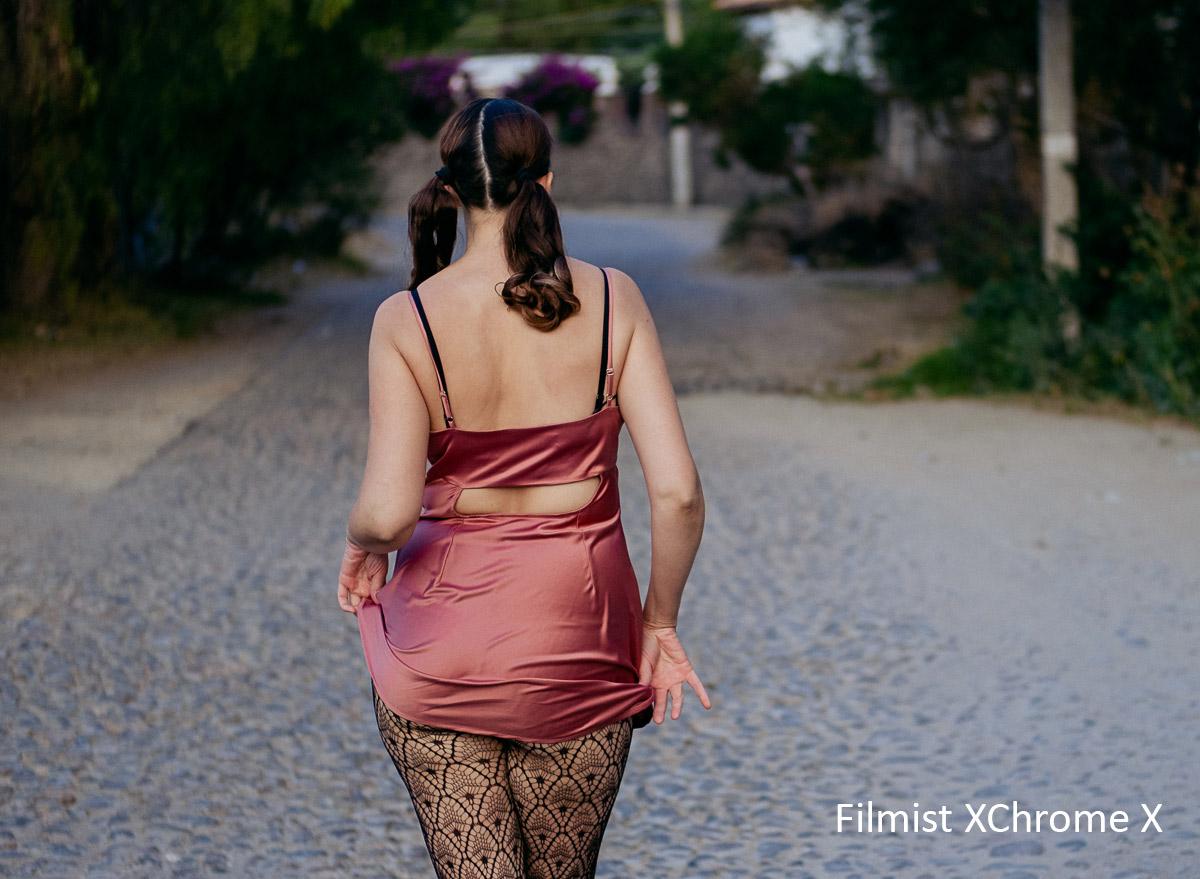
Full length for the legs for days look. I mixed presets for a soft color blend and then spent a few minutes without Lumist as tone control is key in longer shots.
Used PolaColor S here and the light dark sharp from Sharpist actions to make her pop. That’s all.
These are B type shots that are great for Instagram. Sometimes I’ll just to a color grade and leave it at that. No Photoshop or extra retouching needed.
Lumist is one of the easiest tools you’ll use in Photoshop. But designing it pushes both Photoshop and my brain to the limit. It’s a strange beast because it’s adding a feature to Photoshop that should have existed years ago but does not. The ability to see and control luminosity perfectly. The goal is to make the process of our one of a kind tone system work as if it was meant to be part of Photoshop.
Behind the scenes, however, it’s the most complex set of actions you can imagine. Every time I do major updates on Lumist it’s a battle of math, functions and usability going on in my head. This update does not change a lot on the surface of Lumist but I’ve spent days puzzling out how to make things do what I need.
Lumist 2.2 is a big update. First I resolved a pesky bug that was causing Zone section to be incorrect when more than one Zone was selected. I’ll spare you the details but suffice to say your Zone selection should be perfect now as you select and edit in real time using the Live Map.
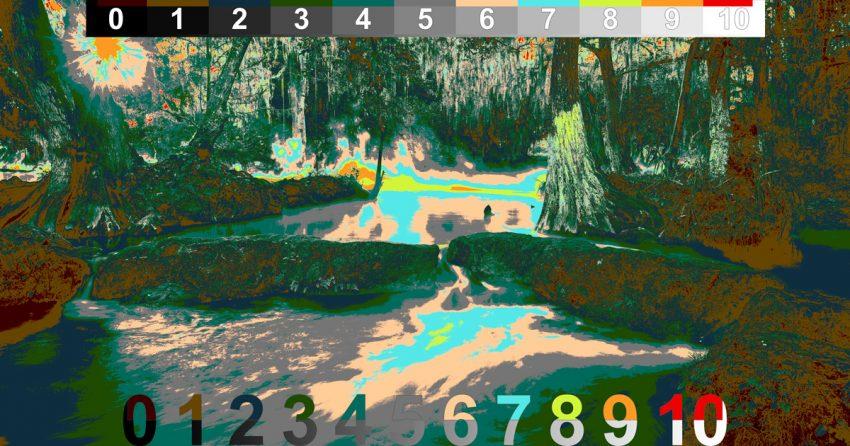
Nex,t I totally revamped the Total Scale. Both of them. That’s the numbers scale that shows you each zone and the colors that it corresponds to in the map. The ends of the scale show pure highlight and shadow clipping that is also shown in the map.
A brand NEW Scale!
This will the an obvious change, in 2.2. Speed is always something we’re looking to improve. The problem was the Total Scale has to build every time you run the map. So we made a new scale that’s cleaner and FASTER (bottom). The top half of the numbers show the color of a Zone on the map while the bottom shows the grey scale zones they represent. It’s clean and it runs a lot faster. That said you can still ad the newly revamped Classic Total Scale (top) using the button at the top of Lumist. If you really hate the new scale you can even switch back to classic by simply switching the names of the actions “Seim Total Scale” and “Seim Total Scale2” down at the bottom of the Lumist set.
There’s no need to resize the scale on lower resolution images anymore.
It should place perfectly when you run the map automatically. This apples to both the new and the old style scale.
So that’s Lumist 2.2. You can delete old versions and install this. All the features are updated on both the CC version and the CS5-6 versions of Lumist. And if you’re still using Lumist V1, what are you waiting for. Grab you upgrade code and start enjoying V2. If you can’t find you upgrade code email us, effects@seimstudios.com