I’m always rooting for competition to Lightroom. It’s good for us. But Adobe seems to be having fun keeping Capture One behind. Why are they a big deal?
New Lightroom Masks are great. But there’s a flaw…
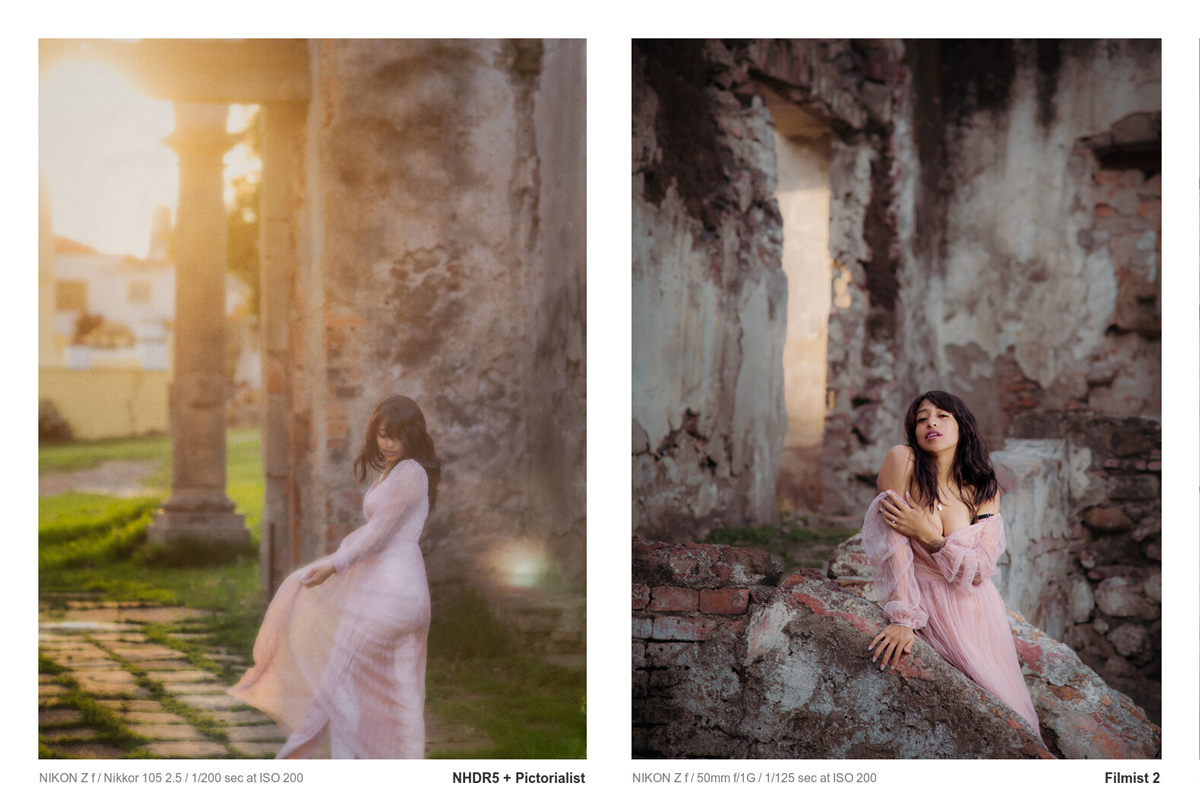
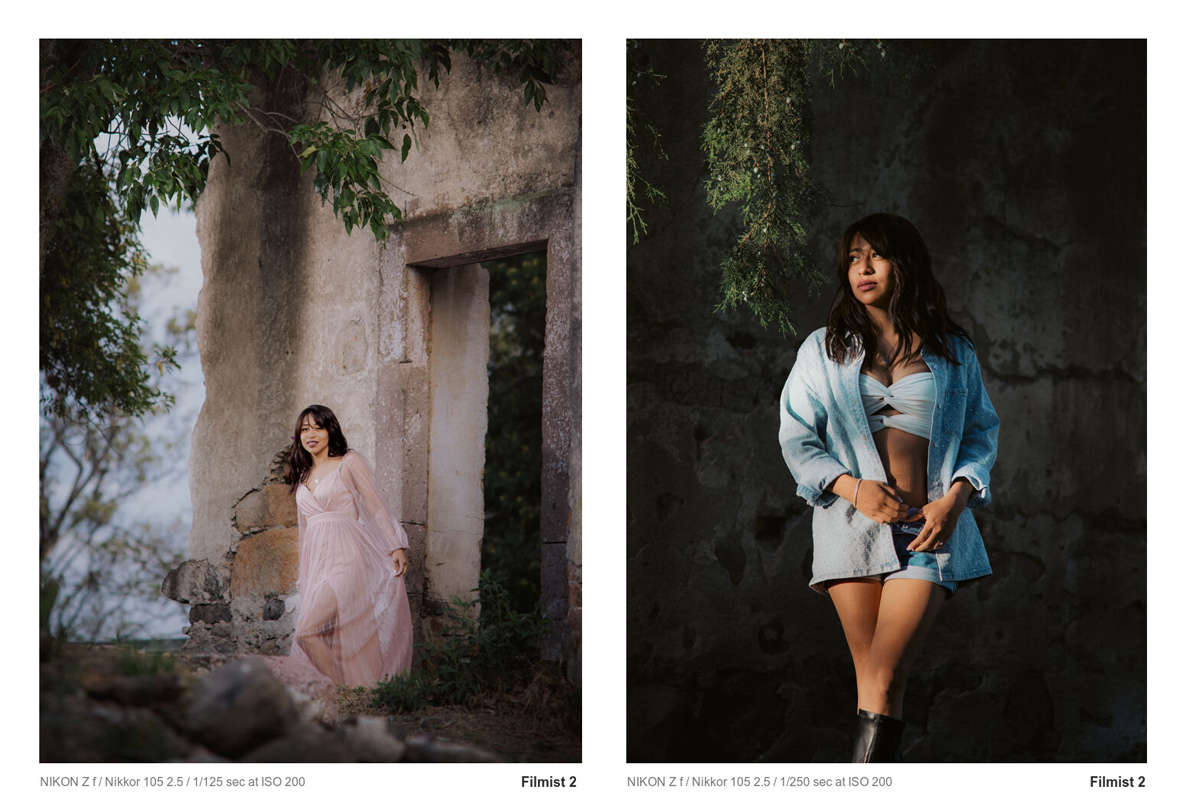
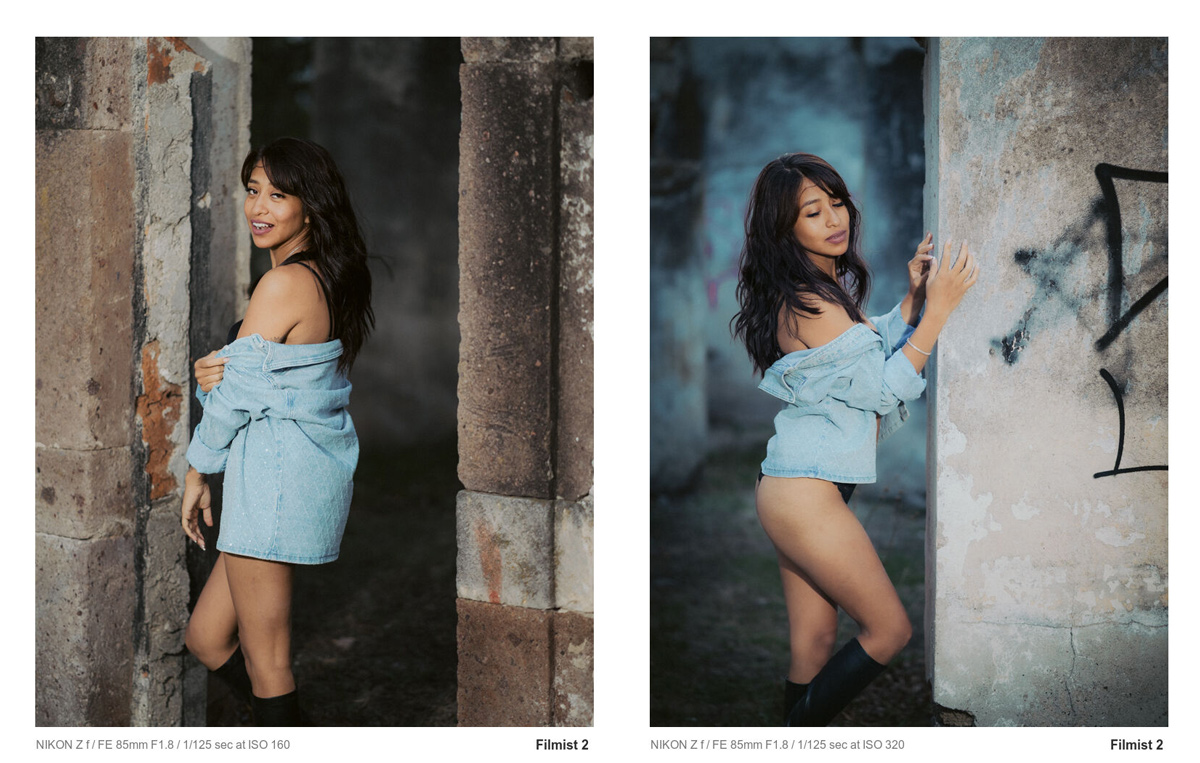
Check out my Elegance speed mask pack and Natural HDR 5
A Battle of Two heavy Hitting Apps
In my Annual Lightroom VS Capture One review, we saw that both are great, but Lightroom gives a lot more for the money. But we are all tired of Adobe’s price hikes and deaf ears. So competition is good.
But AI masking and the ability to automate it in Lightroom is huge, and it just got way better. Every time Capture One does an update, acting like it’s a huge deal, Adobe pushes something new like a cat playing with a mouse.
Sadly, Capture One is falling even further behind in Ai masking. Let’s not even talk about generative fill tools in Lightroom today because I prefer natural images myself. But I do think this competition is good for us, and I’m thankful Capture One is making Adobe work.
You can Ai mask in both apps.
Yes, they are both good. But I make my Elegance Mask pack for both. Speed Masks are essential and let us automate these increasingly complex groups of lawyers. Without them, you might as well go into an app like Photoshop because it will often be just as fast.
The problem is that there are WAY more mask options in Lightroom. So while I am able to make powerful tools in Capture One, Lightroom keys letting us do more, as we see in this big new Landscape mask update that does way more than landscapes.
Why are masks so slow?
There is an Achilles’ heel.
Toward the end of the video, we will talk about the downside. Lightroom masks bring the app to a complete crawl, and years later, they still have not fixed it.
Lightroom is not alone. The more mask features Capture One has, the slower it gets, also. Something is wrong with how they are using system resources in these, because a bunch of active layers in Photoshop work just fine. But Ai masks seem to slow the system with every layer you add.
I’ll share some ideas for how to keep things moving fast despite the masks being a resource hog, but it may be that the first one of these apps to resolve the speed issue will take the lead.
Tell me what you think in the comments – Gavin Seim