July 2, 2022

Why do camera-specific color profiles like Classic Chrome have to be camera-specific?

They don’t! In the end, it’s just a mix of colors and contrasts. A very detailed mix. And that’s what I’ll show you this week along with some samples of how these recipes look in real life.

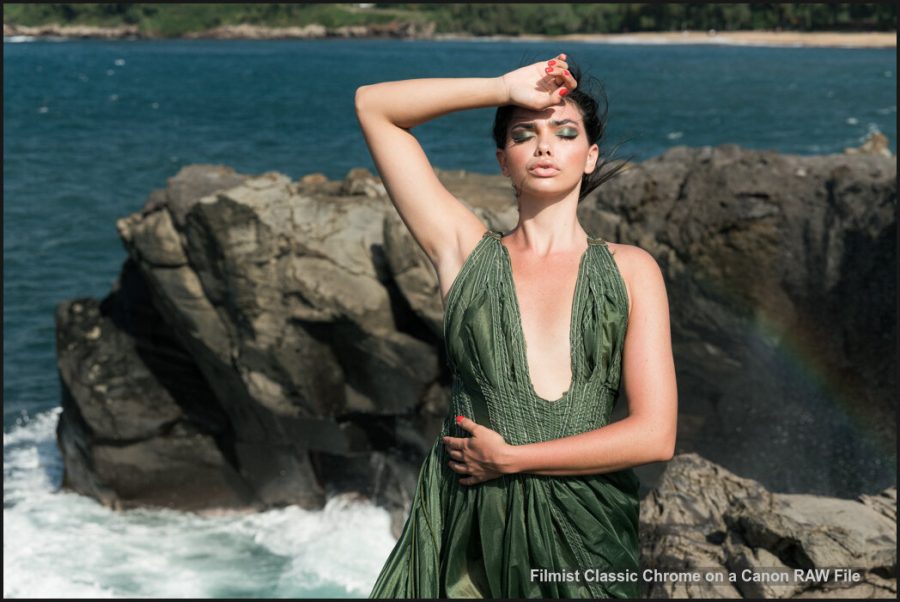
The Filmist 1.7 update brings a lot of nuance, especially in the brand-new Classic Chrome recipe.

There’s a free sampler with 3 great film presets on the Filmist project page. It now includes the new Portra 160 1.7 update

First, I updated the Porta Gen.2 Presets.

Porta 160 for LIghtroom and Capture 1 Film presets - FIlmost free film preset
The latest version of Portra is more natural in both its LIghtroom Presets Variant and Capture One style. This is one of 3 Portra presets but this one can be found free in the FIlmist sampler pack.

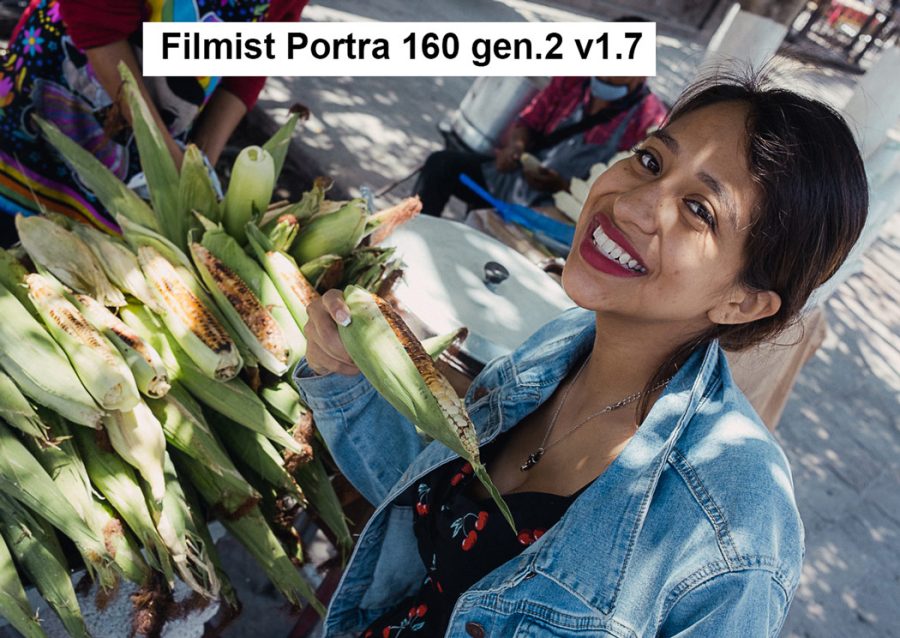
I make Filmist 1.7 to have more refined Lightroom Presets, Capture One Styles, and video film LUTS that include a major refinement to the Gen.2 Portra presets, making them work more naturally like film.

Portra works on nearly anything and after years, the latest version of my gen,2 Portra presets much like the new Natura 1600 is just subline.

You can also watch my video on making the gen.2 Portra formulas.

The reason great recipes are better as presets is that they take a lot of dialing in. You will never do them manually every time. If you’ve seen things like my Sliders master workshop or the 3 Magic Sliders video on my channel, you have seen how these details matter.


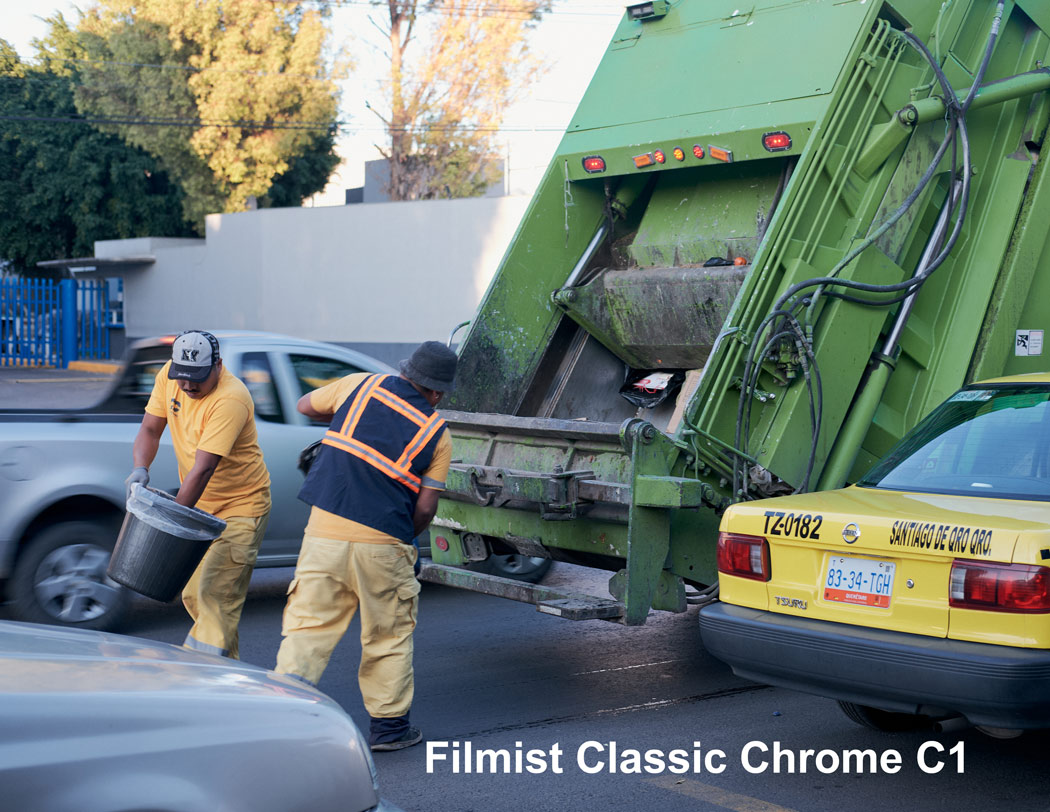
Next, I finished the brand new Classic Chrome preset!

Canon RAW FILE, Classic Chrome Preset in Lightroom Classic.

Yes, I finally finished the much-requested Classic Chrome formula as a preset that can be used in any camera. It’s very clean and versatile. It’s actually a Fuji variant of Kodochrom, though since there were many Kopdachromes I can’t say which one specifically.

For those that don’t have my presets, I will be doing a video on how to create your own version of this recipe on my channel in the next week or so. So stay tuned.

Side by side of classic chrome presets in Capture one and Lightroom
Same image in LR and C1 using the presets / style. Almost identical in LIghtroom and Capture One, I programmed the preset to give a very accurate rendition.

If you own a fuji Camera that supports the Camera specific RAW profiles in LR, or C1 you can shoot RAW and then apply the camera-specific color profiles. The problem is they don’t work on other files or even older models of your Fuji camera that did not include that Film profile.

So Like I did for the Classic Negative Lightroom Preset and Capture One Style. I’ve been working for weeks building and refining a recipe for based on Classic Chrome V2.


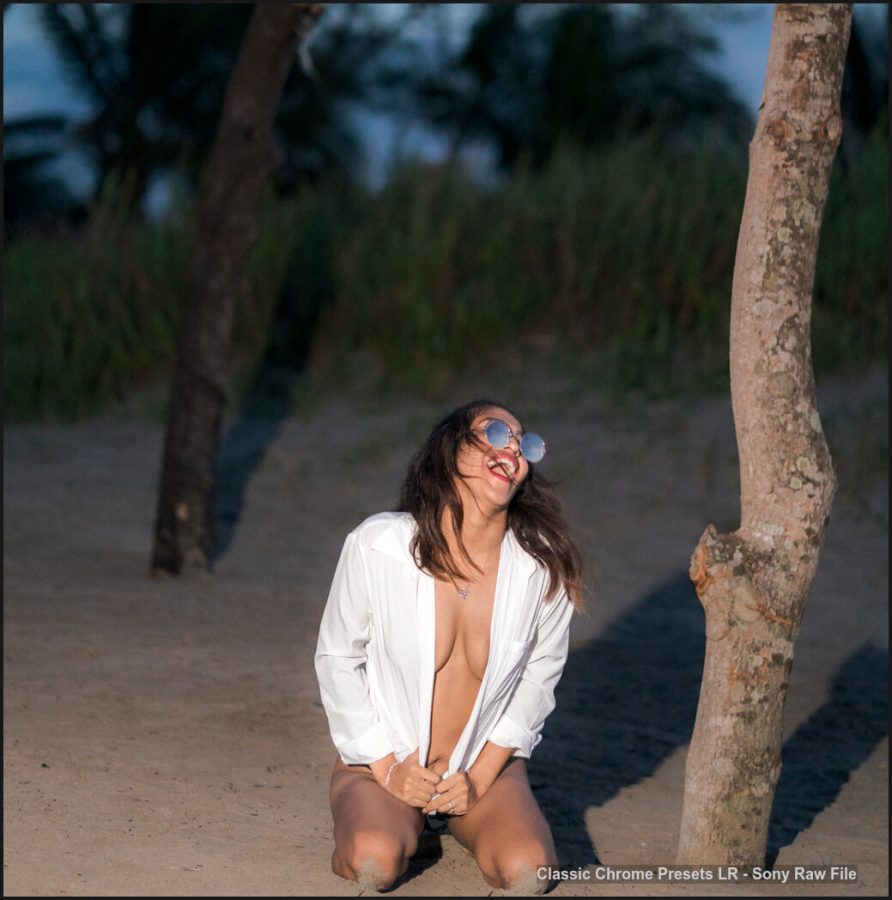
The win here is that you can use this on any file type!

Here I used Classic Chrome on a Sony A73 file and result looked great.

Classic Chrome is a process that many photographers love because it’s very gentle and has that subtle feel.

This recipe is only included in the Complete version of my Filmist, since I already give away the Classic negative recipe for free in the Filmist sampler pack.

Side by side – The baked-in JPEG of the Classic Chrome look next to the preset process on the RAW file. Lightroom.

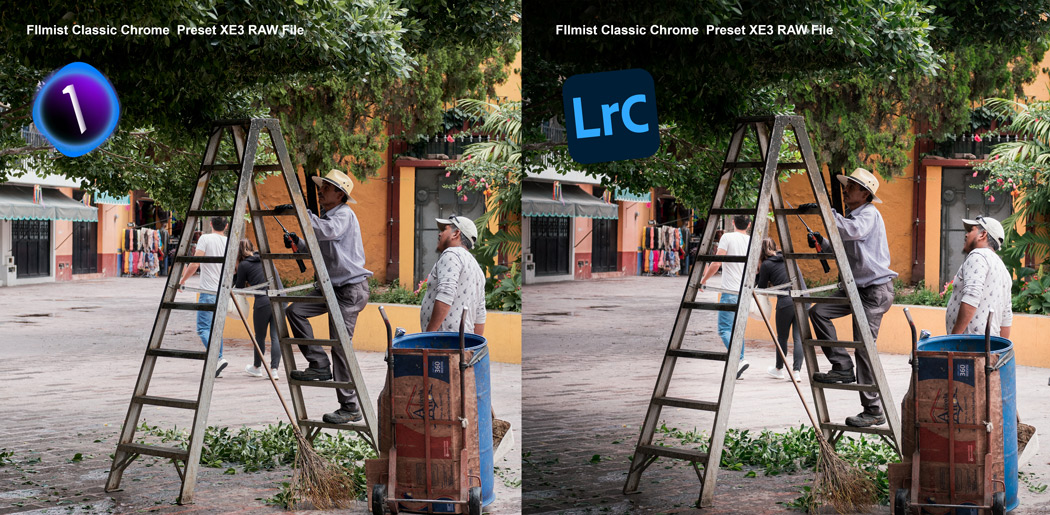
While in the Lightroom vs Capture One debate, I often favor the interface and speed of Lightroom. This was one of those times when the more advanced color controls in Capture One let me dial it in a little easier.

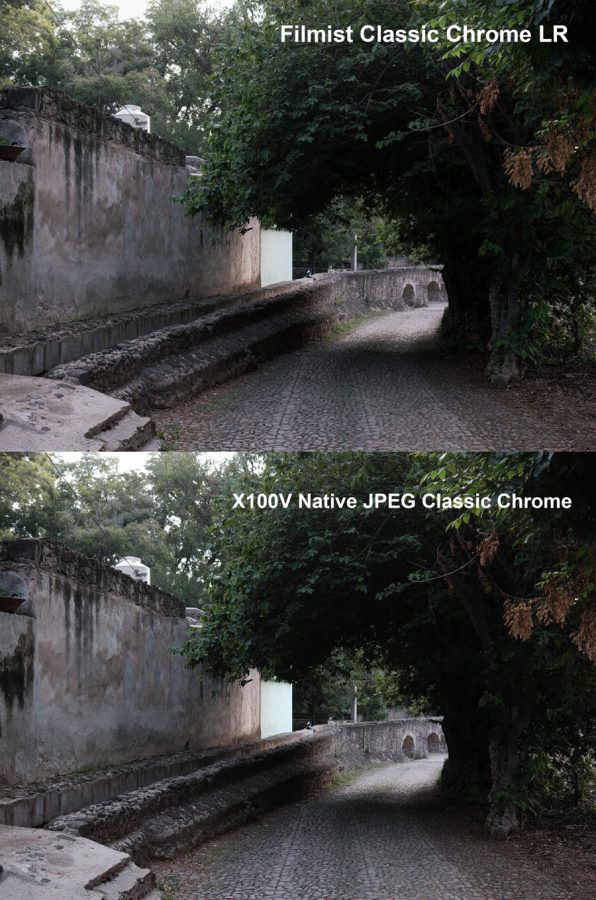
As you can see here however even in Lightroom, the baked-in JPEG from the Fuji camera next to the same photo from RAW file and NOT using any camera-specific profiles, just the preset. Well they are nearly identical which makes me happy.

A baked-in JPEG varies a lot from the settings and dynamic range you apply inside a Fuji camera. Here you just have the clean look and then can simply mod it with sliders of even the built-in Chemical tone mods that are in FIlmist. More control is the order of the day when you shoot RAW and then apply the color after.

Like I said next week I plan to make a video showing how to edit with Classic Chrome and where it works well. I’ll also give you an insider’s view of the formulas so you can play around and make your own variant even if you don’t use my presets or styles.

For Filmist users, make sure you update to V1.7 of the film pack in the portal. Then let me know in the comments how you like the results of these new updates 🙂

Enjoy – Gavin Seim

The Filmist Classic Chrome style used from Capture One
Read More

April 20, 2022

I wanted a more perfect Portra film preset for Lightroom and Capture One. So I made it!

Portra is a classic film, the 160 leans a touch green and is very versatile. The 400 is warmer and probably the top portrait film ever and the 800 is less famous but has a bit more color pop and a rich look.

Portra gen.2 took the Portra presets that have always been part of my Filmist presets and made them so much better. I tinkered and calibrated for days to get the feel of Portra just right. It took a lot of film research and formulation but the result was worth the wait.

You can Get Filmist here –  The free pack has my new Portra 160 preset. Here’s my new video on the new Portra looks.

In making gen2 Portra I had to make all 3 presets from the ground up for Lightroom and then do it again for the Capture One Styles. But the result is a film emulation of Portra better than any I have ever used. It captures the aesthetic of Portra and just looks stunning. Watch the video and I’ll show you how it works.

Porta looks amazing on Portraits but also on a lot of other things.

Filmist is a lot of film emulsion presets, but the gen.2 Portra looks along with new gen.2 Natura 1600 which I recently finished developing brings in two of the most versatile films ever as digital presets for Lightroom and Capture 1 and LUT. I’m using these constantly in my workflow. Even if you only grab the free one I included in my Filmist free sampler pack, I hope you enjoy it.

Gavin Seim

Read More

October 2, 2020

How to edit portraits better, stop over thinking.

Photographers keep under-editing their work. But just dragging the sliders won’t fix it. Heck, that was the theme of the Muse editing pack that we originally shot this session for. So lets edit portraits better with some simple techniques.

It’s always harder in real life I know. We are gonna dig into that today as we take on the cute photo session we did for the Muse launch and I’ll show you hands on how I edit with it.

How do I edit portraits better. How prevent myself from under-editing blues. I always use tools that push be to go past the basics. I stay sharp Lightroom presets or Styles for Capture on to edit fast, I use actions or watch videos like this one. BUT I also use those manual tweaks to get your look perfect. I’ll show you in this weeks video.  It’s time to edit portrait better. It’s time to to stop under-editing your photos, so let’s tale this bull by the horns.

Here’s some useful links related to the video as well.

There’s a couple more in depth training videos from this shoot for PhotoKit members where we dig more into the session and some more advanced edits.

The winning formula to get a better portrait edit here, was starting that edit in camera. Finding the light, getting a great look and then being unafraid to edit like we meant it. Even though we have not taken any of these into Photoshop, used actions or made detailed fashion or skin edits, they still look great and from here we can go wherever we like. Hope you enjoy, let me know if you want to see more like this.

Gav

Editing portraits better. Golden sunset shot edited with Muse Lightroom presets
Golden sunset shot edited with muse lightroom presets

cute bustier photo session with muse Lightroom presets
A soft edit from muse of this cute bustier. It’s all about editing portraits better.

Read More