White balance in photography is not what it is marketed as to sell white balance gadgets for photography.
But White Balance is not the same on RAW and JPEG
Play around and you will see how simple photography white balance can be. You can also get my FREE film presets and Elegance masks here.
You are the real White Balance.
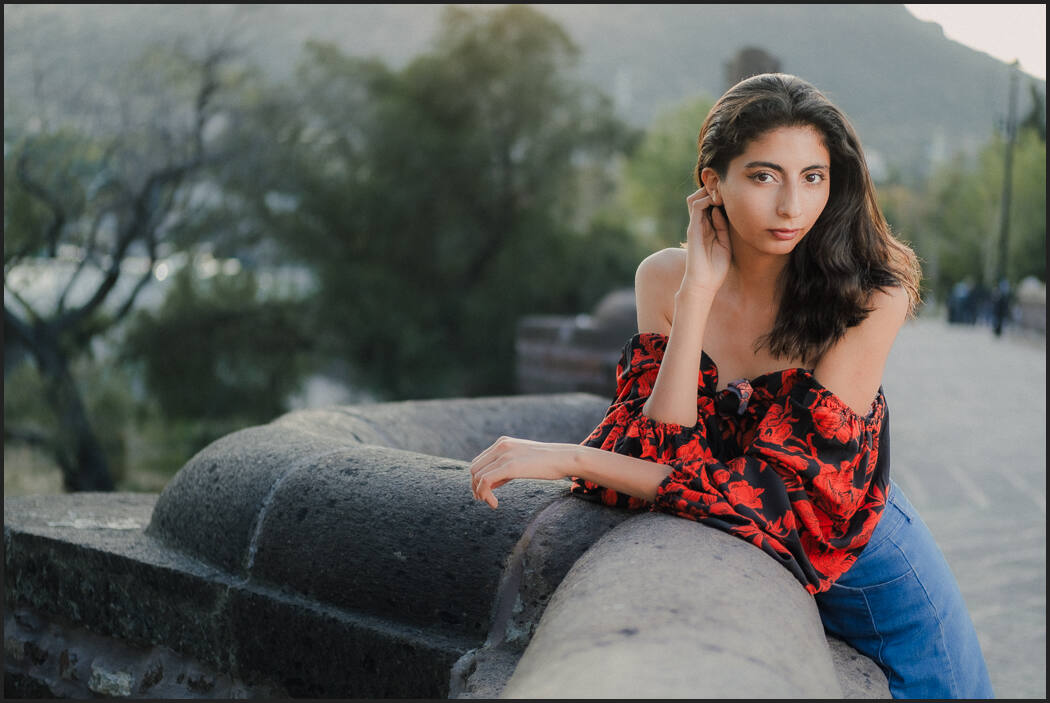
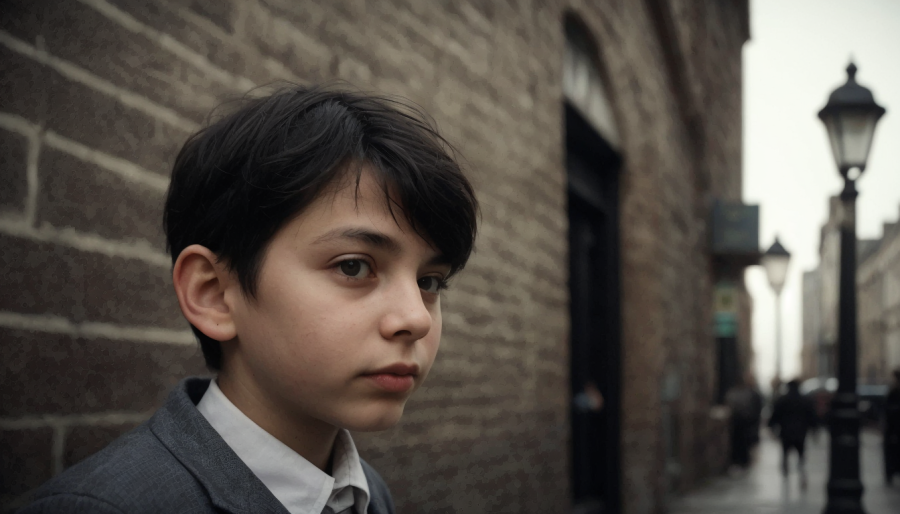
Today’s session was great for this because the light changed fast and was very mixed. But in the real world, this is usually the kind of photos you have.
I’ve talked about white balance before here but I felt like we need another visit. Photos end up lesser when we focus too much on what a card tells us is the correct white balance.
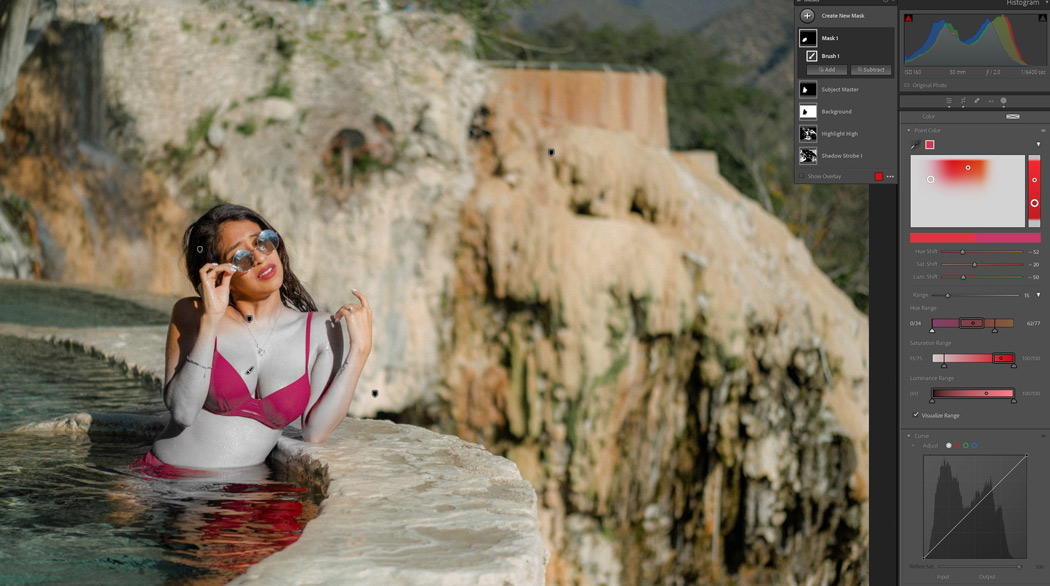
Due to varied lighting conditions in any one frame, these cards are often not even accurate. In today’s video, I’m going to show you how White Balance should be a flexible tool to balance your color and you should not let it lock you in.

So should you buy a white balance tool?
FIlm pretty much has two white balance settings. Dayl;ight and tunsgten. You had to create around that or use filters in the post. Digital lets us have total flexibility.
There’s certainly a place for color charts. But even as someone who does a lot of color research and testing to make Filmist and other presets perfect I find them often unpredictable in real-world edits.
What’s certain is you don’t need an expensive White Balance tool for photos. If you are working in mixed light it’s mostly just a distraction. In a studio where light stays the same it could be useful but any grey card will work fine in my experience.
But in general. Don’t distract yourself. Focus on the shadow and the way you use line and tone.

Stop using the WB Card.
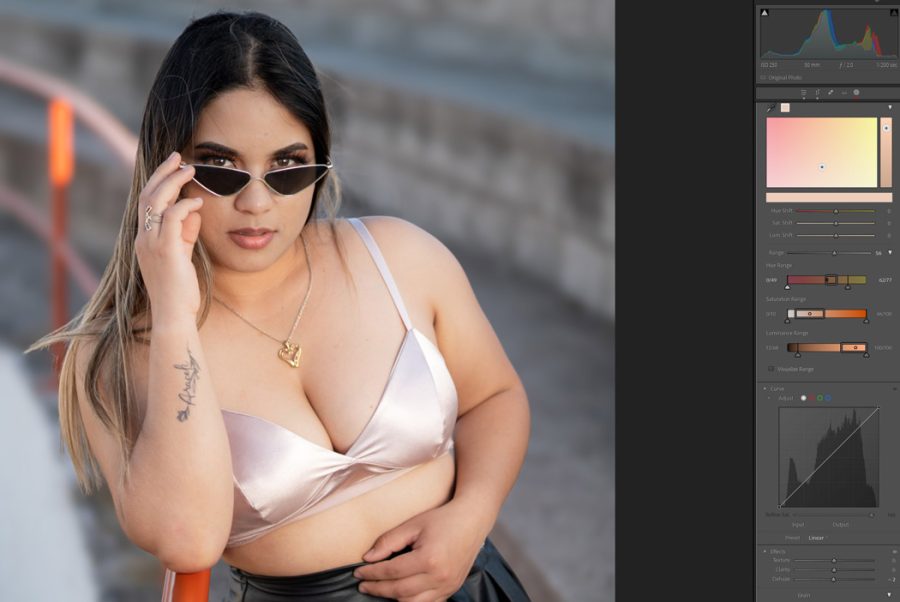
Yes, I mean that in most cases. Leaving it behind will let you focus on getting your photos right in camera and in post you can focus on the vision you had and make the edit perfect for you rather than what a card or guide tells you.
Just like I taught you in my Shadow Hackers LIVE workshop to not trust a camera meter to make your exposure, you should not trust a grey card to decide the warmth or coolness of your color.
Of course, there can be exceptions. But I will say that in almost no project or session do I use a white balance tool anymore. It simply does not improve my work.
Gavin Seim