It’s been a few years since we’ve seen a fully new version of my black-and-white presets. I do minor free updates all the time. But I like to wait till the features and tools of Lightroom and Capture One improve for these big rebuilds.
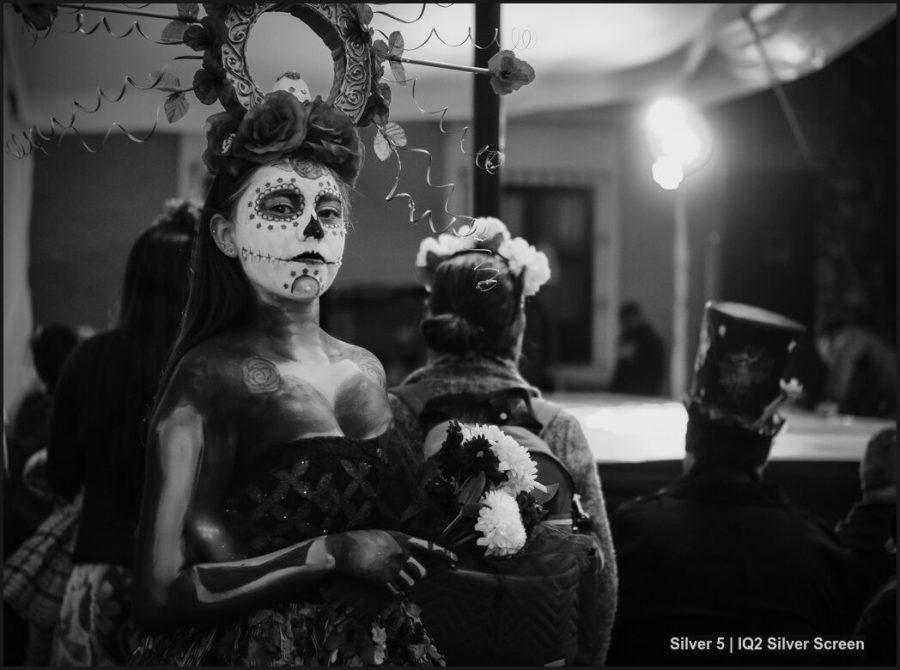
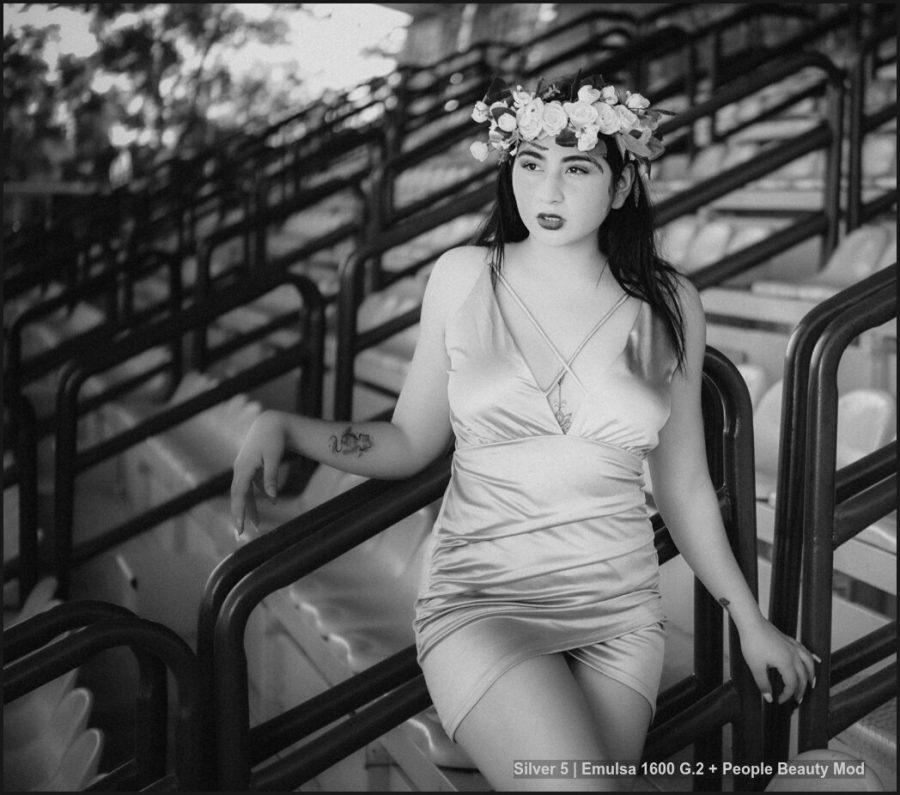
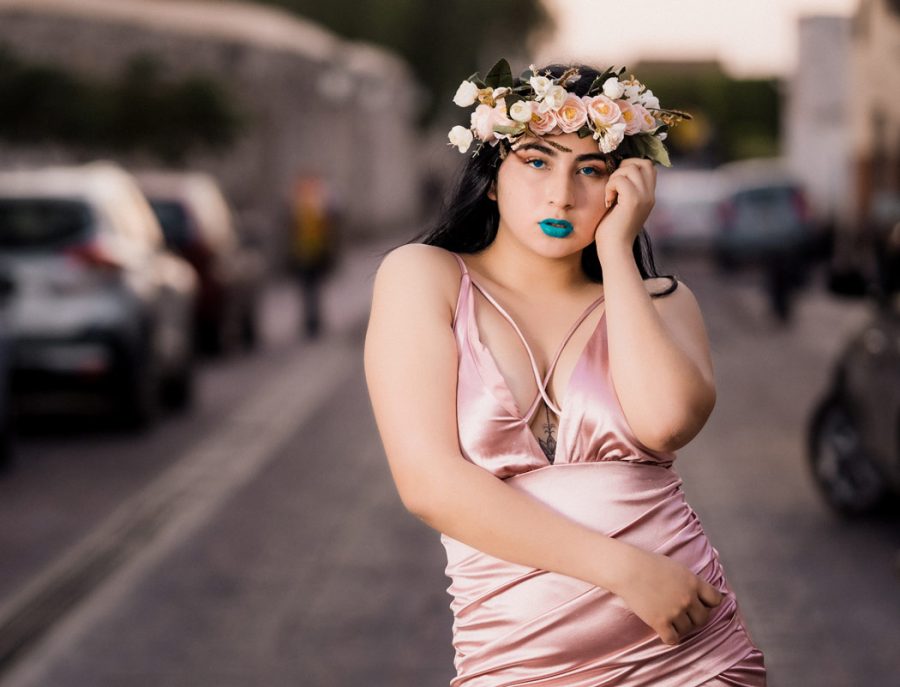
Silver 5 makes next-generation Silver editing simple using native RTAW tools and black and white presets.
There are a lot of new things in these presets. They take advantage of Lightroom Ai layers and while Capture One still does not have Ai tools, Silver 5 is using every ounce of update that Capture One has brought us with layers and better one-click black-and-white conversions.
I’m excited about these new presets for black and white and I made a pretty fun video to share what I was thinking and what’s new in Silver 5.
You can check out my Silver black and white presets playlist on YouTube for more.
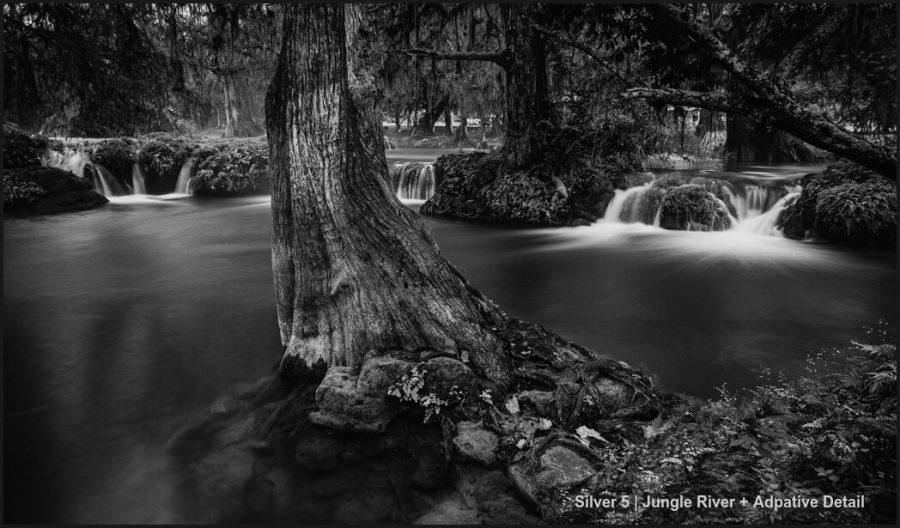
Black and white preset are about the details. And that’s what Silver does makes it easier than any other tool. By using native tools instead of plugins, Silver 5 can leverage all the power of these apps but you don’t have to spend a lot of time tinkering.
Choose your black and white presets for the main look. Then mod them with the new Mod-Kit…
The mods are now a simple separate preset pack, so they don’t clutter up the main set. Whether it’s the Lightroom Presets, Capture Styles or working in Camera RAW. Just select your presets for black and white a lot like choosing a film.
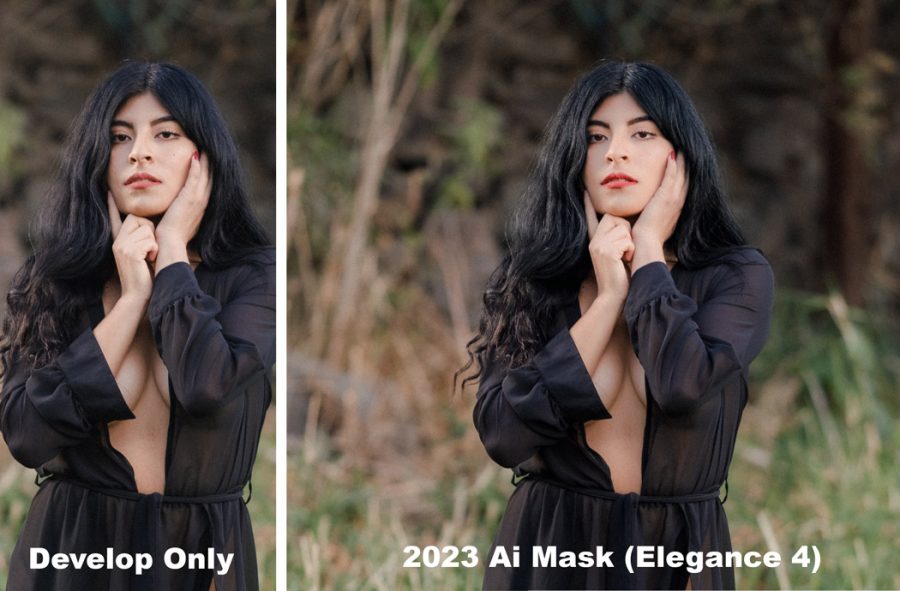
Then you can mod it in a mod kit with adaptive detail tools. Grains, contract mods, and even Ai portrait tools. Of course, you can take mods further with packs like Elegance Speed-Masks but you’ll find that Mod-Kit has a little of everything so you can quickly get your edit right.
Presets and styles for black and white let you work better.
If you’re not using presets, you’re editing is suffering. It’s about being able to finish the look you visualized by quickly trying mixed that would otherwise never be tried. It’s the secret that nearly everyone professional knows and those trying to show off at photo club pretend are cheating.
My edits always stars with Lightroom Presets or Capture on styles because I know I will get a better result by mixing things in various ways to find the look I want. Don’t let snobs shame for you using good tools. Even if you make your own presets, make sure you have them ready and refined and that you are using them.
I’ll be doing a training video soon on how to use Silver 5 black and white presets to get the best edits in Lightroom or Capture One. Future updates to V5 will be bringing more improvements to Mod-Kit and these recipes for great black and white that I’ve spent a lot of years refining.
Let me know if you have questions. Gavin Seim