February 15, 2025

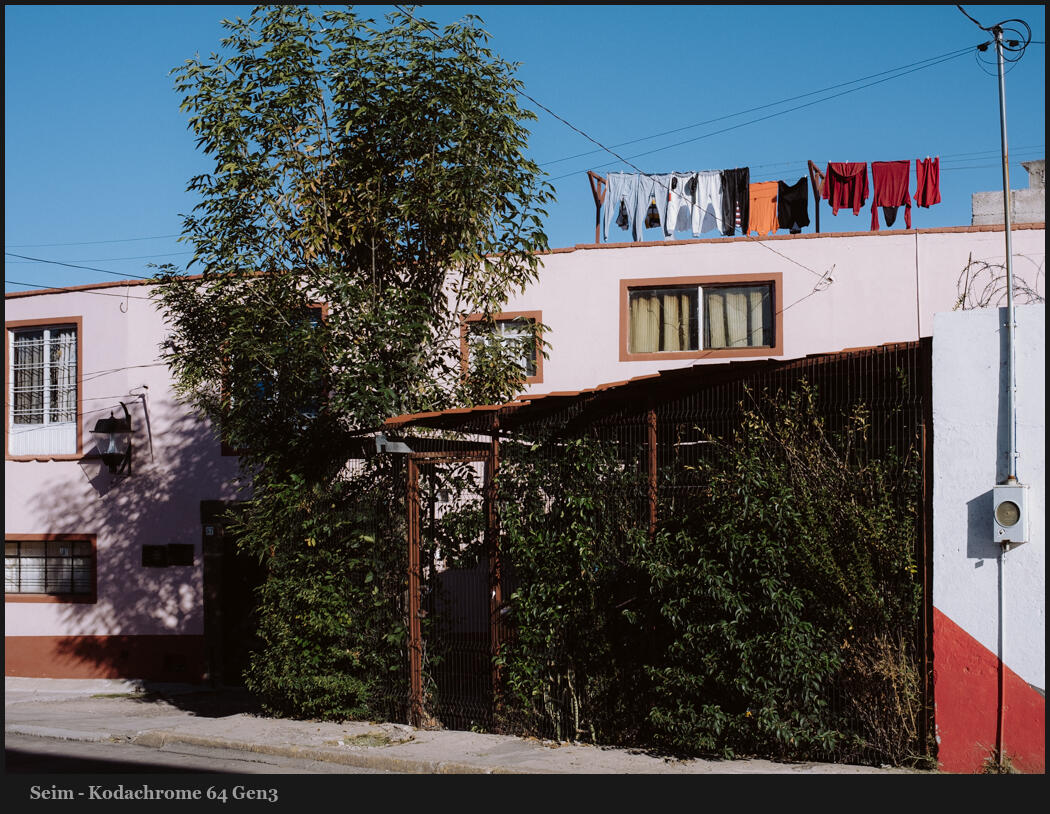
This film is long gone but it was the true legend of color films and one of the hardest to reproduce digitally. So I spend years refining it to this this new KodaChrome 64 preset.

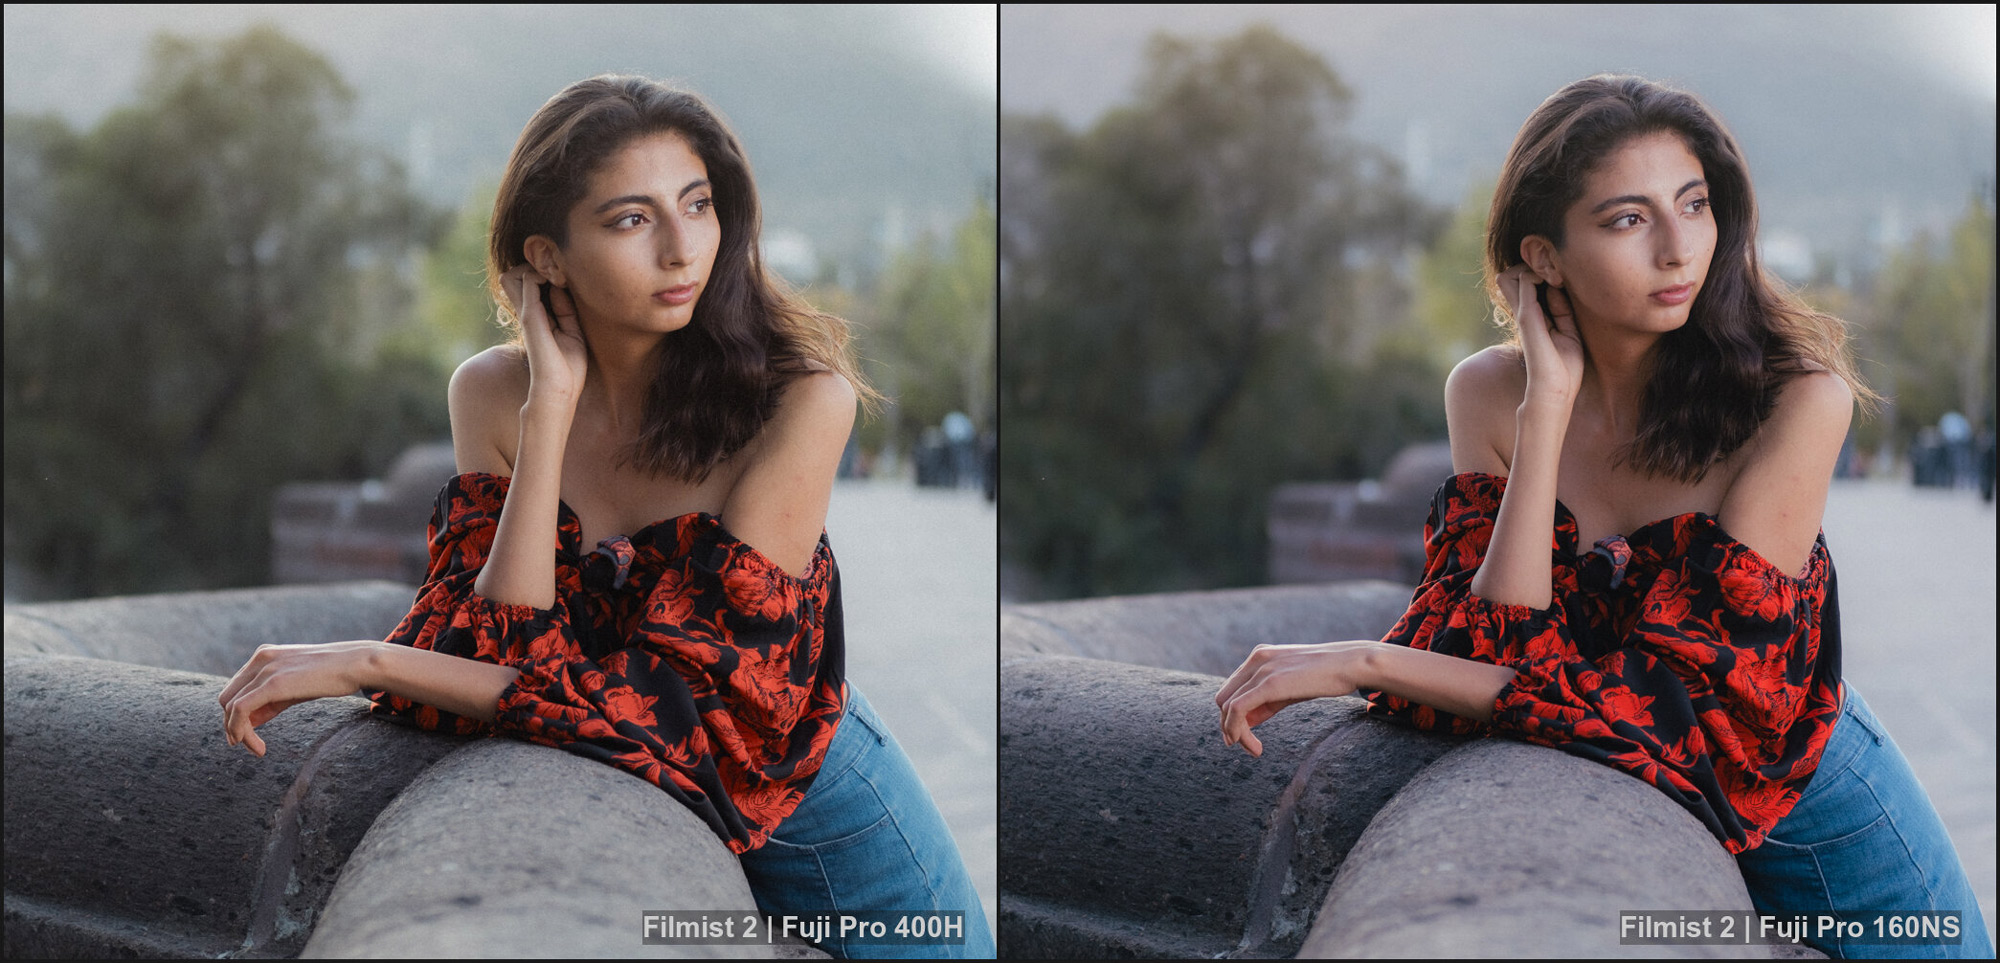
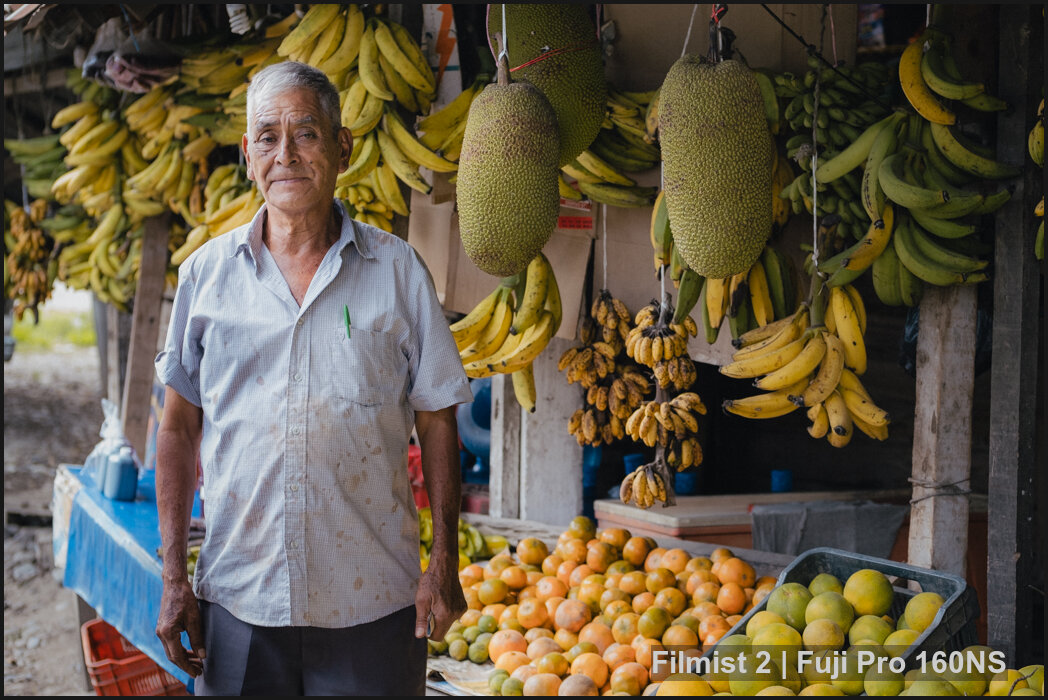
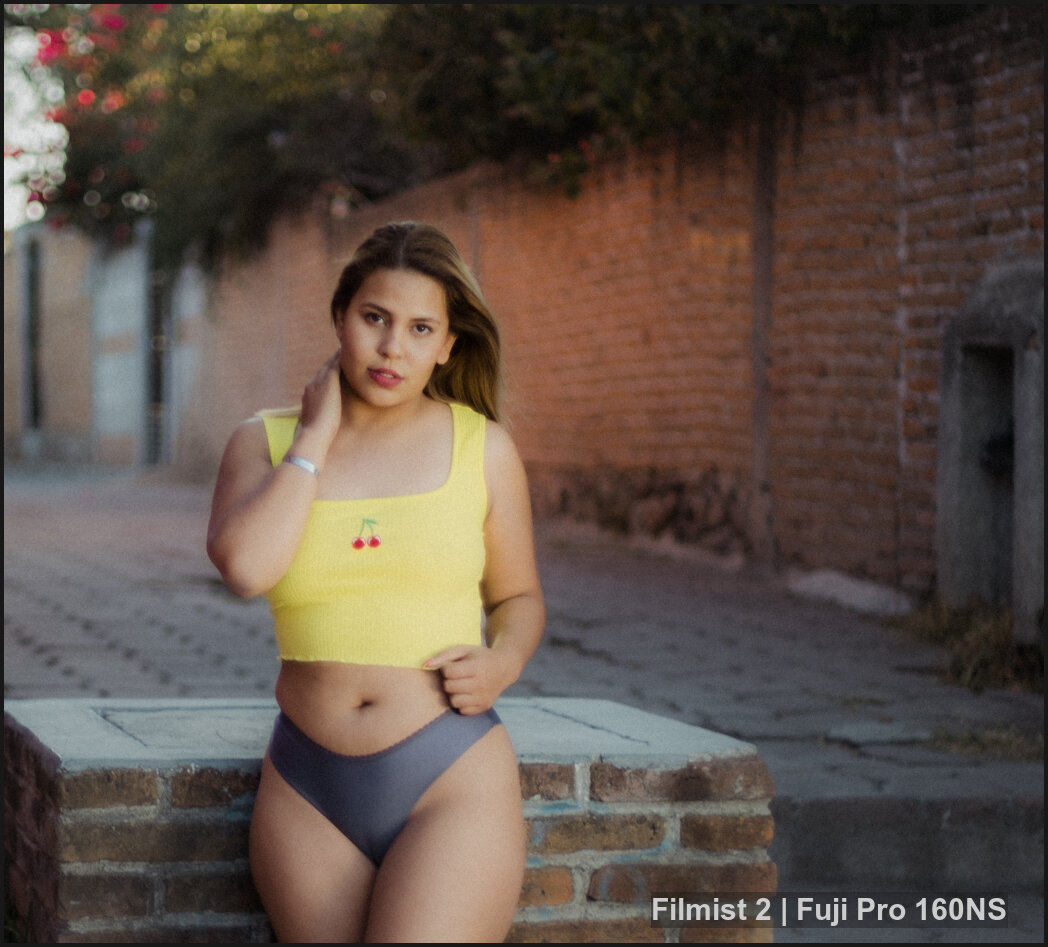
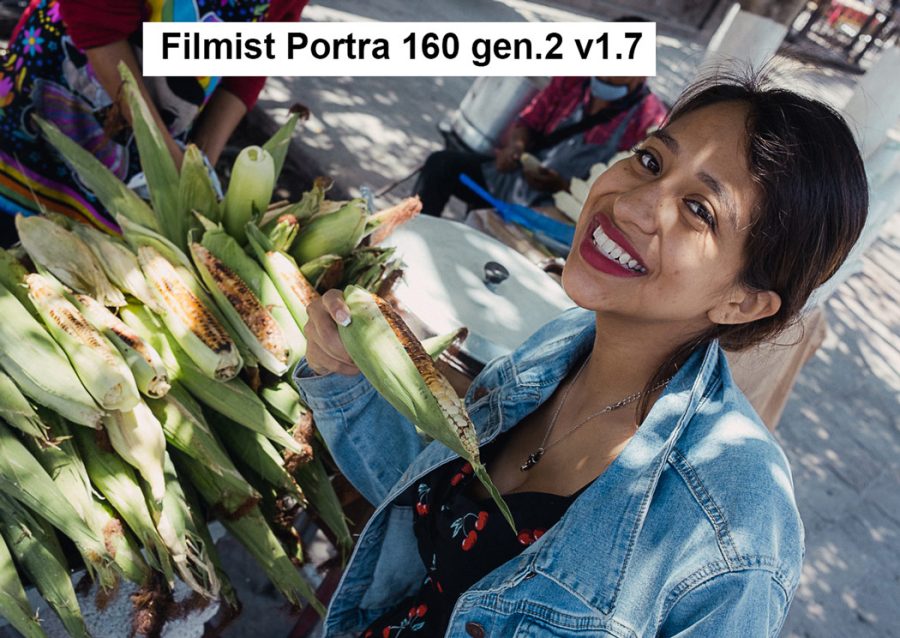
You can get Kodachrome 64 Gen.3 the new Velvia 100 and more in Filmist 2.4 complete. If you have Filmist 2 go to the update tab. I’ll also show you my settings during the video.

If you watched my recent video on color science in your camera or on How to use White Balance better, you know that a little cast can easily be correction with a quick slide right or left.

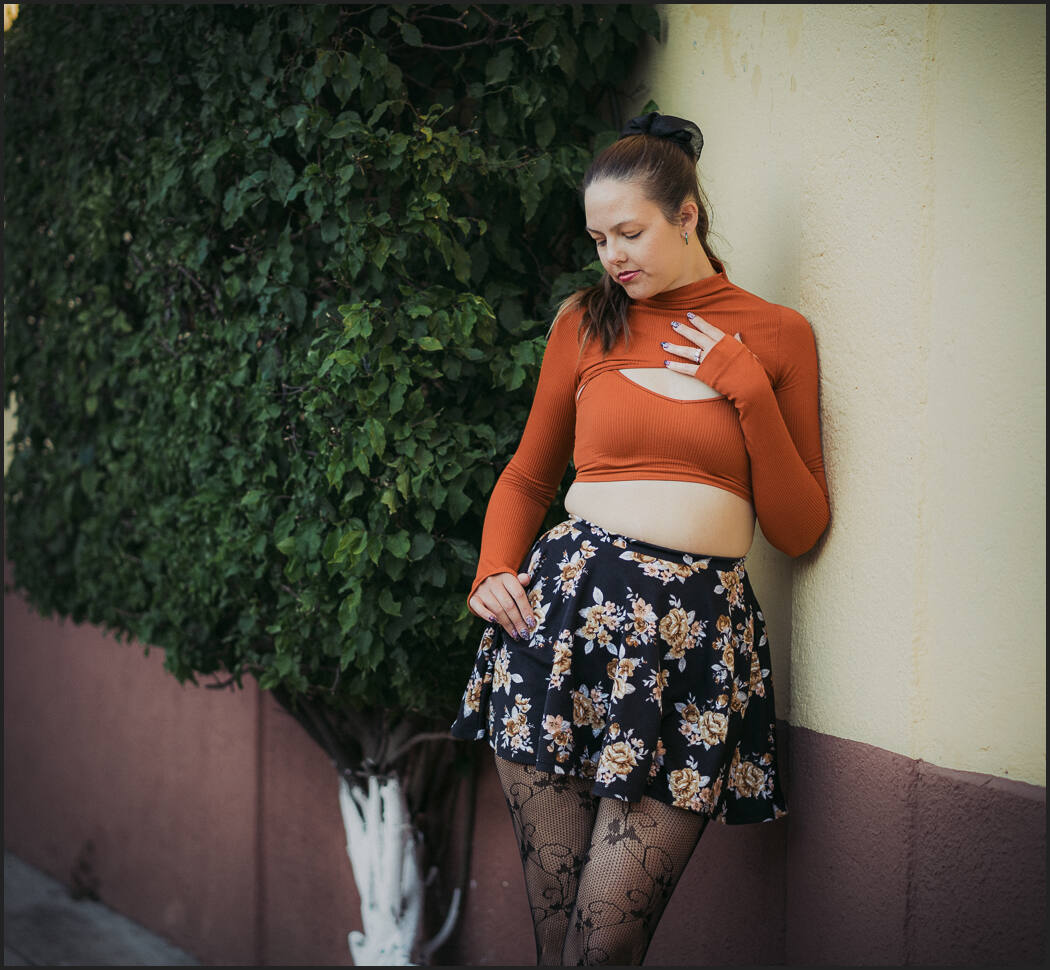
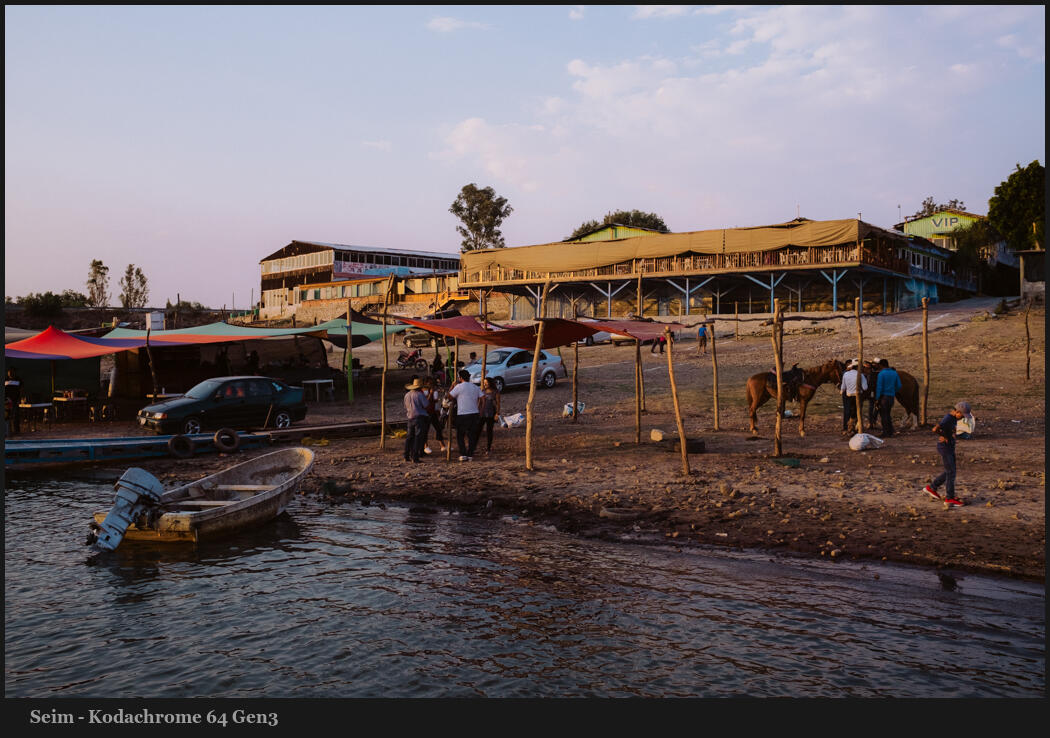
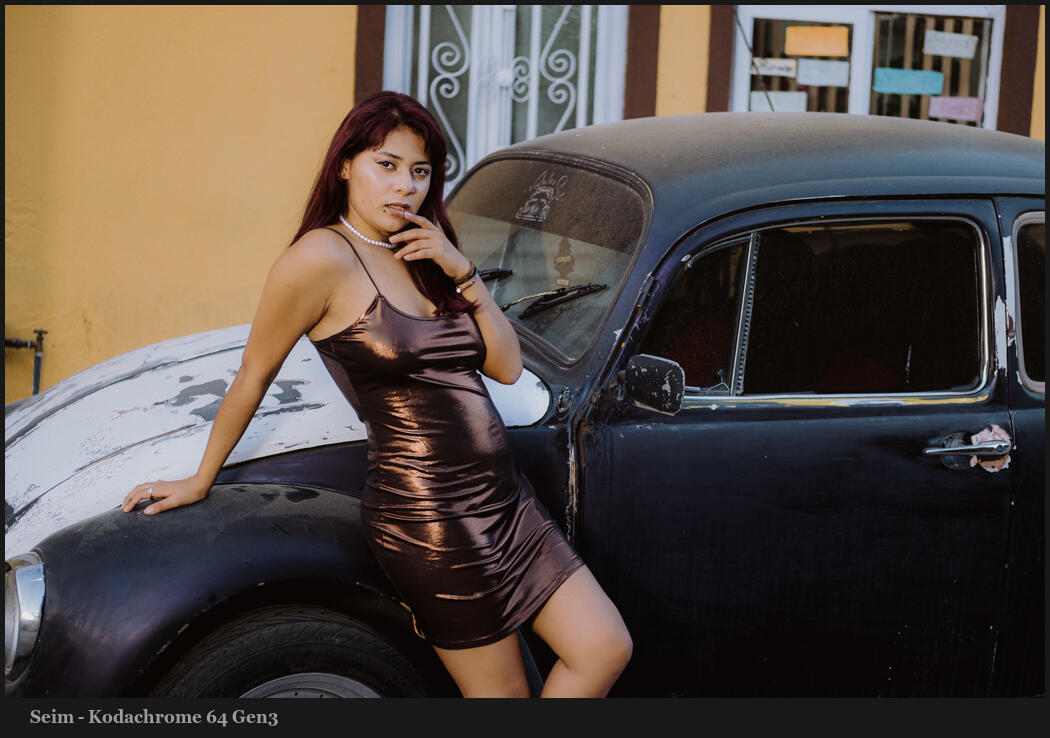
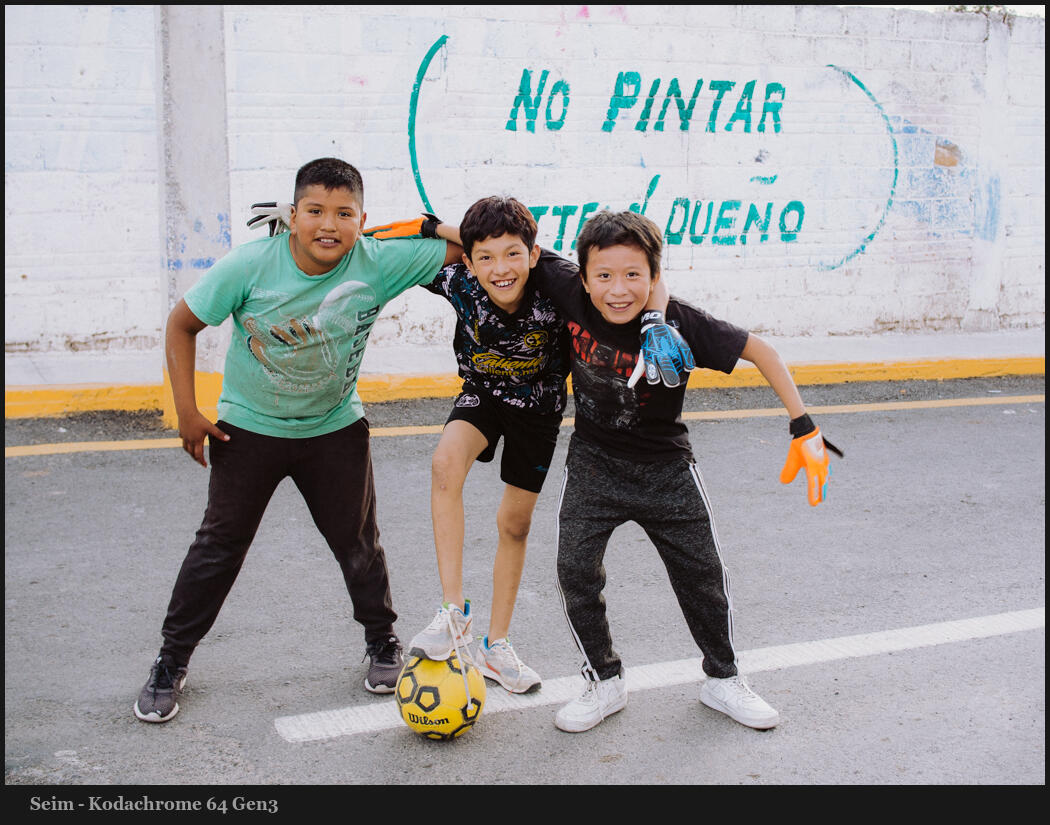
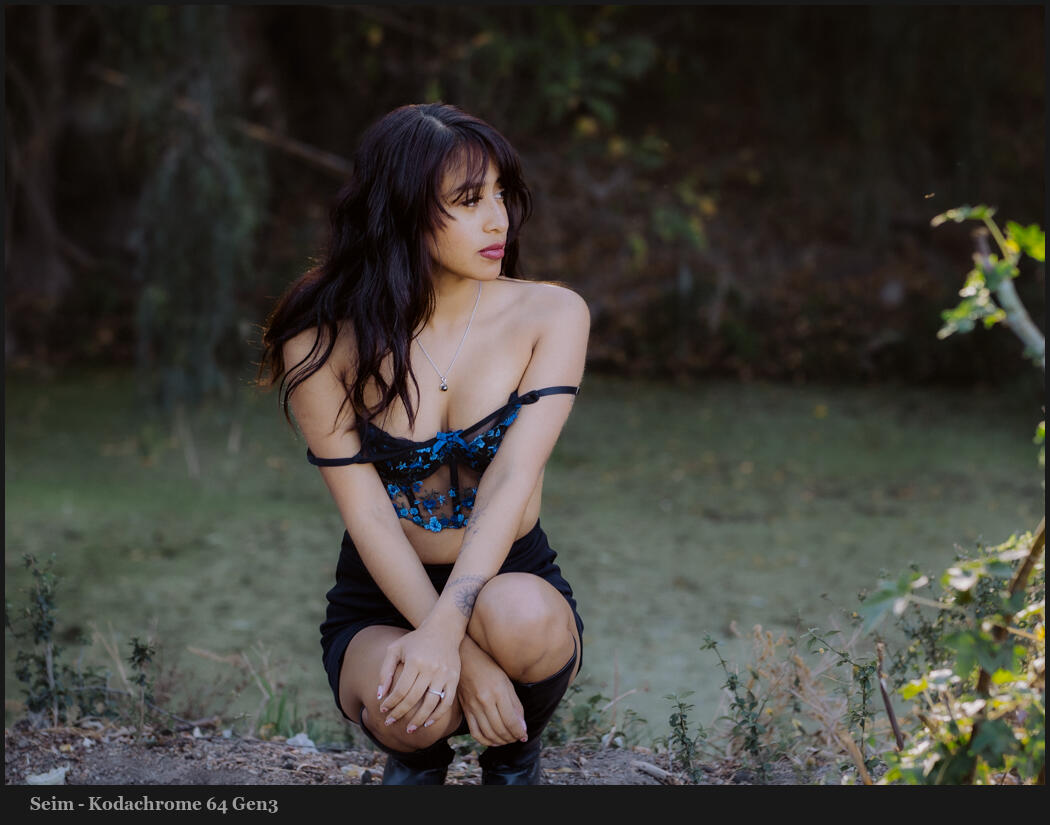
But the iconic look of Kodachrome 64 is something more. As what is considered the most iconic Kodachrome by most, Kodachrome was the defining look of legends like Steve McCurry.

One of the patterns I found and something especially hard to defeat on digital is that is always has this rich coffee chocolate sort of brown. This is not as simple as a white balance slider. It goes against what most digital camera produce.

If you’ve ever held up a strip of film you know it’s not all roses. As light changes the color shifts and most digital cameras fix this on the go with auto white balance.

Because of this and many other factors there s no one single look that is Kodachrome, Velvia etc. When I design film presets (and this is especially true in Kodachrome) i looked at hundreds of tests to find the balance. What did this film look like in it’s best moments.

But camera sensors also vary. So if you apply this and it feels a little red leaning or too cool. That’s where the white balance comes in. You don’t need to rework the curves or the color of the recipe itself in the presets. Just nudge that white balance a little bit and that cocoa undertone shines thru. That is Kodachrome 64.

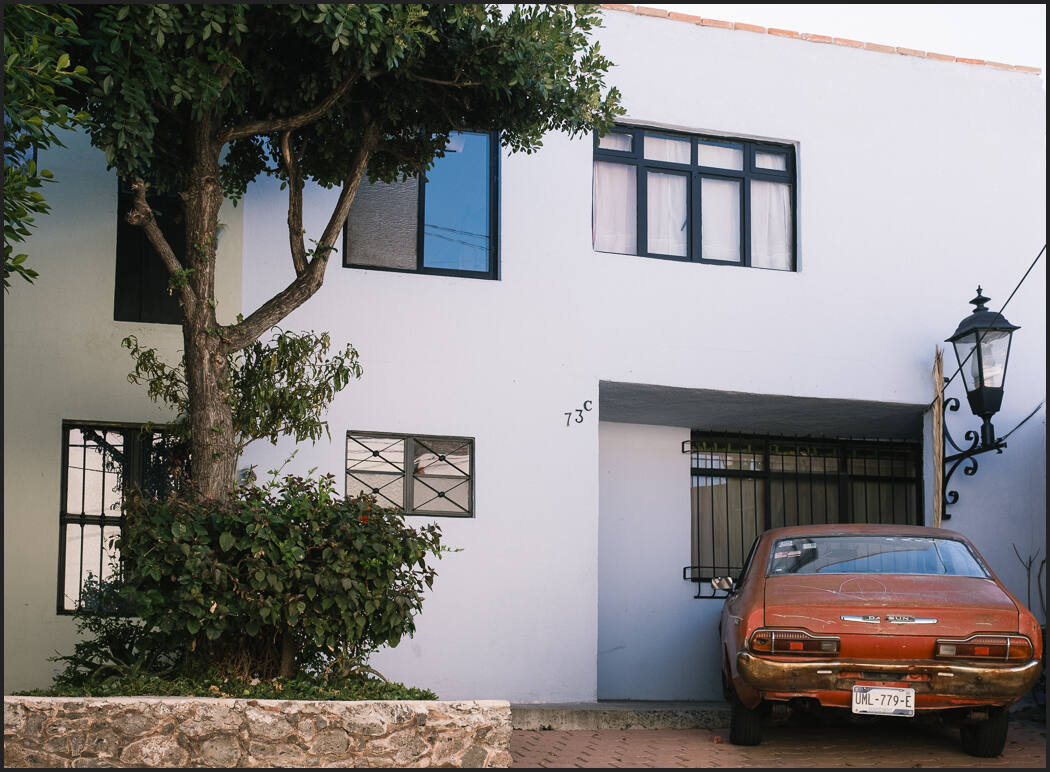
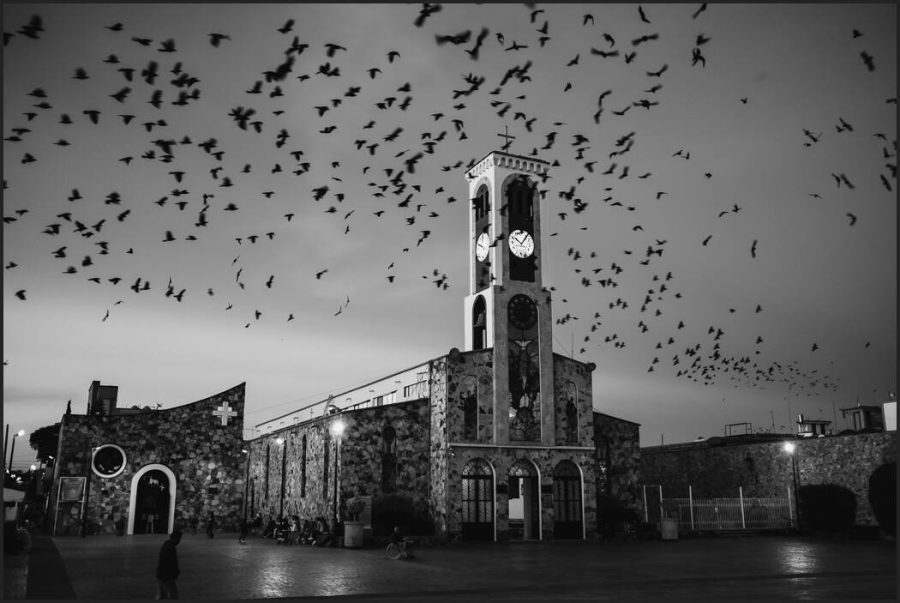
I’m not sure there’s any such thing as a perfect recipe. I’ve never found any Kodachrome recipe that gets this close. It’s rich look works digitally on portraits , streets weddings and anything else.

There are many you make recipes in camera. The problem is that these are very limited. If you see how I made this recipe it’s with complex color controls and a lot of detail. Detail you can’t get in camera. For in camera profiles I don’t usually recommend trying to really emulate a film. If you really want a film look, shoot RAW and add presets or styles after the fact.

Also As a positive film it did not have the dynamic range we have today. That can be good. It give you those rich shadows I teach you about in Shadow Hackers. Don’t push setting up just because you can.

That said. I often use the chem kit mods in Filmist 2 to add a little more range while still retaining the rich color. Nothing wrong with mixing it up. But the preset itself trues to remain as true as possible to Kodachrome 64

Read More

April 19, 2024

Today I’m launching a great new emulsion in FIlmist 2.3 The Fuji Pro 160NS preset to sit alongside the legendary Fuji Pro 400H. But even if you don’t use Filmist, the lesson from today’s video is big

Get Filmist 2 here or download the free sampler. If you already own V2 login and update here. I also mentioned Natural HDR 4 in the video.

I didn’t even know this. It took me years of creating this thing like this preset to understand how much we have lost. This really came to light in the latest update of my Fimist presets and Styles.

160NS is a great film. In digital terms, it seems close. Especially on some photos. But consider that Fuji did all the research and development to make this distinct film. There was reason for that.

As you watch look for the details. In a world of sledgehammer sliders, AI, supersaturation and synthesizes guitars. Everything has to be over the top. or does it?

The Fuji 160NS is not that far from the 400H. In today’s world, many might say, I don’t see the difference. But maybe something is deeply wrong with your edited photos.

Fuji Pro 400H and Fuji Pro 160NS presets for lightroom and capture one.
Side by side you can see how the color tones vary and those can make a huge difference (click for larger).

Why? We don’t think with that kind of detail anymore.

In digital the work I invest to make 400H and 160NS as presets is a lot for me. But nothing compared to what Fuji spent creating and marketing them. Even with all that work it was considered worth it to make another product that was just a little varied.

That should tell us something about how much more nuance photographers thought about back then. Film was the preset of the day and those little differences mattered.

It’s there. The tools are powerful enough. The courses are at our fingertips.

But it’s hard to wow people on Facebook or compare with fake Ai photos with a slight tonal variance. We have changed our mindset from subtly to a sledgehammer. It’s a really good hammer.

Once you start seeing the nuance. It comes back. You value it again and you start feeling the little variables in color and tone. Just like when you Hack Shadows you quickly connect with how magical photos are created.

It’s another reason I love to edit with film, shoot real film, and study what makes it work. because it makes me a better photographer when I shoot digitally, and it will for you also.

Gavin Seim

Read More

December 21, 2023

There are lots of free Lightroom presets around my site like Silver and Natural HDR. But my most popular ones are my free film presets and I’ve updated them today for Filmist V2.

Download this free presets pack HERE on the Filmist 2 page

In the FIlmist free film presets and styles pack you get the next-gen Portra 160, Fuji Classic Negative, and Agfa RSX 100 film styles.

Just using these film presets will give you edits that feel true to the film. Photographers are learning that real photos are what matters in this new Ai world. For more on this check out my post and grounding your edits with film styles.

Below is a hands-on video from my channel on how to use Filmist 2. If you need help installing the free LIghtroom presets or Capture One Styles, check out the videos on the help page.

The latest refinements of these film styles are like true film. I’ve shot more film, done more side-by-side testing, and made every film recipe in Filmist 2 better.

I hope you love these and buy the entire Filmist film presets pack. It’s years of work and it is the best lightroom and capture one film presets I know of. But for now, at least grab my free film presets pack and enjoy.

Oh, and you also get free film LUTS in the free and complete pack so you can get the true film look in video editors like Premiere Pro, Resolve, and other photo apps like OnOne and Luminar.

Portra 160 free lightroom film preset. The latest version is included in the Filmst 3 free film styles pack
Portra 160 free film preset is a classic and the latest Gen3 version is even more refined. Portra 400 and 800 are also included in Filmist Complete.

I’ve been making high-grade Lightroom presets and free Capture One styles for many years. So why am I obsessed with getting perfect film looks? It comes back to maintaining that natural real look that the film created and that I’ve managed to duplicate in Filmist 2.

I use the balance I learn in creating film presets to improve my other presets. That’s why they all play together well.

Some photos need a different look. I normally use films as a starting point. But depending on my photo I’ll also use Natural HDR, Streetist, and my other packs.

Each of these packs also has mods. So while I love the ChemKit2 mods in Filmist I don’t hesitate to go to ModKit from Silver 5 black and white presets or maybe GoldChrome for a rich color warm look.

The new fuji classic negative free preset from Filmist 2
The Classic negative look is inspired by Superia 200. One of my most requested presets and the new Filmist 2 version is even better and more accurate than what you get on a Fuji camera.

The thing with film presets is that you won’t edit this way manually. Digital sliders are designed to let us push hard and the nuance of good film styles can take weeks to refine.

In a real darkroom, we could manipulate how we develop and print. So I put a ton of time into the ChemKit2 mods in Filmist. They let you use a film look and then adjust it instantly with darkroom-inspired processes. I included of of these for tone in the free pack. Turn it up and down and see what happens.

The beauty of using Lightroom presets and Capture One style packs is that with well-made film styles, you get edits that take hours in seconds. Once you get used to the milder grounding look of film it becomes a go-to. But if you have a photo that is not working with film, don’t hesitate to branch out.

A bonus free film preset. The Agfa film styles are amazing.
Agfa series films are rare as digital film styles very much but they will soon be one of your favorites. I included Afga RSX 100 with stunning color and fine grain in the free film presets pack.

I hope you enjoy the Filmist 2 free film Lightroom presets and styles pack and that these filmic styles let you see digital in a new light and use the rest of your presets, actions, and tools better.

I’m here to help if you have questions.

Gavin Seim

Read More

December 2, 2022

As a tool creator, my most popular products have lots of organic darkroom looks. and for good reason. Filmist Film presets for Lightroom and Capture one. Emulsion Platinum actions, Silver black and white presets. They all have something special in common… Darkroom science!

Presets and edits that mimic the look of film in a darkroom give your photos an authentic look.

But you need more than that. You have probably used some of my most popular or my free film like presets such as my Classic Negative style, and Portra film presets. These work so well because digital makes it really easy to over-edit in ways that were non a problem in the darkroom and we need to balance that.

We’ve all gone back over our images and seen icky, overly saturated adjustments. So it’s easy to panic and begin underediting after that. Due to underediting, I actually designed Muse presets to create more cinematic edits.

Balance is what my new Darkroom Hackers editing class is about.

You can sign up for the class here.

This is not a “how to use the best film presets class.” I will show you how to use Filmist, Silver, and other tools; even Photoshop, for amazing color and black-and-white darkroom-like edits.

But this class is more than that. It’s a power-packed LIEV hour of how to understand what RAw editors are doing. Whether you’re using STyles for Capture One, Lightroom Film Prestes, Photoshop layers, or your own manual edits.

I’m going to show you how to achieve that organic look that feels like it came from the darkroom while still being able to create great color mixes and bold shadow blends. You’ll learn how to use film-like presets and make your own looks that pop off the page.

I’m excited about Darkroom Hackers because how we edit matters, and the photographer that knows these things get ahead of the competition in so many ways.

I’ll see you there | Sign Up

Gavin Seim

Film presets film styles portra 160
Fuji Classic Negative lightroom preset
Silver presets for LIghtroom and Capture One film looks
Grainy film look black and white edit
Read More

September 16, 2022

I’ve been thinking for a while about how to make today’s video. People keep asking me for an overview of my tools but I’ve wanted a way to make that video useful, even for those who don’t have any of my tools or who just use my free tools.

What is Native editing?

This is when you use the tools already in your app like Lightroom instead of plugins. It can mean presets, actions, or all manual. And usually, it’s better because it uses all the engineering built into your favorite app.

Today I’ll show you why native editing in Lightroom, Capture One, Photoshop, and the rest is usually better than a plug-in and how to decide what kind of edit to do.

But I’m also going to show when you need to go beyond LIghtroom and a RAW edit and go to Photoshop.

There’s a lot of confusion on this and I get questions all the time about what native tool to use, why Silver 4 presets or when to Use Blackroom, Filmist, Lumist etc.

So Why do you need Photoshop?

I’m covering this more in the video. But where LIghtroom and apps like it are RAW converters. They are fast, you can copy and paste settings. You can batch edit. That’s great

You really can’t do that in Photoshop. Actions speed things up rapidly, but you can’t just apply settings from one photo to another or import a batch and edit on import. The difference is that in Photoshop you can do high-level refinement on your best photos. The keep is knowing how to use your RAW converter and your pixel level; editor like I show in the video.

There are a lot of ways to achieve your goal in photography.

I think the best way to get there is to know your options and most importantly to start making your editing plan. You need a system in place that guides you thru your own process each time.

I hope you found today’s video useful because I want this editing approach to make sense. If you have feedback just leave me a comment and I’ll see you next time.

Gavin Seim

Read More