When you start to use film simulations your edits get better.
It can be difficult to develop your own editing style, but good film simulations help a lot. First you get past this idea that you’re a copycat for using film simulations and realize that film was formulated that way for a reason.
Next your edits become subtle and you start to see more of the potential in your edits instead of using edgy digital looks that go out of style fast. Film looks never go out of style.
I’ll show you how I’m using film presets and why they are not a passing fad but an essential tool for understanding how to edit each photo you take in a balanced way.
Get straight to the video and see how to use film simulations and what makes a good one.
Years ago, when I launched Filmist presets, I made videos about it. But I’ve improved my film pack so much over the years that even the free pack has what others make you pay full price for.
If you have Filmist but are still using an old version of Filmist login and install the latest because all these V1 updates have been free updates and Filmist is easily double what it was when it launched.
Film simulations are not about being cool.
Tools like this are not about getting a copycat look. Film presets least of all. They take something that takes many hours to create and even more to refine and make it simple and usable so that you can have a constantly creative look that learns from photography’s history rather than simply replacing it with something new.
I hope you found this week’s video useful and will go put these film situations to work as presets, Capture One styles, and LUTS on your videos.
Gavin Seim
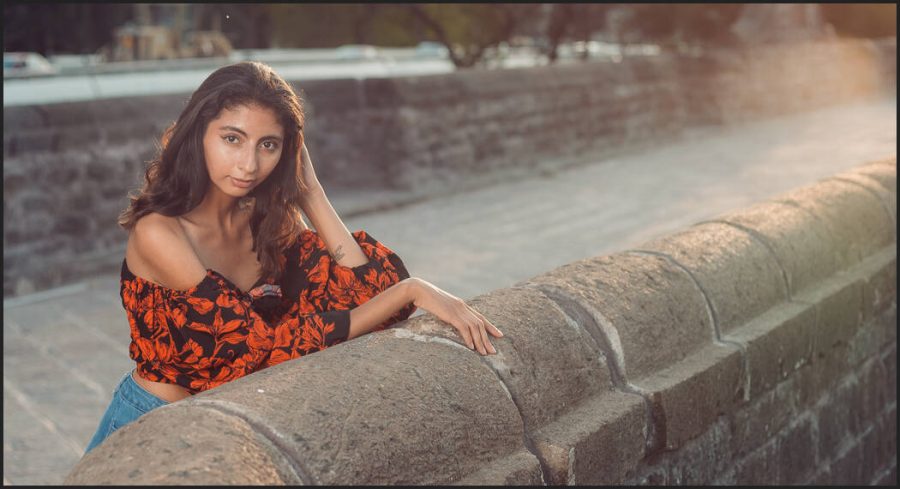
Ektar 100, rich and deep with subtle redsPortra 160, classic and easy for any setup
It took me years to learn that consistency, style, and editing speed are directly linked. Many new photographers think editing slower means a better edit. In general, the opposite is true!
1. Why Speed_Mods improve your photography style and speed.
I’ve shown you how editing mods create a better editing result and speed in Lightroom and Capture One. Today I will break down how they are made and how to use them better.
Like Speed-Masking in Lightroom, Speed_Mods are included in my preset packs and you can make your own. They let you take any recipe and make it your own but without wasting a second. So, lets not waste any seconds and jump right into todays video.
2. Your style starts with consistency!
I know firsthand that finding a style can take time and that you sometimes can’t seem to decide. Part of the issue is that we have SO MANY EDITING OPTIONS that we lose focus.
It’s not wrong to have various flavors in your photos. But your style can be defined not only by how you shoot, but also by the nuance of your edit. Most overthink this, so they are always searching. But your recipes combined with Speed_Mods will help you stay the course, and your style will shine through every time.
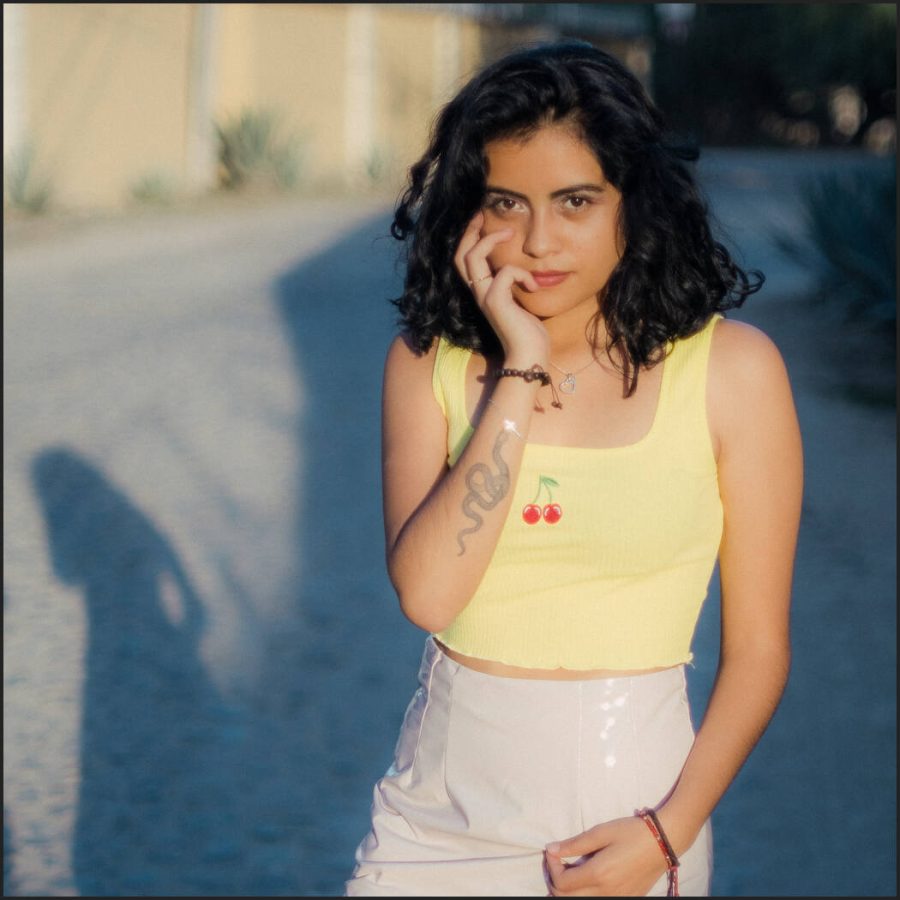
When you create or use presets in Lightroom, the goal is not to create the same photo as everyone else. Just like when you shot Portra 160, it did not mean your photos were meant to look like the rest of the world.
Things like this Xpan 65×24 crop can help you define your style. And film edits and mods do the same.
3. Recipes are like your Film, Mods are like your chemicals.
If you use Filmist and add Porta or Ekrar or Classic Negative, those looks are a base recipe that has been proven to work millions of times.
Buy using a recipe (like choosing a film) you create a aesthetic, but just like in the darkroom we could then shift shadows, tones and details by how we developed, not you can adjust that recipe to your liking.
Of course going straight to granular sliders is fine. But say I apply Silver 5 wet plate look like I did in the video and I want a more HDR feel. I can go and play with sliders of I can simply apply the HDR mod from mod-kit presets. The speed-Mod gives me a refined process based on testing and I am done in a moment.
Professional software is about being able to find your creative edge and your style. Just like for 20 years we’ve used Actions in Photoshop, the RAW editing apps made for pros will always have tools like presets and styles to let us create more and faster.
In the viddeo we see how this photo started as a bit of a dud. But we found the style in it that fit with my theme by having the right mods recipes.
4. Photographers who know their own style!
I can’t tell you the amount of times I’ve seen people say. Don’t use presets, don’t buy presets, make your own style. It’s like saying, find a harder way and use that instead. Pros want all the tools at their command.
There’s nothing wrong with making your own presets and styles like I show you in this video how to plan your own Speed_mod presets. Just don’t put up walls to your creality.
I’ve spent hundreds of hours refining packs like Silver, Natural HDR and Filmist. (all of these have free packs) Why? Because once a work is built, it can be used again and again and I don’t have to waste those hours to maintain the creative style I use with those presets and a few mods.
Recipes and mods combined like this will elevate your editing speed and style, and I hope you’ll give it a try and tell me in the comments what you think.
Gavin Seim
Mods like Speed Masks that I use in Elegance 4 let me use advanced tools fast and try them, that means I try more things to get the look I was going for. Speed, recipes and good mods means a more focused edit, not a generic edit.Many mods can work. By finding a recipe I like this bold warm Gold-Chrome look, I can then mod to make the style fit my visualization . Staying consistent and strong in my shadows and presentation.
It’s Gavin and with the new year brings us latest versions as we compare Lightroom V Capture One
Which is better for editing your photos in 2023, on the desktop or on mobile. Lightroom V Capture One. Today, we test both head-to-head and see who wins.
1. Lightroom V Capture One 2023: Which photo editing software is best?
In todays video for we compare Capture One and Lightroom for 2023. I use both all the time, and in making products like Silver 4, GoldChrome and Filmist film presets. So I’m always elbow-deep in the capabilities if these photo editors.
So who offers the most in 2023? Lightroom V Capture One? Watch the video to get right to it. I’ll add extra thoughts and tests below. In the video I’ll start with my conclusion to save you time. But stay for the rest and see what makes each one of these editors great.
Try these recipes out in Lightroom V Capture One by downloading my free Styles and Presets with Filmist, Natural HDR and Silver 5 sampler packs that I created.
Reminder. Both LR and C1 are still RAW editors.
Tools like Photoshop and Affinity Photo are layer-based pixel editors, they should not be directly compared. There are other RAW options like OneOne RAW and Lumimar Neo. reviews on those are coming soon. But today, we’ll focus on Lightroom vs Capture as they are the big dogs and what most photographer are using daily.
I’ll also include more images as examples below….
2. Lightroom vs Capture One: Is it better to choose a subscription or perpetual license in 2023?
Lightroom and all Adobe products have been subscription only for years. One of the big draws of Capture One has been the perpetual license. Capture One costs a lot more than Lightroom, but I’ve always felt owning software is better, and in general, subscription, models are not as good for us users.
This year, that’s no longer an advantage of Capture One vs Lightroom.
While you can still buy Capture One as a perpetual license, it does not include any feature updates, and Capture One has all but thrown perpetual users under the bus. In fact, it was a bit of a scandal how they handled it and we talked about that in this video here.
It’s likely that C1 will end all perpetual licenses soon. Even now, the value of their perpetual license is pretty low, so it’s not a deciding point in favor of Capture One Pro.
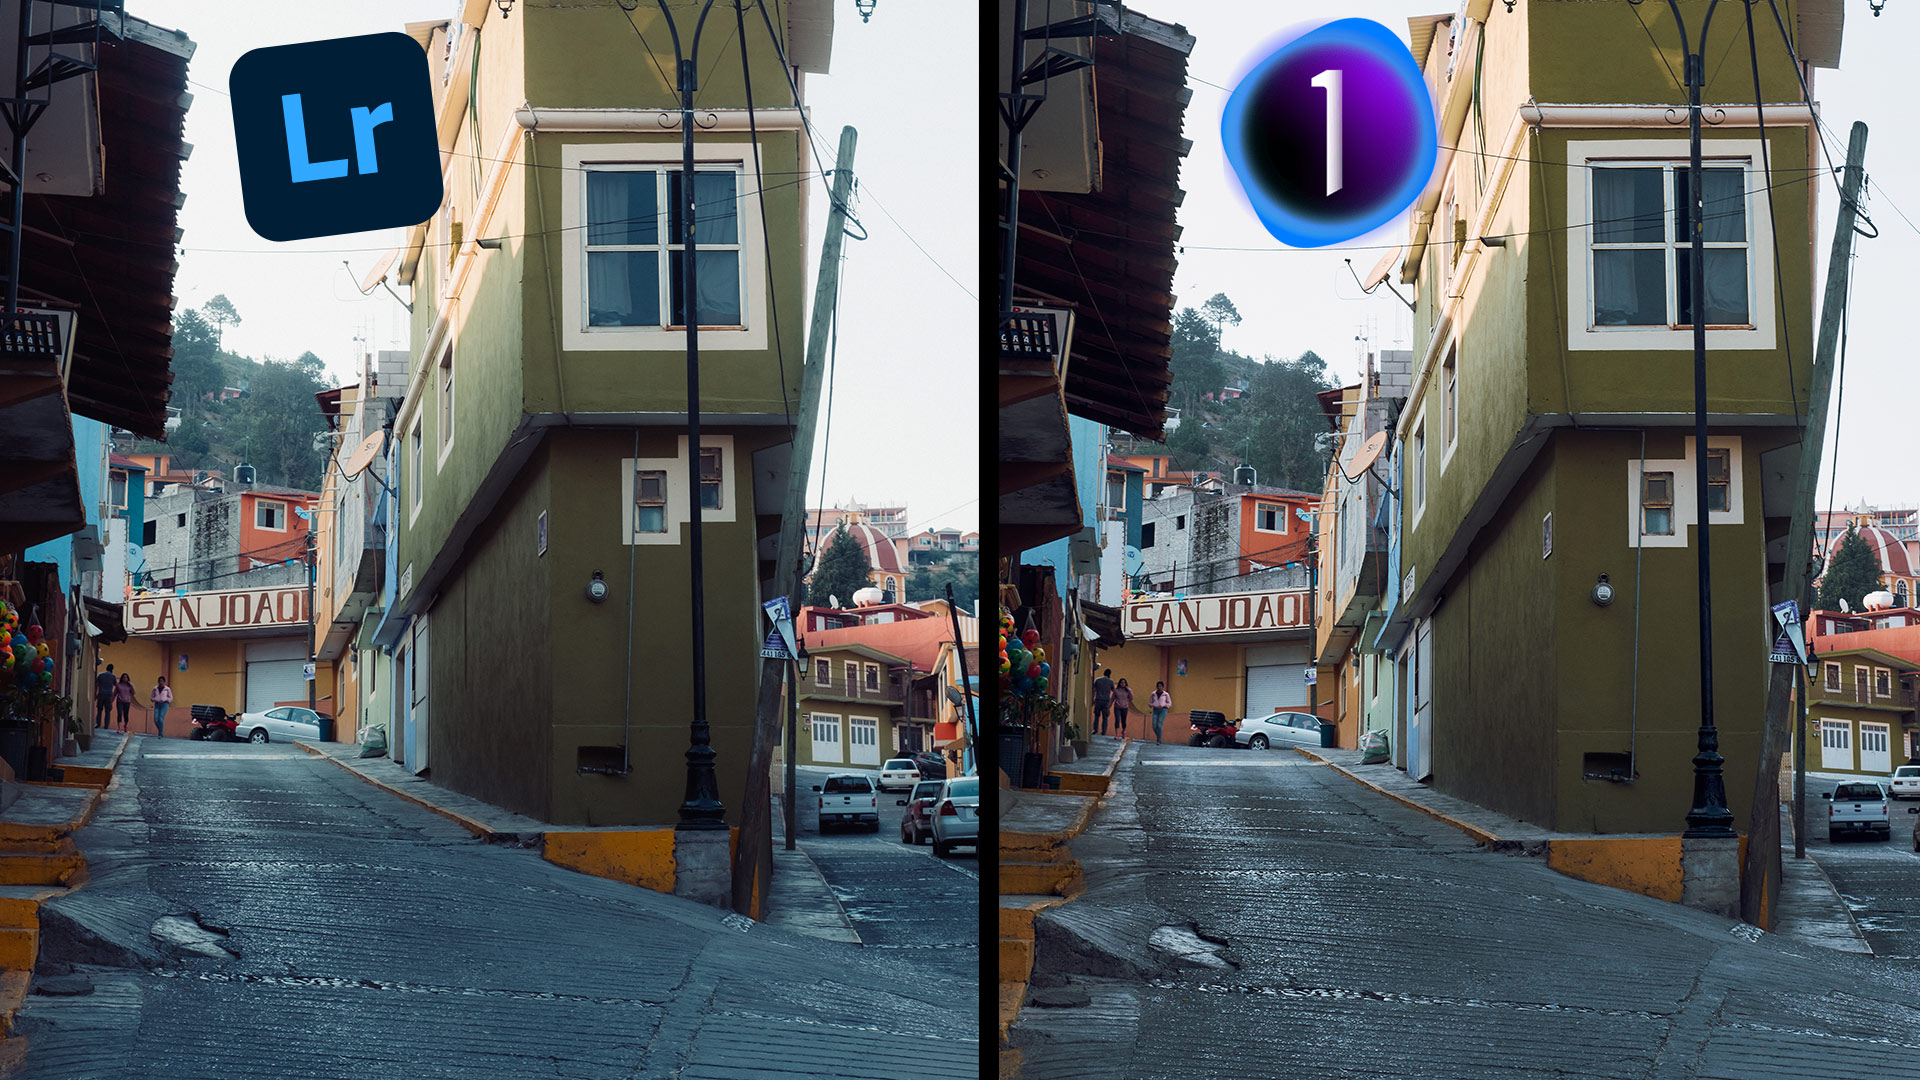
I used the Filmist Ektar like preset here. You can see whether you use styles or manual edits that in the end photos look equally good in LR or C1
3. Lightroom V Capture One: Which offers better RAW image quality?
I’ve been using both for many years. Capture One claim to fame has always been that it has more controls and settings. Things like being able to select and manipulate any color range rather than simply having the six basic color sliders in Lightroom.
This is not a small question. Process quality matters, and not all RAW processing is equal. I have tested others that are badly lacking in highlight control and detail management. However, Lightroom and Capture One are both excellent image processors.
Do extra sliders make Capture One edits better than LR?
Not really. Capture One seemed to have more nuance on highlight recovery and control than Lightroom in the past. But in recent years, Lightroom has caught up and maybe even passed Capture One.
There are more nuances to the controls. in Capture One. More color channels. levels, and curves instead of just curves in Lightroom. However, I use every ounce of these to create advanced color profiles such as my Porta presets and the Classic Negative in my Filmist pack. More controls do not make always editing easier. In fact, it’s usually harder in Capture One to get a recipe perfect.
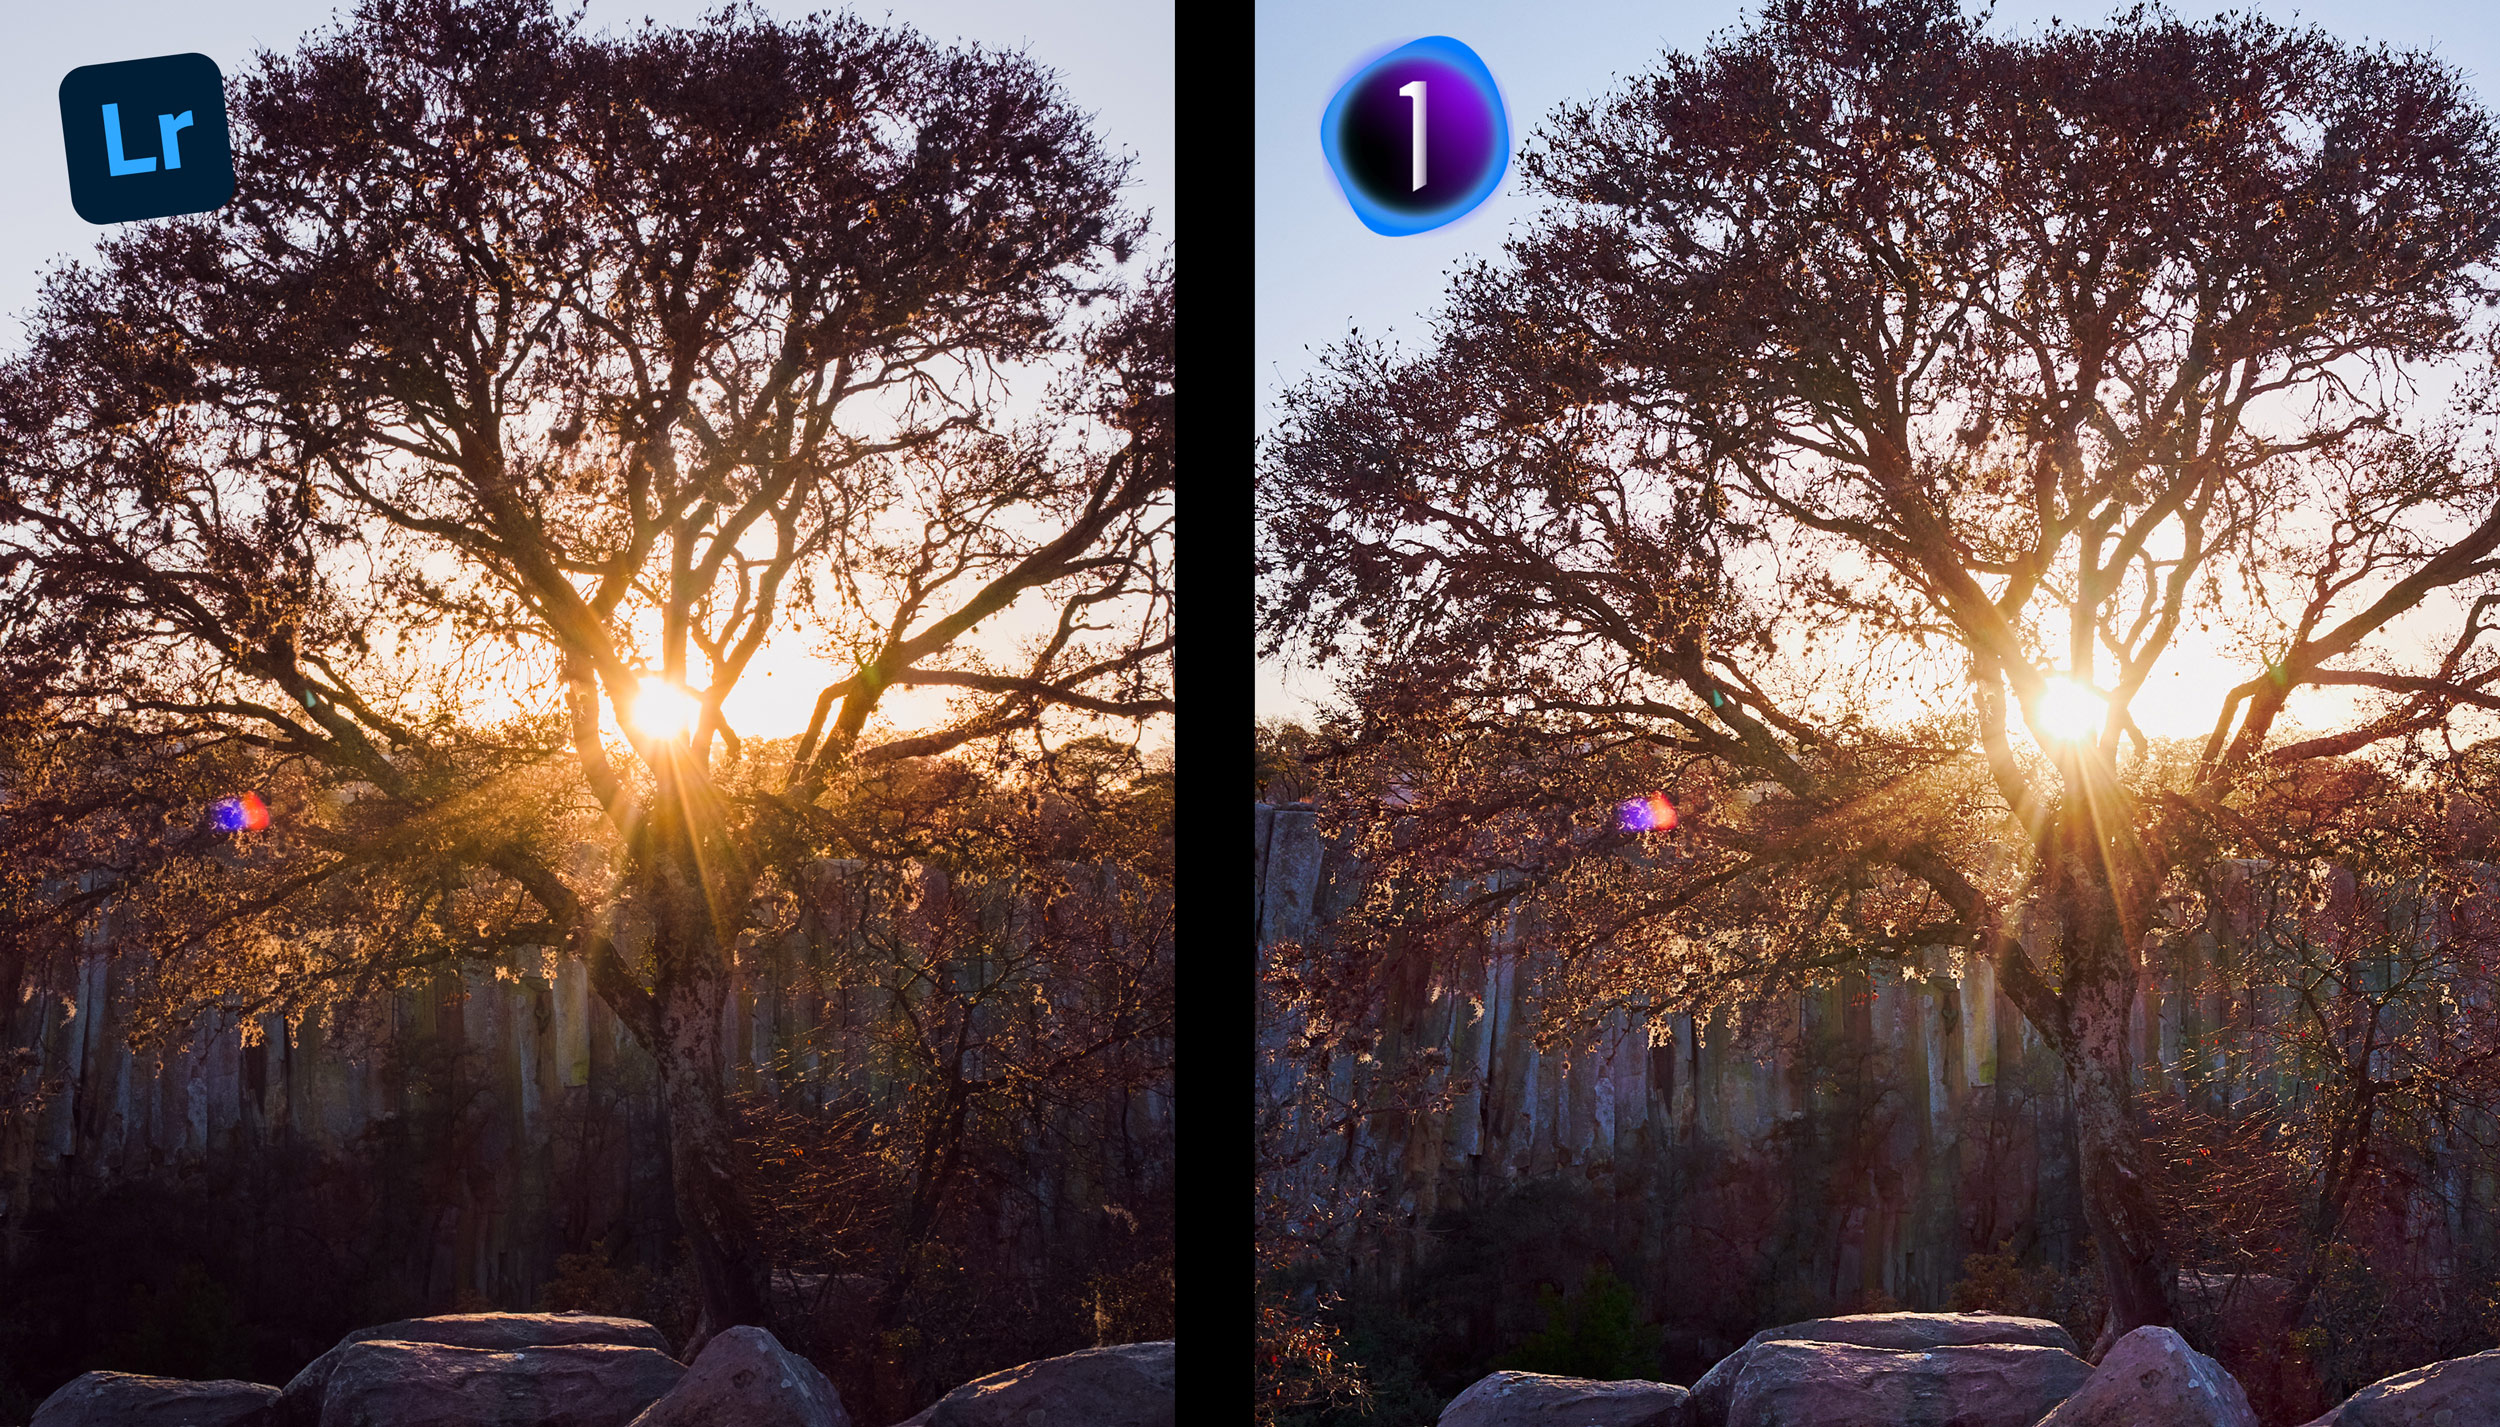
Extreme hights in Lightroom 23 vs Ccapture One 23. I used a preset from Natural HDR on both. Click for a larger view.
4. Capture One vs Lightroom 23 Noise, Worms, and Fuji Cameras.
I shoot a lot of Fuji cameras and others as well. Capture One has always been promoted as better for Fuji users due to the way it handles the X-trans sensor data and produces a less wormy effect in noise. I’ll show you in the video above.
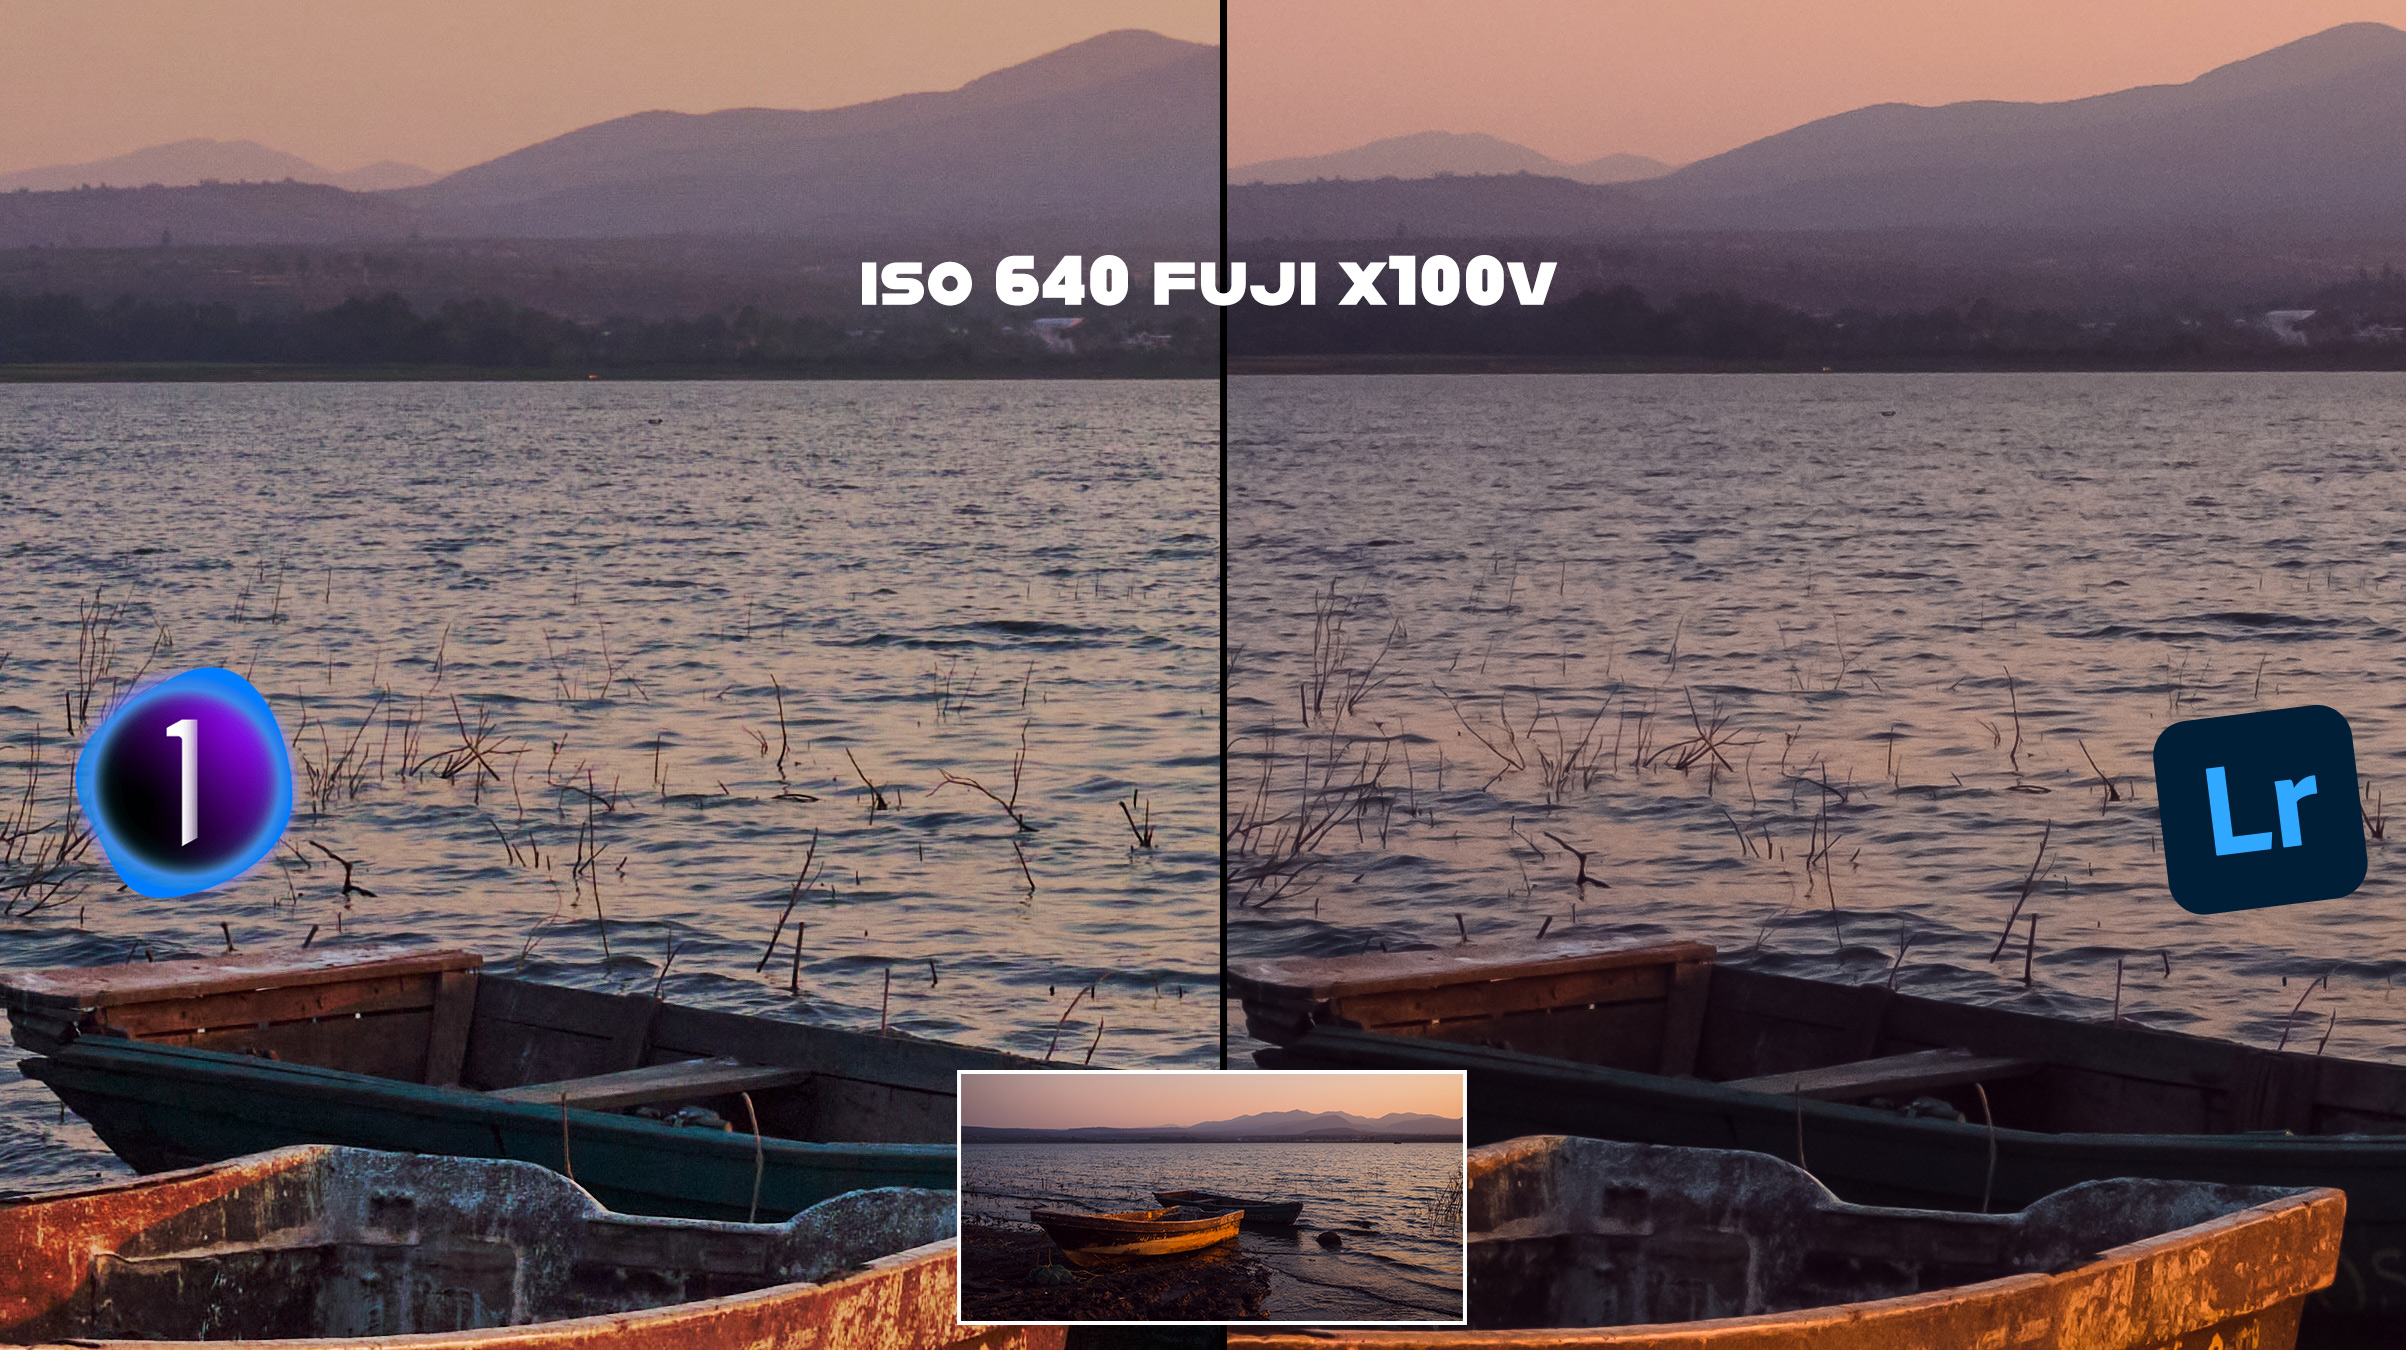
I also made this video about Fuji worms to compare and found little difference. Lightroom handles Fuji files just fine. In fact in in the Lightroom V Capture One battle, I would say Lightroom has better noise reduction than Capture One. Really!
When Capture one looks better out of the gate, we can see that C1 is applying more noise reduction by default, making it look better than Lightroom at times. But as soon as you apply an equal NR to both, the results are super close. Also most people are trying to remove noise when they should be using it. Watch my video on how to handle noise here.
You may need to click and see this full screen. You can see that the noise and worms are equal or maybe even favor Lightroom in this Fuji test. Both files were given an HDR proves from Natural HDR and I refined noise settings in both for a clan look.
5. Lightroom vs Capture One 2023: Which software has the better feature stack?
Lightroom has more modules and features. This like the Lightroom print module actually is very useful for getting real-life photos made to its web module for galleries. You don’t get that in Capture One.
Capture One fans tout it’s improved tethering abilities and we don’t dig too much into that here since it’s not the feature most of the market needs. Both can tether well and if tethering is your key feature, you should try them both see what you like best.
In general in the Lightroom V Capture One battle, you get a more all-in-one package with Lightroom. But you may not need print or web modules and developing features are more or less the same except that in layers. Lightroom excels in it’s editing experience.
6. Using Layers in Lightroom V Capture One.
In the past Capture, One Pro had the big feature that was layers. Lightroom masks were limited, and C1 layers can use nearly all the sliders and features to develop a photo compared to a limited adjustment set in masks for Lightroom. Technically, that’s still true.
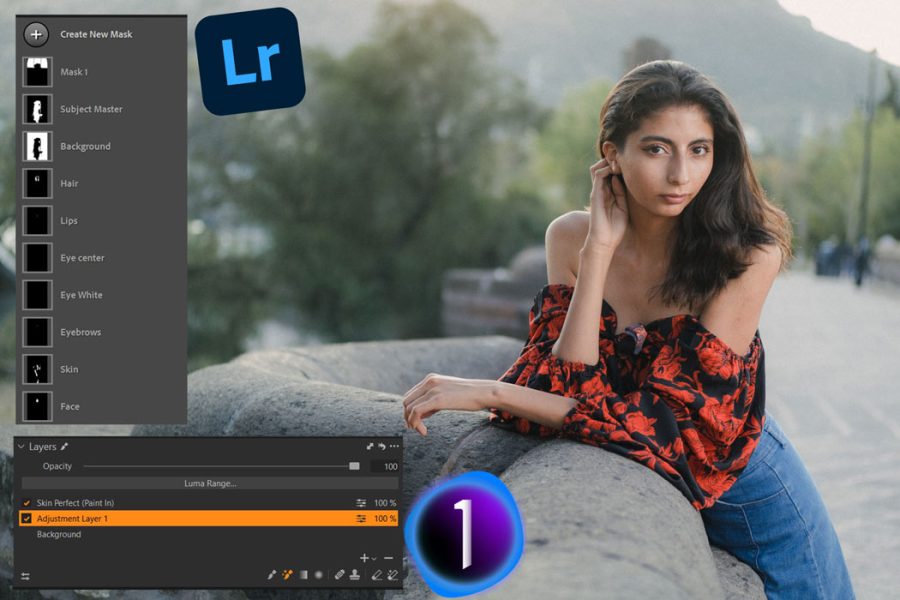
Realistically, Lightroom’s new Ai masking layer system changed everything. It’s far faster and more precise to refine almost any image type, improve a portrait, separate a background, or do anything else.
The 23 version of Lightroom will even separate eyes, faces, and other details with near spot-on accuracy. The best mask refinement you can get in Capture one 23 is a magic brush that feels like it’s from the last decade (because it is) and manual masking.
Don’t try to replace Photoshop/Affinity with Capture One or LR!
Those manual masks in Capture One are good and offer a few more tool options. Detailed pixel-level layer edits like I show you in my videos or that we create with action packs like Blackroom and Lumist will NOT be happening in C1 or in Lightroom.
Whether it’s Lightroom V Capture One, they are still Raw editors with “some” layer functions. For most, layers will be faster and more useful in Lightroom. But those who prefer an all-manual approach may still enjoy C1 layers.
6. The best mobile Photo editing, Lightroom vs Capture One in 2023.
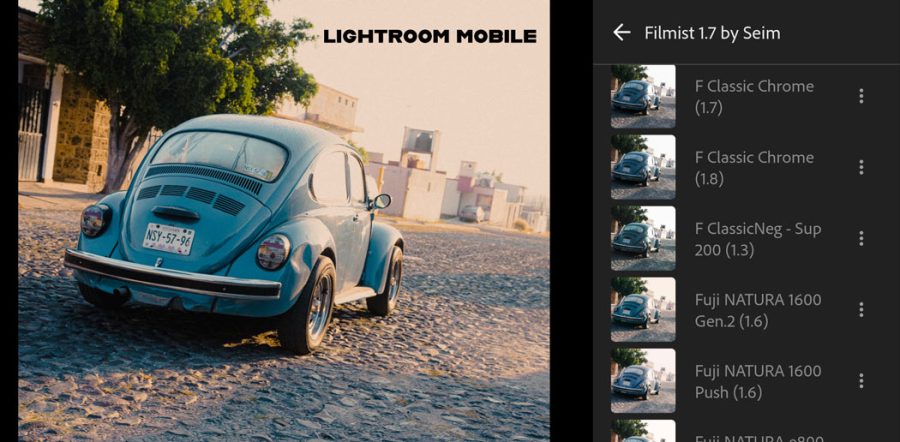
Lightroom has much better web integration in that it can sync with the cloud, you can even select individual collections in Lightroom Classic that will sync to LR Cloud and visa versa, and it is also available on mobile.
One advantage Lightroom has is that, while the sync features are not always perfect, nearly all of the developed software is available in all locations. Even on your phone, you can edit a photo using presets, masks, and every detail, develop sliders, and then move to the desktop and have everything in place.
Capture One on the other hand, has an iOS only mobile app for iPad. It does not sync, does not have anywhere near the full feature set or nuanced control that the desktop version has, and does not sync between the two.
If you want mobile and online editing integration, Capture One is not even in the running. If you are mostly desktop, this may not matter, but once you try Lightroom’s mobile features, you might be pleasantly surprised at how useful it can be. In the mobile Lightroom V Capture One battle, LR wins big.
Lightroom Mobile syncs with the cloud and has a full suite of tools. Capture One Mobile is only for iPad and very limited.
7. When to choose Capture One vs Lightroom?
Capture One will not make your photos better and has less features. The only reason to go Capture One is if you love how it renders or work in a space that everyone uses Capture One. If you need C1 don’t worry, it gives great results just like Lightroom.
For most it’s no contest this year. I’ve always been a tough critic of Adobe. It’s hard to deny that Lightroom in 2023 offers more bang for the buck. Capture One will edit your photo beautifully, and I still intend to keep supporting it and making style videos.
Lightroom V Capture One 23 Conclusion – No Real Contest!
Lightroom offers more for the money by far than Capture One. It has gone from falling behind to jumping a generation ahead with refined masking and AI tools for 2023, while Capture One’s new feature set includes no real AI.
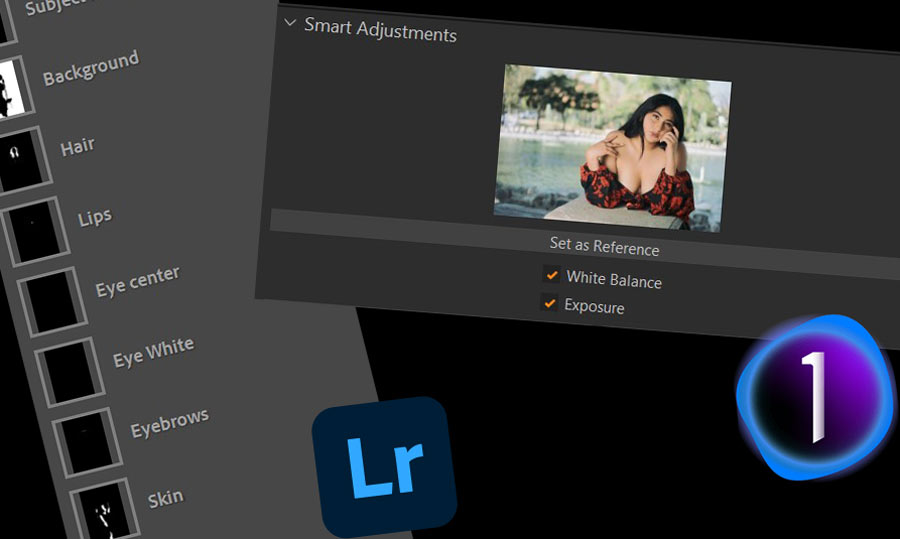
Capture Ones big feature in 2023 was smart adjustments and they are not very smart. You may find them useful as they try to match the exposure and White balance between images and this could be great for batches since Lightroom’s AUTO develop develop settings are still pretty bad.
In practice however the new Capture One Smart Adjustments are not that impressive and offer very few options or tools versus Lightroom. Capture One 2023 has a few other new features and improvements, but it lacks anything truly unique or cutting-edge.
Lightroom V Capture One value? C1 should cost half of what it does!
Considering you can get Lightroom + Photoshop for far less than the cost of Capture One alone, and if you get Capture One, you will still need Photoshop for something similar for more advanced edits, and even basics like printing which Lightroom has built in and it works well.
If you’re on the fence about Lightroom V Capture One, then Lightroom is probably what you want, this year. Let’s hope Capture One starts listening instead of trying to squeeze their customers in 2024 and maybe they can bounce back and win the Lightroom V Capture One battle.
Let me know what you think in the comments, and we will see what the next year brings. Lightroom V Capture One is still a tight race despite the gains of LR in the past year but in this competitive market, it’s really no contest in bank for the buck.
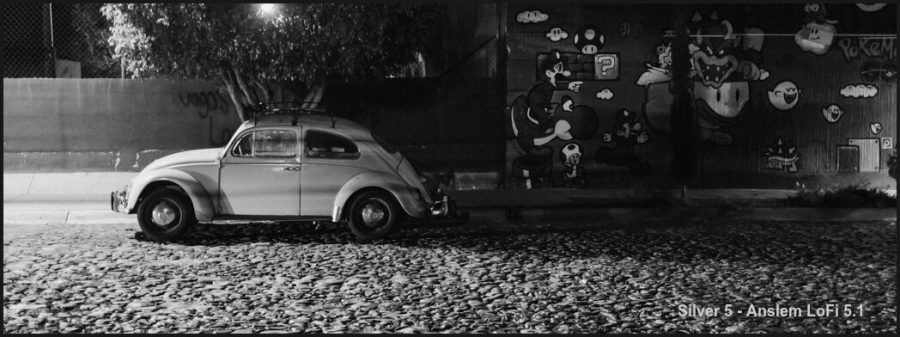
Silver, black, and white presets are one of my longest-running products, and for a good reason. There are many black-and-white tools and plugins, but most add another step when you don’t need it.
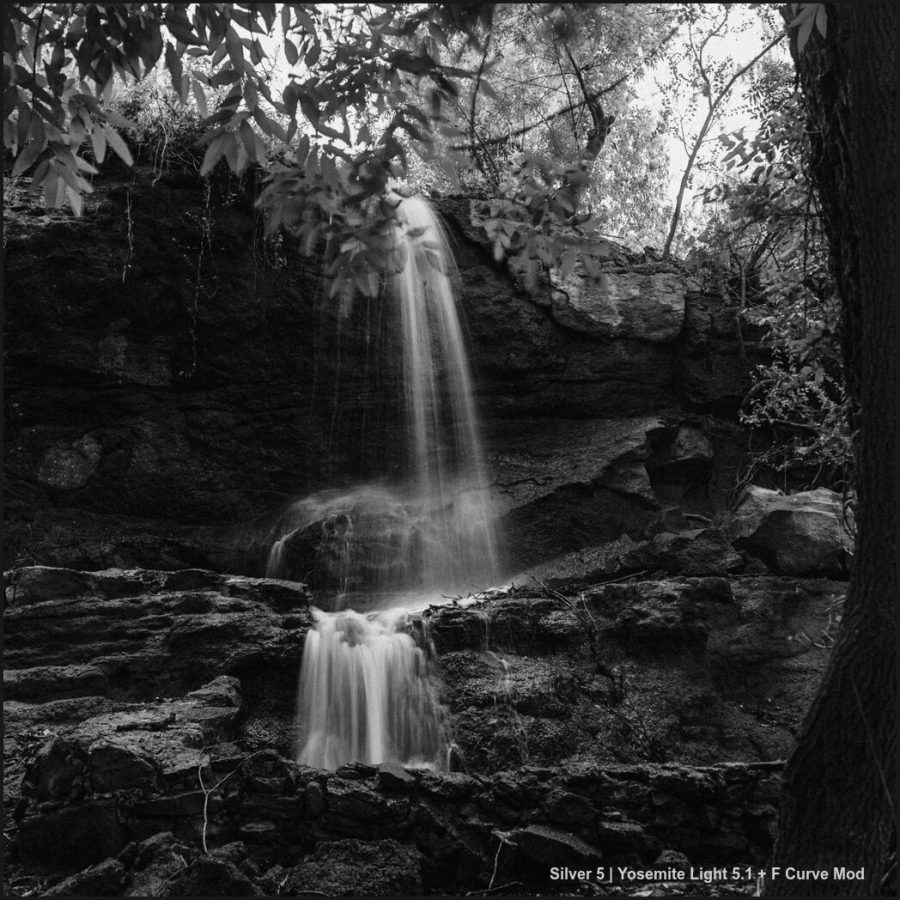
Silver 5 makes black-and-white edits more controlled and faster. And this version even brings the F curve in a more intelligent way.
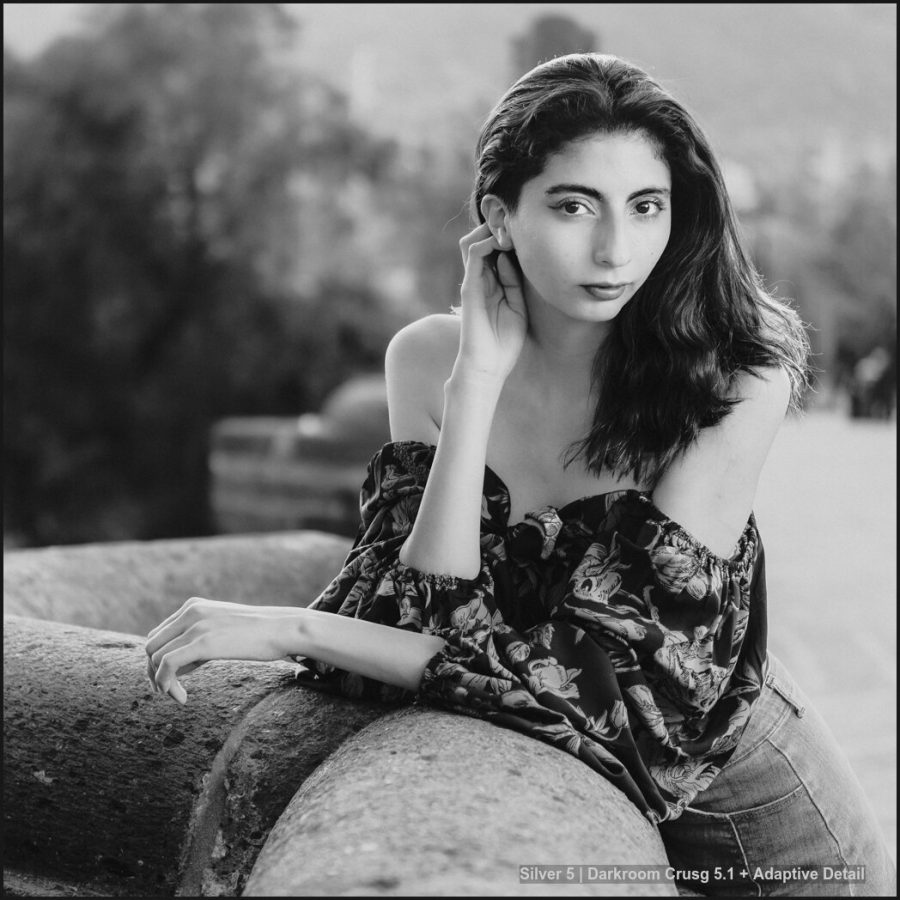
Just Like the more recent BlackRoom black and white actions make super advanced black and white edits fast and easy, Silver 5 carries on the tradition of native tools in our RAw editors to create superb black and white conversion and instantly experiment with the vision we had in the camera.
What’s new in Silver 5.1
V5.1 improves various presets throughout Silver 5 in Lightroom and Capture One. You’ll find the most notable refinements noted with the (5.1) mark in the preset name.
Like the recent Filmist Film presets update, it’s the little details that count. I also updated Mod-Kit, with a few new tweaks, so you’ll want to install the latest Mod-kit version. You can use these to mod any image, of course, not just your Silver 5 conversions. Play with them.
This is the most important thing in the Mod-Kit update. The Intela F-Curve preset. This magical curve is based on many years of study, which I talked about in my last video.
This mod can be added to any process, even if it’s not black and white. You’ll find it more useful and powerful than the traditional S Curve.
But theres more in this little curve. I manually coded this to only affect the main curve, which Lightroom and Capture One do not allow you to do in a preset or style by default.
This means you can apply ANY development process. Then apply this F Curve as a mod and it will leave alone all other curve settings like parametric sliders or color curve adjustments, say from Film preset.
You can not only be faster if you have the F Curve preset. But in Lightroom, you can increase it or decrease it to control its effect dynamically. You can also do this in the latest version of C1 as I created the style to auto-apply as an auto Mod layer at 50%. Apply it and then easily increase or decrease the curve.
Installing the new presets and styles.
You can find install instructions for Lightroom, Capture One and Photoshop on the help page.
BUT if you are in Lightroom Classic or CC you need to make sure you delete the old versions first. Only then install the latest 5.1 black and white presets and Mod-Kit pack. The new versions have made a mess when it comes to duplicates. So save yourself the hassle. If you have any issues updating your Lightroom presets I made a video about it here.
Capture One Styles in Silver 5.1
Capture One has a lot of things under the hood. While this is good it can make things more complex. So this update is VERY IMPORTANT as it brings refinements that were needed after launch and improved a lot of formulas as I often have to do with continued deep testing on the Capture One styles.
You won’t find a more refined black and white Styles pack for Capture One that includes the pro Styles sold by C1 themselves. So make sure you delete any old version and install 5.1.
What makes paid presets worth your time?
Any preset I make, you could do yourself given enough hours of tinkering. And that’s the point. I never stop refining so that that refinement can be perfected and used by each of my shadow tribe.
There’s nothing wrong with making your own or downloading free presets.
But what makes a tool great is that it’s engineered to make you work better and more creatively. I’ve put a huge emphasis on refining packs in recent years. We have a market filled with countless mediocre, or even bad presets that just make you hunt around for your edit.
Every pack I sell now is focused and refined, and I welcome your feedback on improving future versions. They may only be presets, but they actually represent experience and efficiency.
Silver, black and white presets were first launched in 2009. Many of you were there. Each new version is a passionate refinement to the idea that black-and-white edits should be amazing and that you should have control.
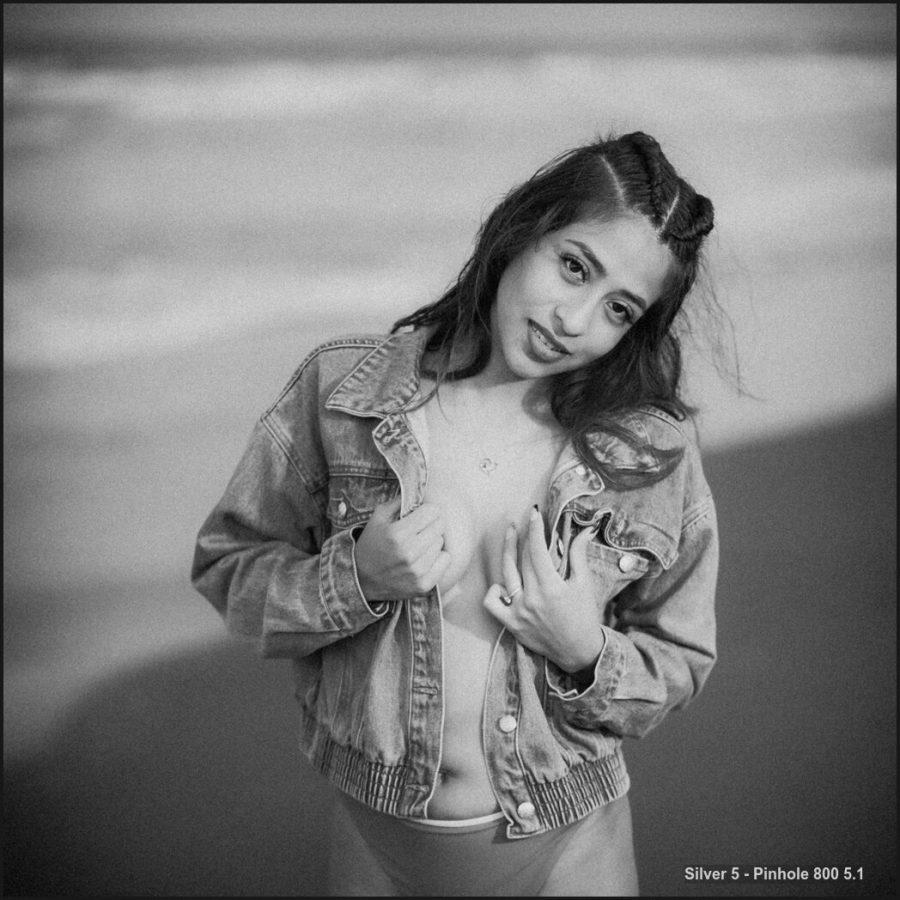
Please play around, add mods and mix things up and you will see your black and white styles come to life with these presets that are nearing 15 years of ongoing refinement. I hope you enjoy Silver 5.1
Curves are how most pros and quality presets control the detailed tones in a photo. But in today’s short video, I’ll show you a better way to use your curves. We’ve been using S Curve in photography since the dawn of digital. But this is the F Curve!
Why did I stop using the S Curve in my Photography?
Because after years of editing, and studying dynamic range. Creating popular editing packs like Natural HDR and Silver black and white. I realized the S curve was often overdriving on our edits.
So I started creating the F curve in my recipes. It gives contrast control, without giving you a crunchy, overly processed look. It does this because it’s based on chemical film processing and is more flexible.
In this video, I’ll show you how to use the F Curve!
If you want Lightroom presets or Capture One Styles you’ll find great examples of the F curve in the free sampler packs of Filmist Film presets and Silver 5 presets.
It’s easier to add fine control to an F curve because we’re not always looking for that S shape. A film-like curve is useful not only for recipes that require a film-like feel. It simply works on nearly everything.
It might feel like an S curve when you start. But don’t stop there. Pull down the highlights and then lift a little in the middle, pull the shadow area a bit down and the black a bit up. You can vatu this any way you want. Just keep the curve smooth and maintain that highlight drop as needed.
I didn’t have a name for this, I just knew this simple course was giving me results that felt better in most situations, and I started using it a lot. It was only after years of applying this that I realized how simple it was and started calling it the Filmic Curve, or the “F” curve.
Gradually, I started using the normal photography S Curve less and applying variants that merged it into F curve. I watched as my own presets and edits got smoother, with better highlights and even better shadows and contrast.
It’s a simple tweak that transforms your edits.
An F curve can start like an S curve. But the way it drops on top is the key factor in the result. You can then mix shadow lift and drop.
But without Shadow, your curves mean nothing!
When I started developing Filmist film presets years ago, I realized that Film has a softer highlight roll-off than digital has a hard sensor. Contrasting lenses and easy-to-move editing soldiers were getting over-curved. especially with the traditional digital photography s curve.
A curve can add or remove your shadow. The S-curve in photography can quickly pop highlights or put some punch into shadows, and often it works well. The problem is that it tends to do the same thing to every photo, and while it boosts contrast in the edit, you lose fidelity in the roll-off details.
Tone roll-off is a big deal. And what most don’t realize is that you don’t always need to push up highlights because they are actually very perception based.
That highlight will seem BRIGHT depending on the tone of the shadows that surround them. To learn more about shadows watch this video on my channel. In short, combining smooth highlight roll-off with organic feeling shadow gives you a rich result.
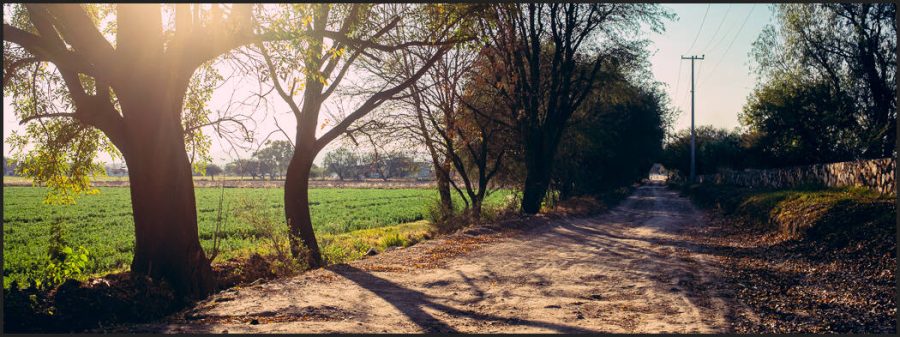
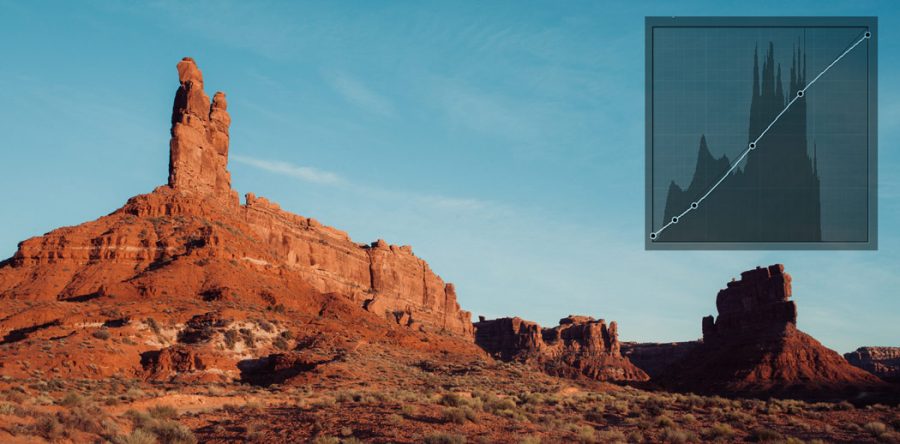
In this Ektar recipe from Filmsit the F curve is already part of the process giving a subtle highlight rolloff like film.
The F Curve will replace your S curve crutch!
So instead of the S Curve in your photography, us the F curve because you better control the shadow dimension and how that relates to your highlights as they roll off perfectly, just as they did with Film!
You also won’t always feel like you have to create that S shape will open up how you use the tones in each photo.
I hope you found this useful and will spread it around because the F curve really is better than the S Curve. Please spread this around and let me know what you think in the comments.
Gavin Seim
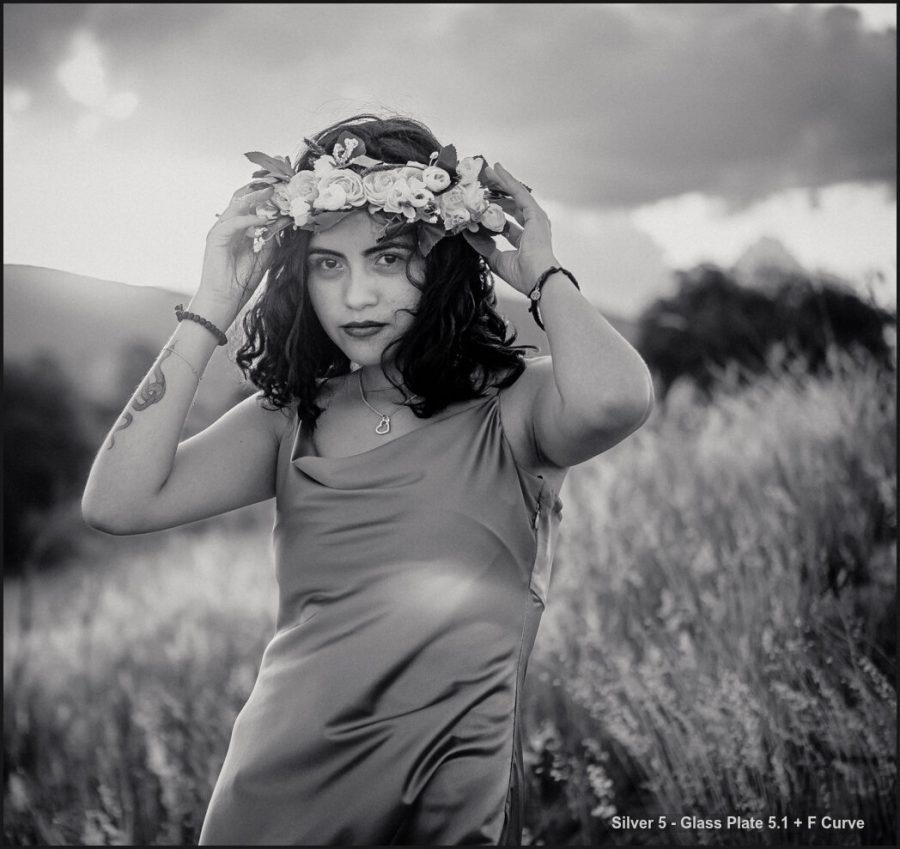
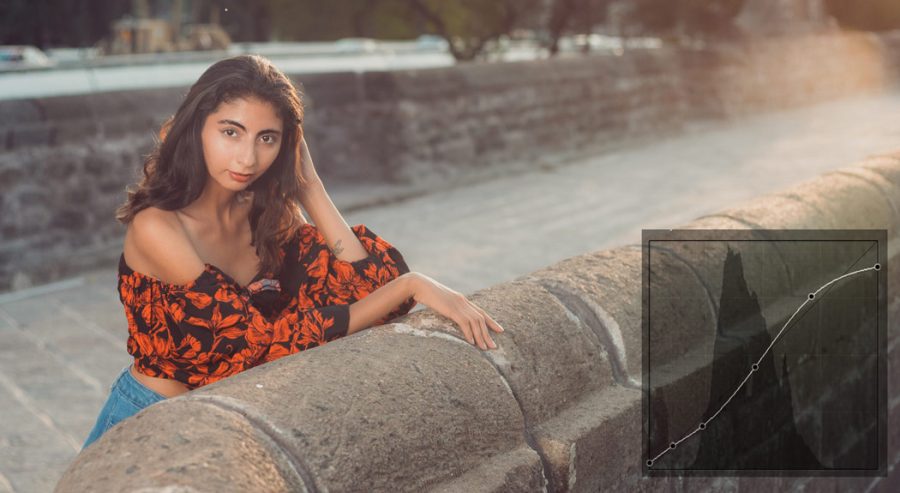
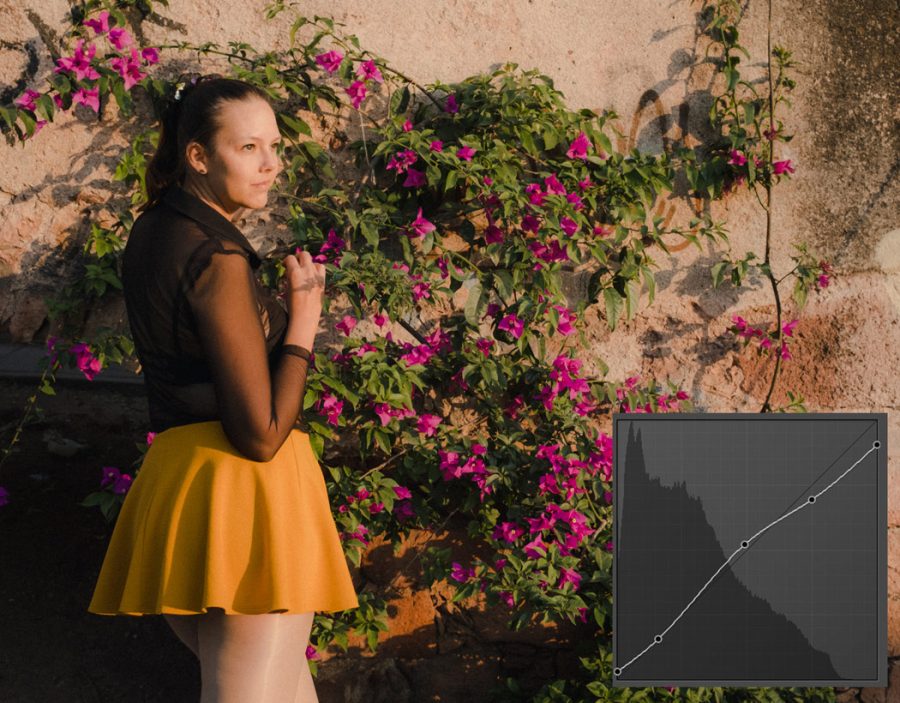
A strong double drop at the top of this F curve softens the specular highlights that were a problem in the portrait processed with a Portra look.