This week’s channel video is something I discovered about contrast and its related tools that you need to know.
Because in an era of sliders and algorithms it’s sometimes easy to lose sight of what we are really doing to a photo when we edit it. So today I’m going to show you how contrast actually works and how you can get the exact effect you want in Lightroom, in Photoshop, IN Luminar, Capture one etc.
A tool is just a tool. you are the one that makes it work. So when I design classes, Lightroom presets, Capture one Styles, and actions, what I’m really doing is finding unique ways to combine these tools, and today I’ll show you how.
Think of contrast as the primary ingredient in every photo.
When you do that, your perception shifts and you see the tone and light in new ways as I talk about in my Exposed workshop using Zones and other exposure guides.
This may seem like a blip on the radar, but once you start to apply it it will change everything about how you make photos.
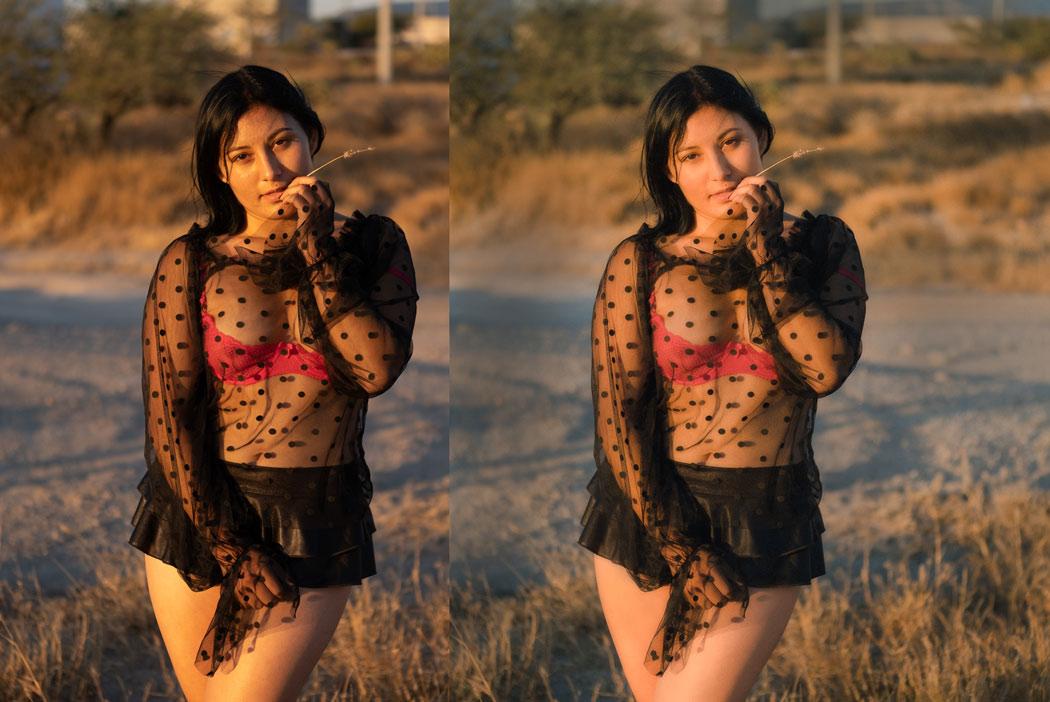
I wanted a more perfect Portra film preset for Lightroom and Capture One. So I made it!
Portra is a classic film, the 160 leans a touch green and is very versatile. The 400 is warmer and probably the top portrait film ever and the 800 is less famous but has a bit more color pop and a rich look.
Portra gen.2 took the Portra presets that have always been part of my Filmist presets and made them so much better. I tinkered and calibrated for days to get the feel of Portra just right. It took a lot of film research and formulation but the result was worth the wait.
You can Get Filmist here– The free pack has my new Portra 160 preset. Here’s my new video on the new Portra looks.
In making gen2 Portra I had to make all 3 presets from the ground up for Lightroom and then do it again for the Capture One Styles. But the result is a film emulation of Portra better than any I have ever used. It captures the aesthetic of Portra and just looks stunning. Watch the video and I’ll show you how it works.
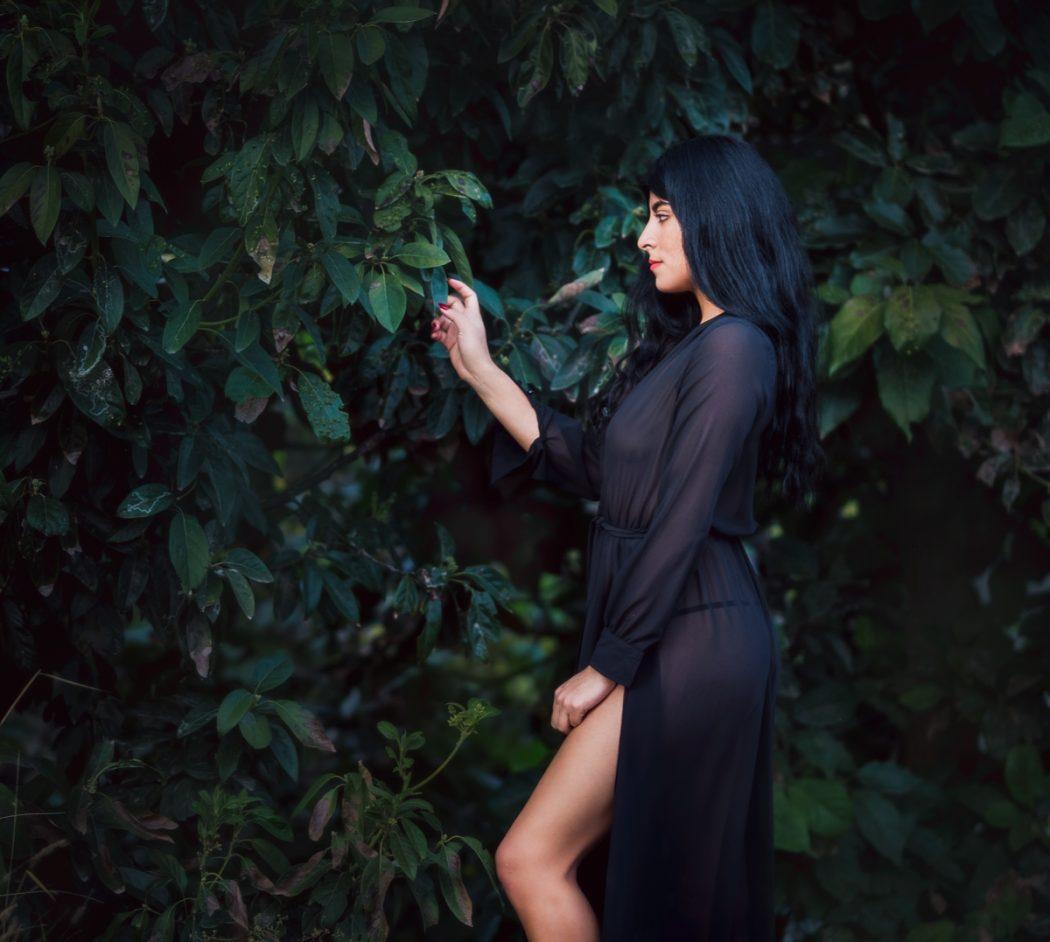
Porta looks amazing on Portraits but also on a lot of other things.
Filmist is a lot of film emulsion presets, but the gen.2 Portra looks along with new gen.2 Natura 1600 which I recently finished developing brings in two of the most versatile films ever as digital presets for Lightroom and Capture 1 and LUT. I’m using these constantly in my workflow. Even if you only grab the free one I included in my Filmist free sampler pack, I hope you enjoy it.
In today’s video, I’m going to show you how to un-clip any photo.
Fixing a photo at this level may seem difficult at a glance but it’s actually not hard and we’re going to make short work of this. I’m going to show you what to do when NON of that is enough and you have an image so clipped that it seems like it’s useless. This is how you can fix ANY clipped photo.
If you expose well you can usually get rid of clipping and have stunning dynamic range using simple sliders, presets like Natural HDR or Filmist presets with a few of its dynamic chemical mods.
So for me there are 3 levels of clipping. Here’s why it happens and how to fix it every time.
You can also DOWNLOAD the RAW file I use in this to follow along.
White balance defines the color temperature of the real-world light you’re capturing in relation to your sensor based on middle grey. Then the software can set it to appear balnaced. OK, so what is white balancing in photography? Well, it’s usually second to every other setting on your camera.
Photographers make you fret so much about What White Balance because they don’t understand how it works I’ve been doing this for 20 years and made many arrogant mistakes. So I’m going to explain it practically in this video.
Time to Stop worrying about what white balance is!
So do you need to white balance? Usually, you can do it in the post, leaving it on auto in the camera. If you shoot JPEG only pay a little more attention and make sure it’s visually the way you want it in the camera. With RAW, you don’t need to worry about it at all.
So Gavin, what is White Balancing in photography then?
When editing in Lightroom I’ve often said… Good presets should NOT touch WB. When I make presets for Lightroom and Styles for Capture One like Filmist or Natural HDR, they are WB-free. It’s part of why they work great on any photo you use them on.
White balance helps you control the warm and cool tint of a photo. Like the base hues, separate from other developed settings. WB gadgets are almost never needed. Especially if you shoot RAW since all possible variations of white balance are in the RAW file.
There’s really no WRONG white balance, but…
Why is white balance so confusing then? It was not like this in the film days. The hype over White Balance came after pros started using digital. It gets very technical. But back in the film days, we had two or three white balance options. We even used the “wrong” ones at times for creative styles.
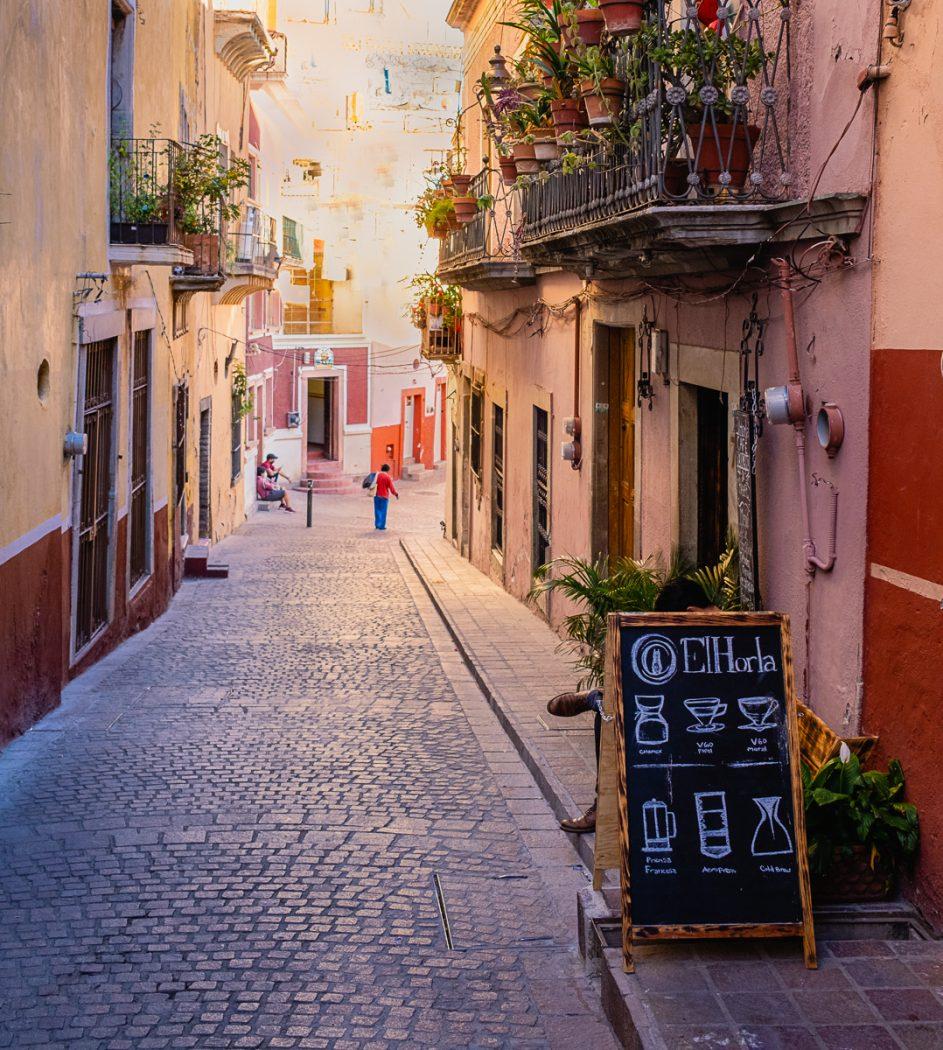
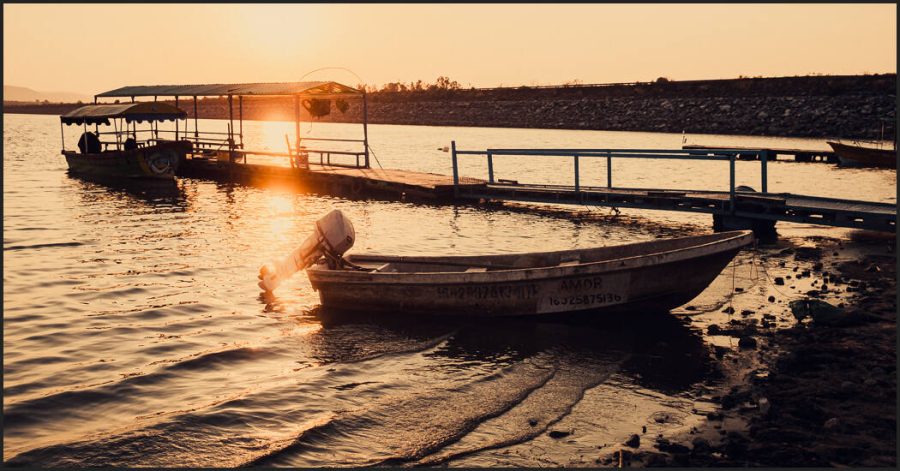
Don’t use it for effects! White balance is for light color correction. If I want a gold look like this, for example, I could crank the temperature slider right and adjust the tint. But WB does not work great as an extreme and it does not copy to other photos. Strong looks should be done with good use of color channels and curves. In this case, I just used the Black Gold preset, from Gold-Chrome.
Digital arrived and companies created products to “correct White Balance”. In reality, most photographers don’t need anything for White Balance. Because anything goes if it works in your final look.
This is not laziness. If you’ve seen my videos or attended my Shadow hackers class, you know I’m huge about getting it right on camera. But on a RAW file WB settings literally make no change to your file. They simply add a marker in the file to tell the RAW processor what you set it to.
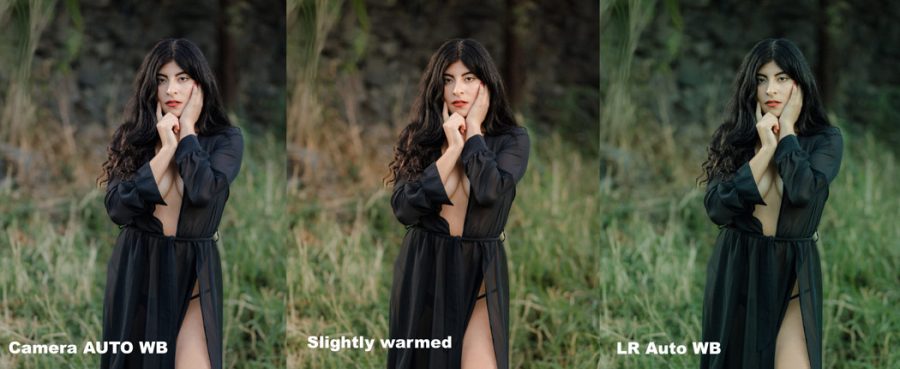
Use Auto WB in the camera, not in the software!
You can leave the camera to Auto WHY and it usually makes it look very good. Auto WB in software like Lightroom, Capture One, etc however usually messes it up. I don’t know why, but it’s not at all the same and usually makes the photo ugly.
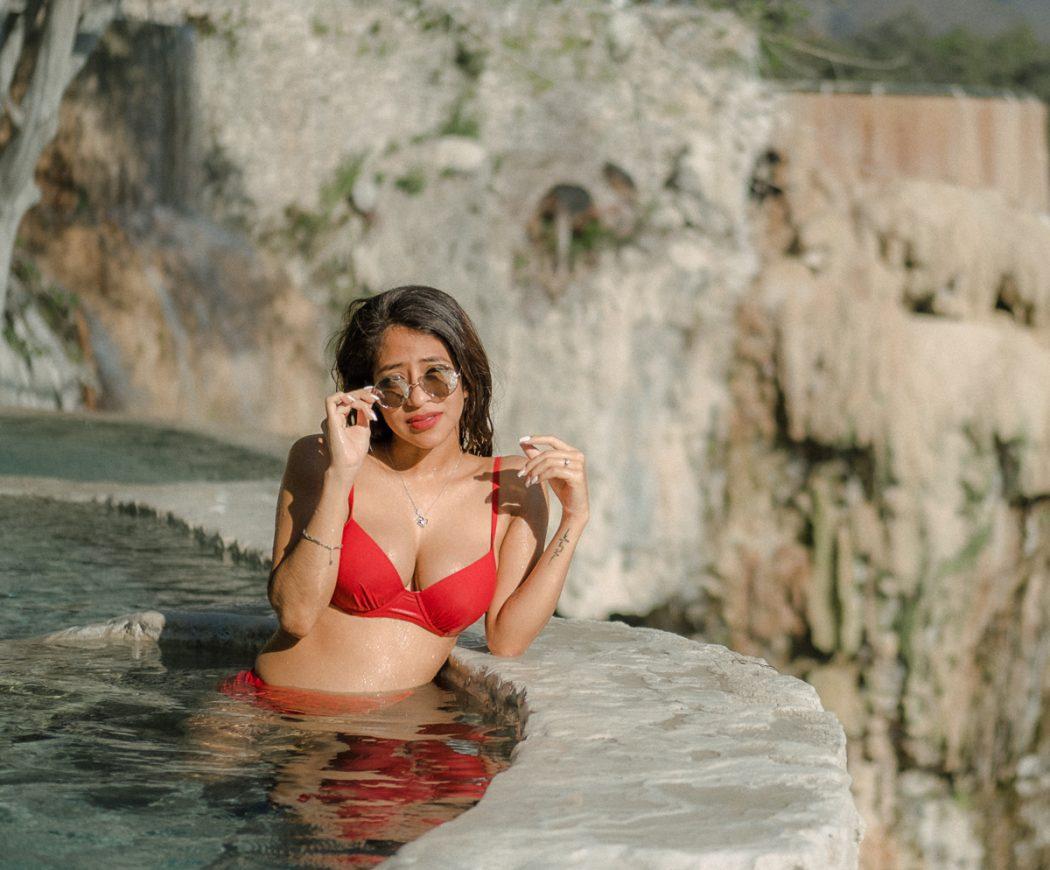
Look at this example. The Camer Auto WB was fine. After processing this with the Filmist Portra 400 preset. I warmed it up. Not because it was more “correct” but because I felt the warm light worked well.
Keep it simple, instead of making this a distraction. If you follow this guide you will never have to worry about White Balance. You’ll use it as needed to balance your photo to the color tints that work for you. What a grey card says is correct does really matter. Sometimes you want a warmer or cooler look and in the end, the look. Make every photo yours.
I hope this helps you understand what is white balancing in photography and what it’s not. Leave a comment if you have feedback. – Gavin Seim
This is a primer to my Shadow Hackers workshop. If you have not yet signed up for Shadow Hackers do it HERE.
Photography is all about tone, but not how people think.
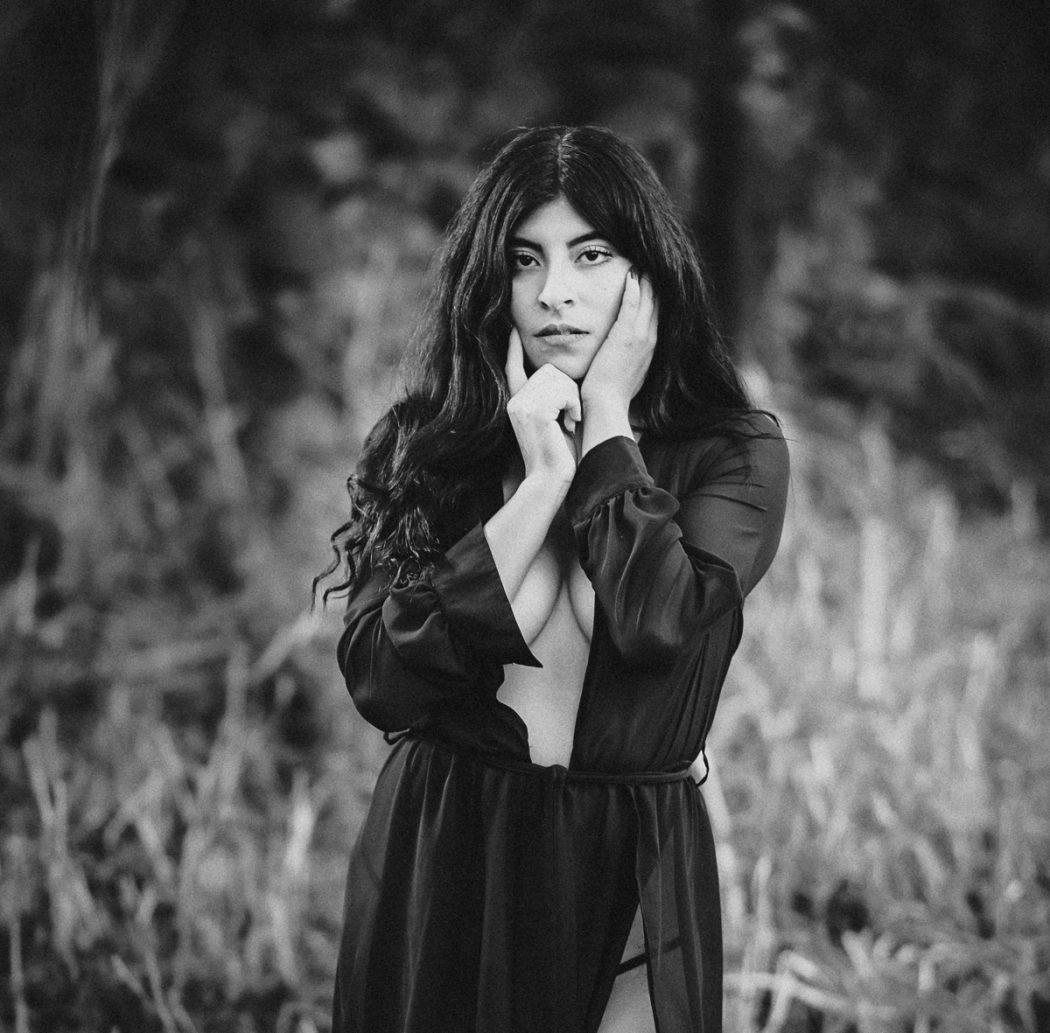
In today’s primer video, I’ll use Black and white photography as a reference and we’ll start hunting shadows. This still applies to color because with this you can learn to people’s attention ONLY where you want it.
You can’t just have BLACK but you need black!
I love shooting in black and white to help me see tone better, even if I return to color. That tone-based sight makes you see better. It makes you plan your image to amaze.
My mentor Ken Whitmire died about 5 years ago now but I will never forget one of the most important lessons he taught me. Today we’ll look at some basics and histograms and in Shadow Hackers, we’ll go deeper.
The Birds, by Gavin Seim
“Tone” Ken said – “It’s the least used and least understood aspect of photography”.
That knowledge has driven me to discover something more. What I learned from that is that tone is complex but also simple Photographers are not using tone because they are afraid of it.
There are histograms, exposure charts, tools for luminosity making and tone, and RAW and actions. I even make some of them like
I realized that a rich tone starts with blacks. Zone 0, Zone 12 for you Ansel Zones Fans. If you stop being afraid of blacks, it changes the way you see and builds photos everywhere because you start seeing that contrast
Shoot shadows a bit and watch what happens…
Take the time to watch this video till the end. If you apply what’s shown here your blacks, your tone and as a result, your entire photography game will level up.
I’ve also been focusing on the latest editing tools I make to make finding shadows easier. Tools like Blackroom and Lumist. completely change how I can manipulate the shadow.
I also uploaded a FREE sampler pack from my Silver 4, the black and white Lightroom presets. Play with those or the Capture One Styles are also included. Watch how blacks are being used to do what we’re seeing in this video. See tones first, regardless of whether you’re photographing in black and white or color.
Don’t miss Shadow Hackers because in it we’ll go deeper and I’ll show you the entire process to master this – Gavin Seim