We’re always talking about high dynamic range. But today’s videos are a keystone much like our = STOP using contrast from the last Masters Made Easy video. LoFi photography is actually fundamental to understanding your photos.
No LoFi Photography is not just a lomo camera or a filter on Instagram. It’s just as important to shadow hunting as the High Dynamic Range techniques as I explained in my recent video.
Many photographers no longer edit Low Dynamic Range.
LoFi Photography goes way deeper than people think.
LoFi Photography is often played as low quality, pinhole camera, etc. While those can be included, it’s a really low dynamic range technique and it’s important when you plan a shoot.
I know I say it all the time but this LoFi photography fits in with Shadow Hacking 101 so make sure you come to a Shadow Hackers online photo workshop.
LoFi photos take what everyone else throwing out and it often creates better photos. You don’t need to do all LoFi or all HDR. A lot of photos fall in between. But don’t be afraid to push the methods I show in the video to refine your style.
Reverse the things they teach you in LoFi photography
We’re almost universally taught to push sliders right in the digital world. A more is more kind of approach. That’s why most photos look so bad and even good photographers are ediuting to death. We went deeper into this in my post about how to ground your edits by using filmic presets.
I’ve been doing this since the start of digital. I’ve watched the influencers and experts nearly always selling the same ideas and repeating ourselves because they came from film and all the digital stuff was new and like candy. Candy sometimes lacks perspective.
Slowly that’s changing as digital matures and photographers realize that we still have a lot to learn from the past.
Stop speaking in just digitally.
We live in an analog world. The advent of Ai photography is reminding us just how fake everything has become and that the real world is often more magical. LoFi photography is not every part of the puzzle. But you nee to know it.
You can still do amazing complex edits. But by knowing all the tools in your box you have control. Yes, your capture can be HDR and your final LDR, or vice versa. When you know to hunt shadows and look for the atmosphere and life in photos everything starts to change. There’s not just one way and you need to know them all to master this. The good news is, it’s not that complex.
Stay tuned for more in the Masters Made Easy series.
Grounding is having a starting point. Filmic Lightroom presets and styles help a lot. But your style can still be whatever you want. I’ll show you why in today’s video.
Why do most in-camera profiles look bad? Why do I come back to an edit I liked and it seems gross? It’s because digital edits lack a reference point.
You lacked a baseline and went too far. It happens to all of us. Filmic Lightroom presets and styles are not just a hipster fad, and if you’re still not using them you are missing out. So first we’re going to base our edits as close to real analog film as possible. Don’t worry you don’t have to stay there.
Much like Shadow Hacking, which brings you back to in-camera thinking. Filmic Lightroom Presets presets and styles seem simple but are not. I was a skeptic. But today Filmic Lightroom presets are my go-to for every session and for the past 5 years I’ve been developing better film and filmic presets to improve this process.
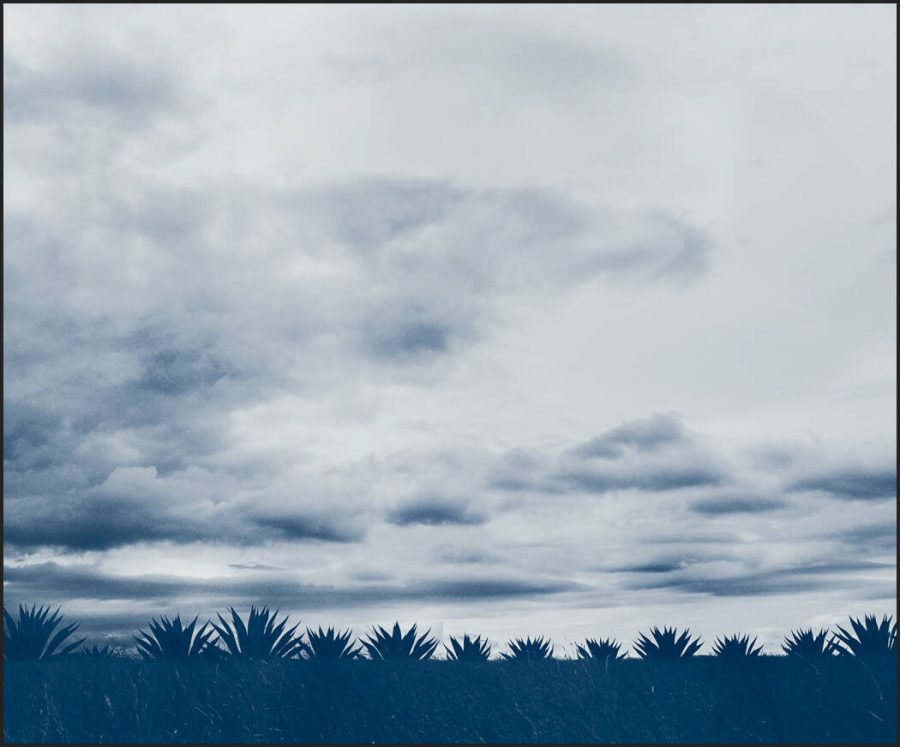
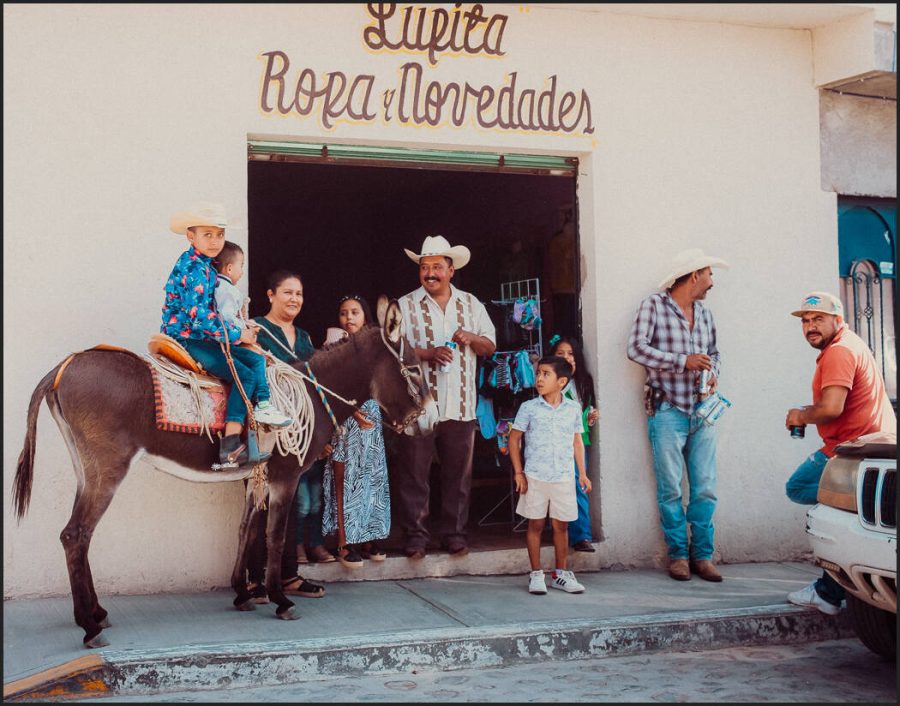
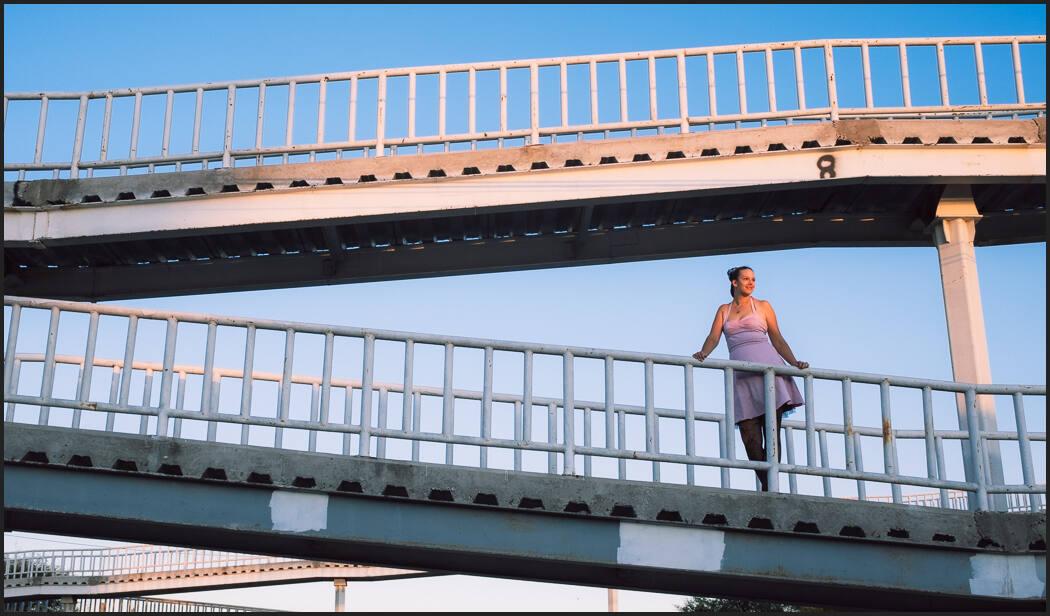
There is a shadow atmosphere happening here even though the EKtar 100-like. A level 2 film preset in Filmist is not super intense it constantly works and is a grounding development process.
2. Reset your editing brain.
You might be thinking… Nothing new here. But the more you use this process in your edits. Level 2’s especially. The more you realize that these film stocks lasted decades for a reason. They seem simple at first you soon you realize well they are grounded and complicated.
Apply a film you like to every photo. Do your quick exposure adjustments and get the session looking balanced. When you edit with film-like presets and filmic styles you get perspective.
Street air is a preset from Street’ist. This level one filmic preset has a lot of color and nuance like a chemical film, but does not try to be any specific film.
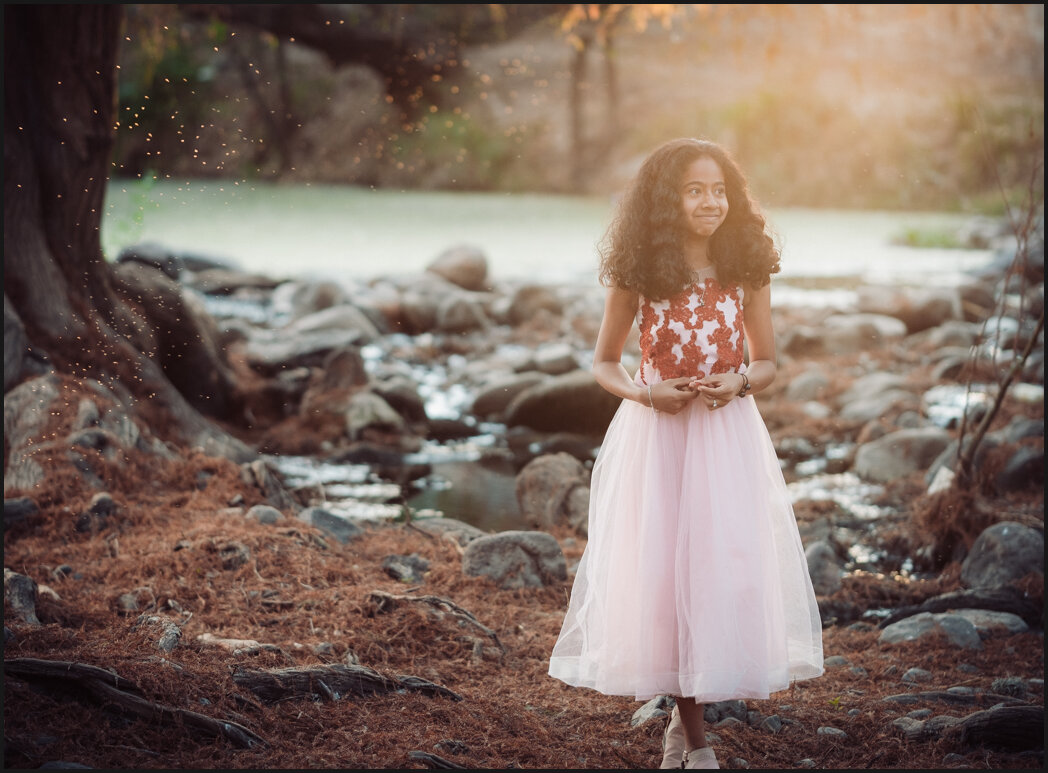
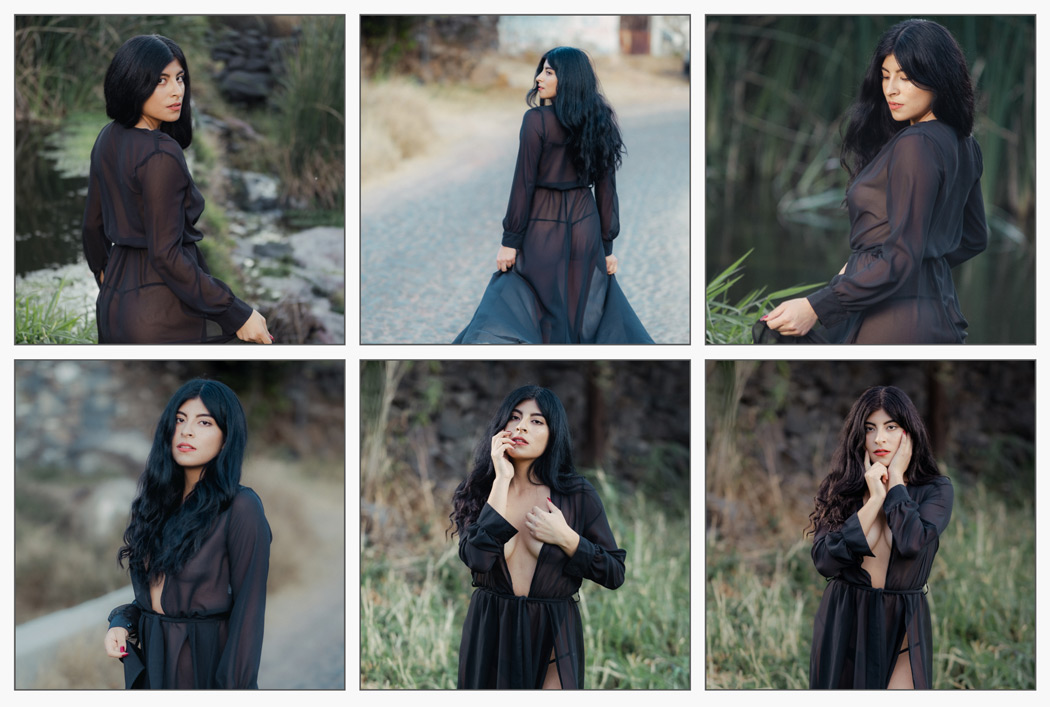
Look how I came back and re-edited the session with Portra 160-like film preset and a few mods. Each pose is slightly different, but they all have a constant feel. I like them gentle like this but my old self would want to add more mods, saturation, etc. That’s fine, as long as you have grounding to keep you on point.
Soon you’ll find yourself going back to old edits and now they seem strange and overcooked. You reboot your brain in terms of editing. It does not mean other filters and edits are not important anymore. I still use Natural HDR or Bella 2 which are not specifically filmic.
A re-edit of a session a more refined film edit and a good grounding from analog.
In this AI World, real things are gaining value.
And so we relate to and believe in analog things. Especially in this new AI-driven world where sometimes everything feels fake. This level of photography is going to become more important every year and Filmic Lightroom Presets help me stay focused.
Yes, there’s a level 3. Shooting digital side by side with the real film and using that as your grouping for shadow, color, and editing. I do this to practice and further refine Filmist for example but it gives you even more grounding and perspective.
Even the way we adjust exposure changes with analog. Pushing the exposure slider is not the same as pushing film and as I’ve become more advanced in my Film presets, even the mod presets, curves, and exposure settings have improved.
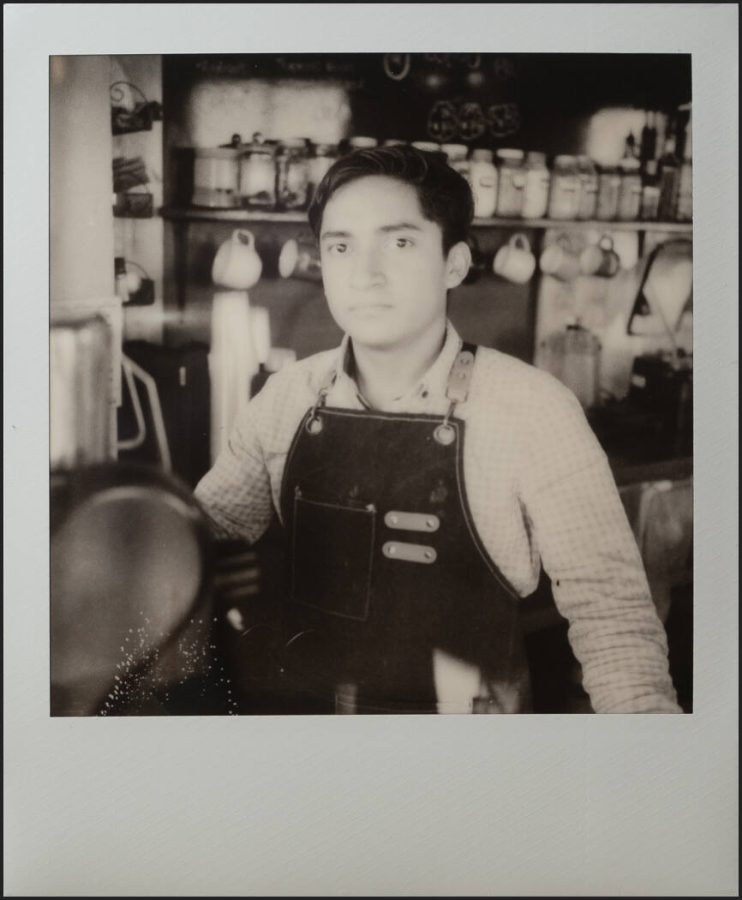
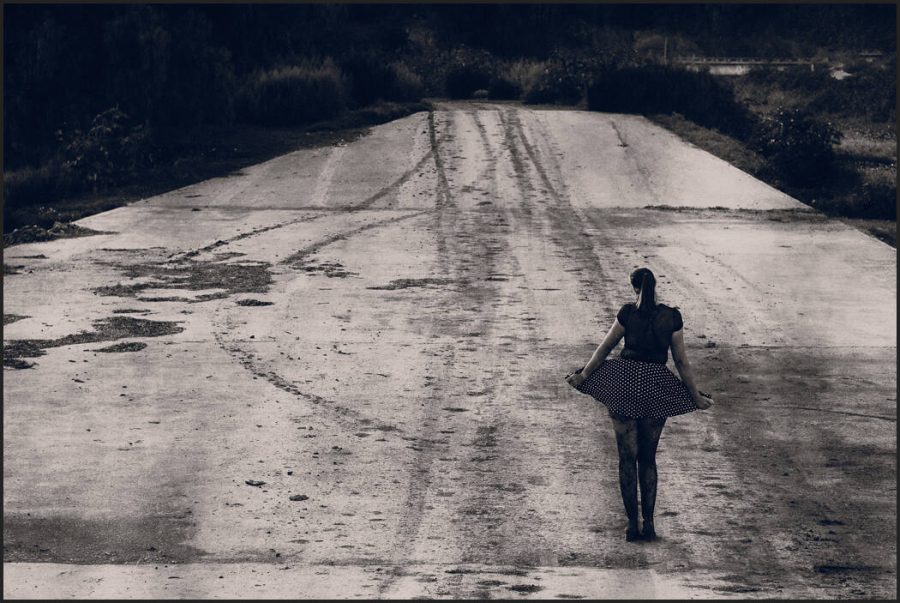
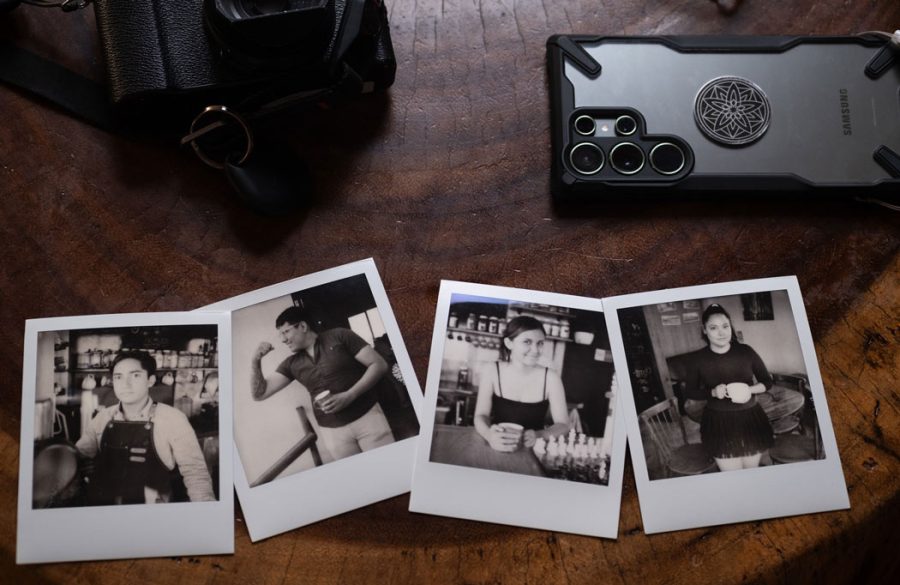
The creamy shadows of this Delta 3200-like. You can mod or turn these presets up to enhance the effect. But I start simple and natural to get a good grounding.
3. Edit grounded. Then move outward.
The grounding keeps you constant even when you’re not doing the filmic style.
So for example I will go to Filmist and use Potra Ektar-like film lightroom presets. Maybe Fuji 400h. I know these analog looks withstood the test of time and that our minds relate to them.
I don’t have to stop there and I may not even stay with a film look. Grounding your edits sounds boring, but it actually makes you flexible and creative and keeps you out of a rut. So even when I go to HDR, that grounding is affecting my edit.
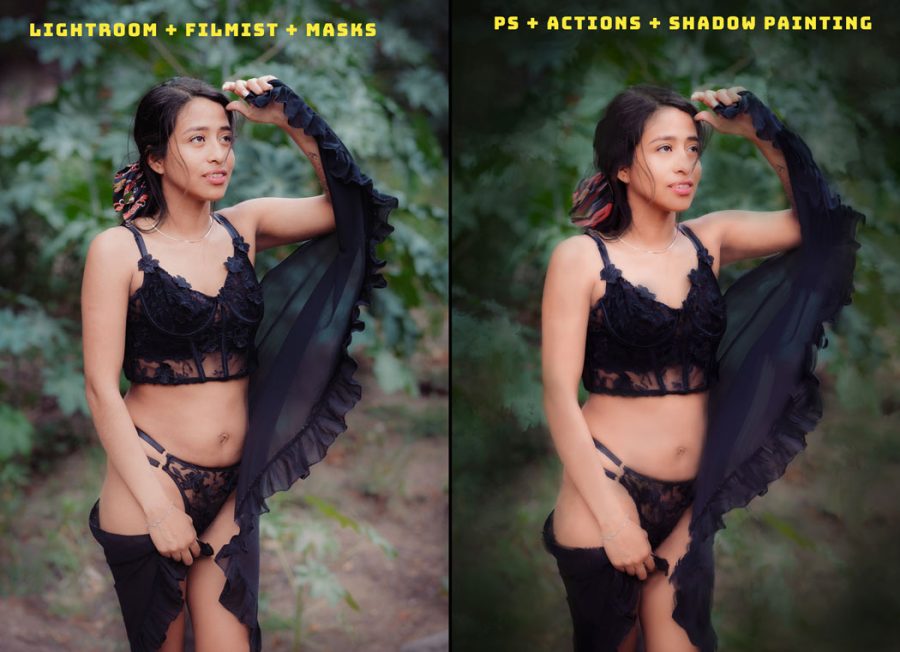
It does not always stop at a preset. Sometimes I take go further into Photoshop and use chemical-based edits like this cyan plate platinum mix from Emulsion 4 actions. Analog just keeps giving.
So I look at the mood and shadows of my shoot. I may decide to veer from film and use other effects, actions, edits, or presets. But now can really feel where I am in the edit better.
It’s about rebooting the brain to see past the temporary creative blindness that the ever-changing sliders and tools can give us so that we use those tools better with each unique photo session.
At least grab the free Filmic Lightroom presets, film styles, and LUTS I linked above and try them for a while. If they seem not intense enough that’s normal. Your editing brain will soon reboot and you will open up a totally new horizon.
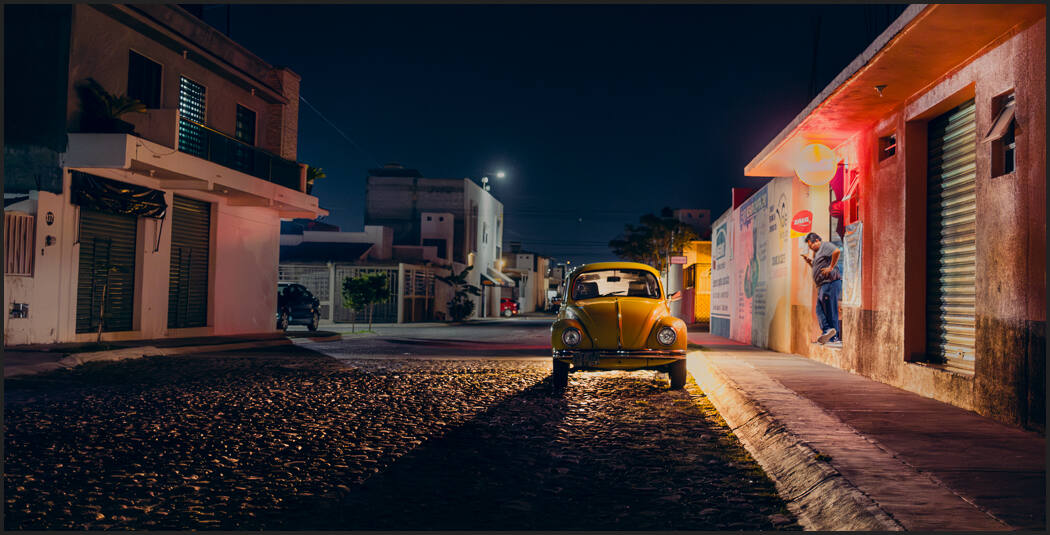
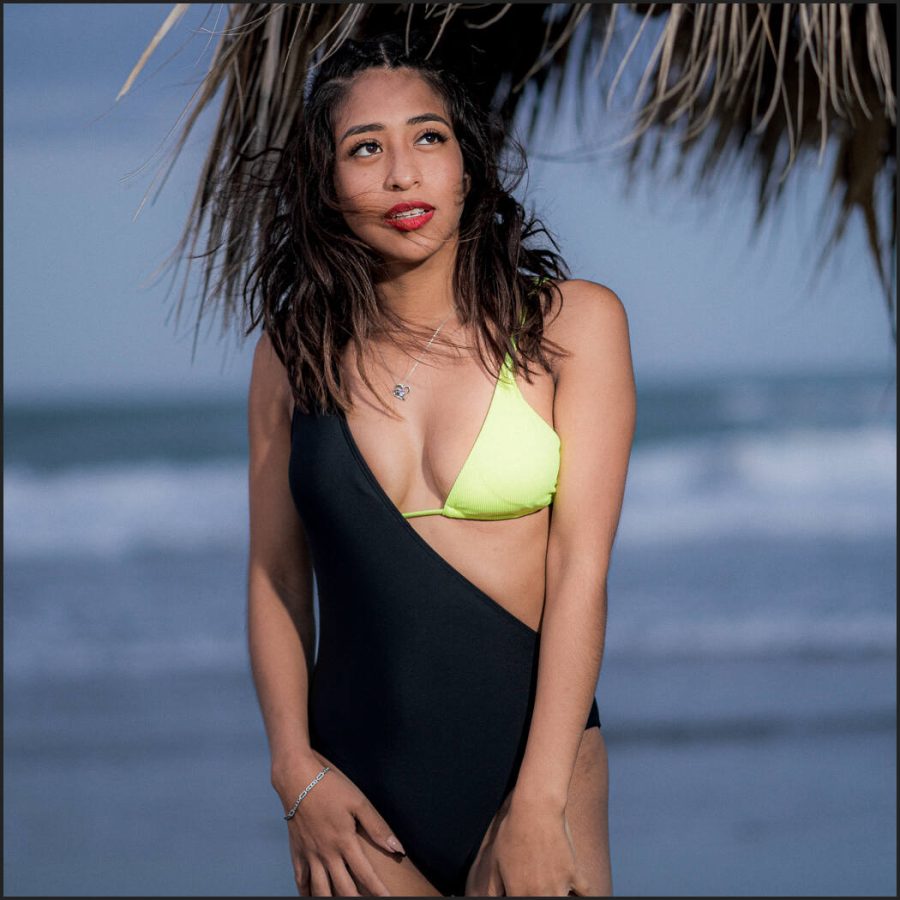
This is a Level 1 Filmic Lightroom preset from Natural HDR. That is it’s using film tone and color inspiration but not trying to be a specific film. I use these liberally but not as my grounding point.
So Let’s Recap…
Ground the baseline of your edits with edits as close to real analog film as possible. Use Filmic Lightroom presets and film styles, or even create your own.
Edit photos with favorite films and use that as your grounded starting point. I will often start with Portra 400 or Ektar as my baseline because these films work on anything and I can apply them to an entire session.
You can expand out with mods, other filters, presets, actions etc., and the final look for your project. Use your first edits as a reference to not edit too far. Staying with the film is also fine. I often stay with the film look/
I hope this helps you refine your edit process as much as it did for me. Let me know in the comments and if needed I’ll do more videos on this. Gavin Seim
With Filmic Lightroom Presets like Portra 400-like, you almost can’t fail. Styles like Velvia 100 like let you stay colorful and still know you’re on point and not over-cooked.
We’re going to talk about the 3 Lightroom and Capture One presence sliders today, but I’m not going to teach them the way Adobe does! We’re going to reverse things!
Presence – Clarity VS Texture VS and De-Haze are important!
These all affect the atmosphere. I make use of them in nearly every edit. You’ll also see them used in subtly different ways when I make Lightroom Presets and Capture One Styles pack like Filmist, and Versus when I make tools like Natural HDR.
You’ll also see me use all 3 of these deeply in Lightrooms Ai presets that I include in Silver 5 and Elegance Speed Masks.
I simplify Clarity, Texture and De-Haze in the video. But here’s an overview of what the presence sliders do.
You know about the presence sliders in Lightroom or their equivalents in Capture One. But do you know that these sliders are often used really badly? I’ve taught Lightroom since version 1, but I’ve rarely seen these sliders taught well. Today I’ll show to use them for near-magical results!
The clarity in Lightroom and Capture One allows you to adjust the midtone contrast of an image. By increasing clarity, you can add depth and mid edge definition to your photos, making them appear more detailed in a gritty vs softness sense. Clarity can soften the appearance of an image and give it a more ethereal or dreamy look.
Mixing them up for more presense. Here Elegance Ai masks are used to bit globally we lowered Clarity while increasing Texture. This combination can give a perfect mix of detail and softness.
The texture is a newer but more important feature in both Lightroom and Capture One. It allows you to adjust the amount of detail and texture in an image, which can be particularly useful for enhancing the appearance of skin, fabrics, and other fine details in a photo without the ultra-fine lines and artifacts that come from heavy sharpening.
By increasing the texture, you can make these elements of your image appear more detailed and realistic. Conversely, decreasing the texture can smooth out rough or bumpy surfaces, giving your images a softer look. This can be magic in portrait edits.
All the presence sliders are up a bit here because it brings our richness and texture. But don’t assume that just because it’s food or streets you always want to turn them up. Go down also and watch good things happen.
The De-haze is a useful feature in both Lightroom and Capture One also. It allows you to remove hazey feeling from images. By using the de-haze feature, you can remove this haze and restore the detail of your images in a broader contract sense that’s almost like combining Blacks and Whites. BUT… Don’t always turn this up…
Reversing De-Haze is really taught and VERY powerful. I’ll show that!
I turn Dep-Haze down as much as I turn it up. Maybe more. Because when creating authentic films, organic feeling portraits, and gentle tones, photography ten to use these contrast and presence sliders altogether too much.
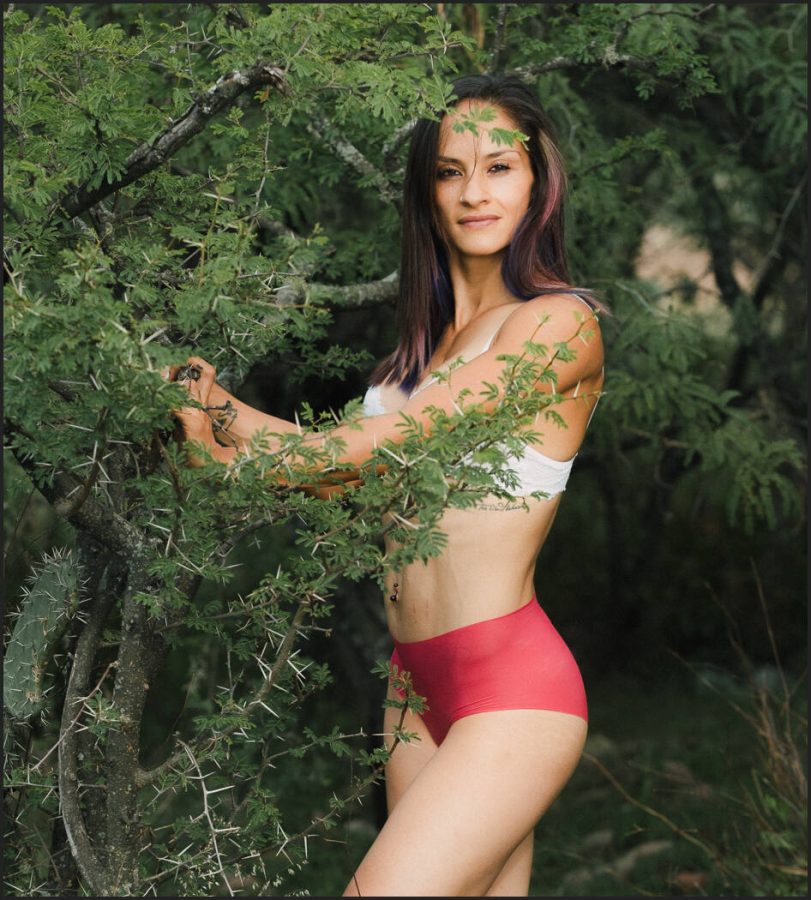
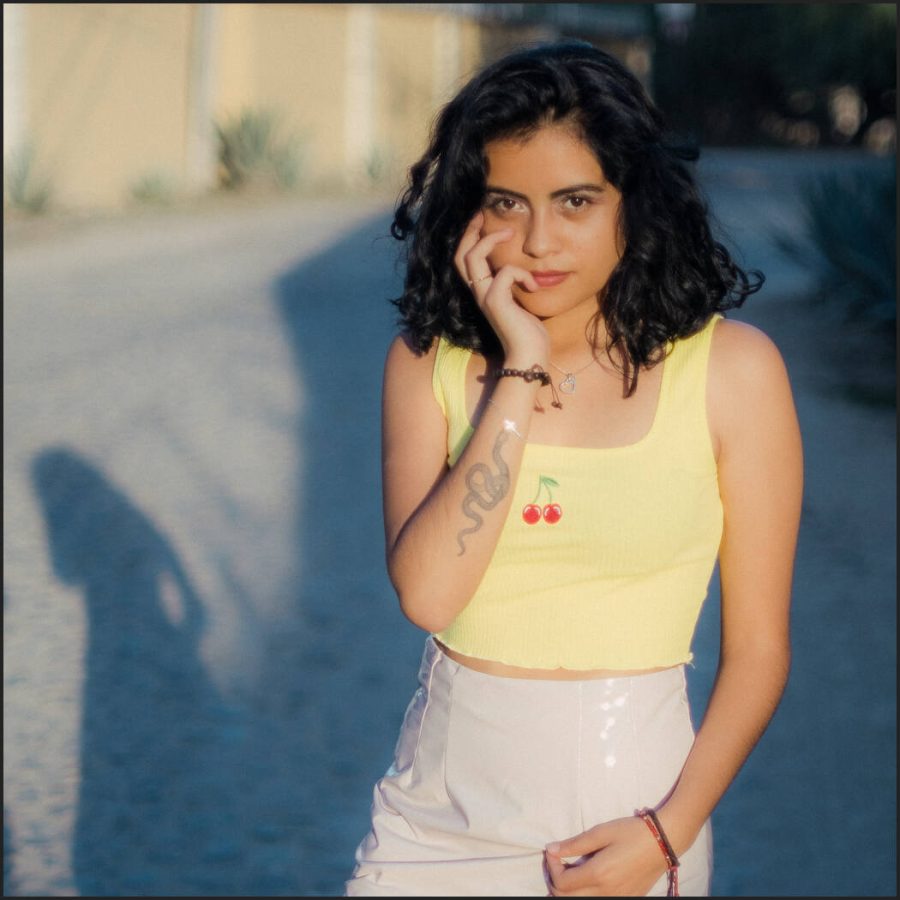
IN this POrtrait I used the FIlmist Portra 160 preset and then pulled down Clarity, Texture, and De-Haze a bit to give a natural organic lens feel that reminds me of how we used portrait filter on the lens all the time in the film days.
Clarity, texture, and de-haze are powerful tools in Lightroom and Capture One that allow you to fine-tune the surface of your photos.
I hope you enjoy and share this because if you know what these sliders can do for your photos, you will improve your ability to edit with them. If you use my presets, pay attention to how I apply these 3 sliders. A little can go a long way and really perfected looks can be created using these settings.
Gavin Seim
People often confuse clarity for HDR. But as I show in Natural HDR presets, they are not related. This is too much clarity for this portrait. There are times for a gritty high-pass style portrait. Or maybe you are creating a theme that;’s intense. But unless it’s for a solar reason, avoid too much.
Expose to the right (ETTR) has been preached relentlessly for years in digital photography. But does it actually help?
I think now. In my recent shadow hackers workshops (join the next class here) this has come up and it made me think about how prolific this dated technique still is. Tell me what you think in the comments.
In the video, I’ll show you why ETTR is not usually right. It’s not always wrong to be Expose To The Right to achieve something. But using this as a general exposure tool in photography will lead to worse images.
How did ETTR happen and should you actually use it?
When I made the Exposed workshop covering nearly possible approaches to exposure, we didn’t focus on ETTR because when you know what exposure or that light meter is telling you, you rarely need to expose to the right.
Like every idea or rule, it’s not really a rule. So in the end, if you get great exposures you win. But I think if you start hunting the shadows and exposing “right”, rather than TO the right you’ll see a transformation in how well you expose and edit.
It does not matter what you are shooting!
If you know the principles of exposure, your histogram, zones, and settings. They will soon become automatic. You’ll see yourself start to create naturally, knowing the light and the shadow like an old friend.