There are lots of free Lightroom presets around my site like Silver and Natural HDR. But my most popular ones are my free film presets and I’ve updated them today for Filmist V2.
3 free lightroom film presets and C1 film styles
Download this free presets pack HERE on the Filmist 2 page
In the FIlmist free film presets and styles pack you get the next-gen Portra 160, Fuji Classic Negative, and Agfa RSX 100 film styles.
Just using these film presets will give you edits that feel true to the film. Photographers are learning that real photos are what matters in this new Ai world. For more on this check out my post and grounding your edits with film styles.
Below is a hands-on video from my channel on how to use Filmist 2. If you need help installing the free LIghtroom presets or Capture One Styles, check out the videos on the help page.
Here are the improved film styles in the free film pack.
The latest refinements of these film styles are like true film. I’ve shot more film, done more side-by-side testing, and made every film recipe in Filmist 2 better.
I hope you love these and buy the entire Filmist film presets pack. It’s years of work and it is the best lightroom and capture one film presets I know of. But for now, at least grab my free film presets pack and enjoy.
Oh, and you also get free film LUTS in the free and complete pack so you can get the true film look in video editors like Premiere Pro, Resolve, and other photo apps like OnOne and Luminar.
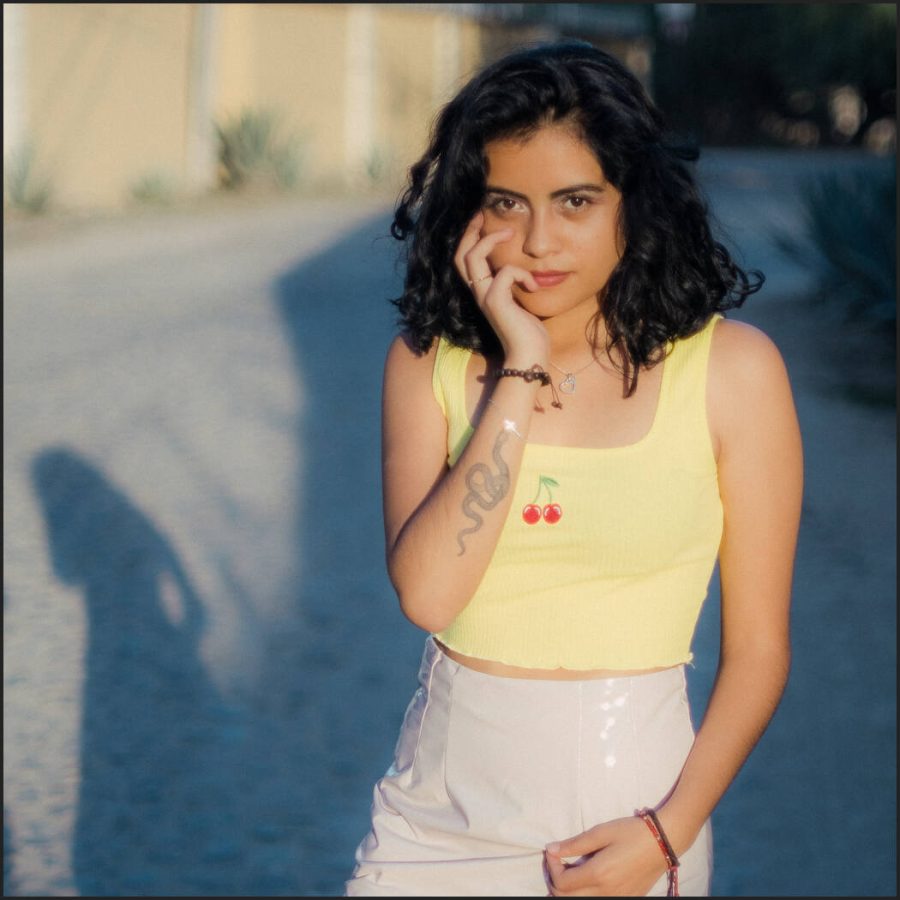
Portra 160 Gen.3 Film Preset
How do I decide what presets to use? The power of REAL Photos.
I’ve been making high-grade Lightroom presets and free Capture One styles for many years. So why am I obsessed with getting perfect film looks? It comes back to maintaining that natural real look that the film created and that I’ve managed to duplicate in Filmist 2.
I use the balance I learn in creating film presets to improve my other presets. That’s why they all play together well.
Some photos need a different look. I normally use films as a starting point. But depending on my photo I’ll also use Natural HDR, Streetist, and my other packs.
Each of these packs also has mods. So while I love the ChemKit2 mods in Filmist I don’t hesitate to go to ModKit from Silver 5 black and white presets or maybe GoldChrome for a rich color warm look.
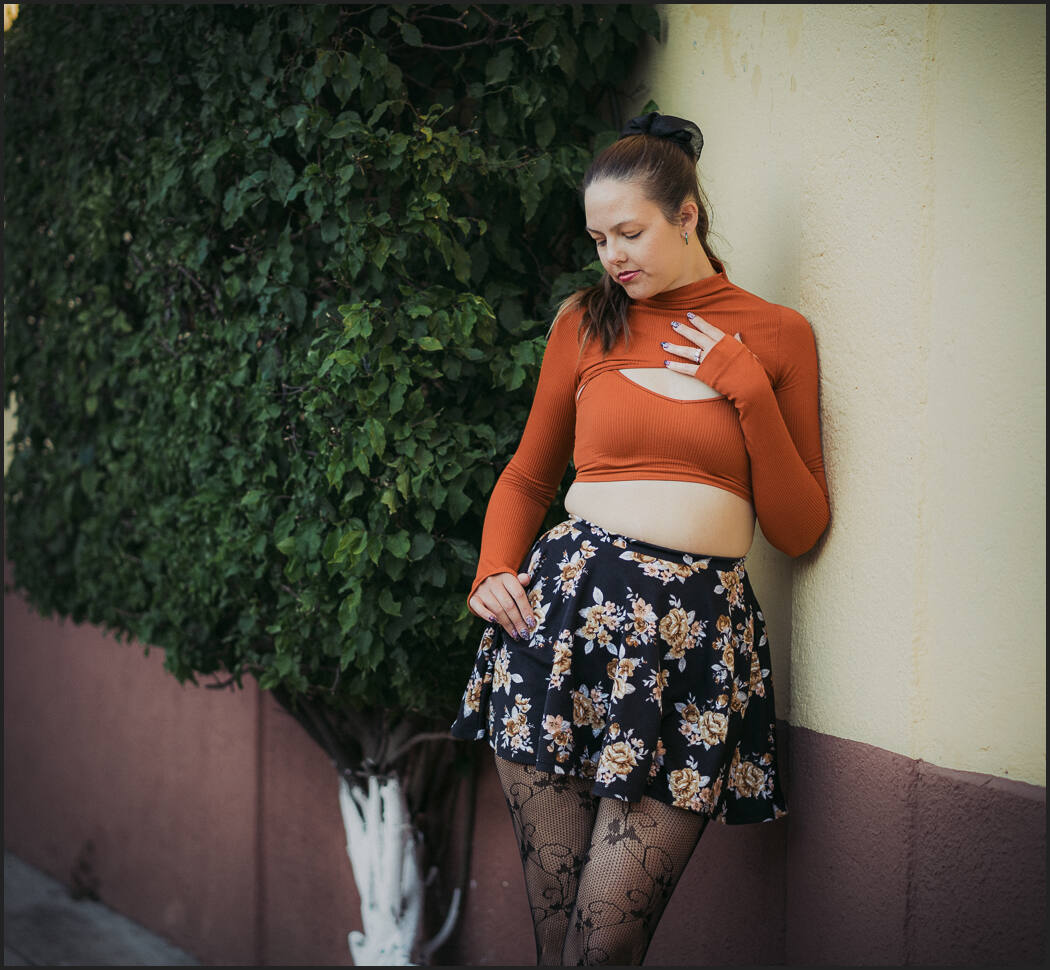
Fuji Classic Negative updated in Filmist 2 Free Presets Pack
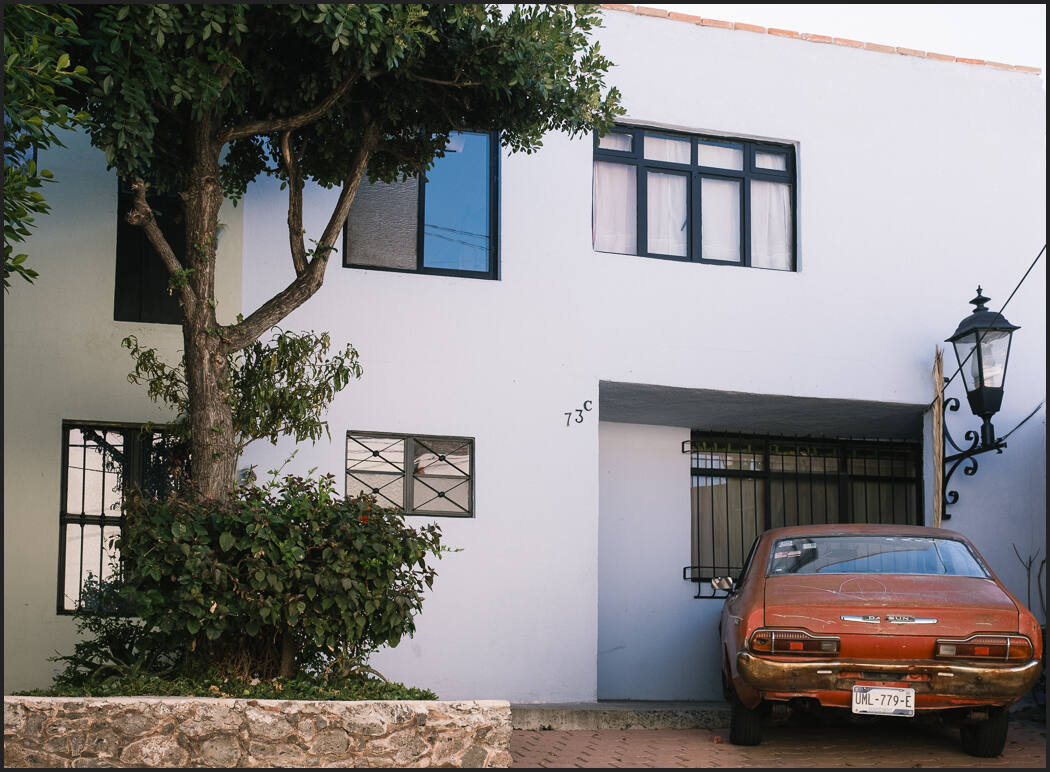
The film looks for digital is more powerful and moddable.
The thing with film presets is that you won’t edit this way manually. Digital sliders are designed to let us push hard and the nuance of good film styles can take weeks to refine.
In a real darkroom, we could manipulate how we develop and print. So I put a ton of time into the ChemKit2 mods in Filmist. They let you use a film look and then adjust it instantly with darkroom-inspired processes. I included of of these for tone in the free pack. Turn it up and down and see what happens.
The beauty of using Lightroom presets and Capture One style packs is that with well-made film styles, you get edits that take hours in seconds. Once you get used to the milder grounding look of film it becomes a go-to. But if you have a photo that is not working with film, don’t hesitate to branch out.
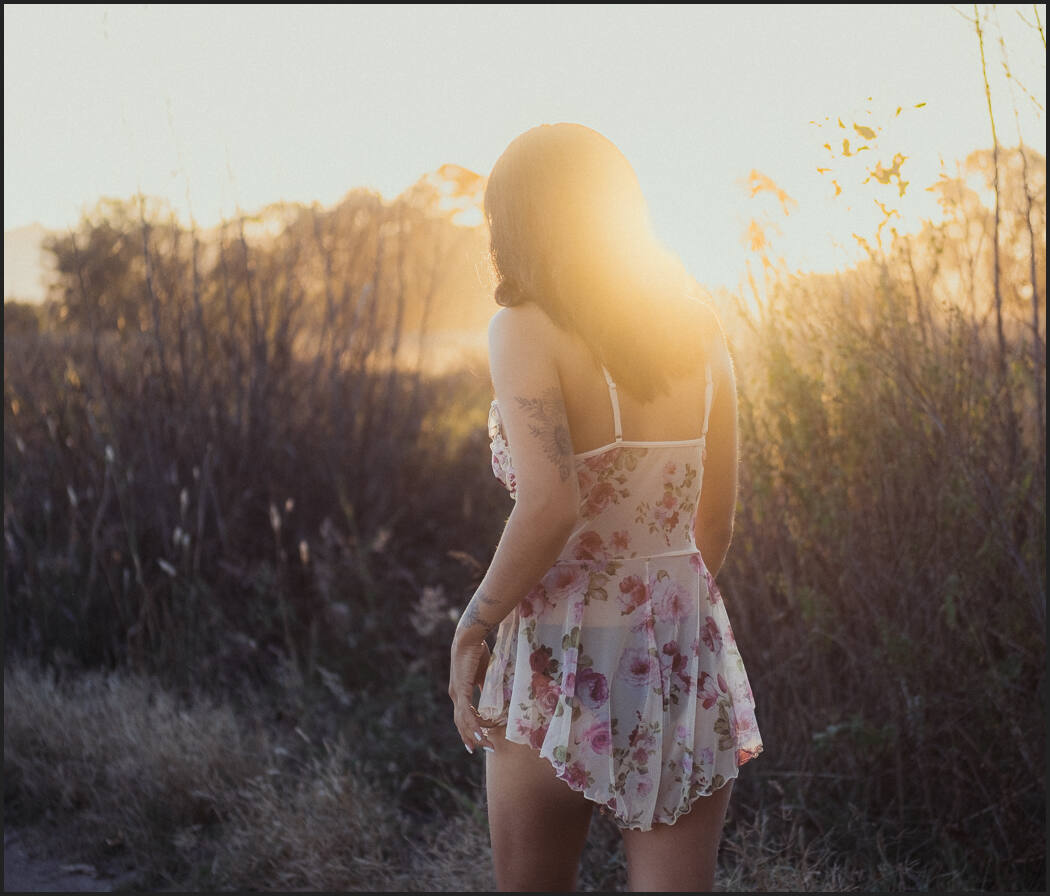
Agfa RSX 100 II Free Capture One Style and LR Preset
I hope you enjoy the Filmist 2 free film Lightroom presets and styles pack and that these filmic styles let you see digital in a new light and use the rest of your presets, actions, and tools better.
I’m here to help if you have questions.
Gavin Seim